Fall Chimney & Fireplace Special: Chimney Sweep + Level 1 Inspection $249 · Chimney Inspection $149 · Gas Log Service $149 · through Nov 30Sweep + Inspection $249 · through Nov 30 Request your slot
Open Mon–Fri 8am–6pm, Sat 9am–2pmServing The Colony, Frisco, Plano, Carrollton, Little Elm & North DFW
Call or text (972) 703-4092

Home › Projects

Projects, before to after.

60 real Top Flight jobs since 2019, sorted by trade. Pick a trade, then tap any photo to see it full size.

Chimneys

Rebuilds, chases built from scratch, chase siding and trim. This is where Top Flight started.

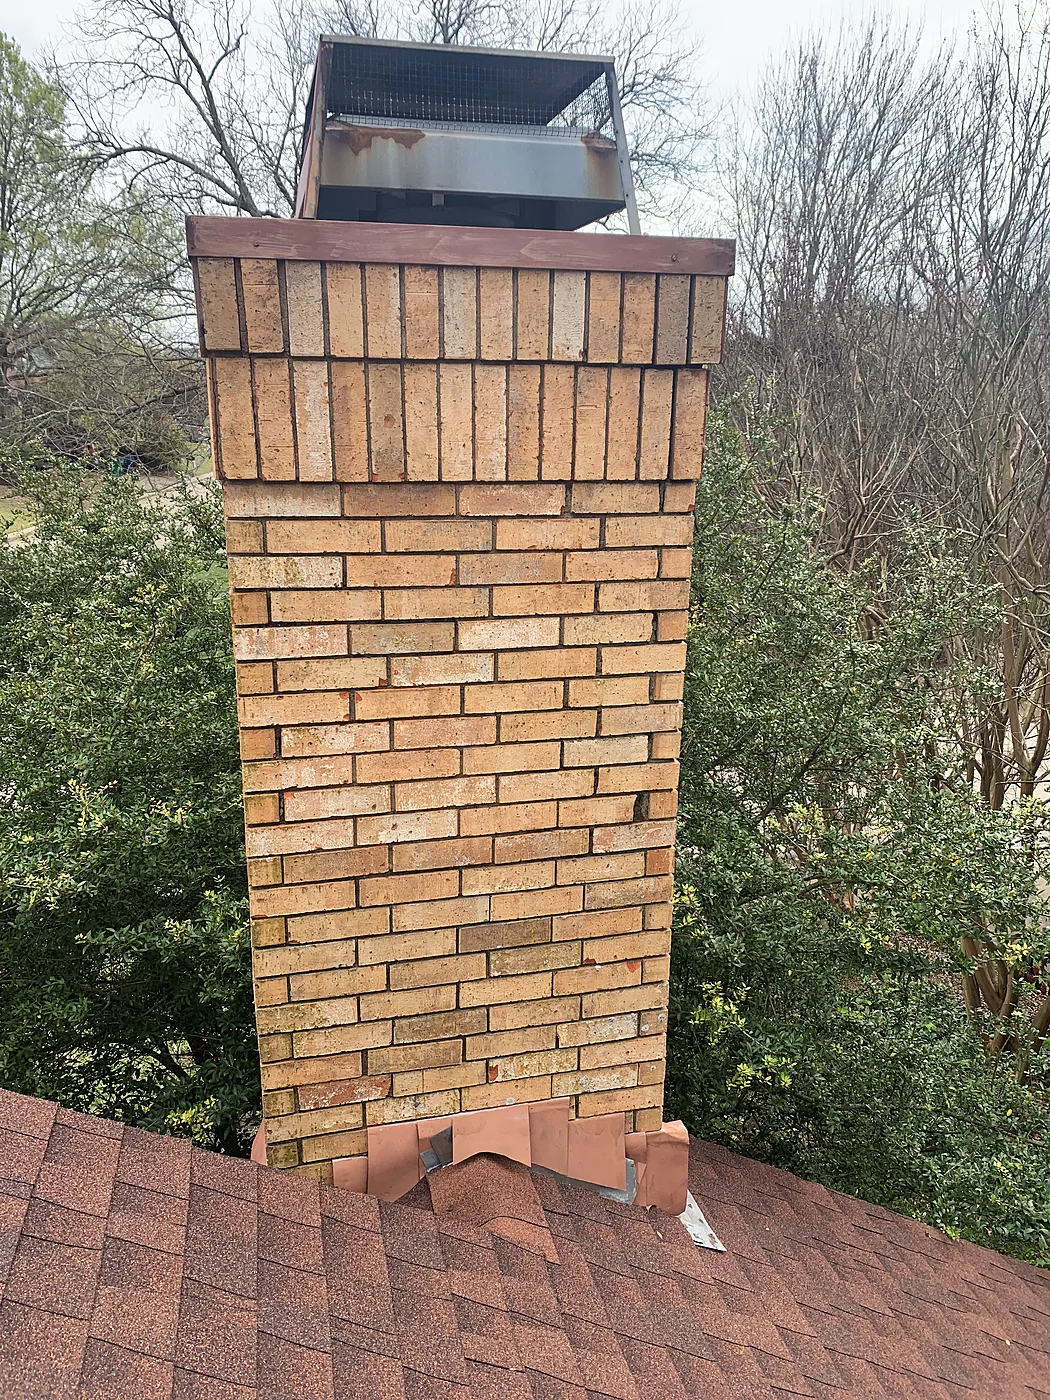
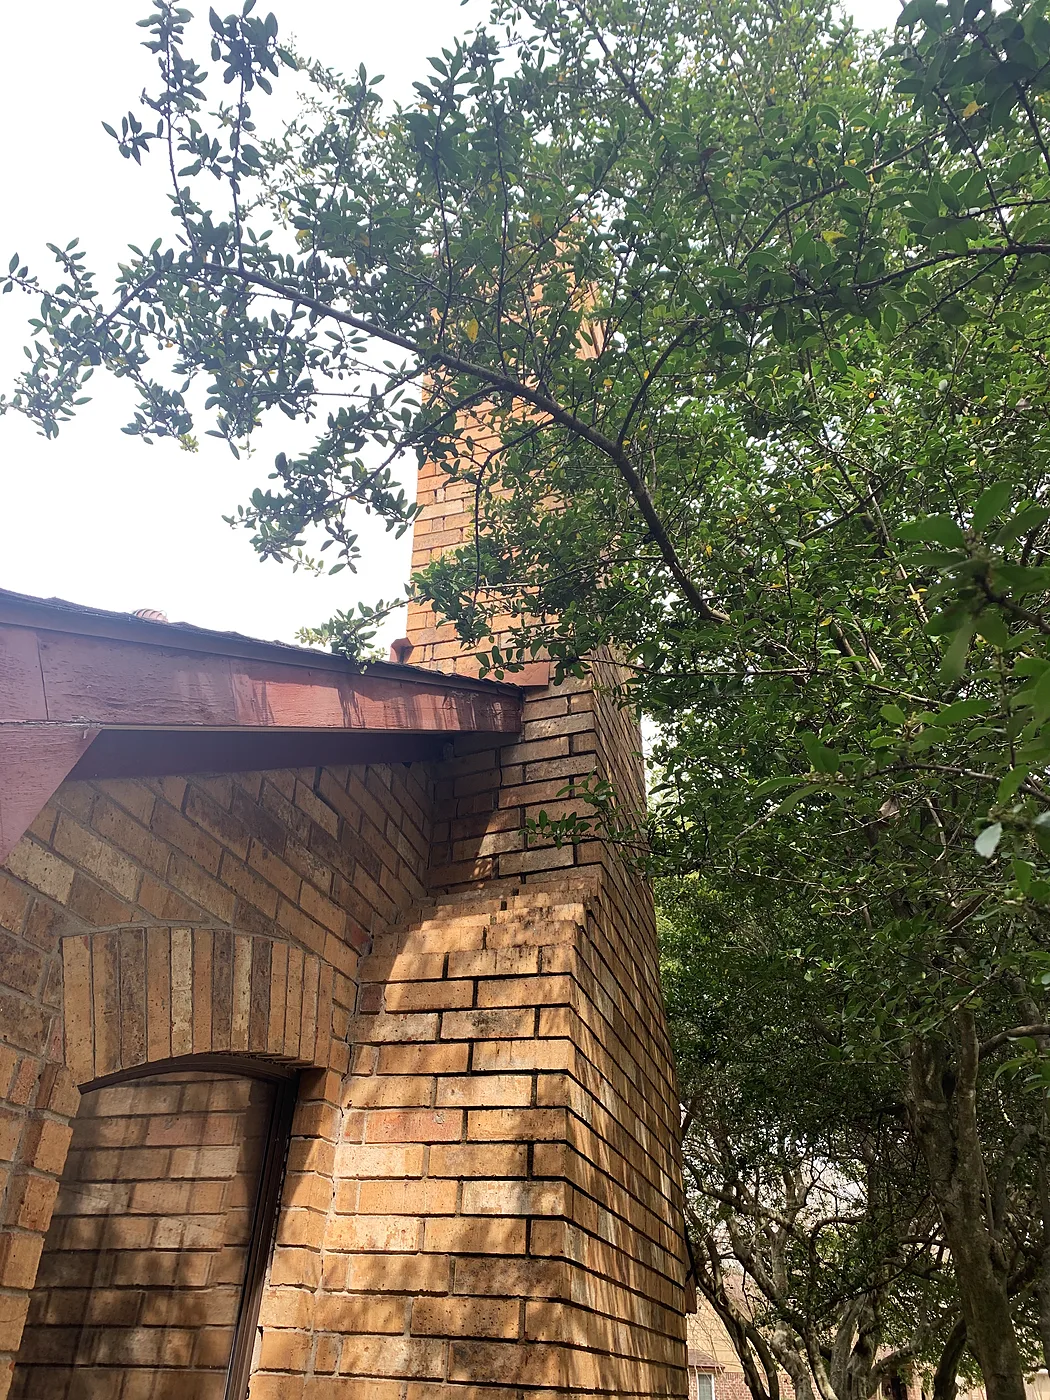
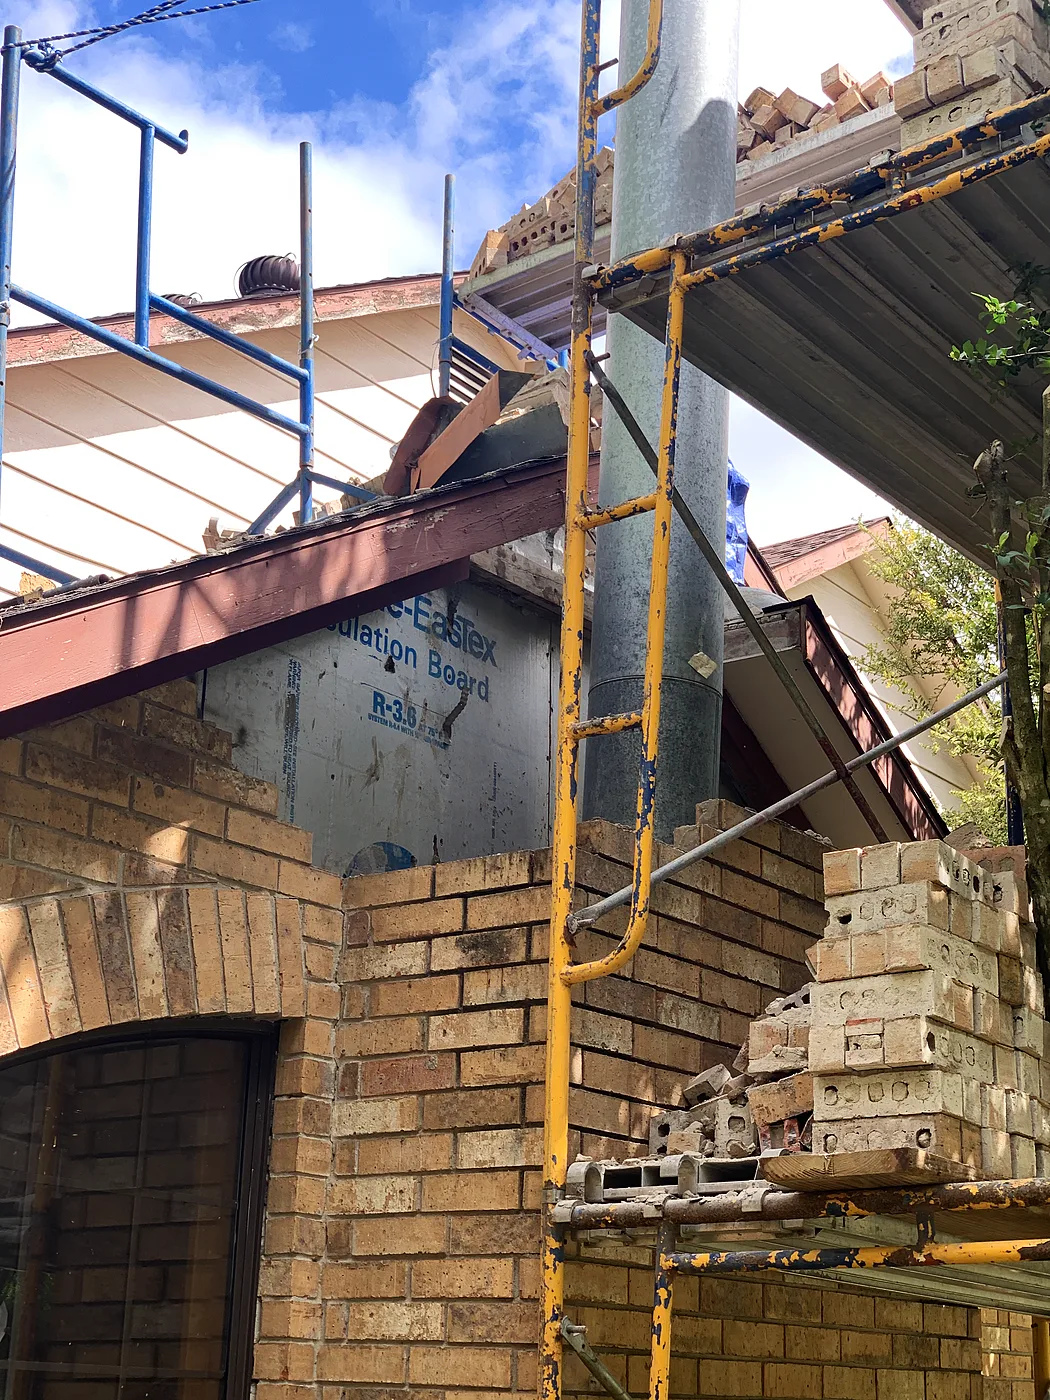
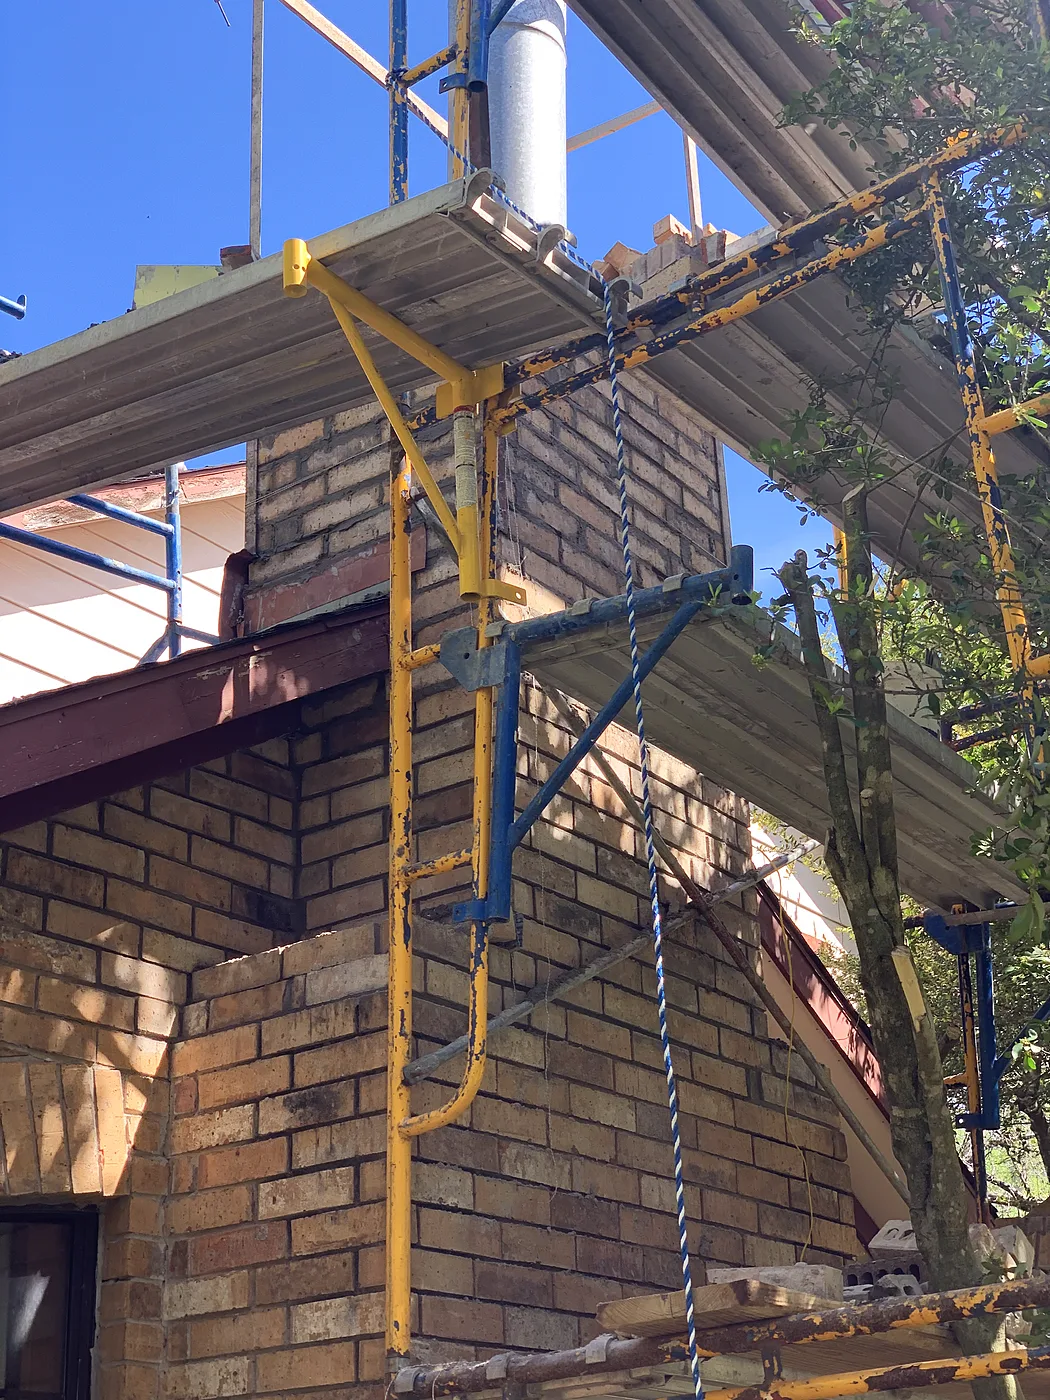
Leaning masonry chimney torn down and rebuilt

McKinney

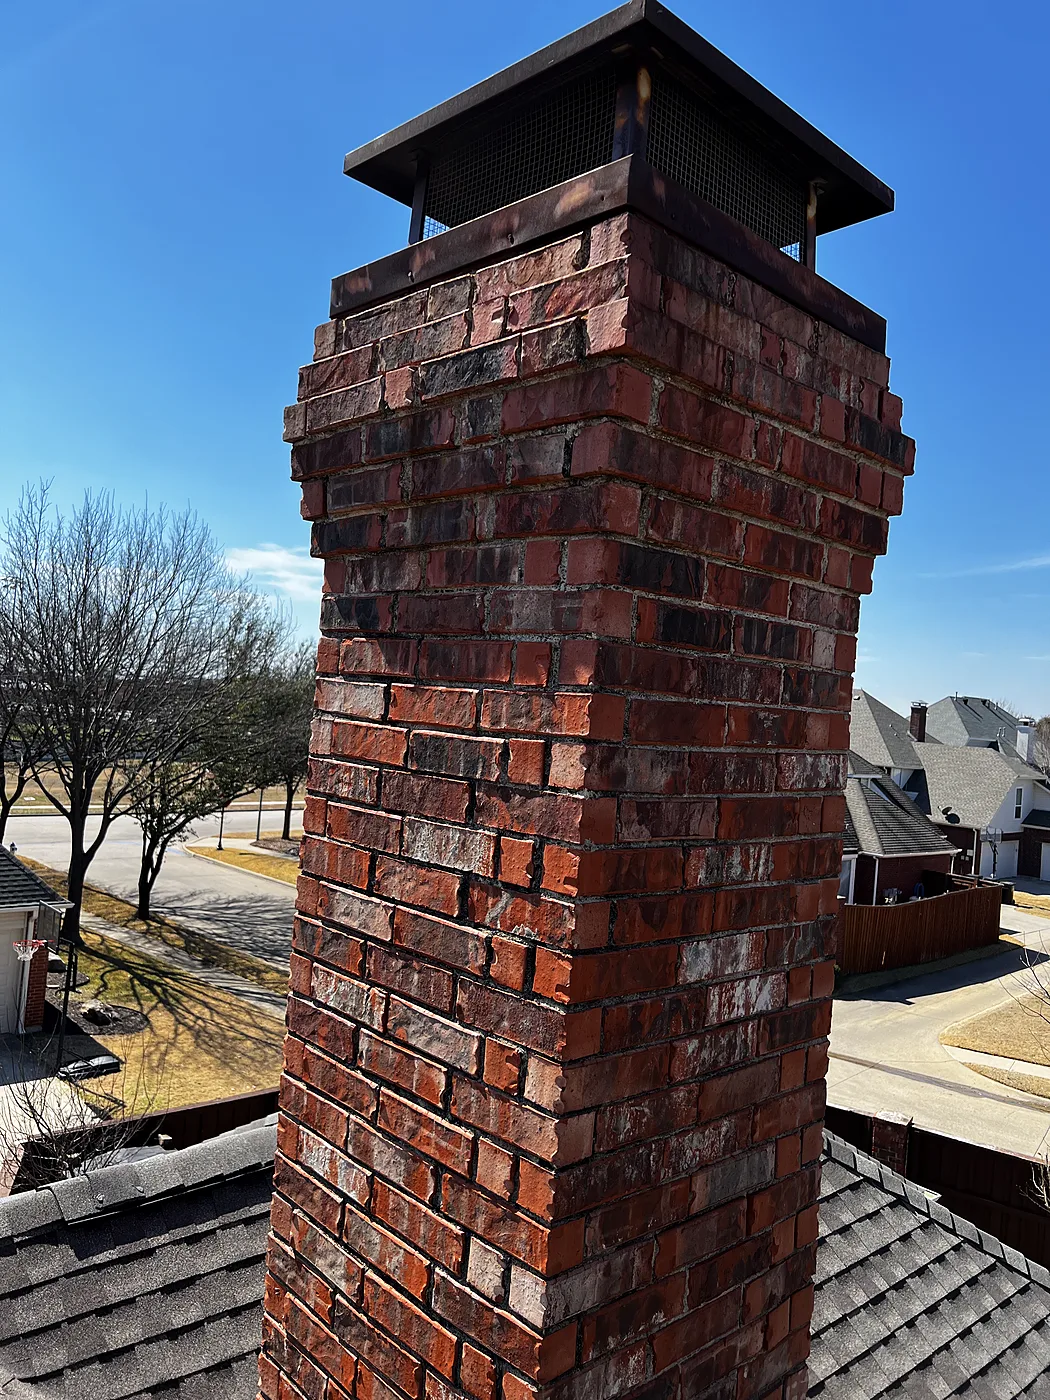
The chimney was leaning off the house and getting ready to fall through the roof. We scaffolded it, took it down to the flue, and rebuilt it straight and plumb in matching brick.

Before
Before: Leaning off the roof — Leaning masonry chimney torn down and rebuilt, McKinney
Leaning off the roof
Before: Pulling away from the house — Leaning masonry chimney torn down and rebuilt, McKinney
Pulling away from the house
During
During: Taken down to the flue — Leaning masonry chimney torn down and rebuilt, McKinney
Taken down to the flue
During: Rebuilding from the scaffold — Leaning masonry chimney torn down and rebuilt, McKinney
Rebuilding from the scaffold
After
After: Rebuilt straight — Leaning masonry chimney torn down and rebuilt, McKinney
Rebuilt straight
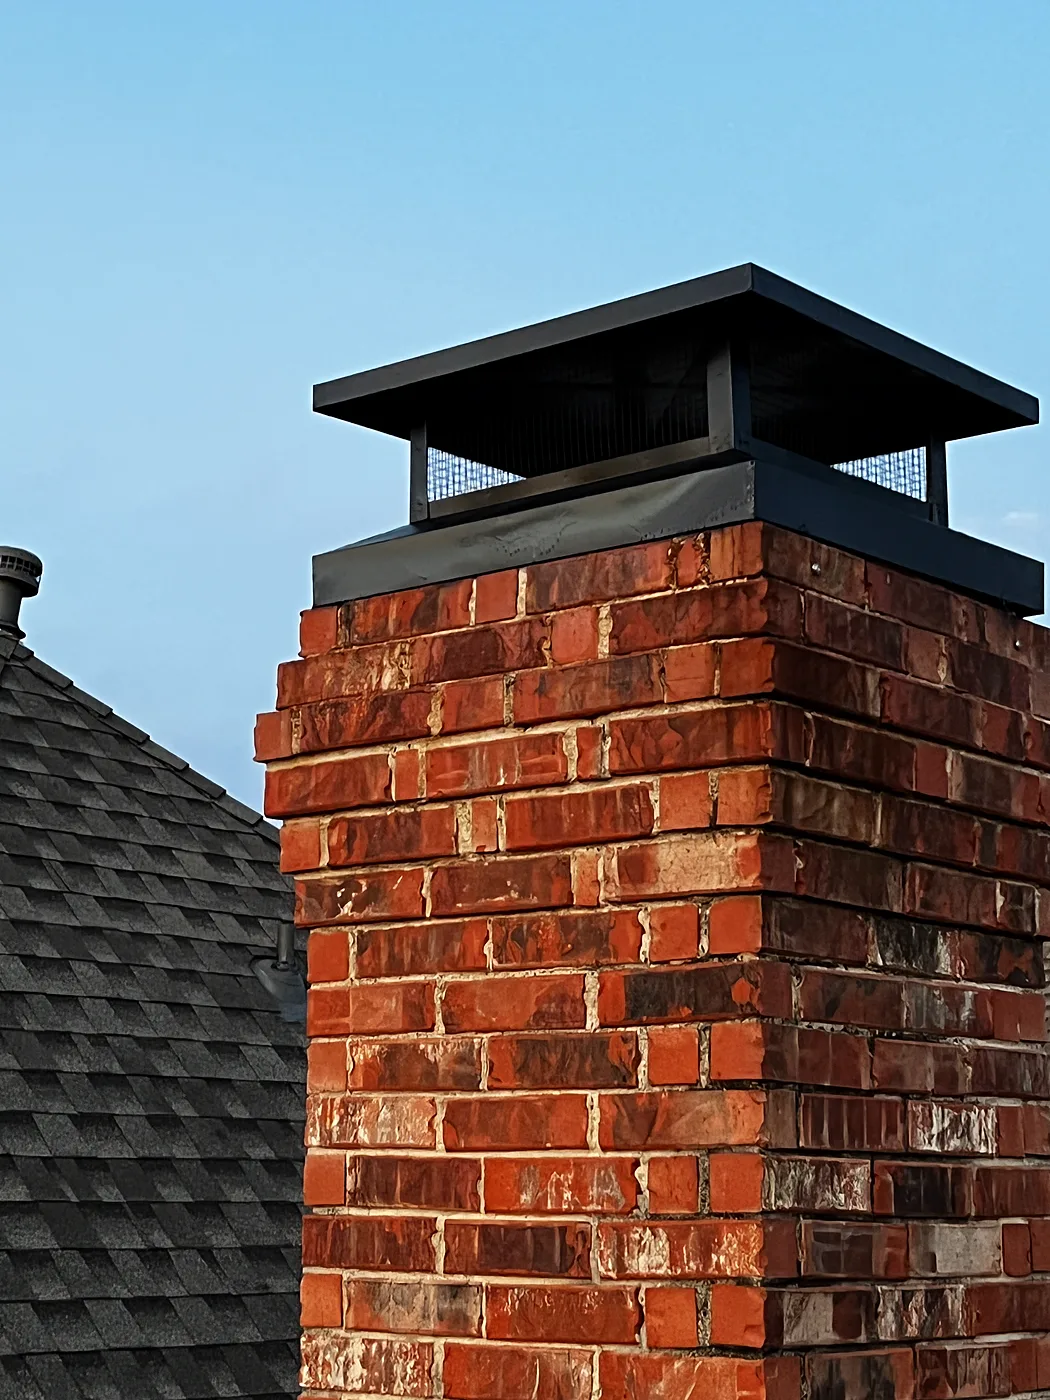
After: Shoulder and roofline — Leaning masonry chimney torn down and rebuilt, McKinney
Shoulder and roofline

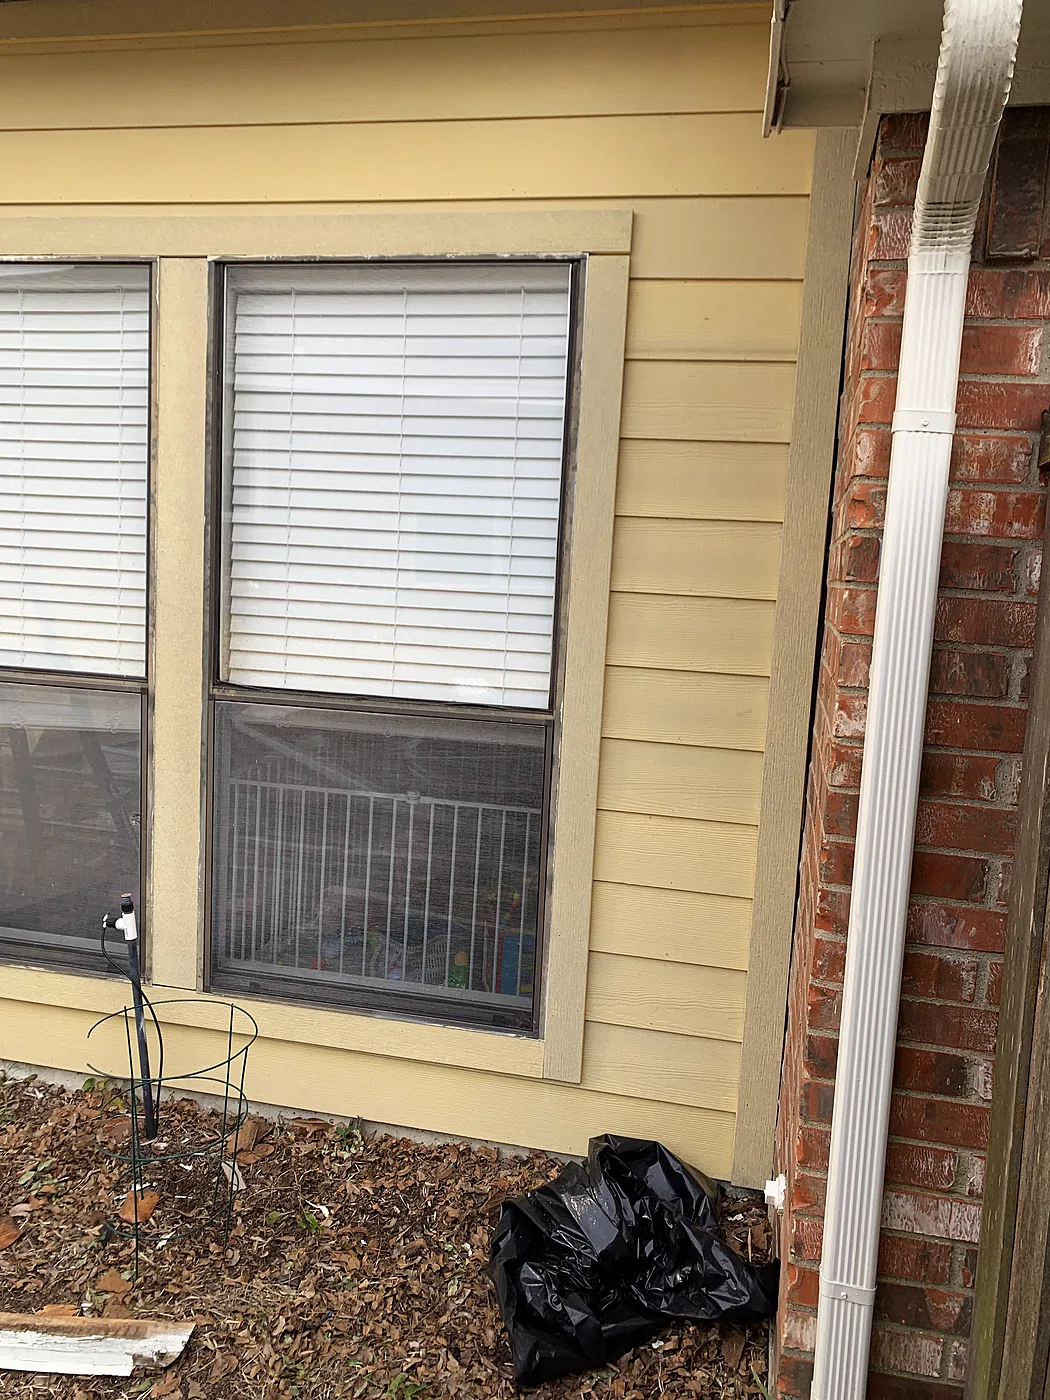
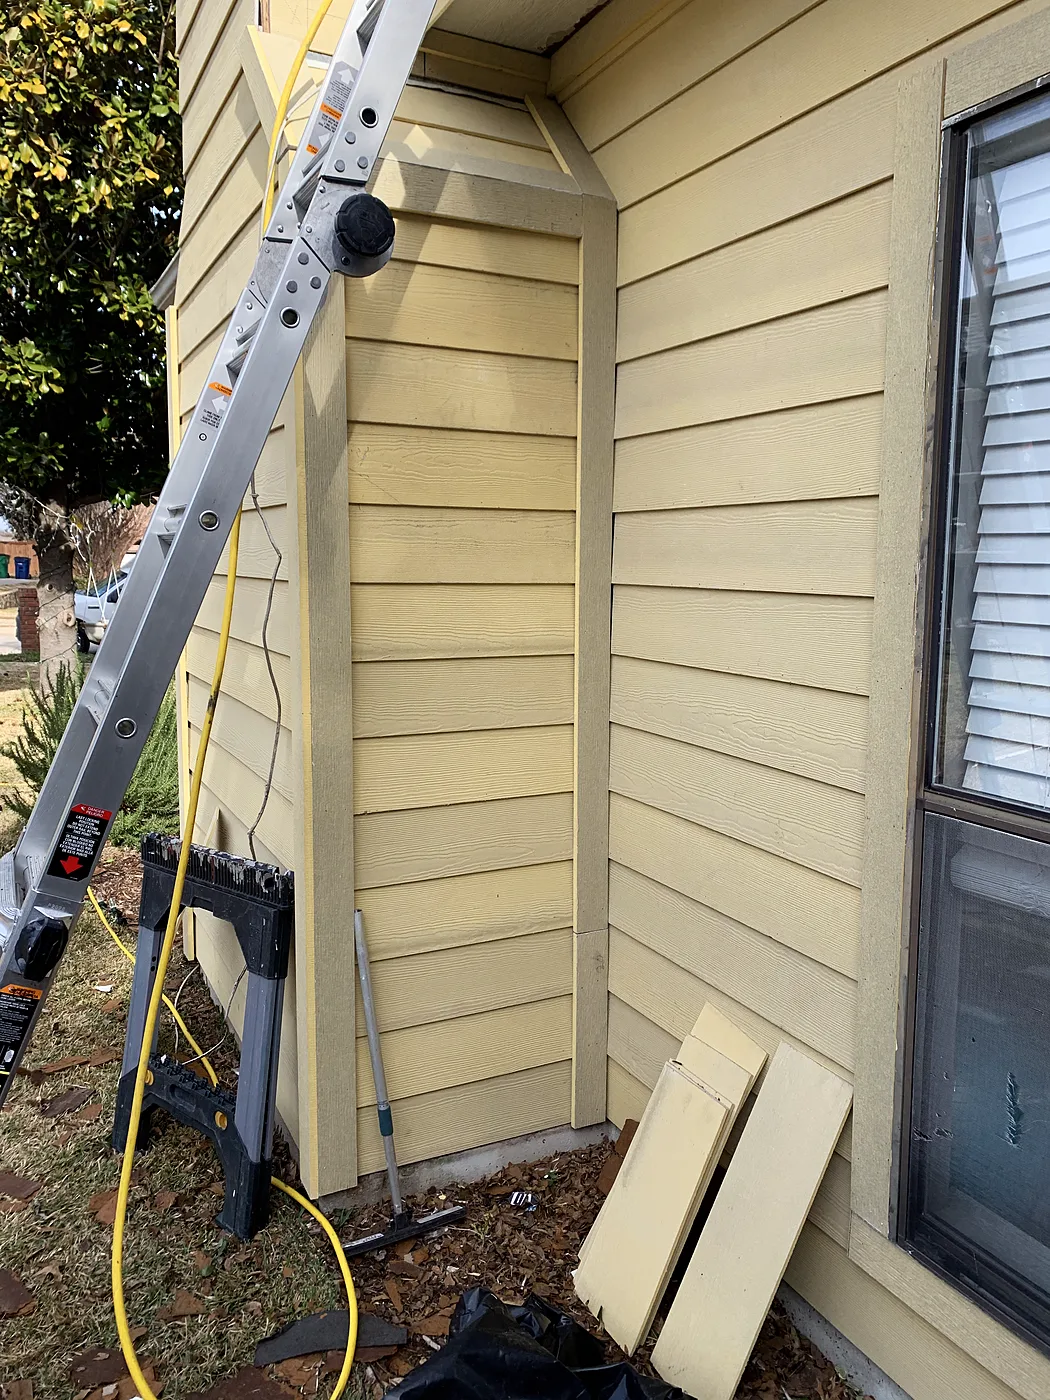
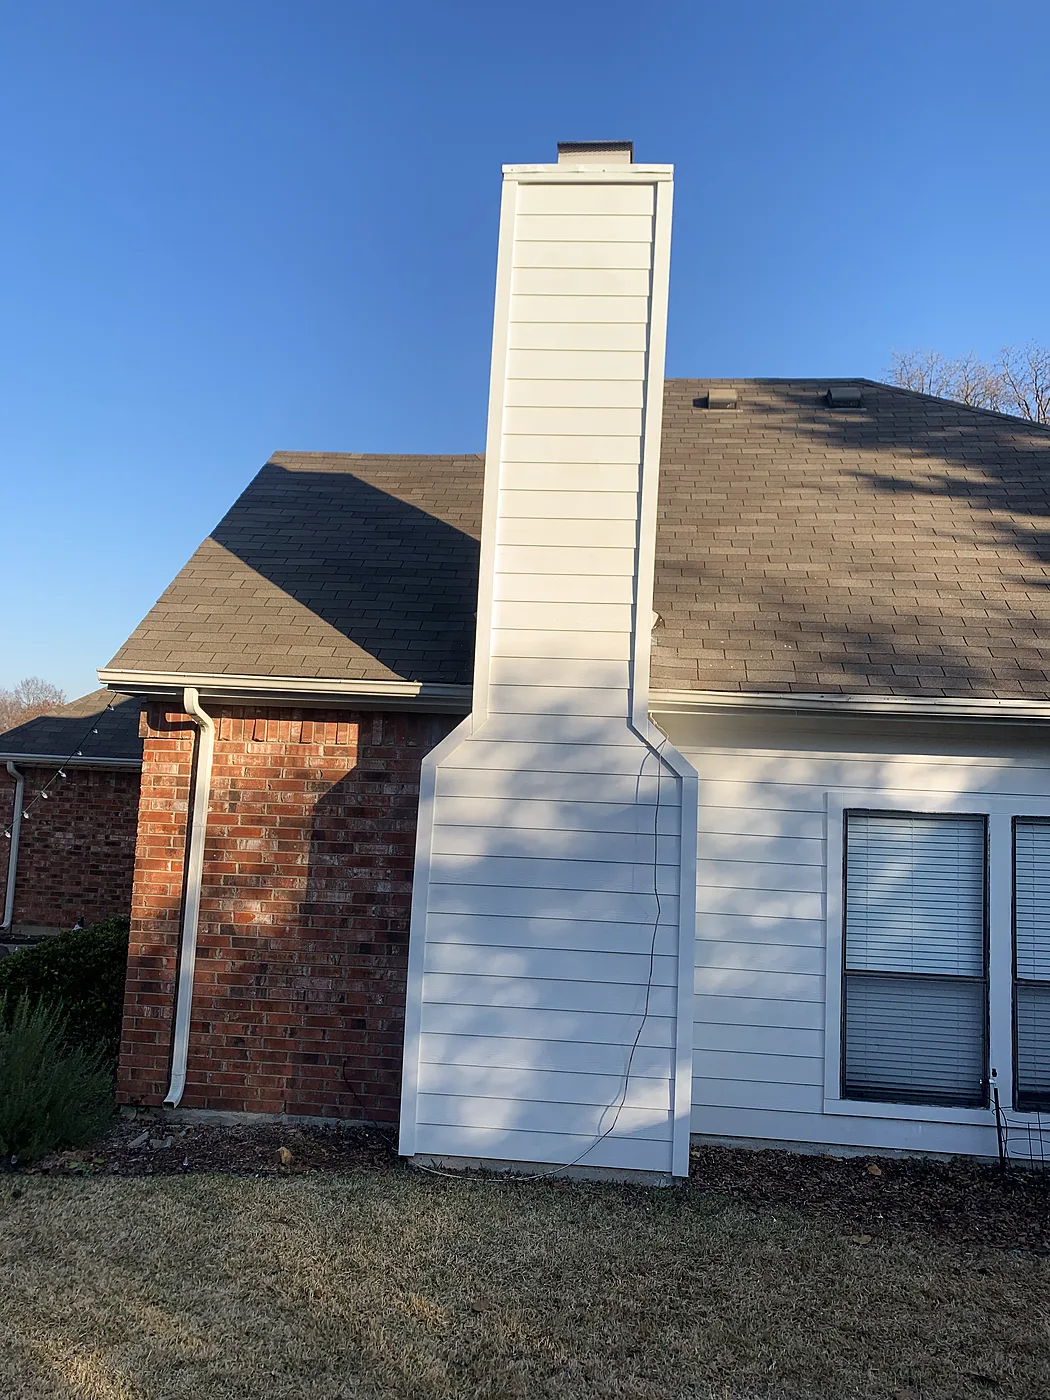
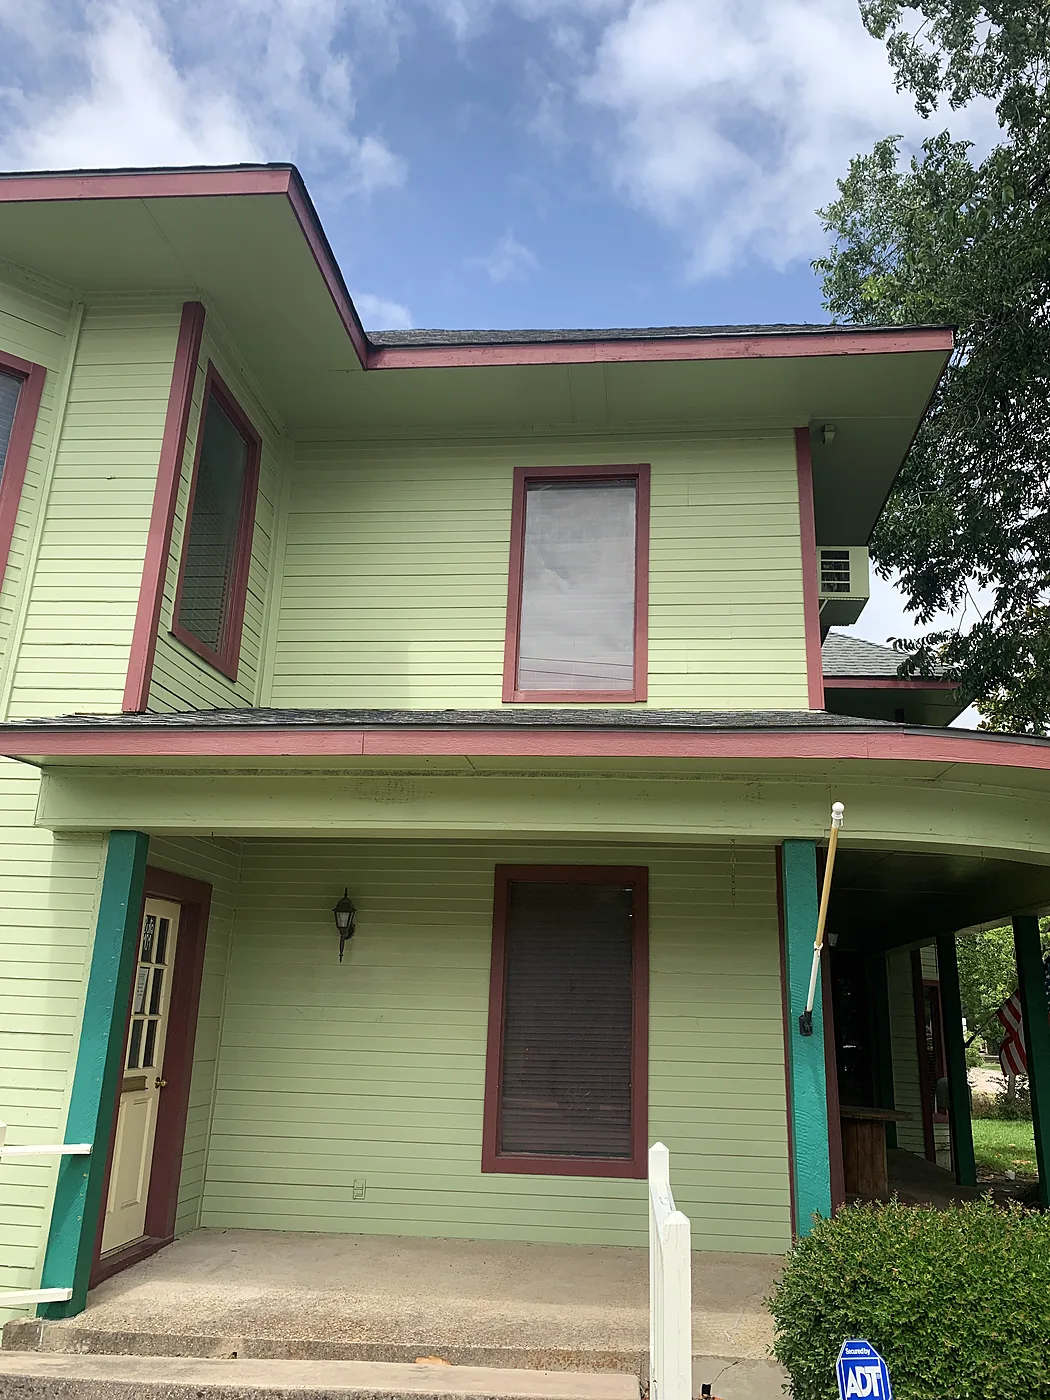
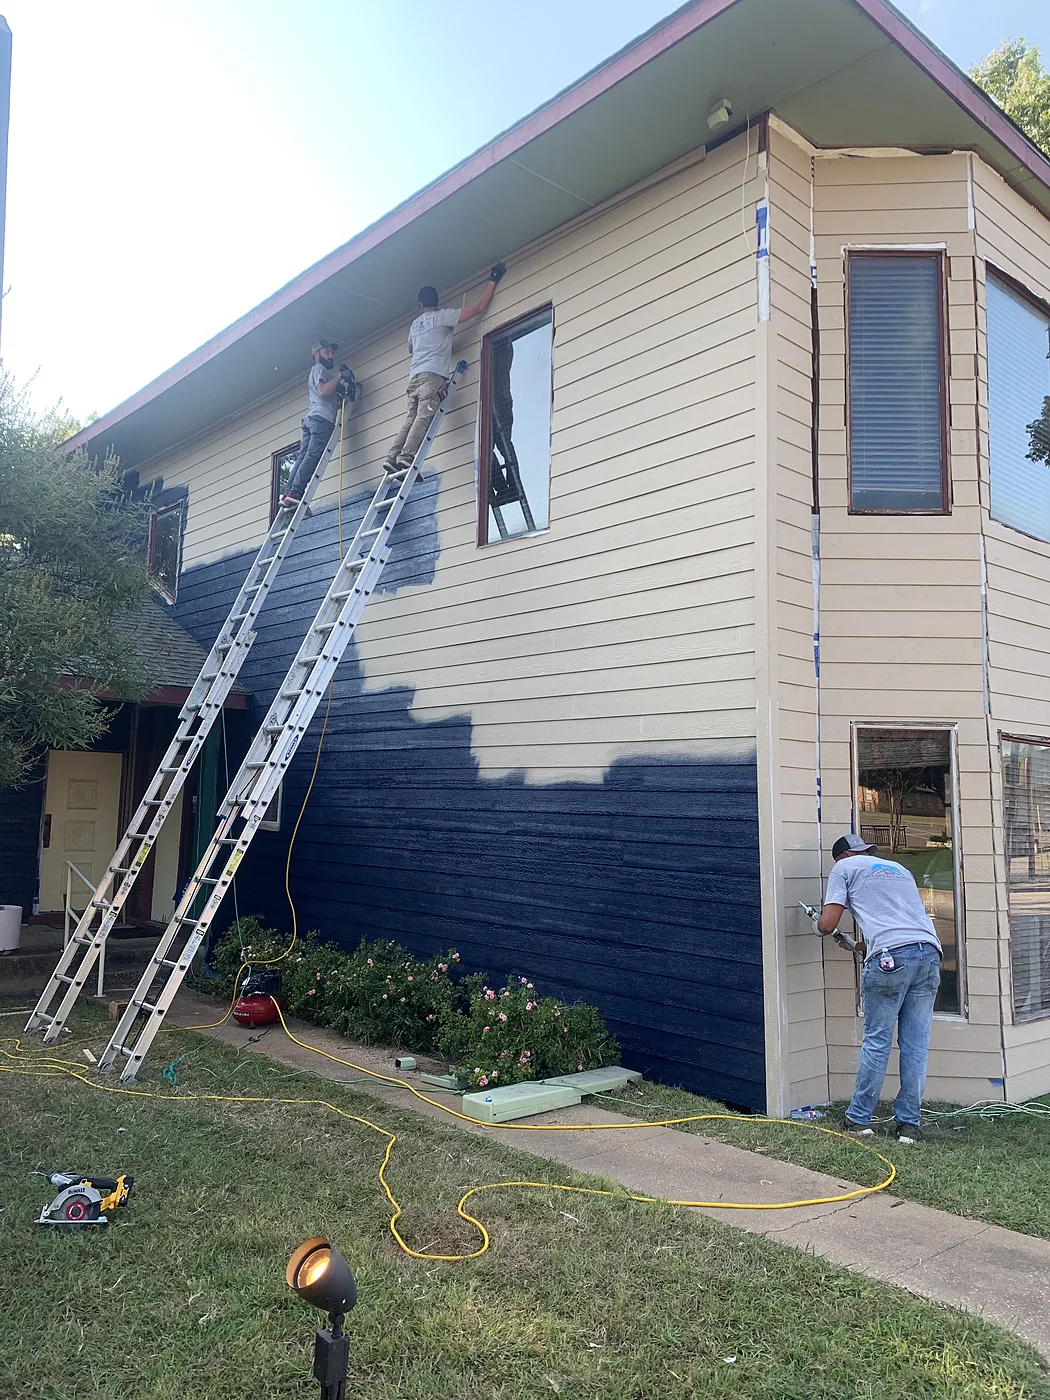
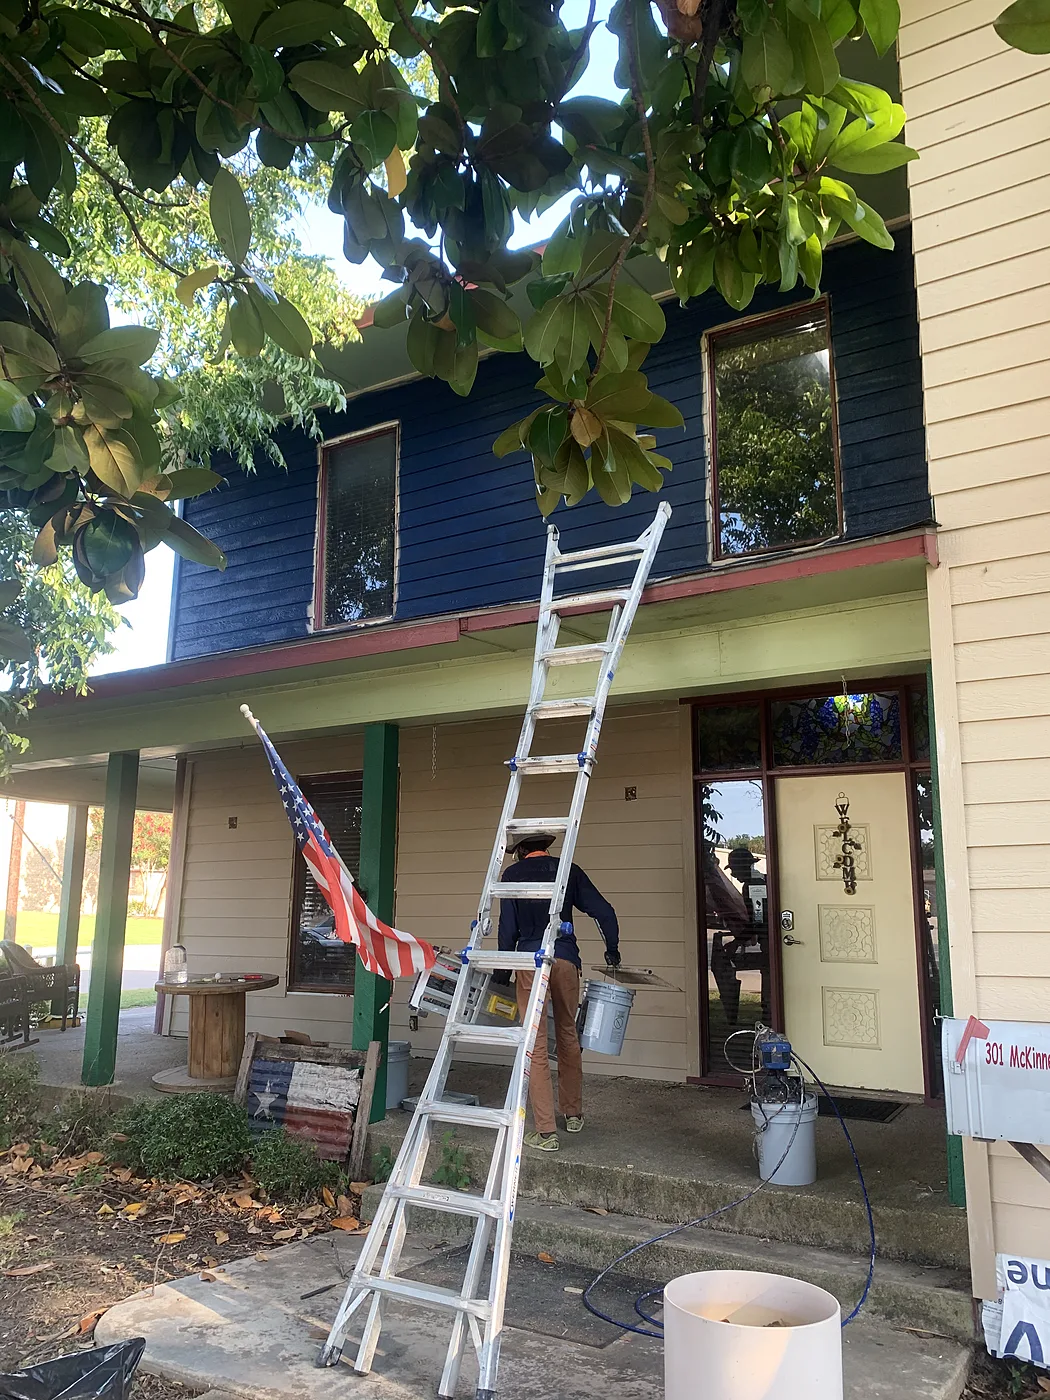
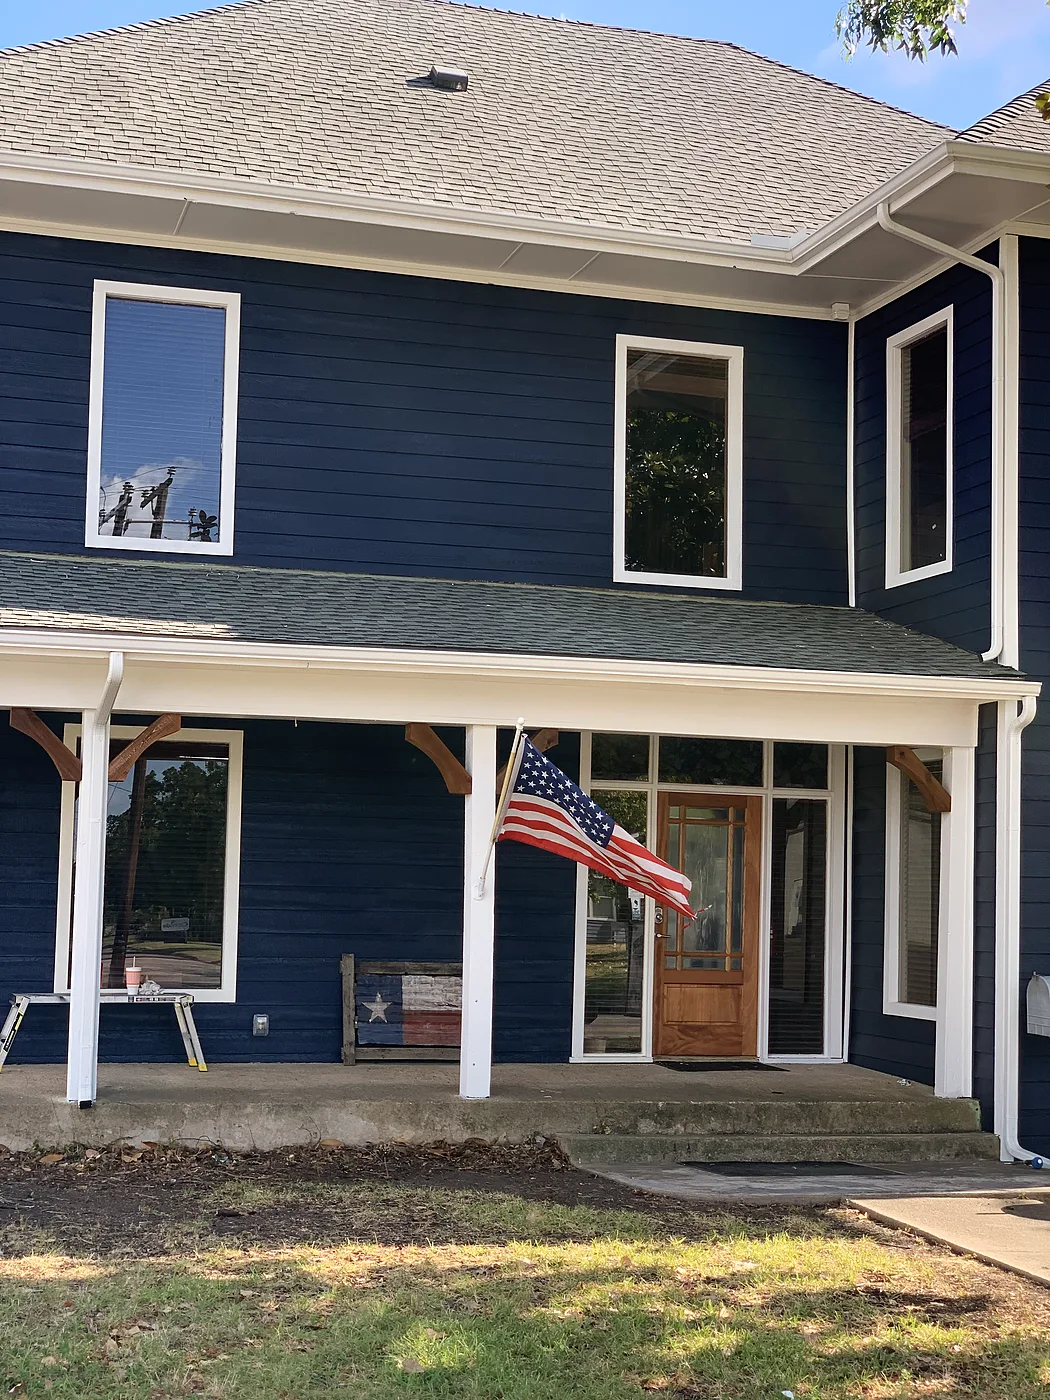
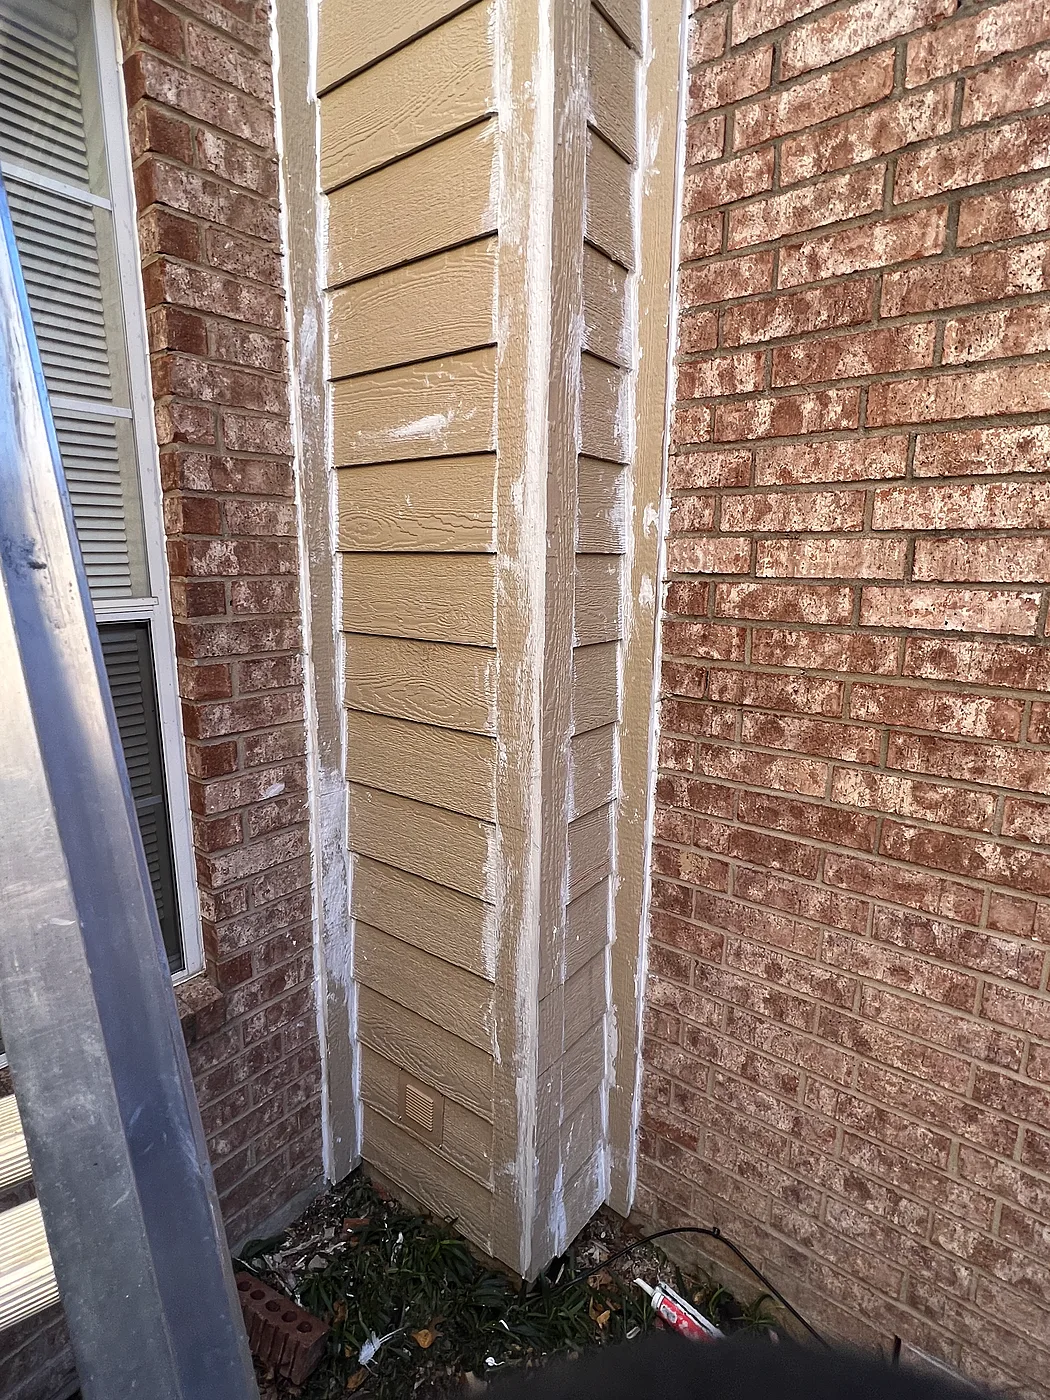
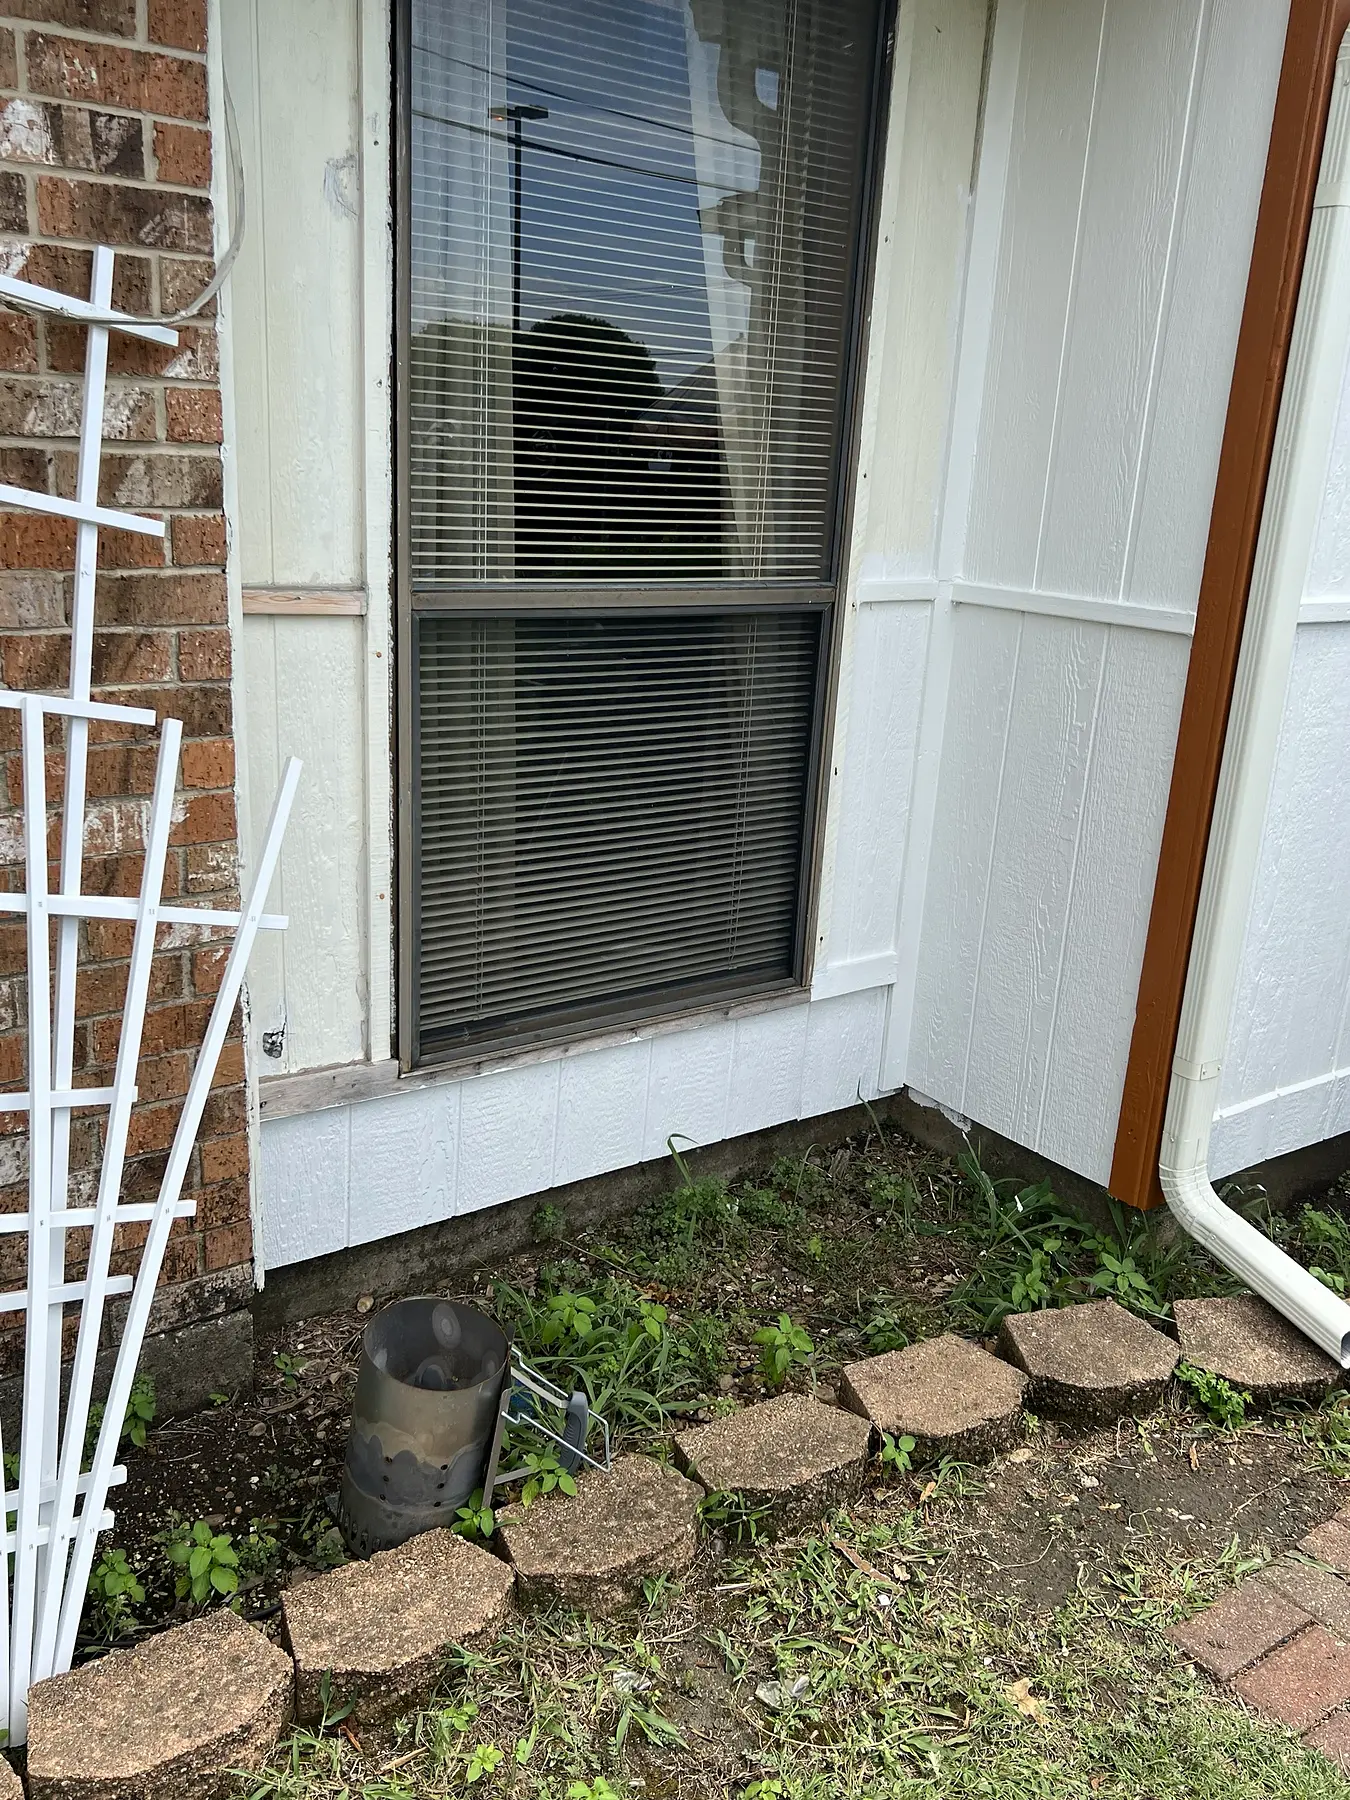
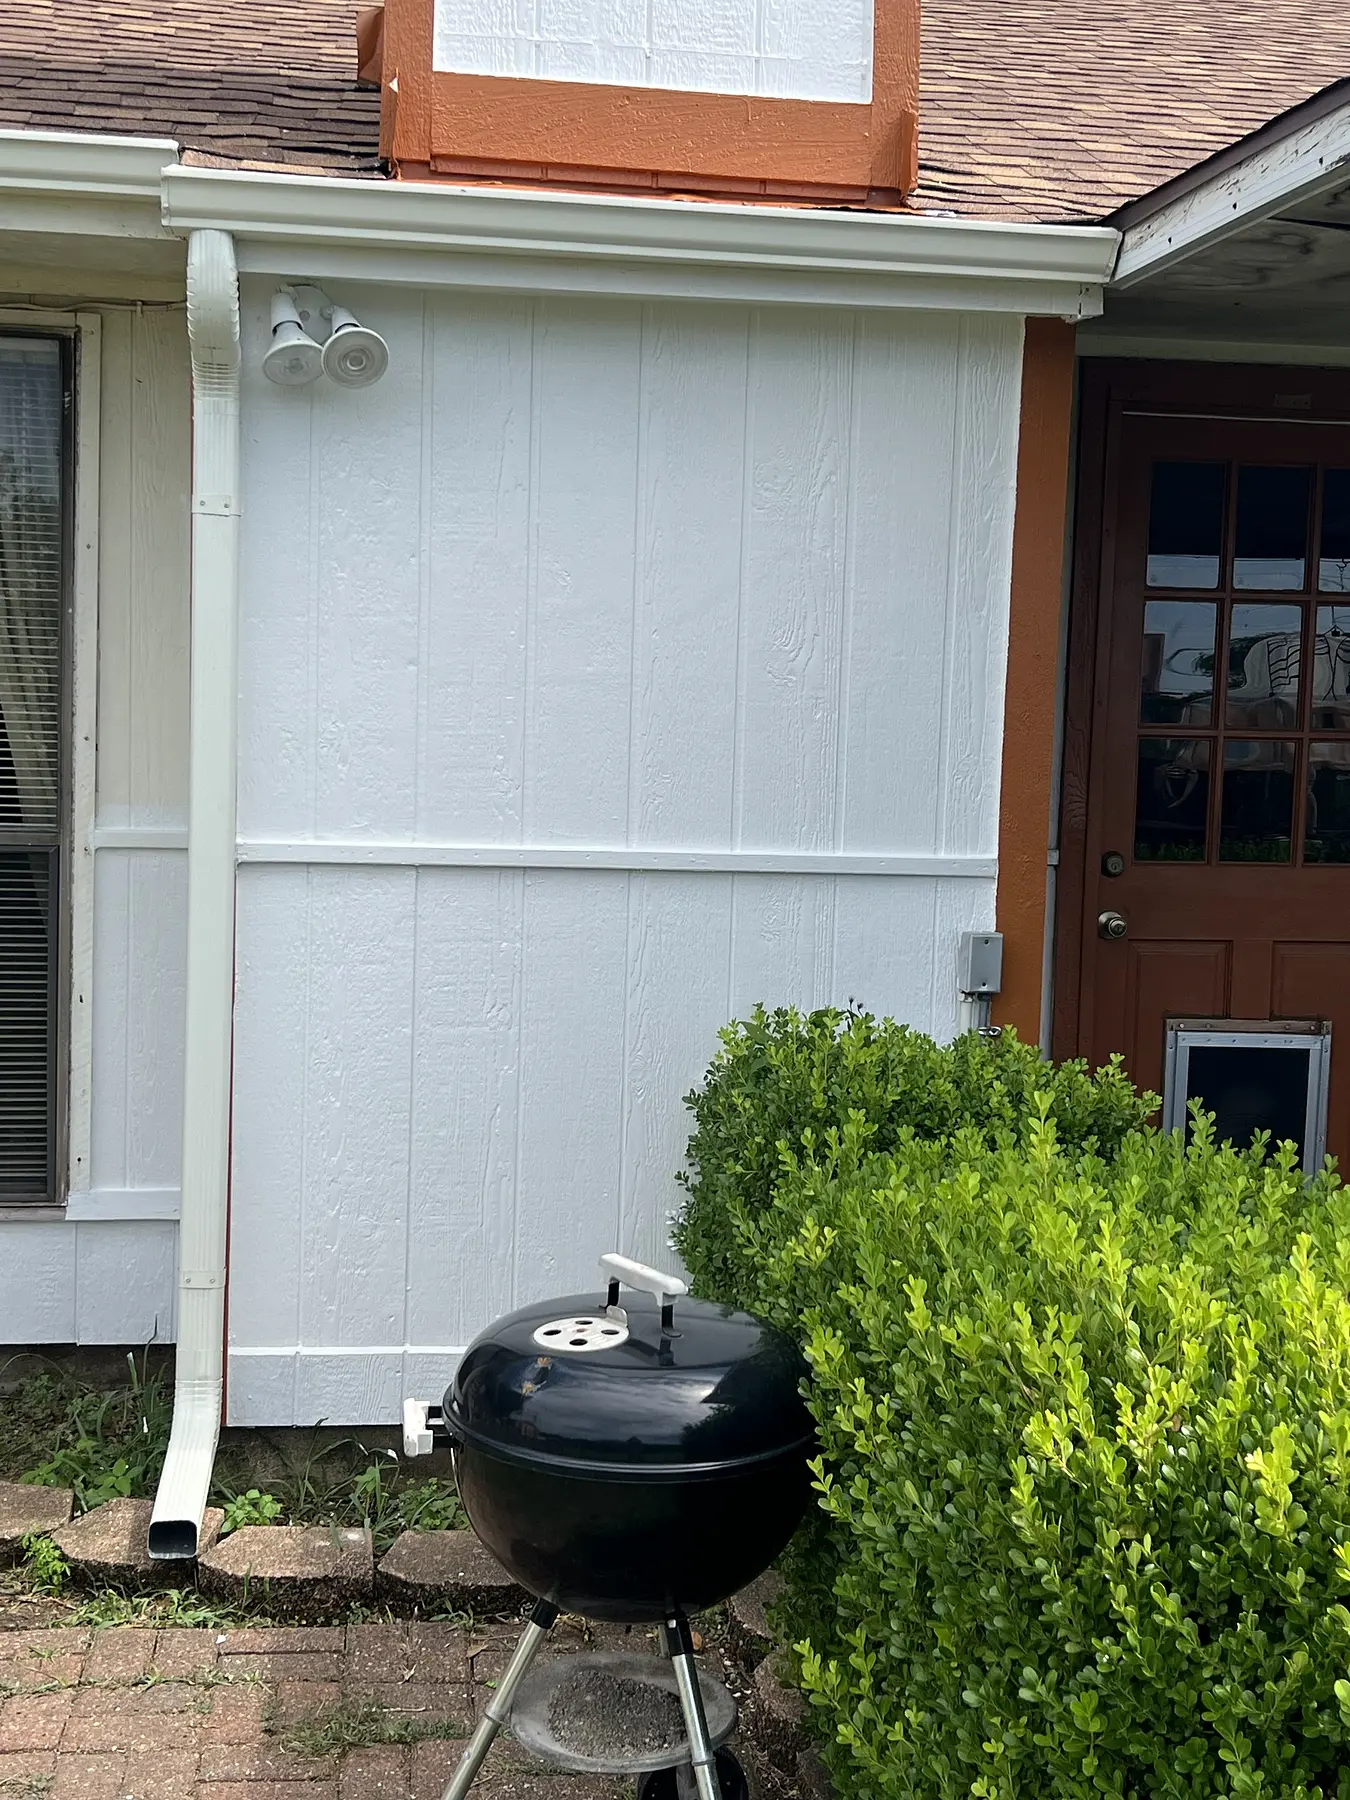
Chimney rebuilt, then siding replaced and the whole house painted

McKinney

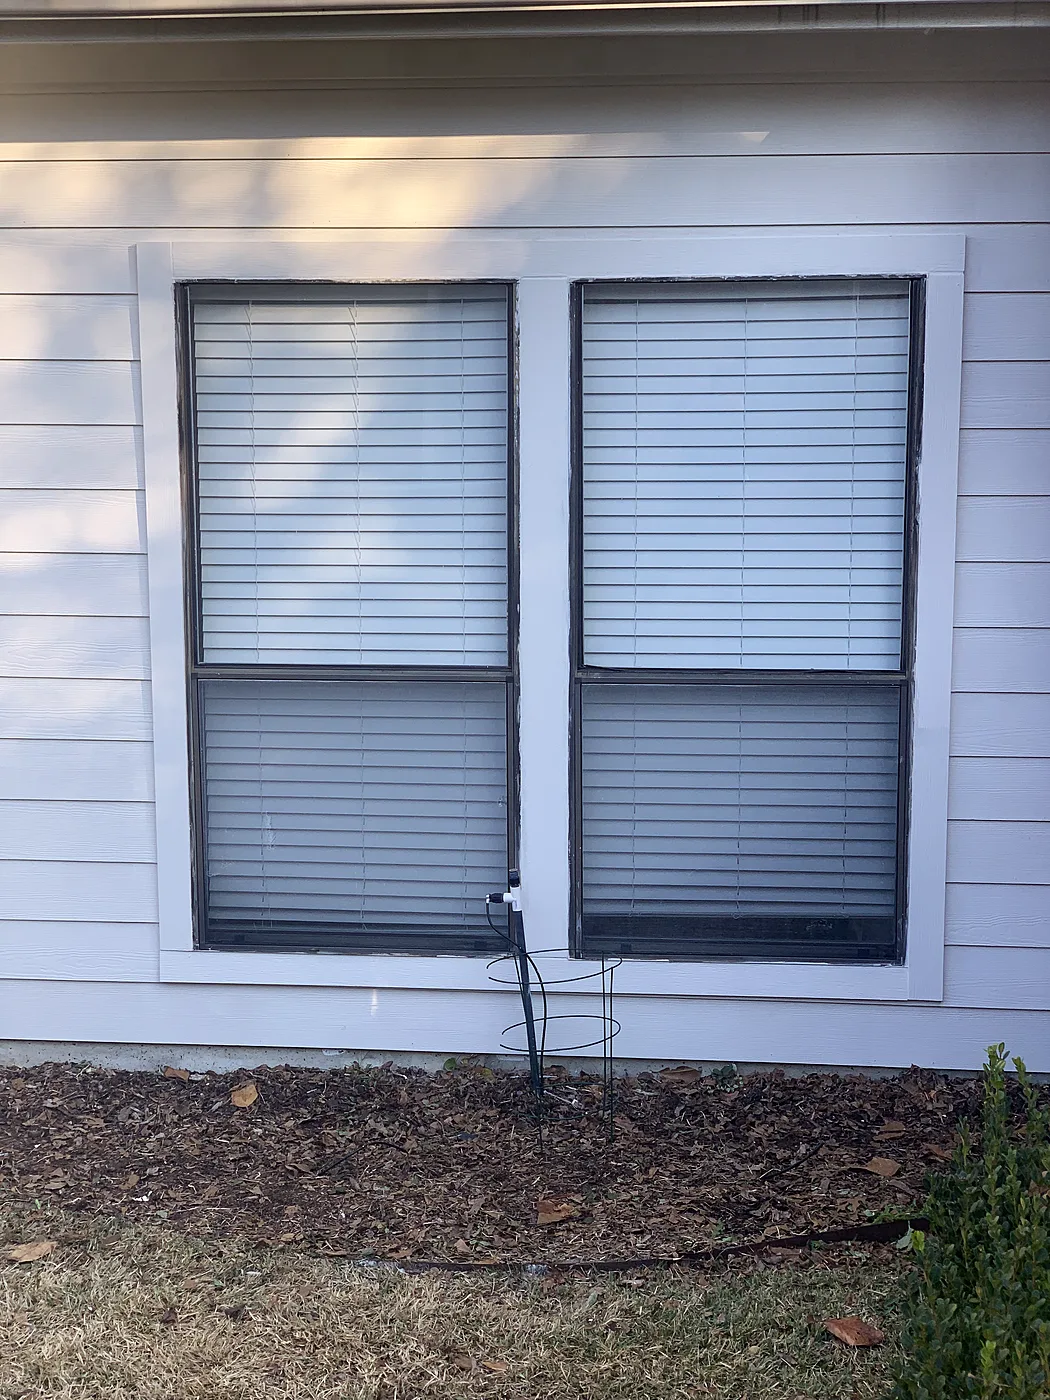
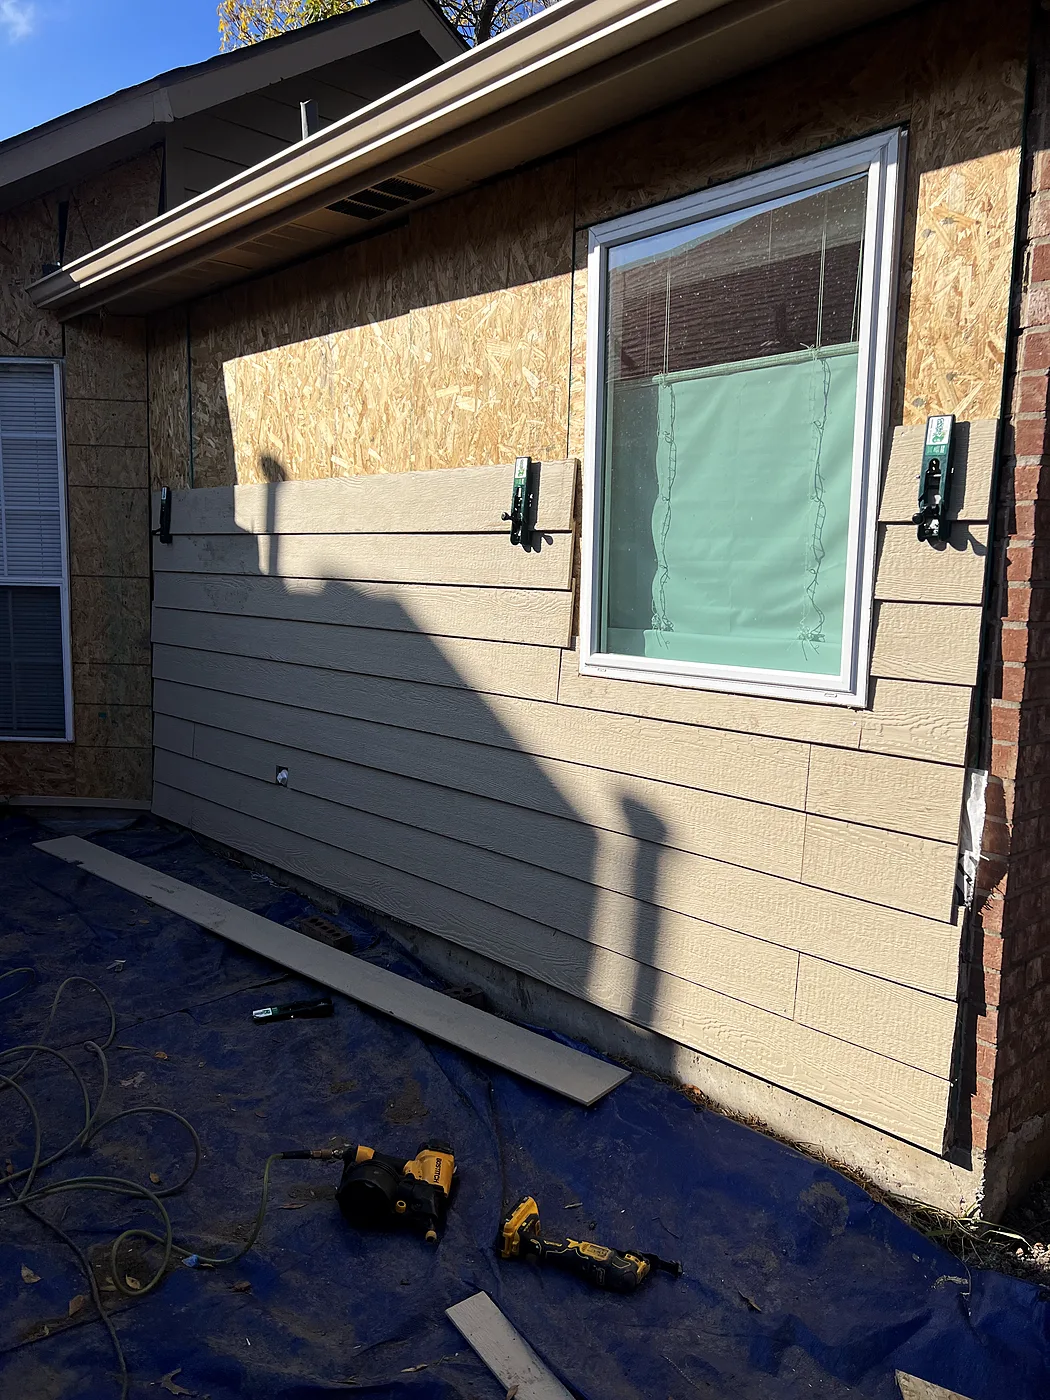
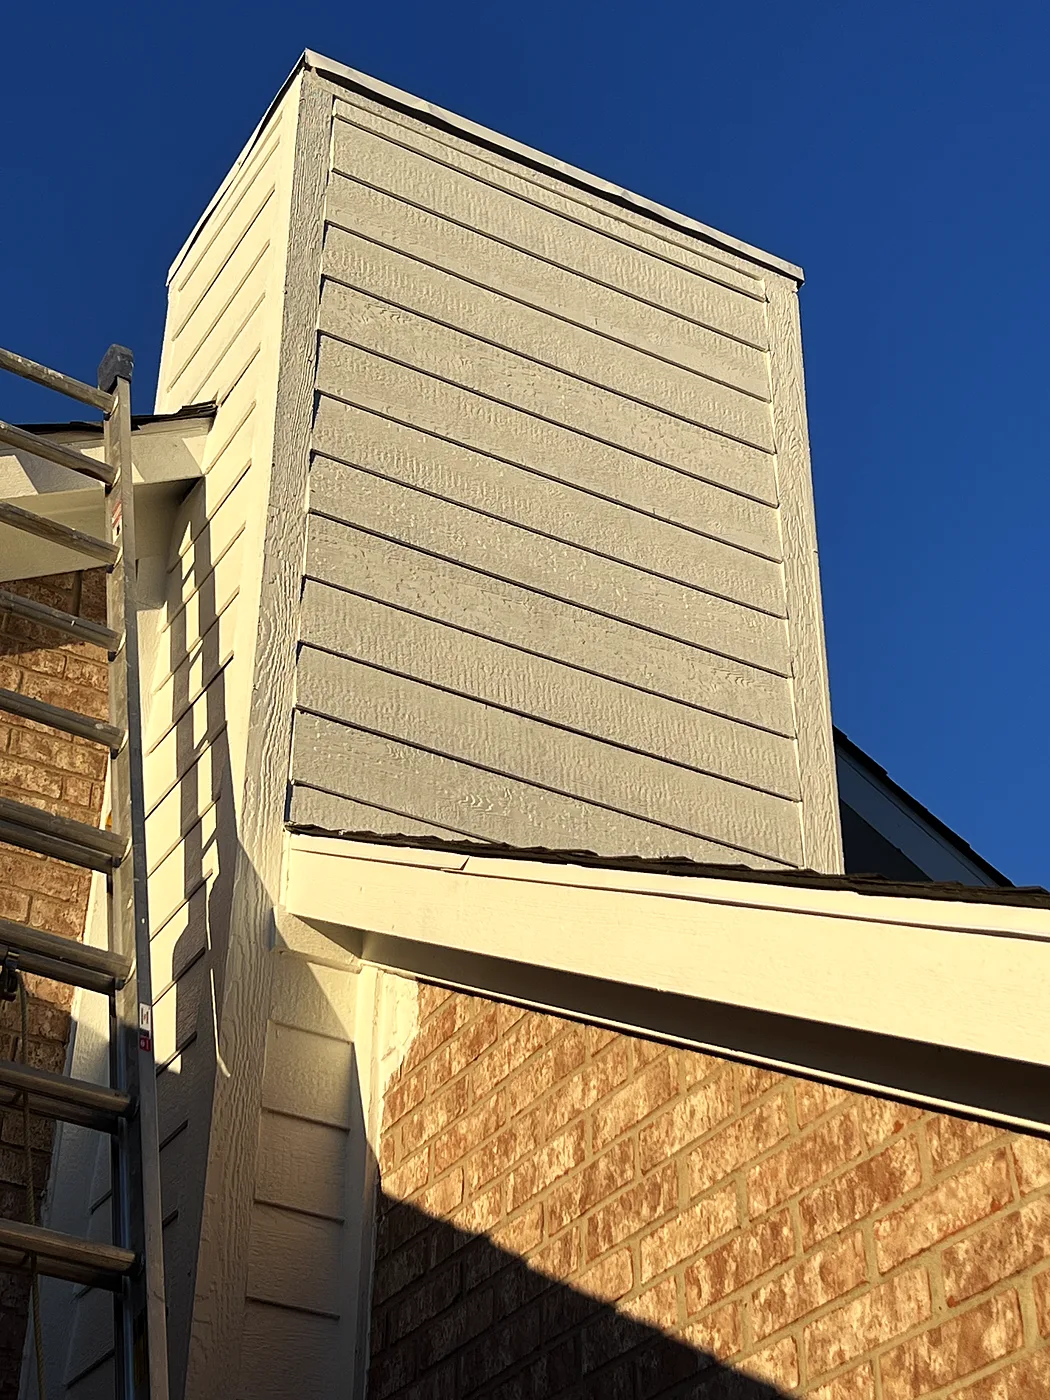
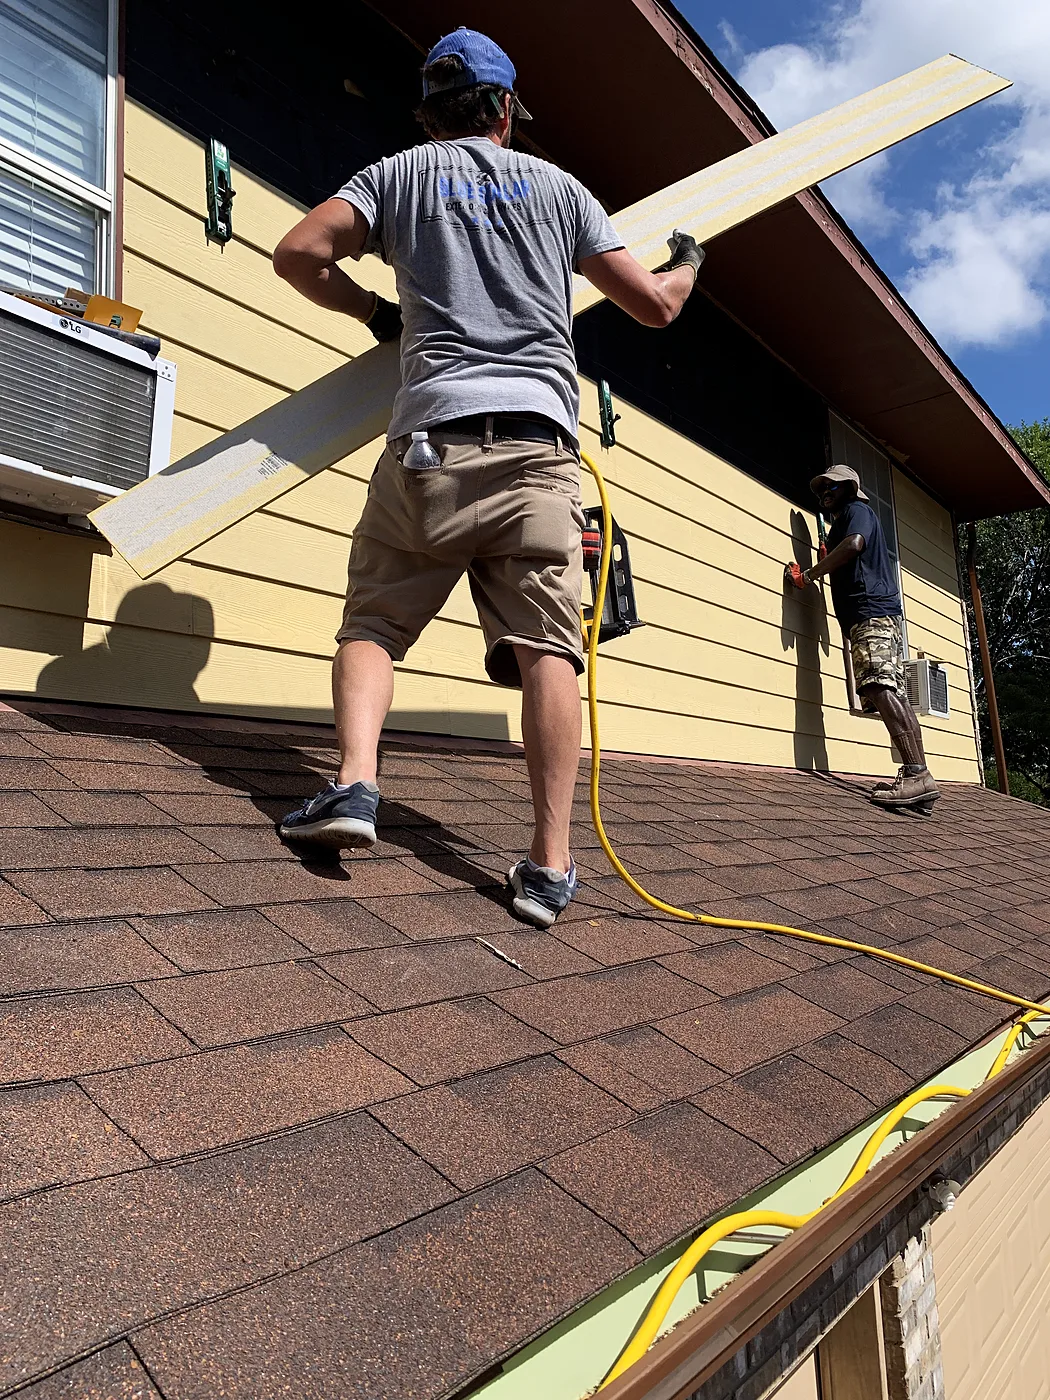
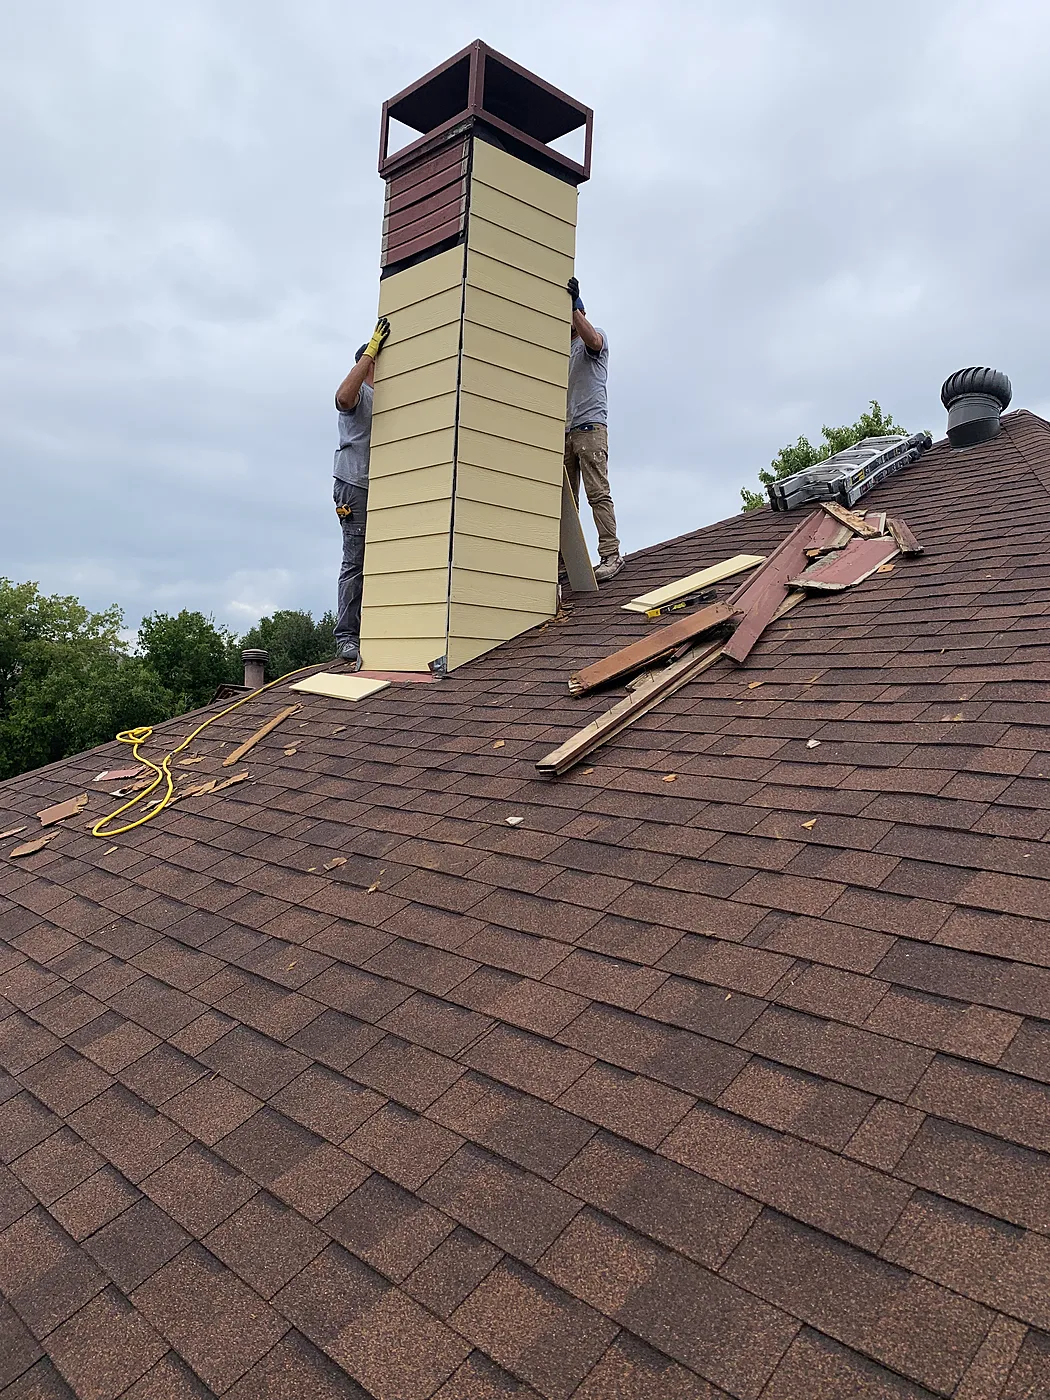
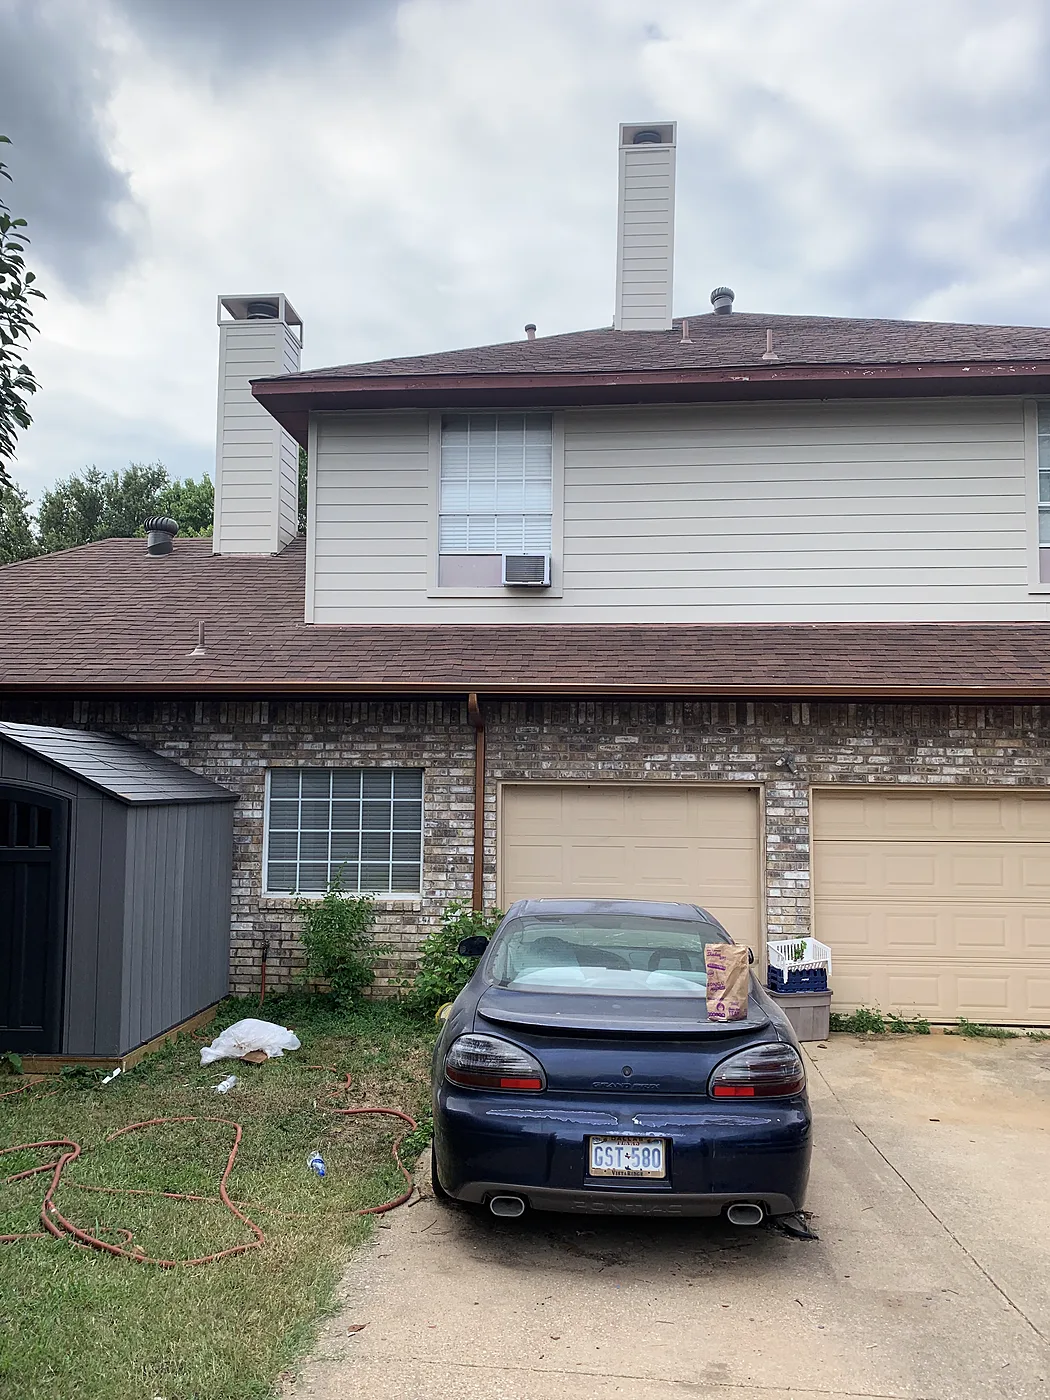
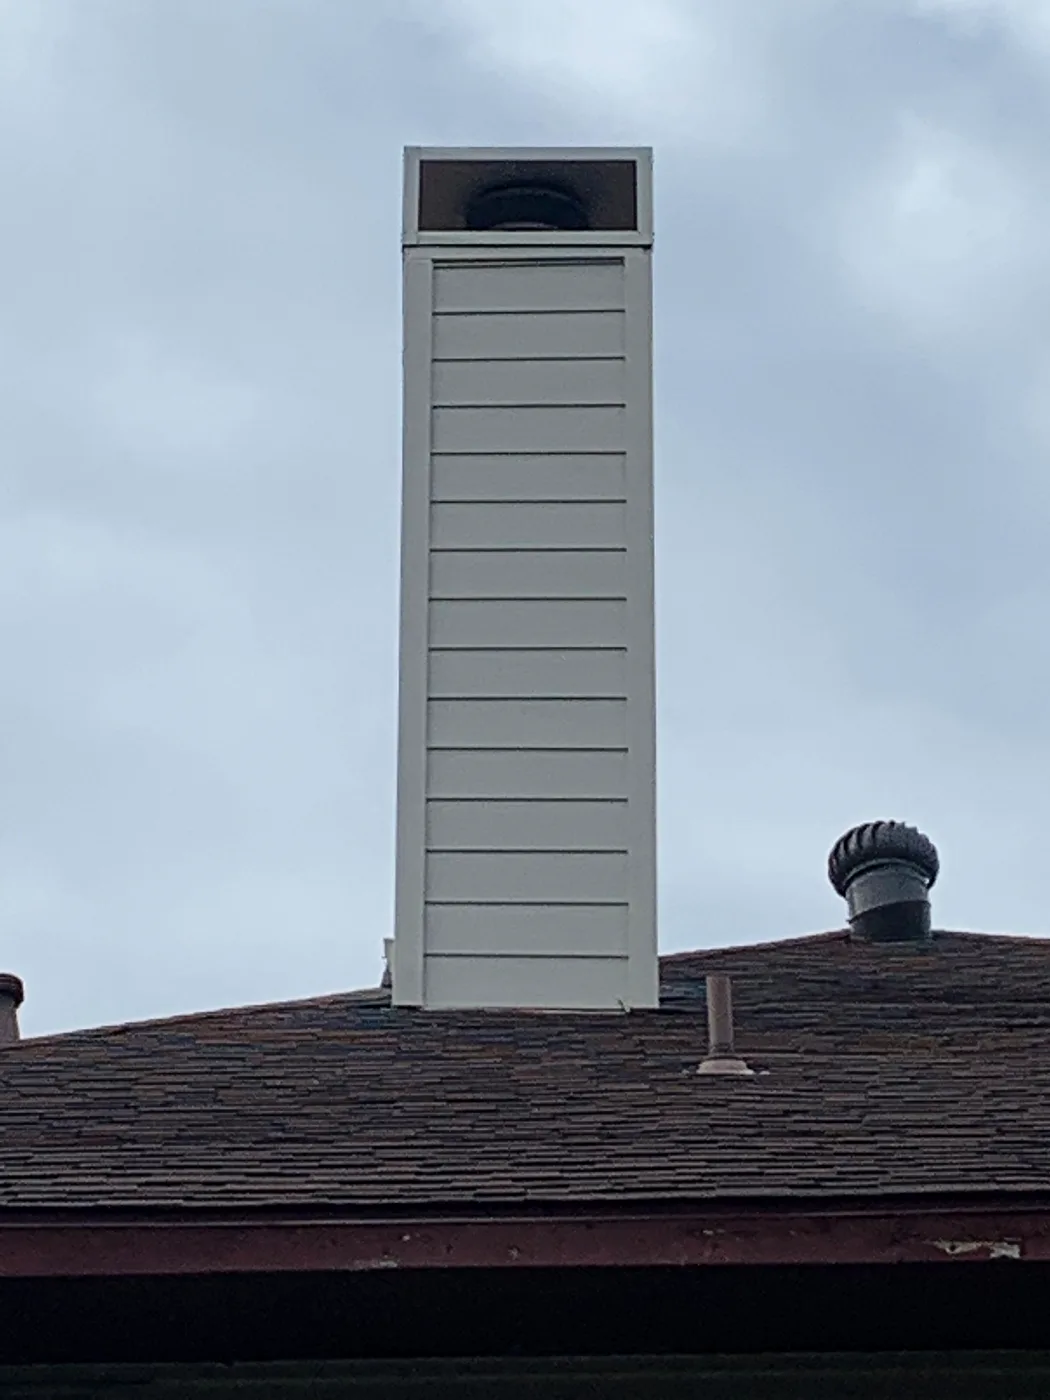
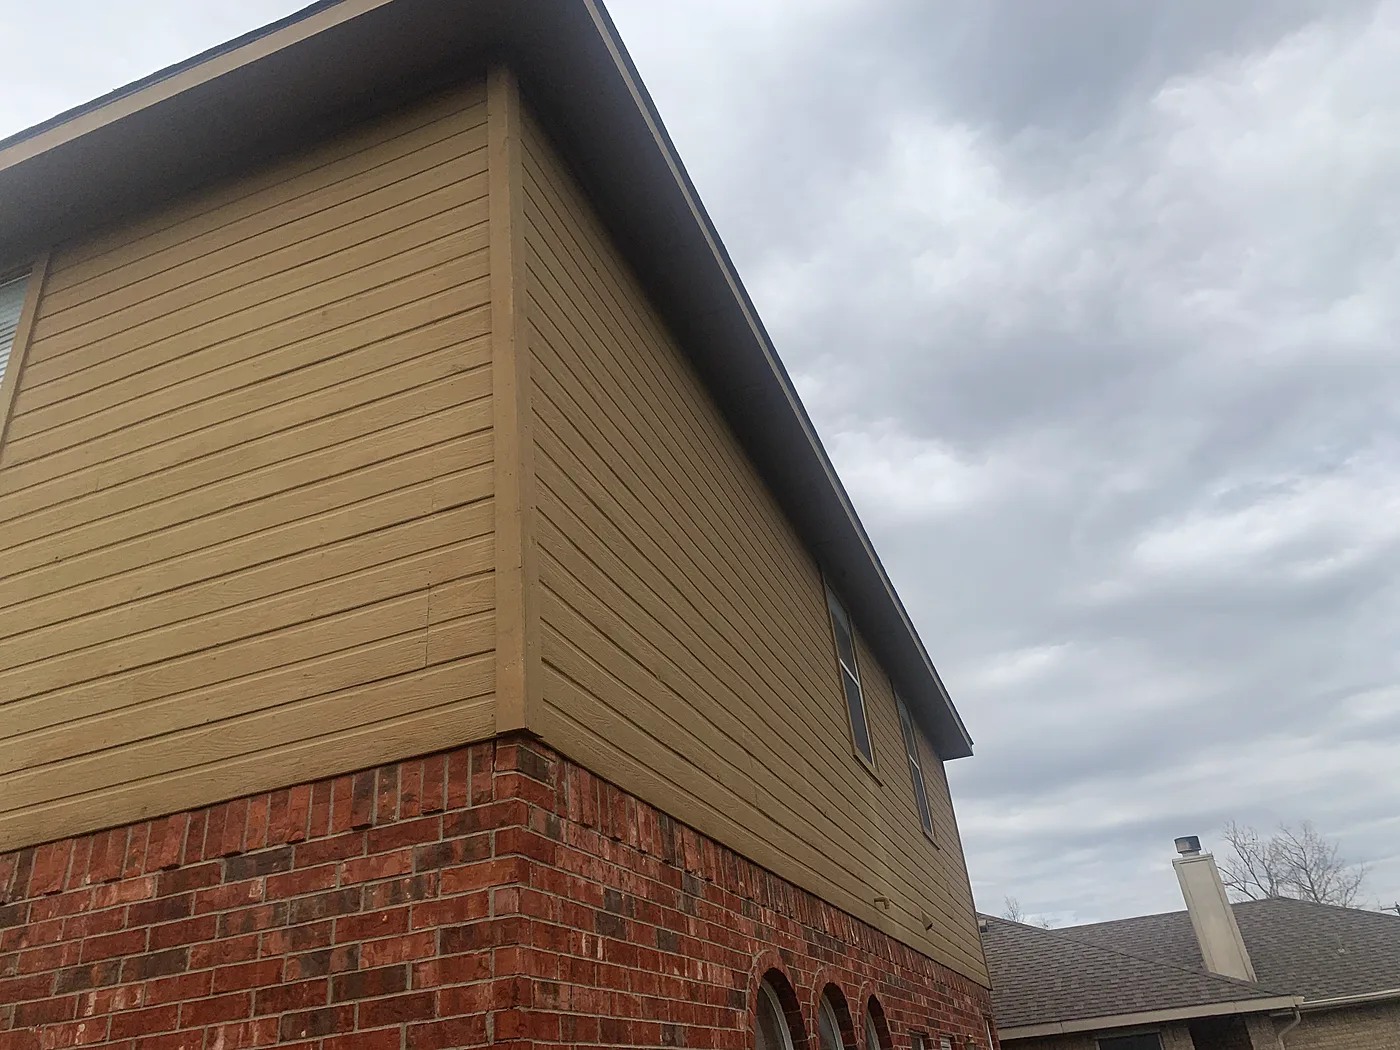
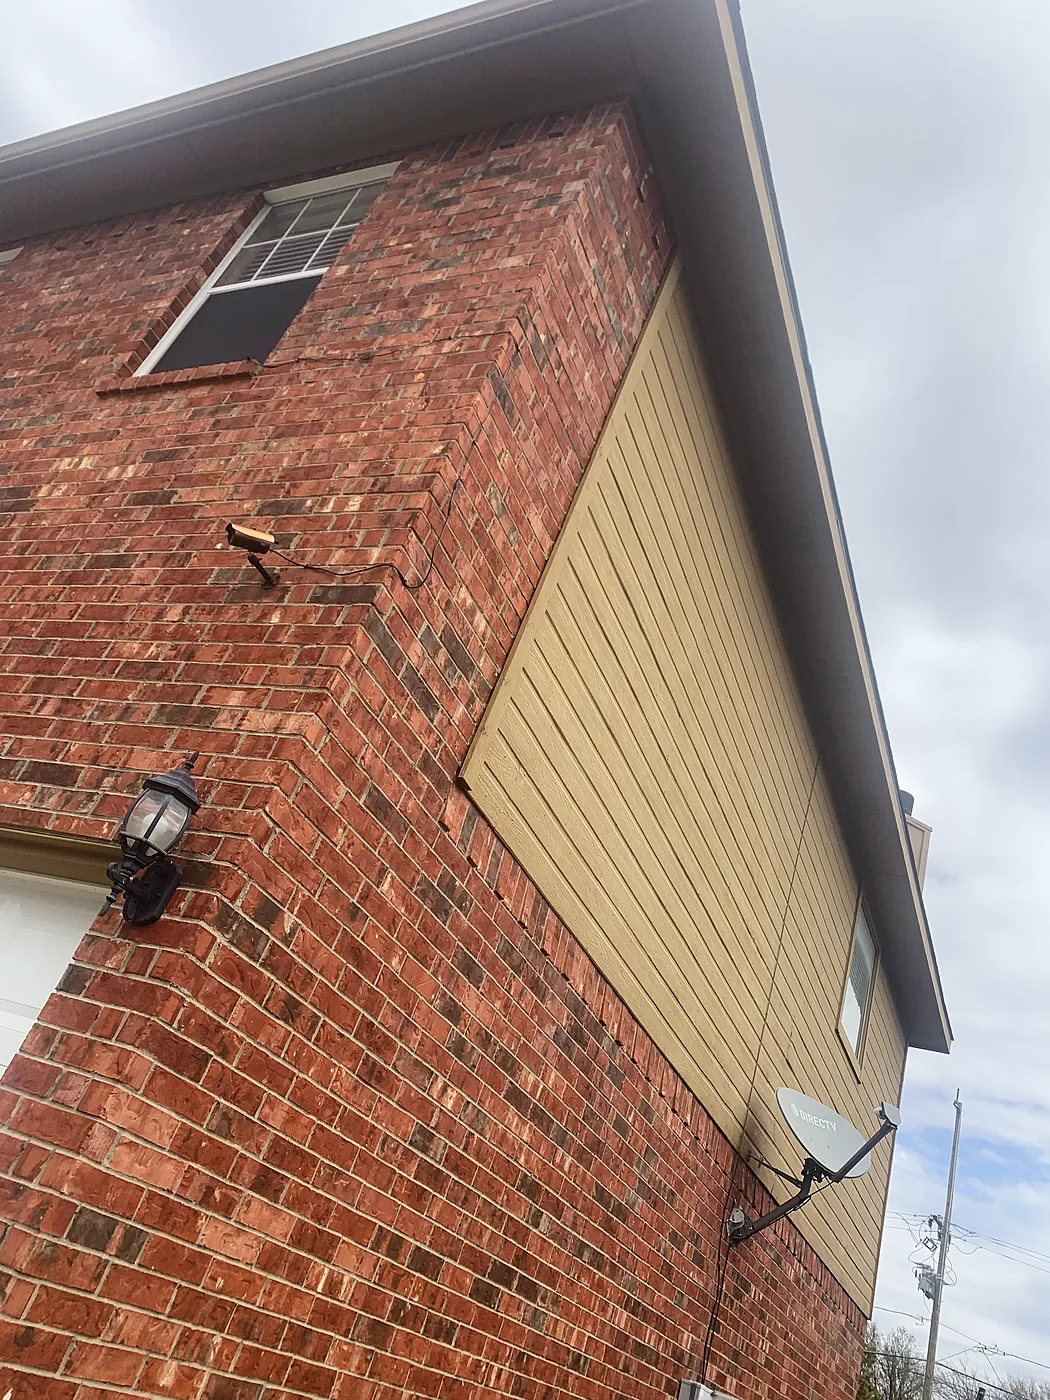
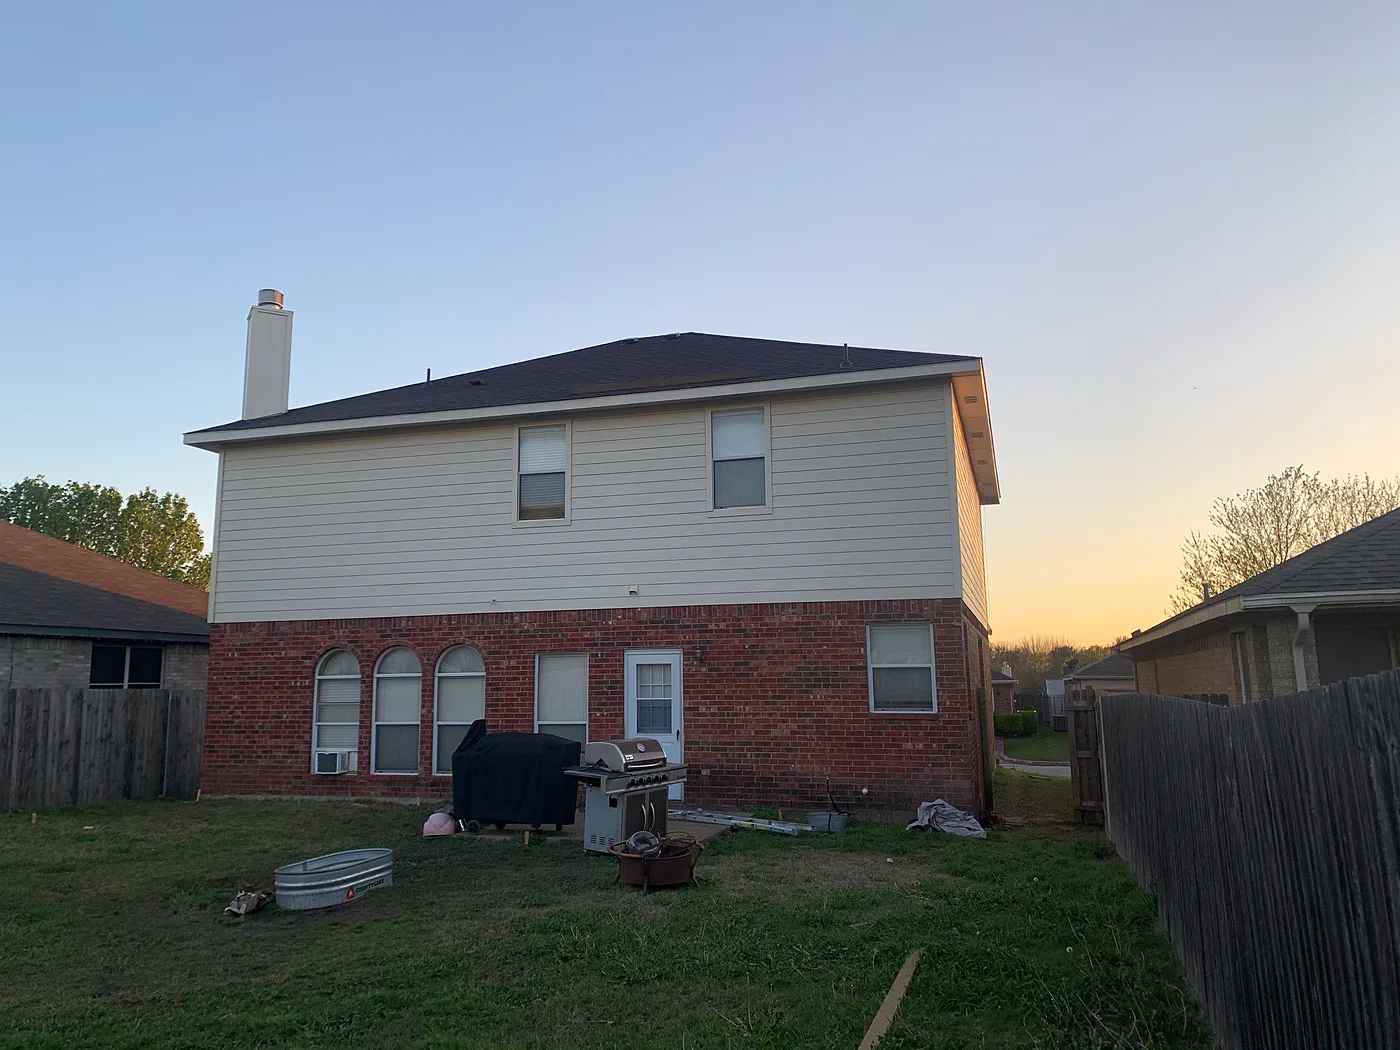
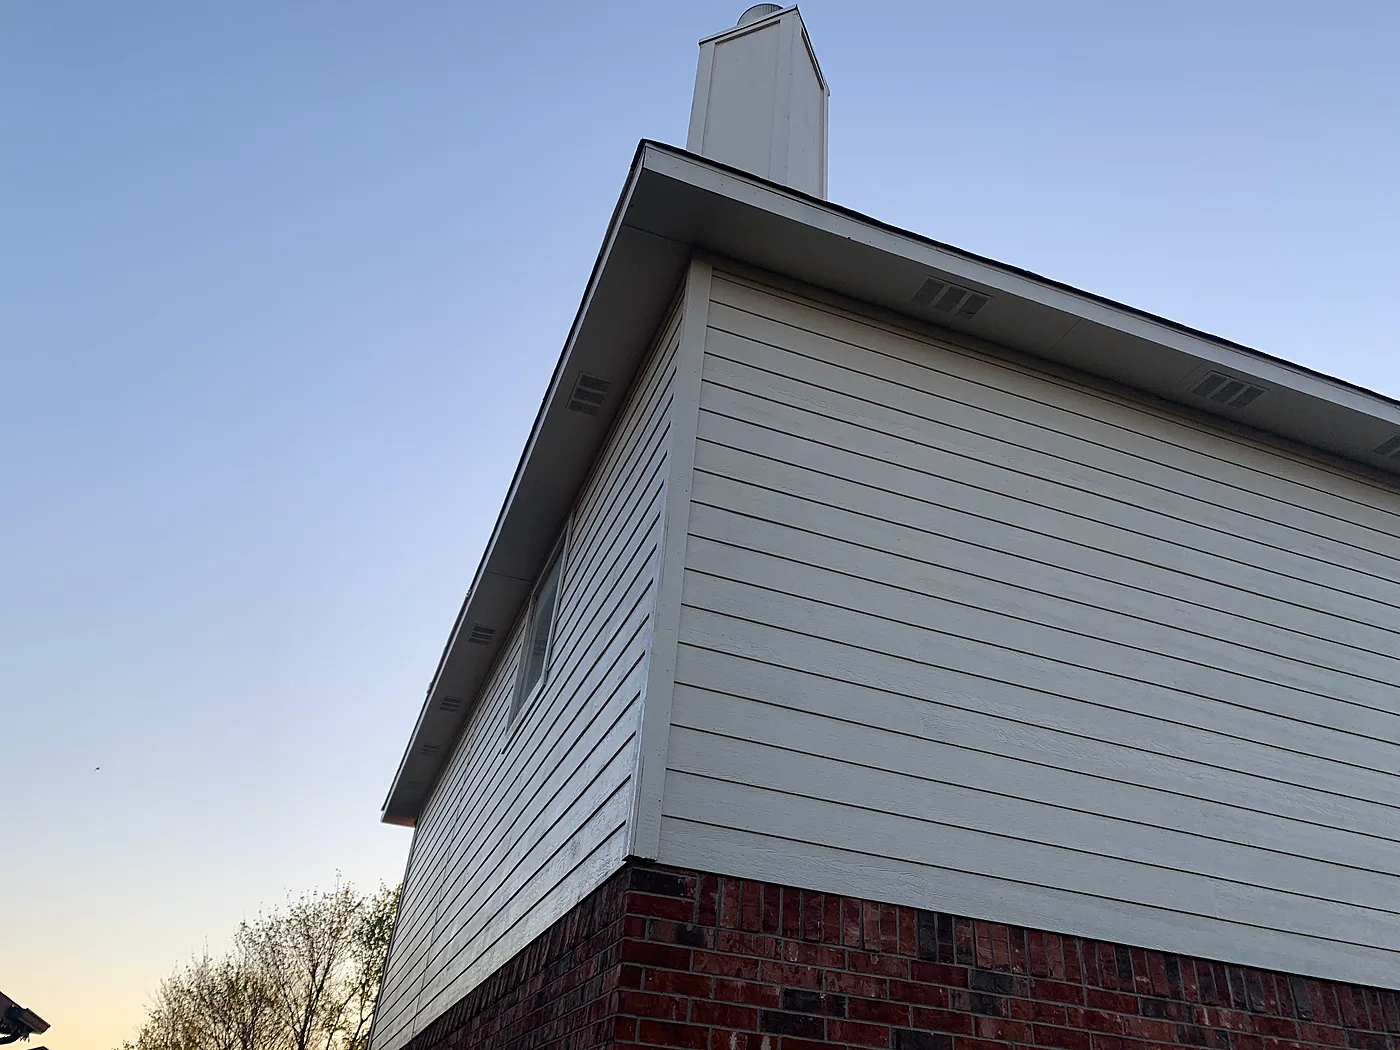
Started by rebuilding the chimney from the ground up plus one small section of siding around a window, upgrading everything to James Hardie lap siding and trim. He called us back for a large section on the other side of the house, then again about three weeks later, and we painted the entire exterior from the soffits to the gutters.

Before
Before: Chimney before — Chimney rebuilt, then siding replaced and the whole house painted, McKinney
Chimney before
Before: Siding before — Chimney rebuilt, then siding replaced and the whole house painted, McKinney
Siding before
During
During: New Hardie siding going on — Chimney rebuilt, then siding replaced and the whole house painted, McKinney
New Hardie siding going on
After
After: Chimney rebuilt and painted — Chimney rebuilt, then siding replaced and the whole house painted, McKinney
Chimney rebuilt and painted
After: New siding, painted — Chimney rebuilt, then siding replaced and the whole house painted, McKinney
New siding, painted

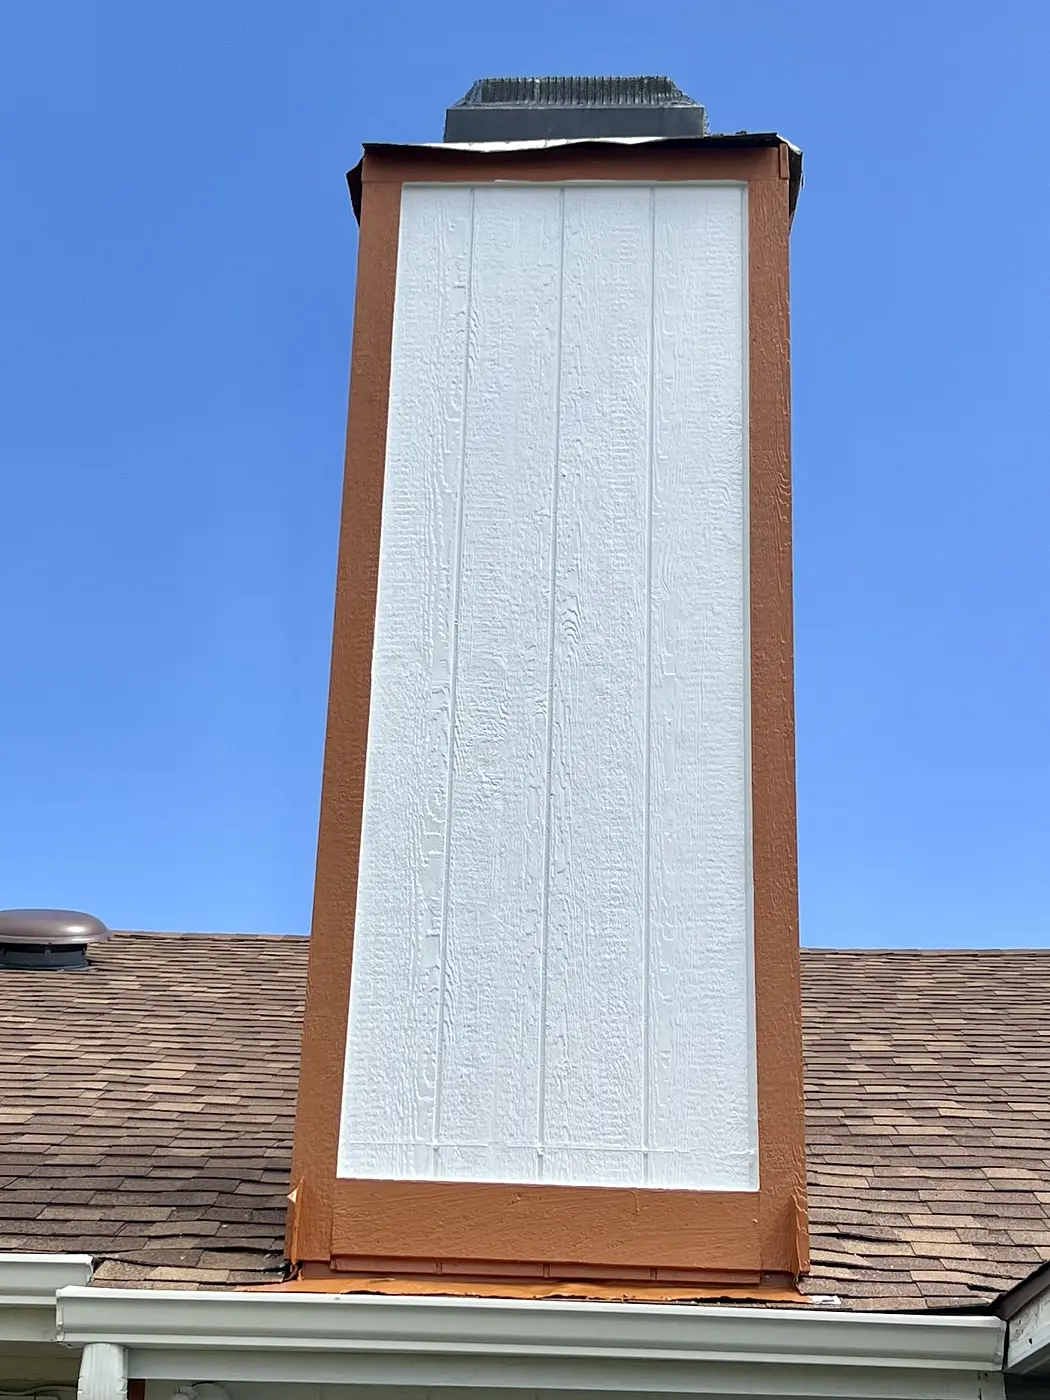
Chimney chase rebuilt from the framing up

Cedar Hill

Full chimney chase rebuild, including the rotted framing, with James Hardie siding and trim, then painted.

During
During: Old chase wrapped, framing repaired — Chimney chase rebuilt from the framing up, Cedar Hill
Old chase wrapped, framing repaired
During: New Hardie siding going on — Chimney chase rebuilt from the framing up, Cedar Hill
New Hardie siding going on
After
After: Finished and painted — Chimney chase rebuilt from the framing up, Cedar Hill
Finished and painted

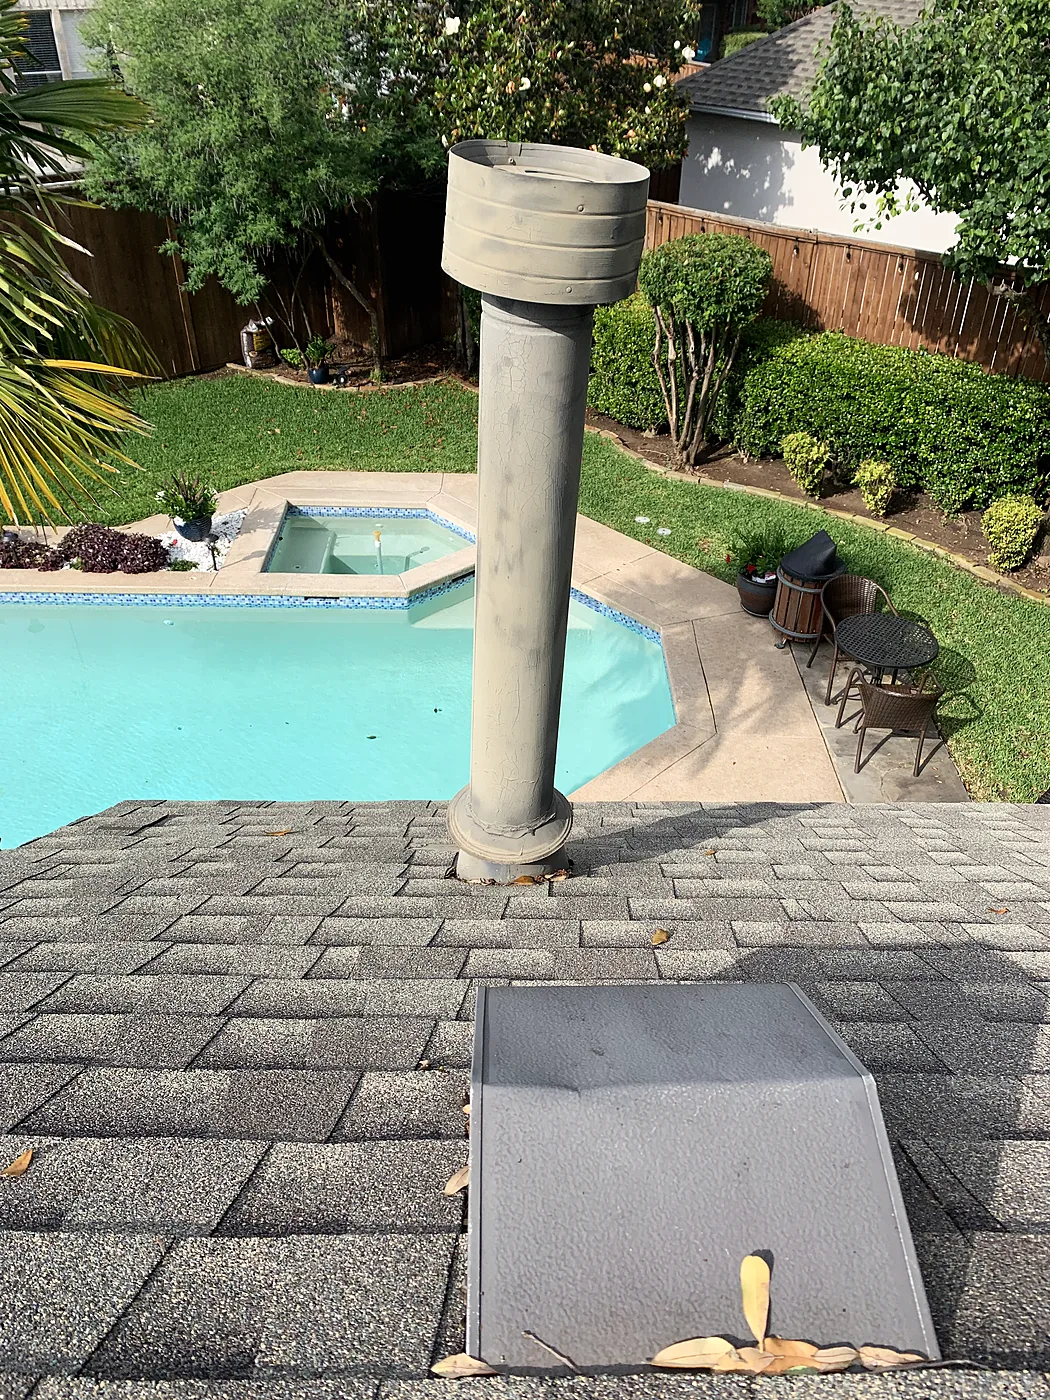
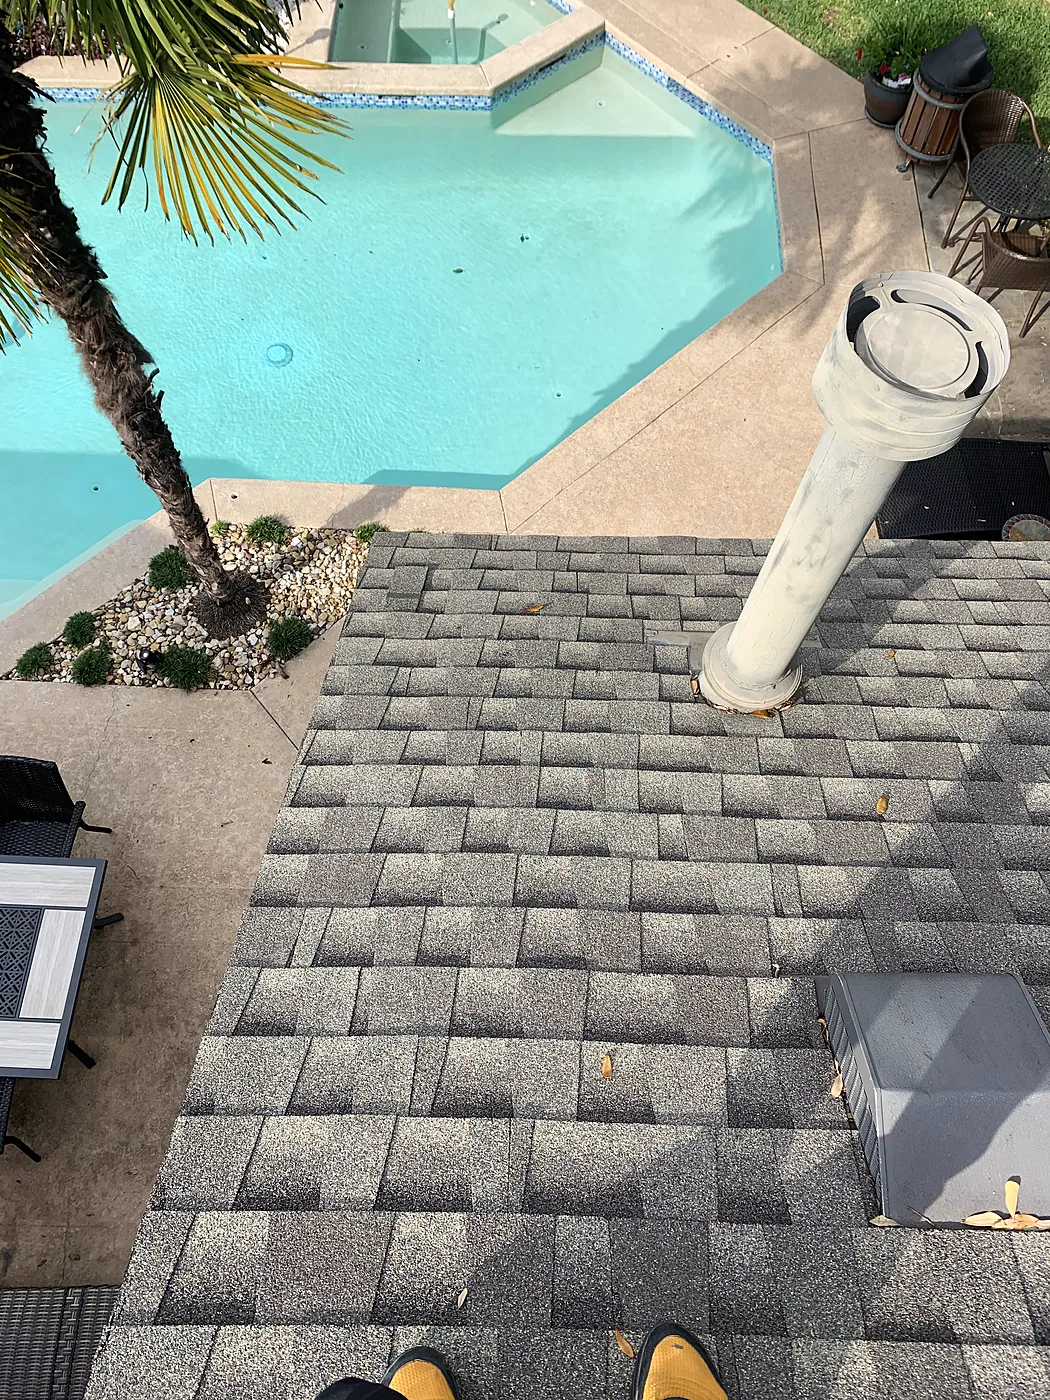
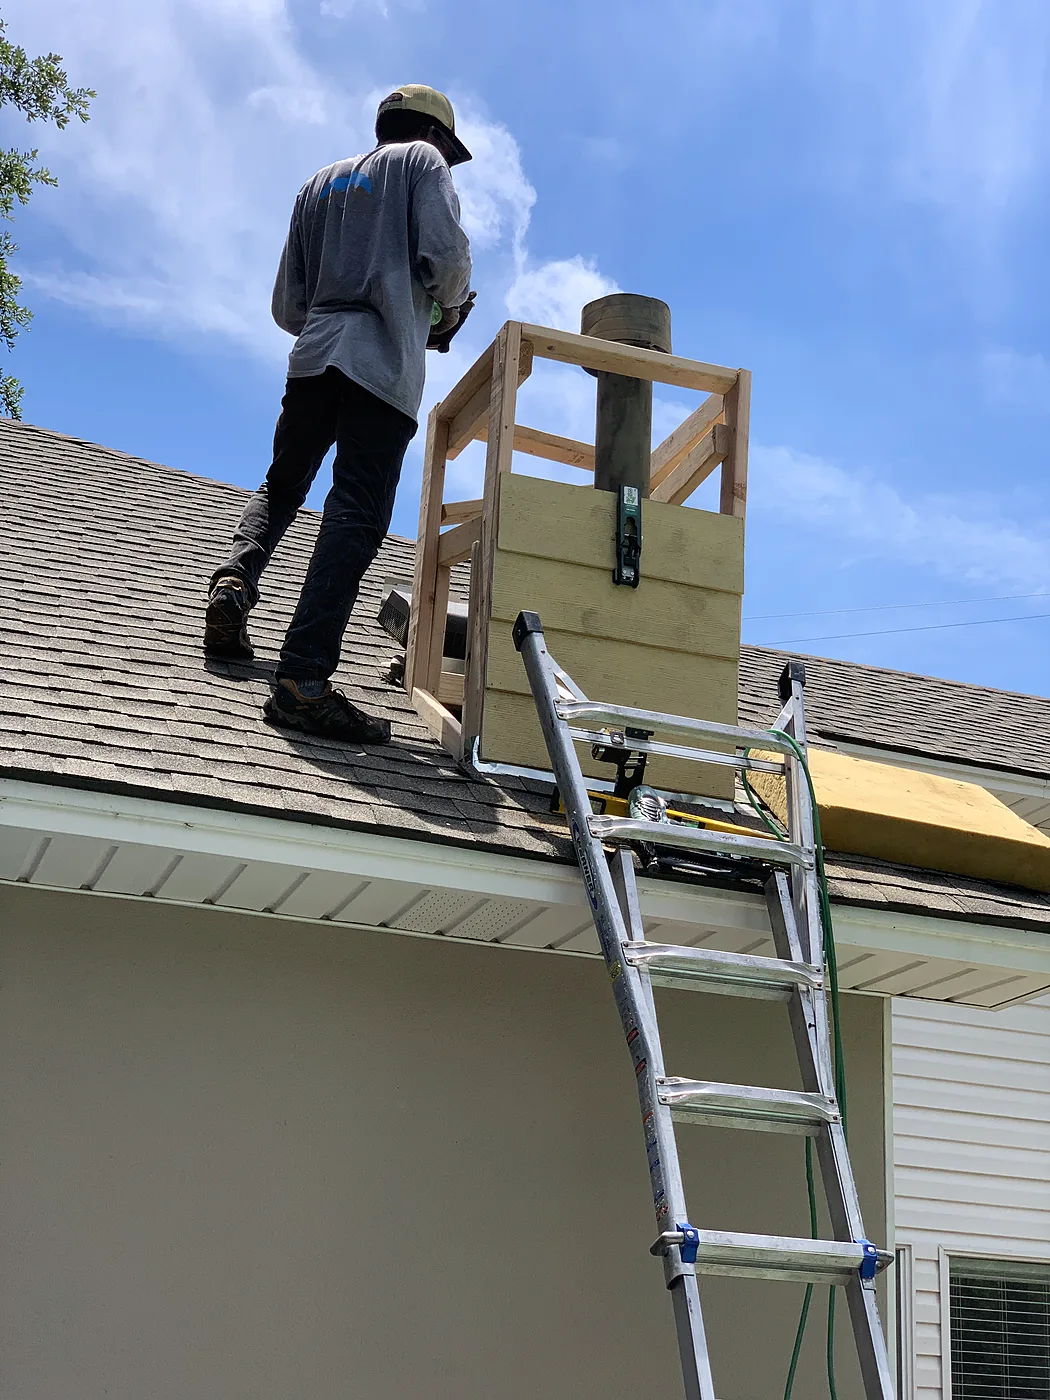
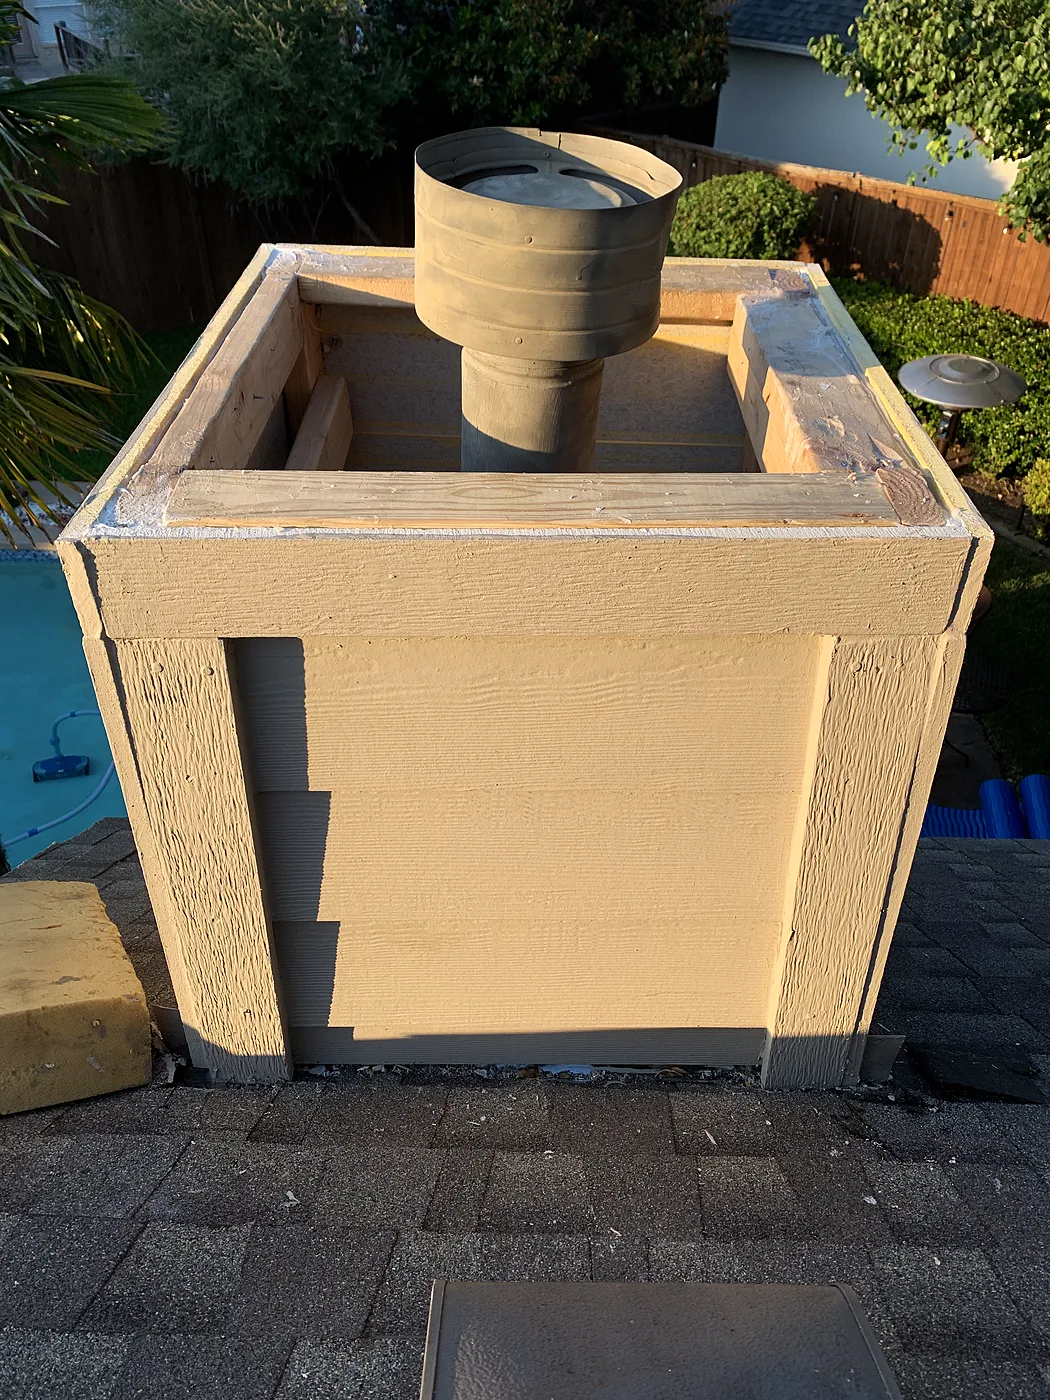
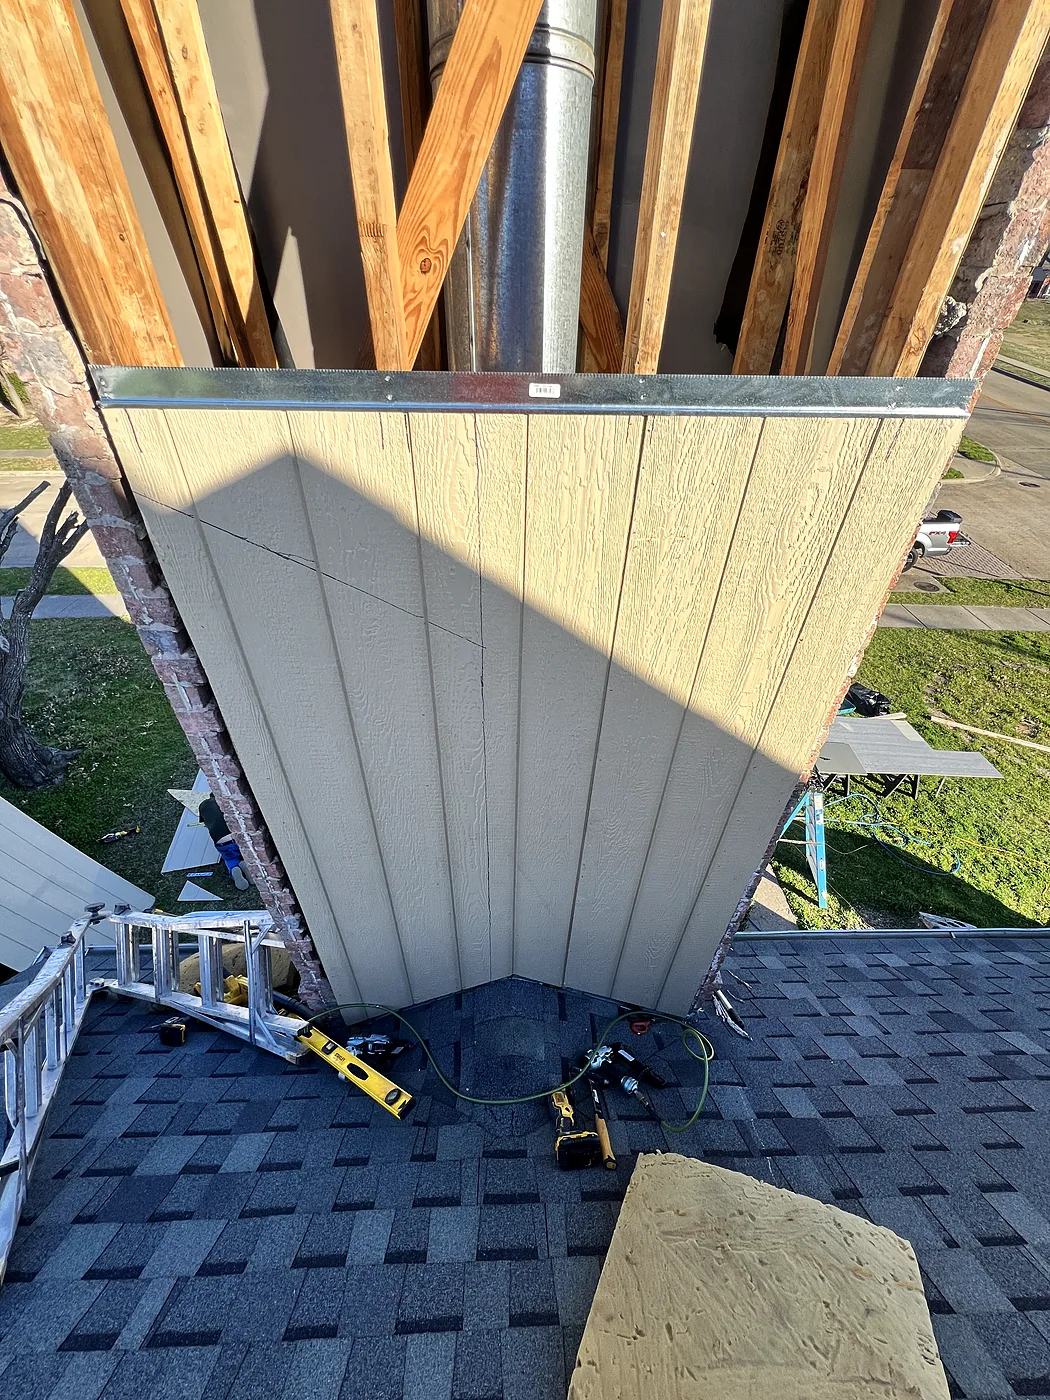
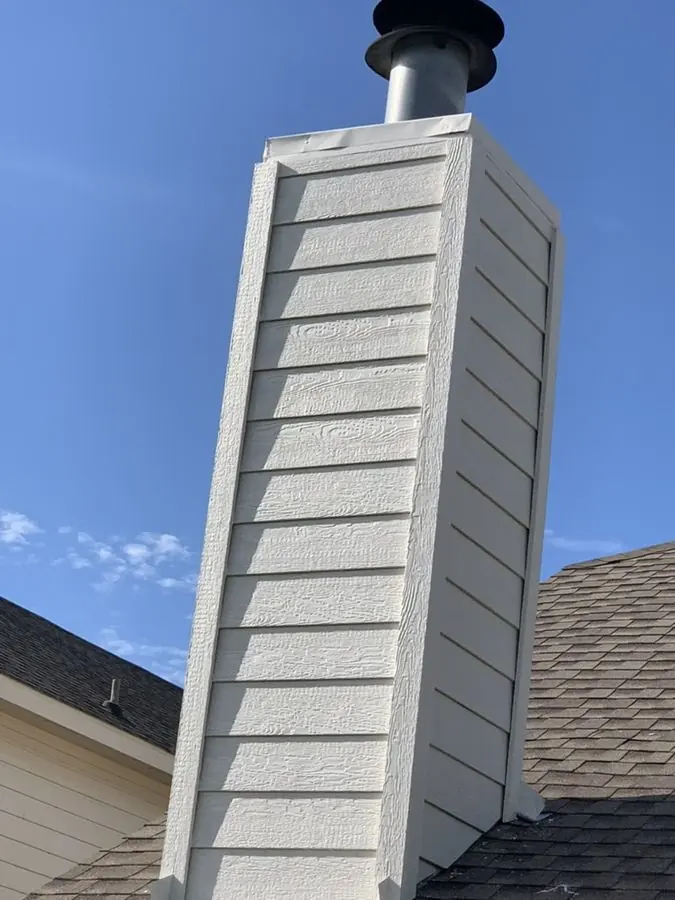
Chimney built from scratch

No chimney here to start, just a bare flue pipe on the roof. We framed a new chase around it, sheathed it, sided it and trimmed it out.

Before
Before: Bare flue pipe on the roof — Chimney built from scratch
Bare flue pipe on the roof
Before: Nothing to work with — Chimney built from scratch
Nothing to work with
During
During: Framing the new chase — Chimney built from scratch
Framing the new chase
After
After: Sided and trimmed out — Chimney built from scratch
Sided and trimmed out

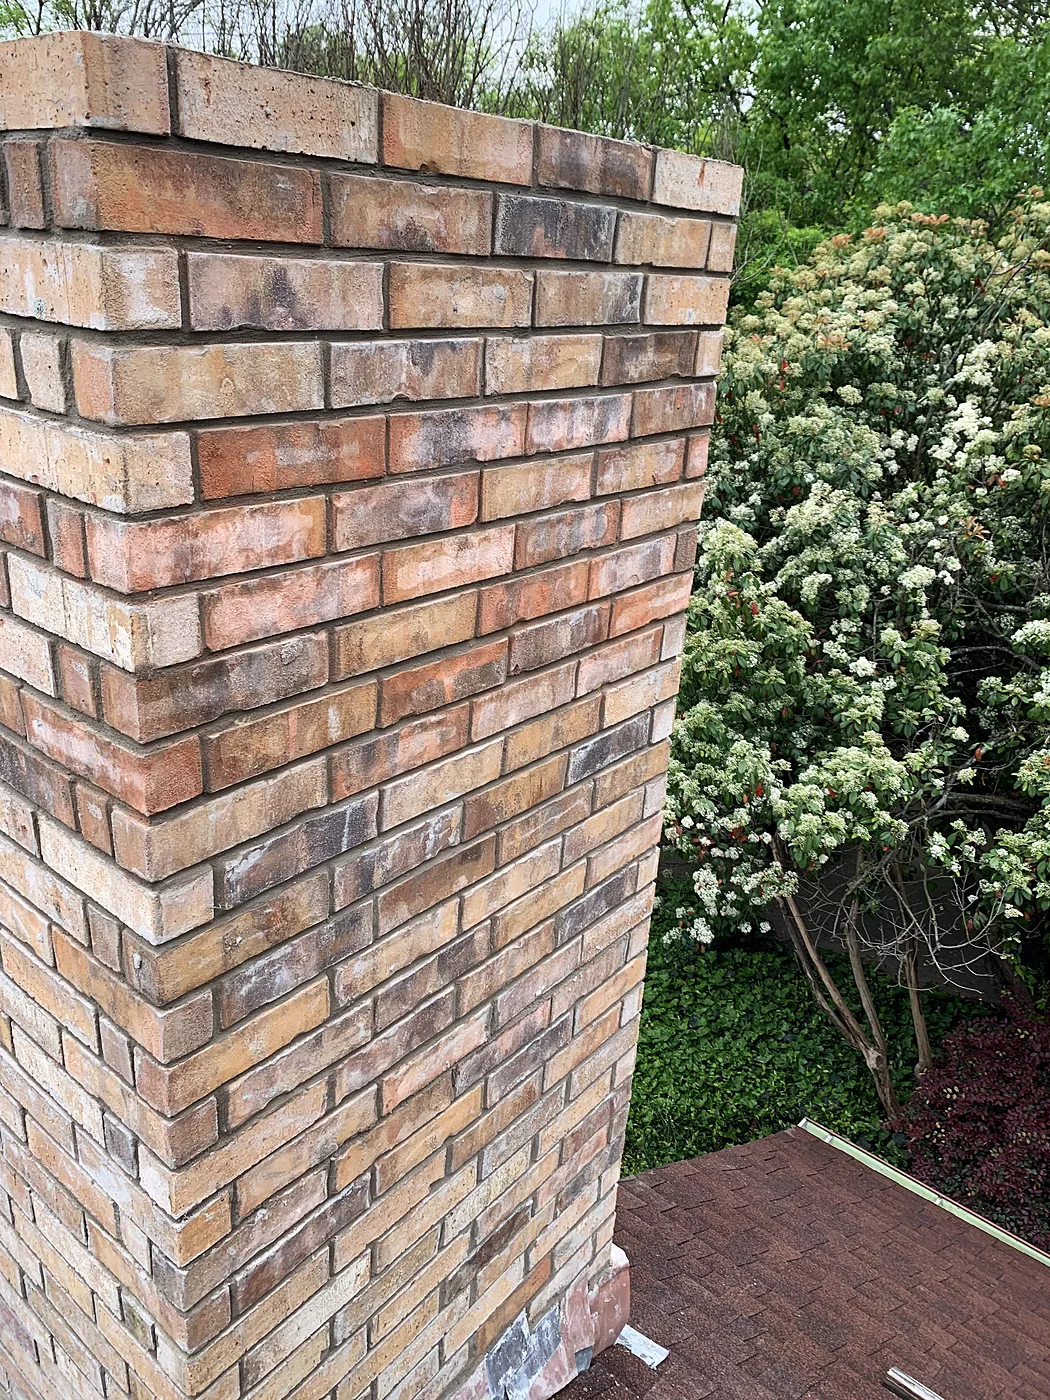
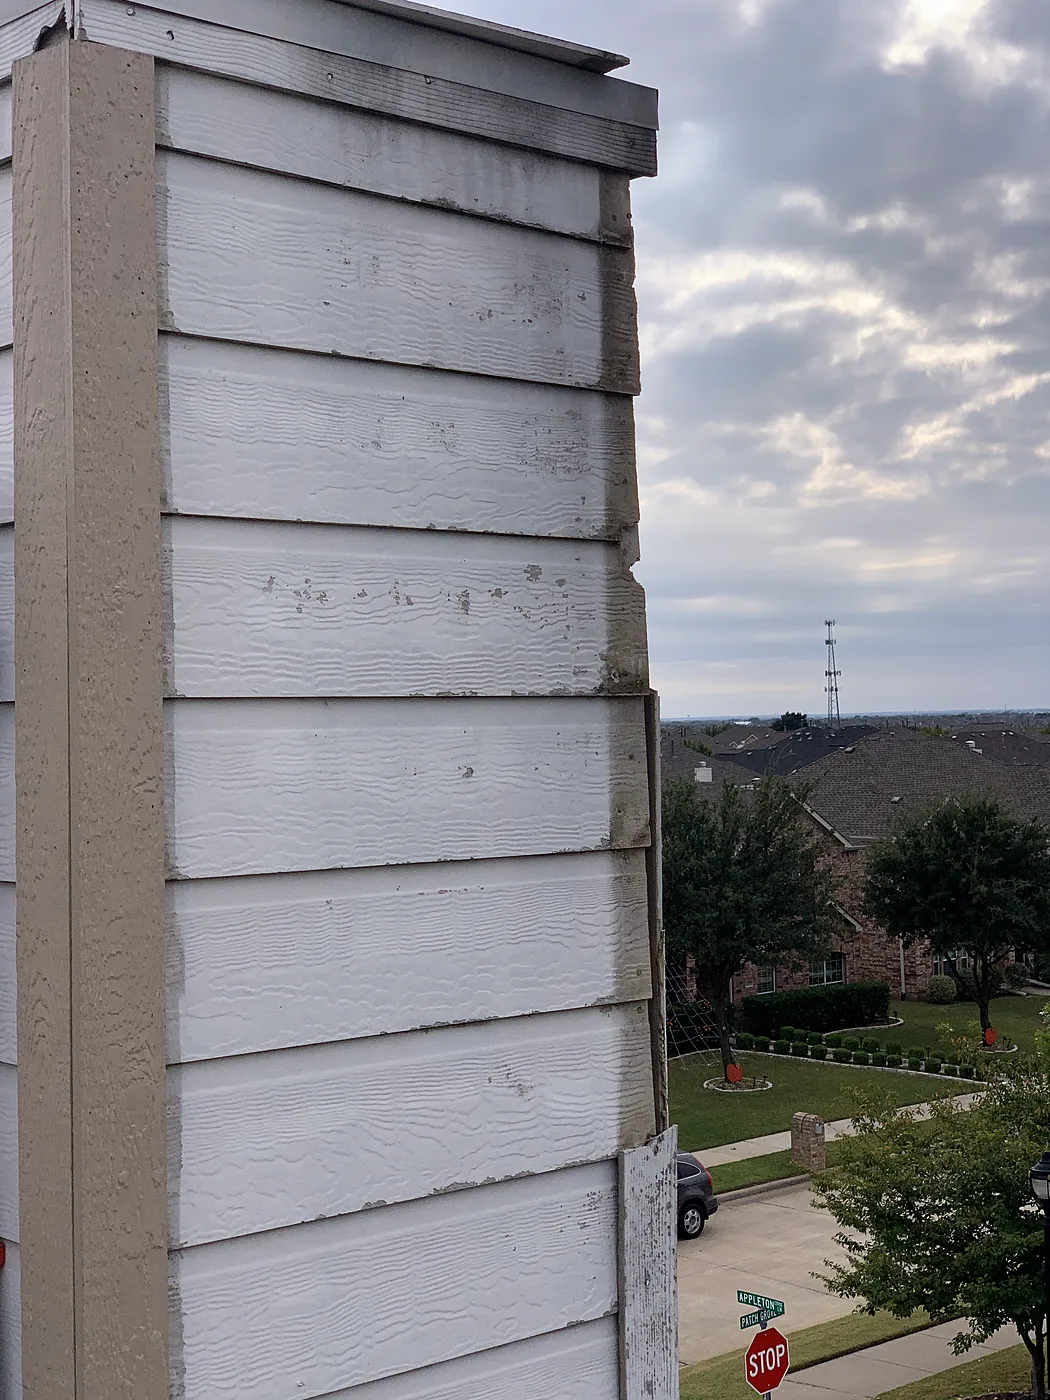
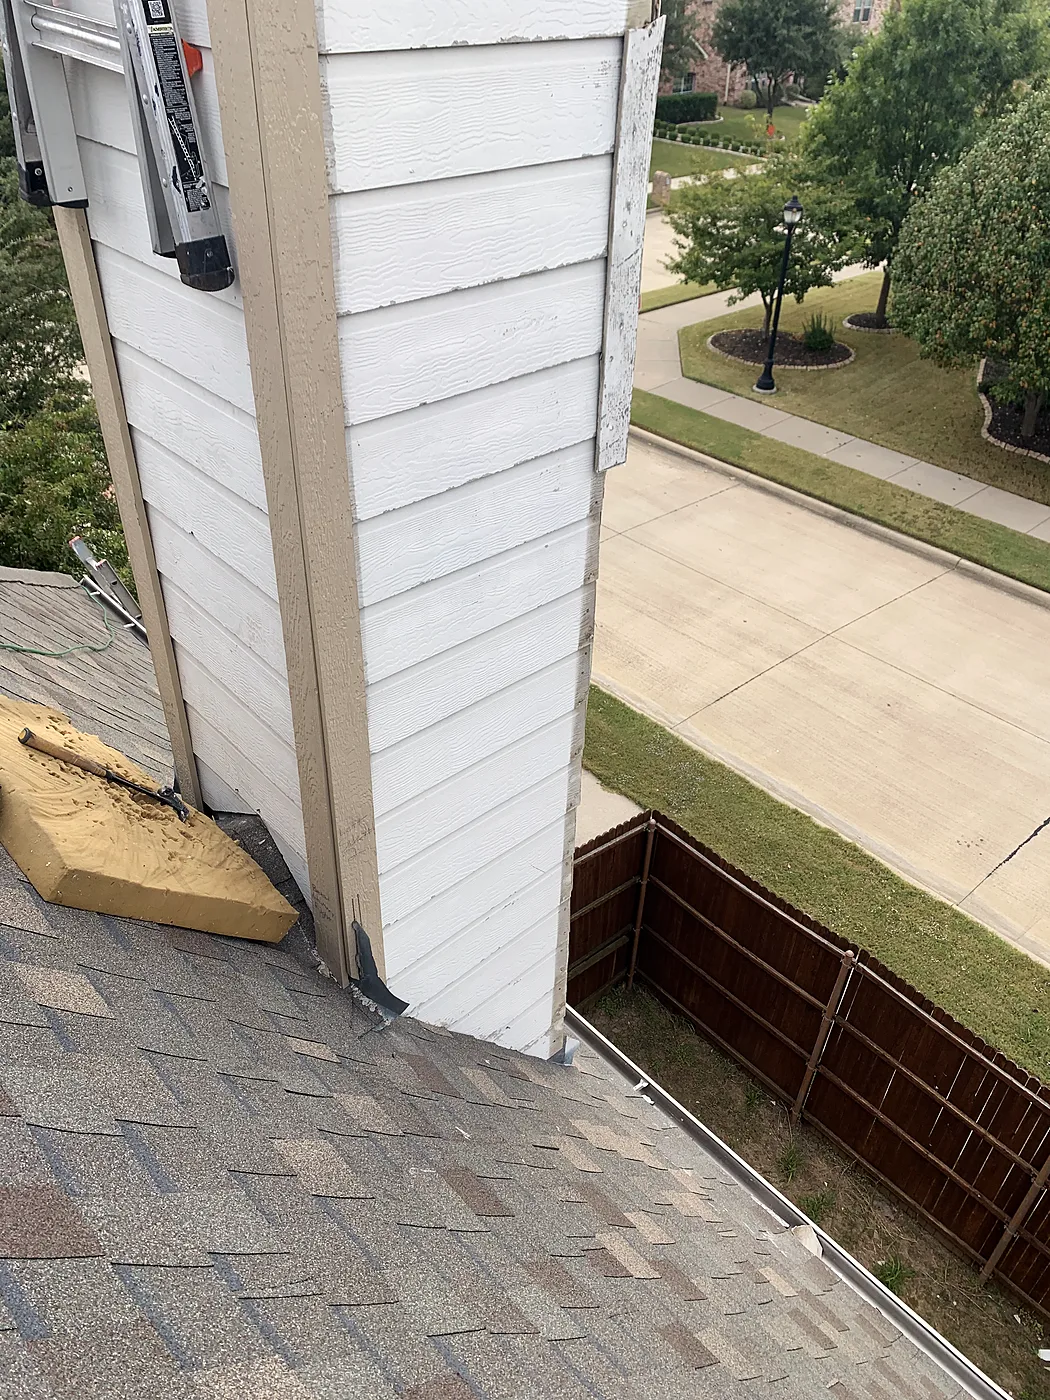
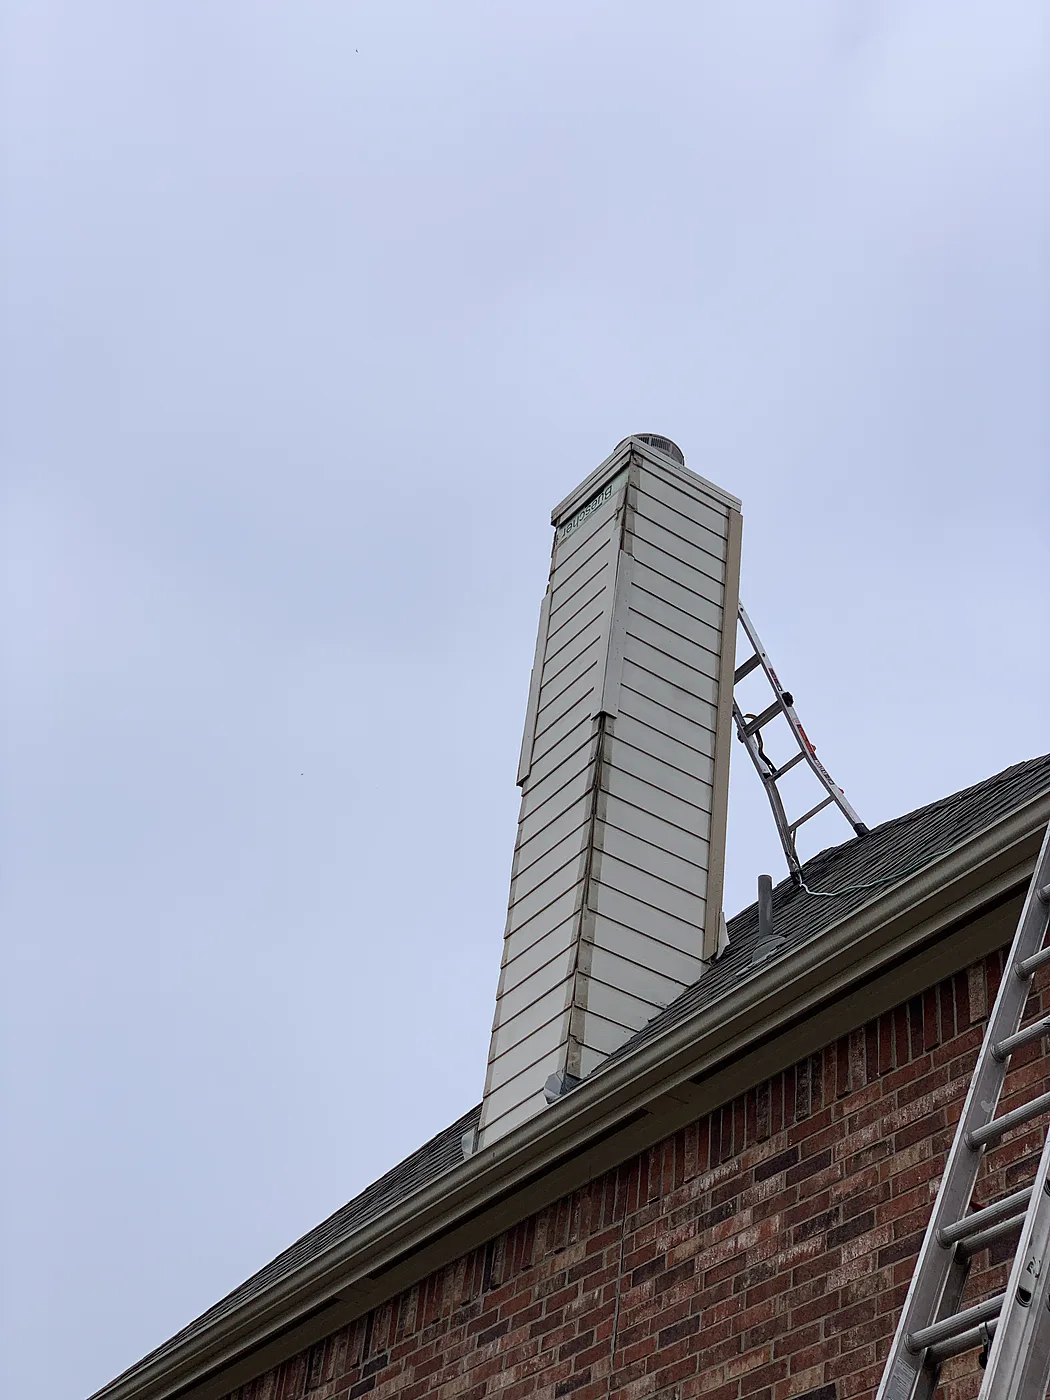
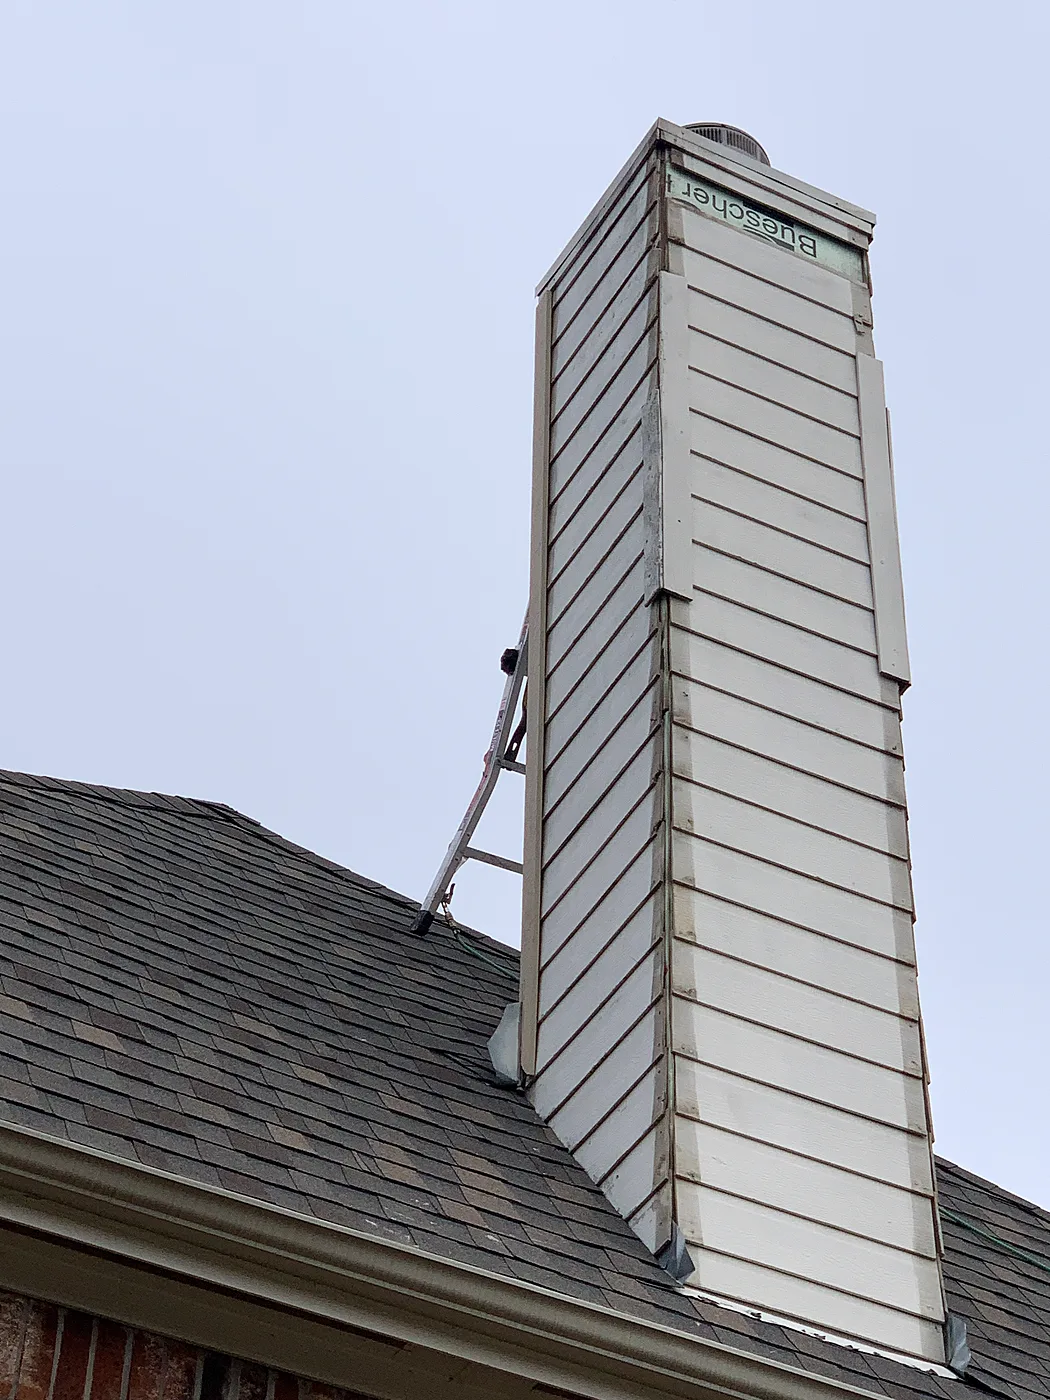
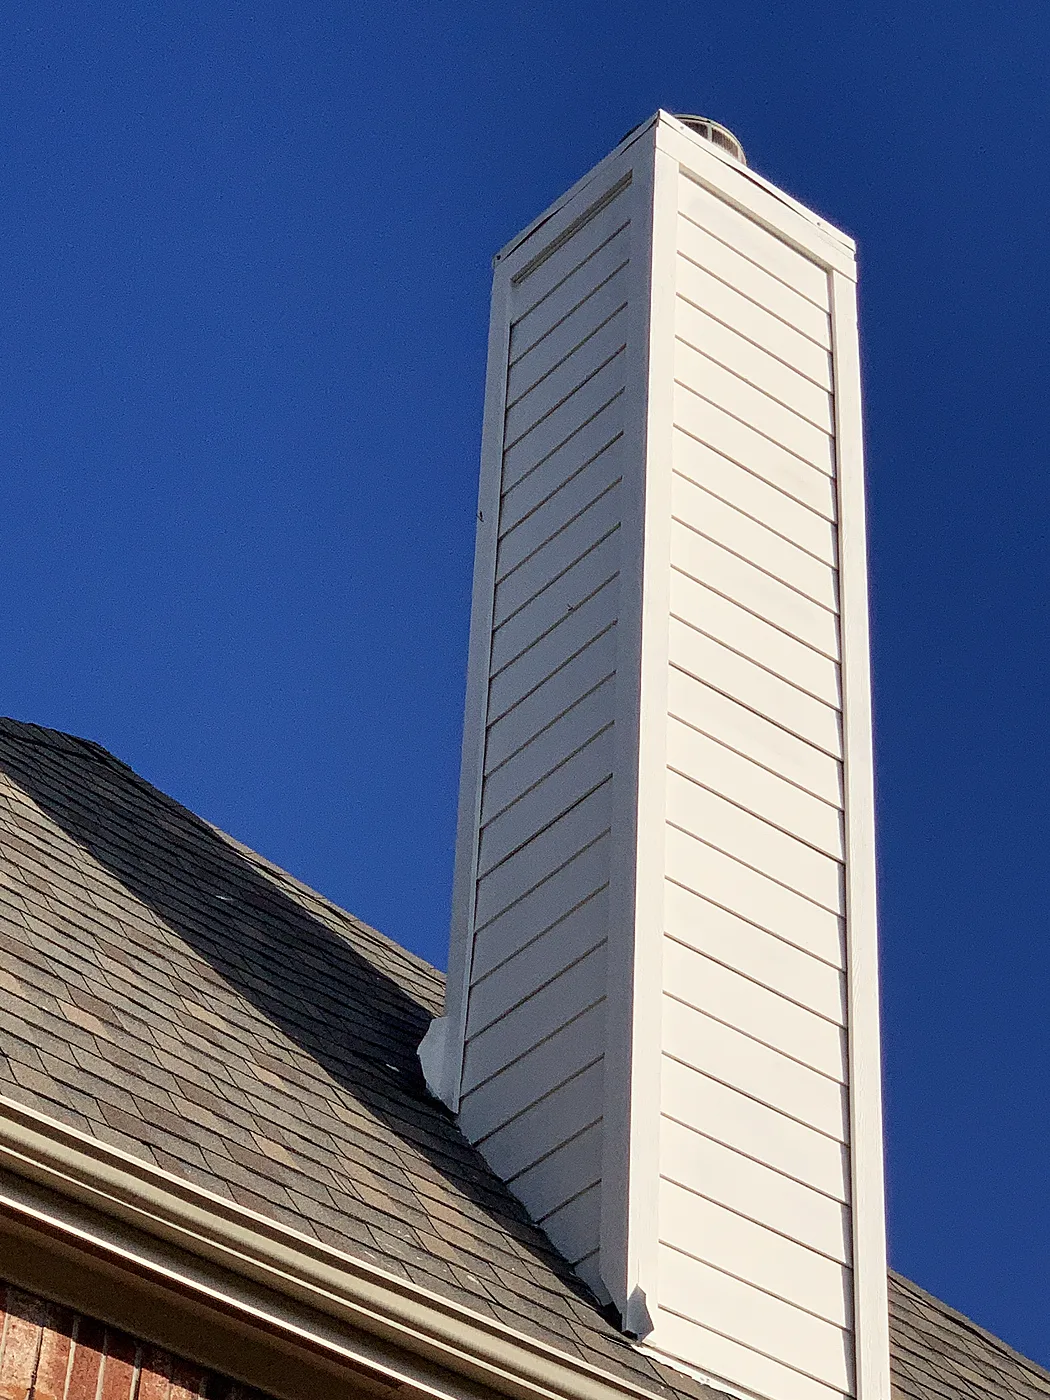
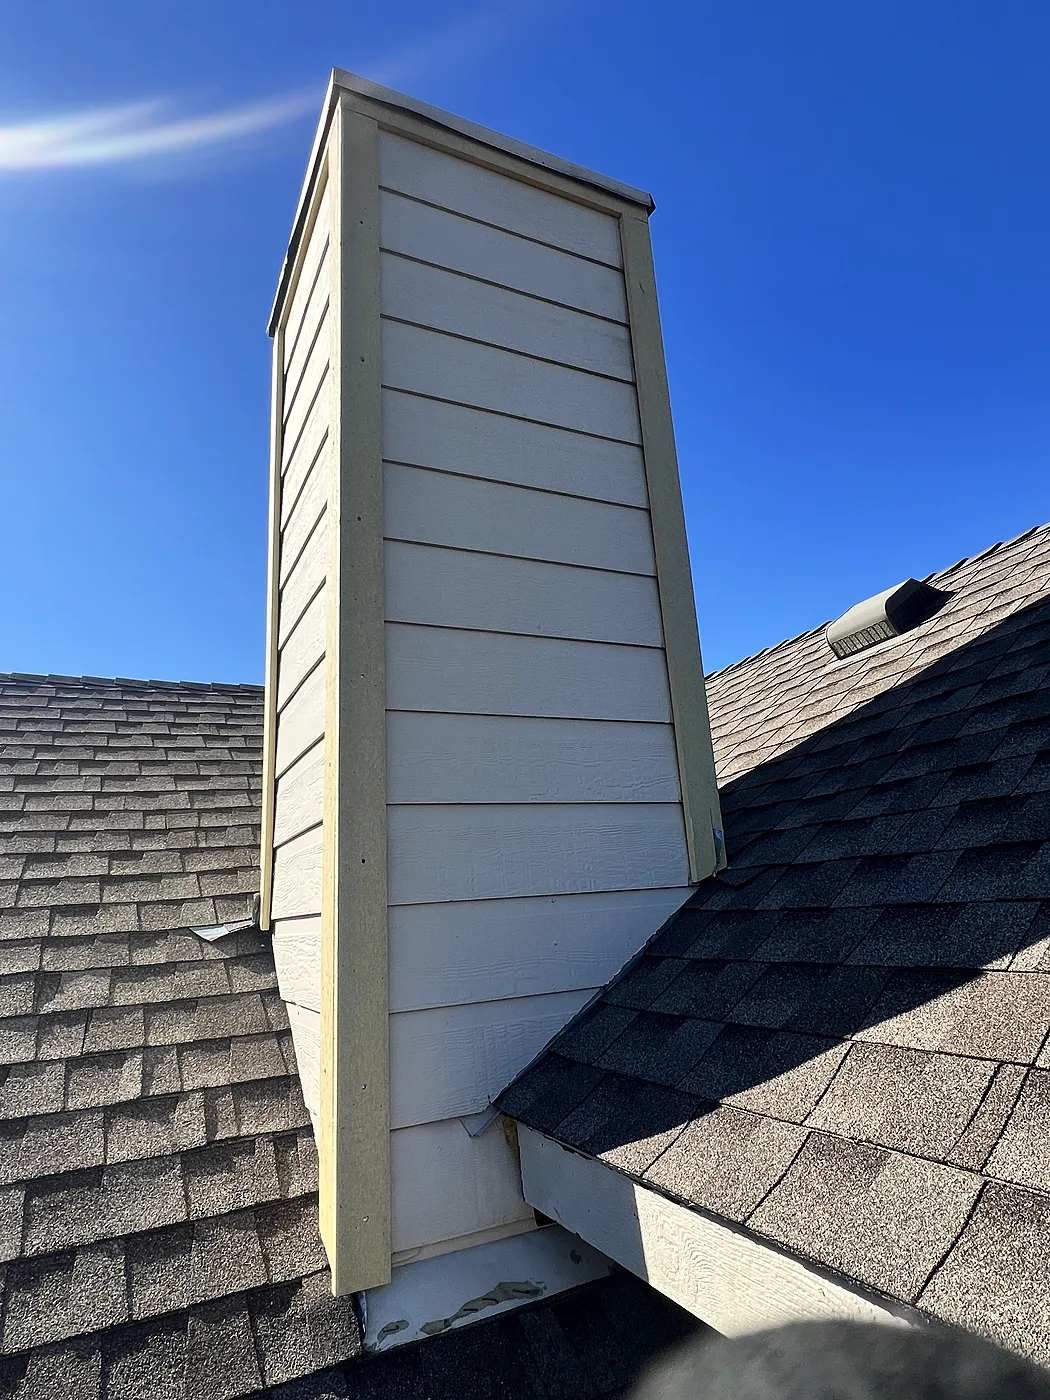
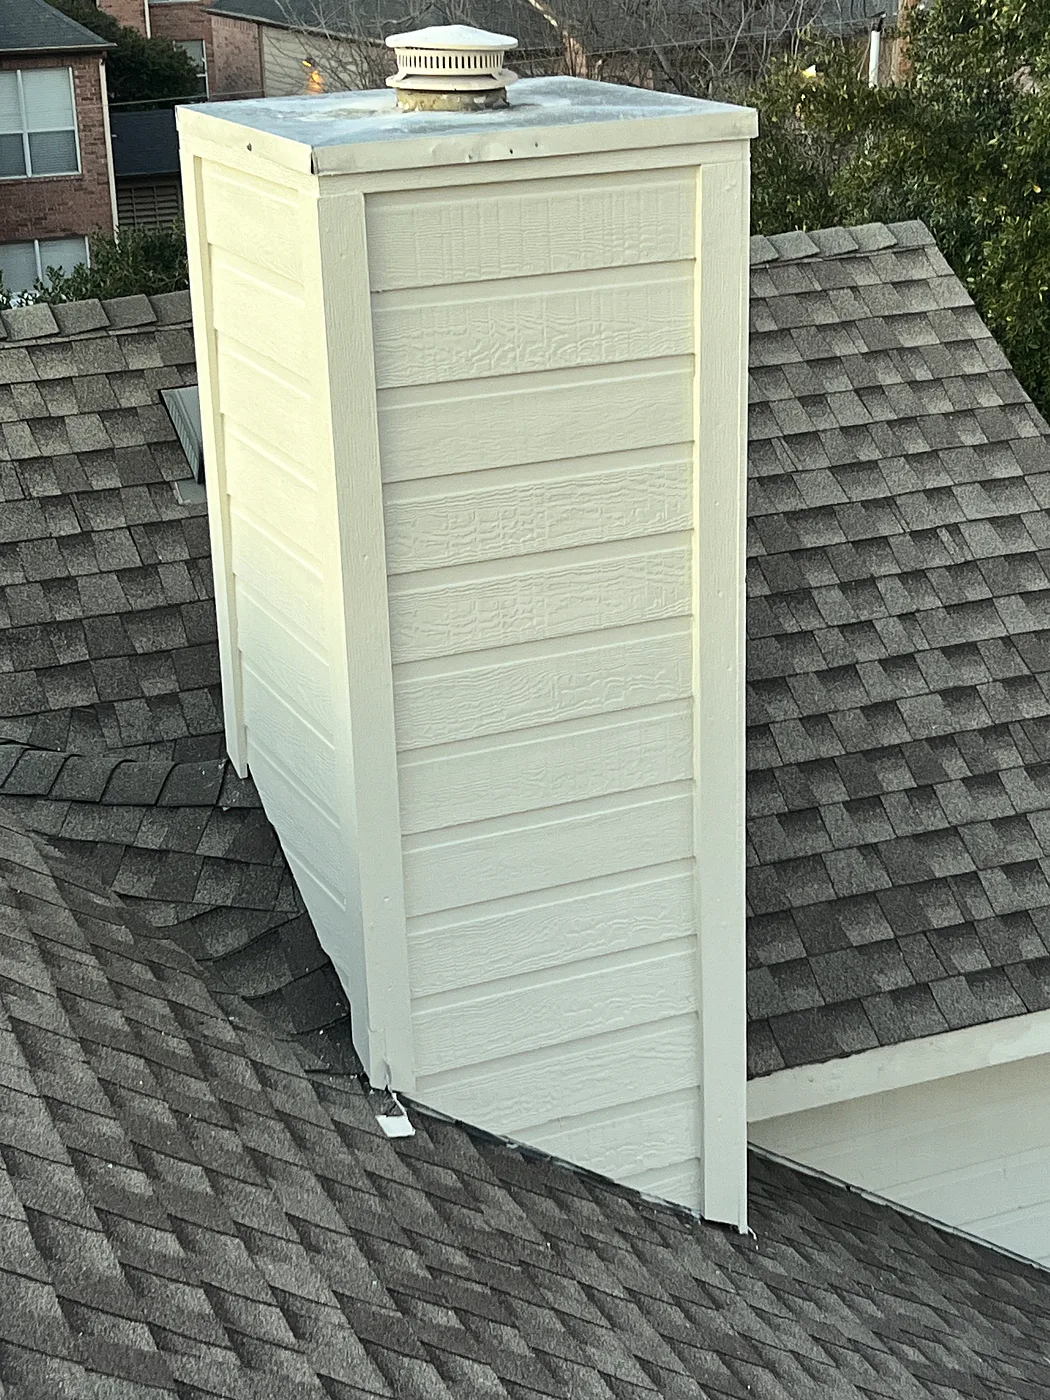
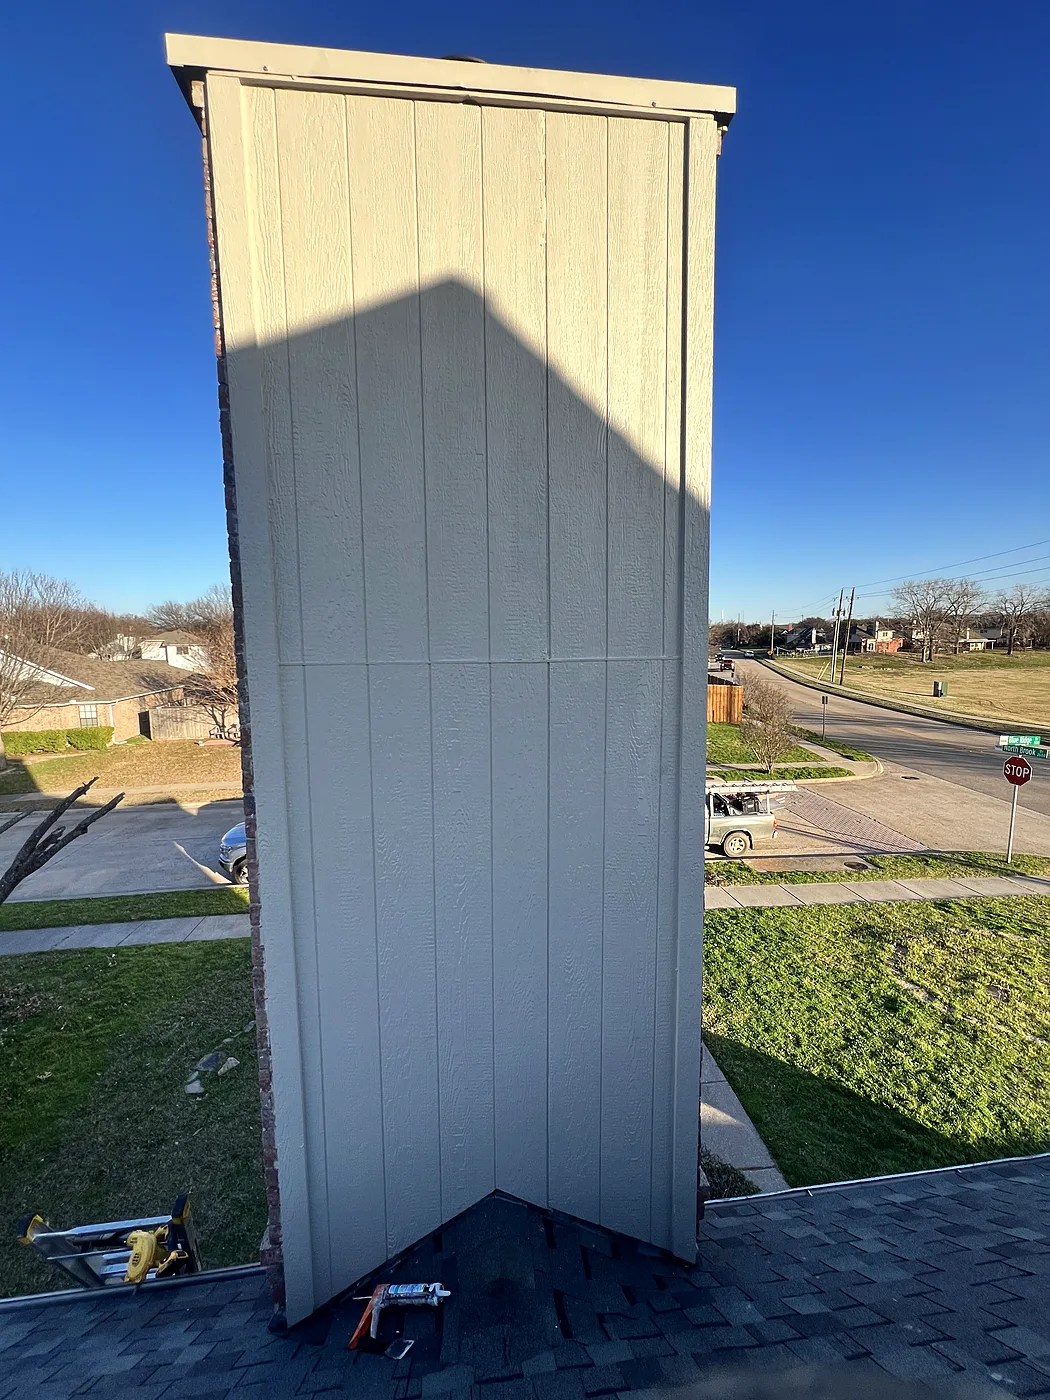
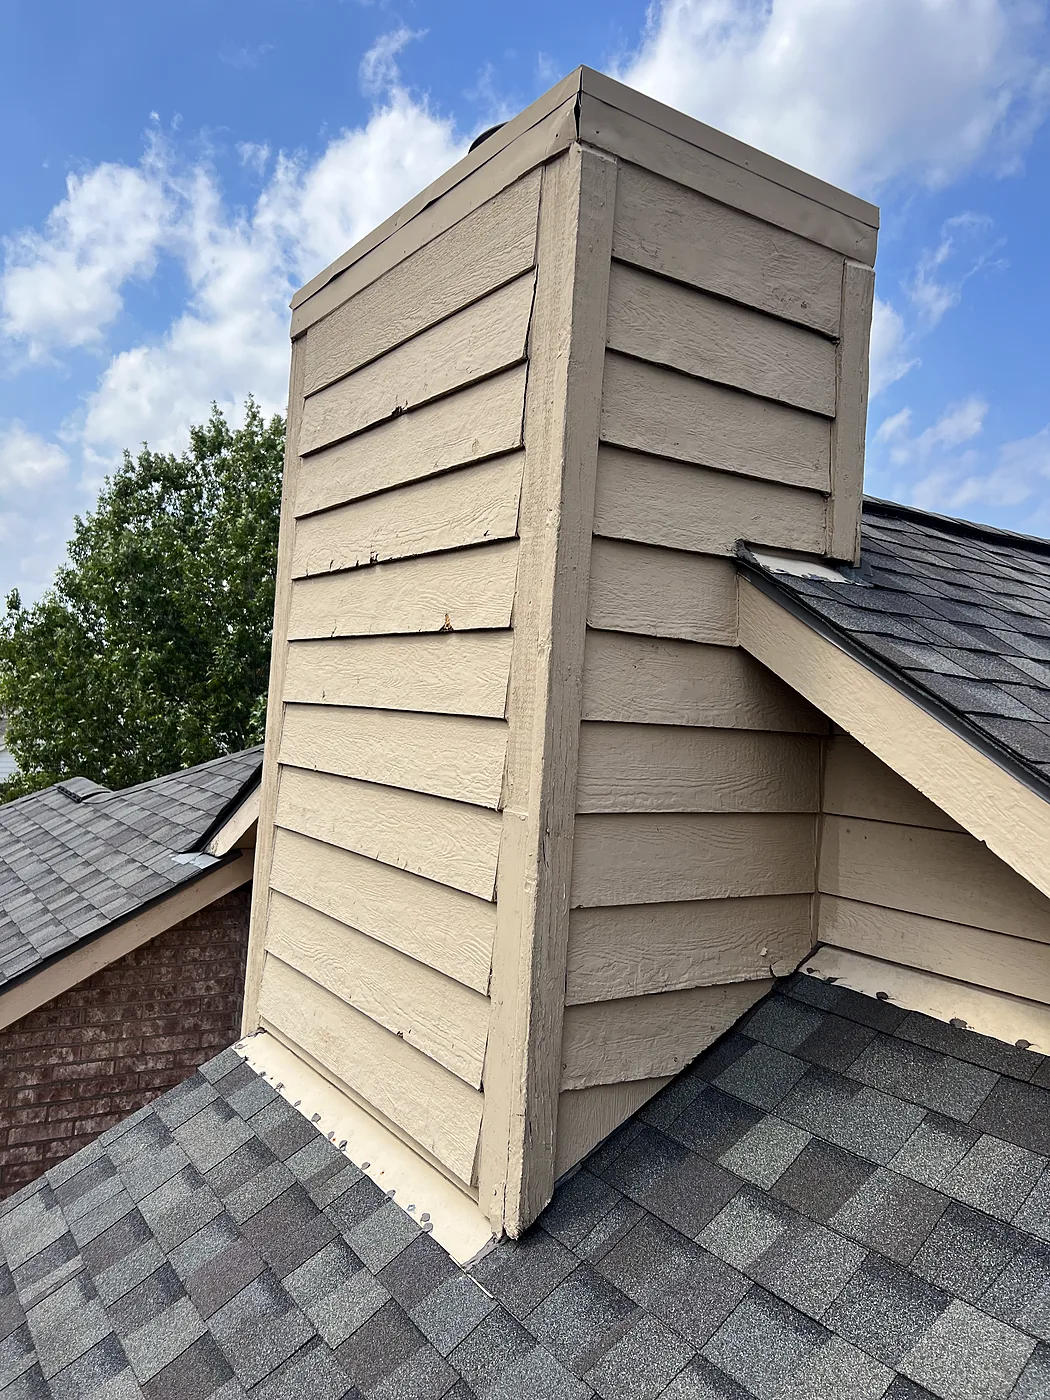
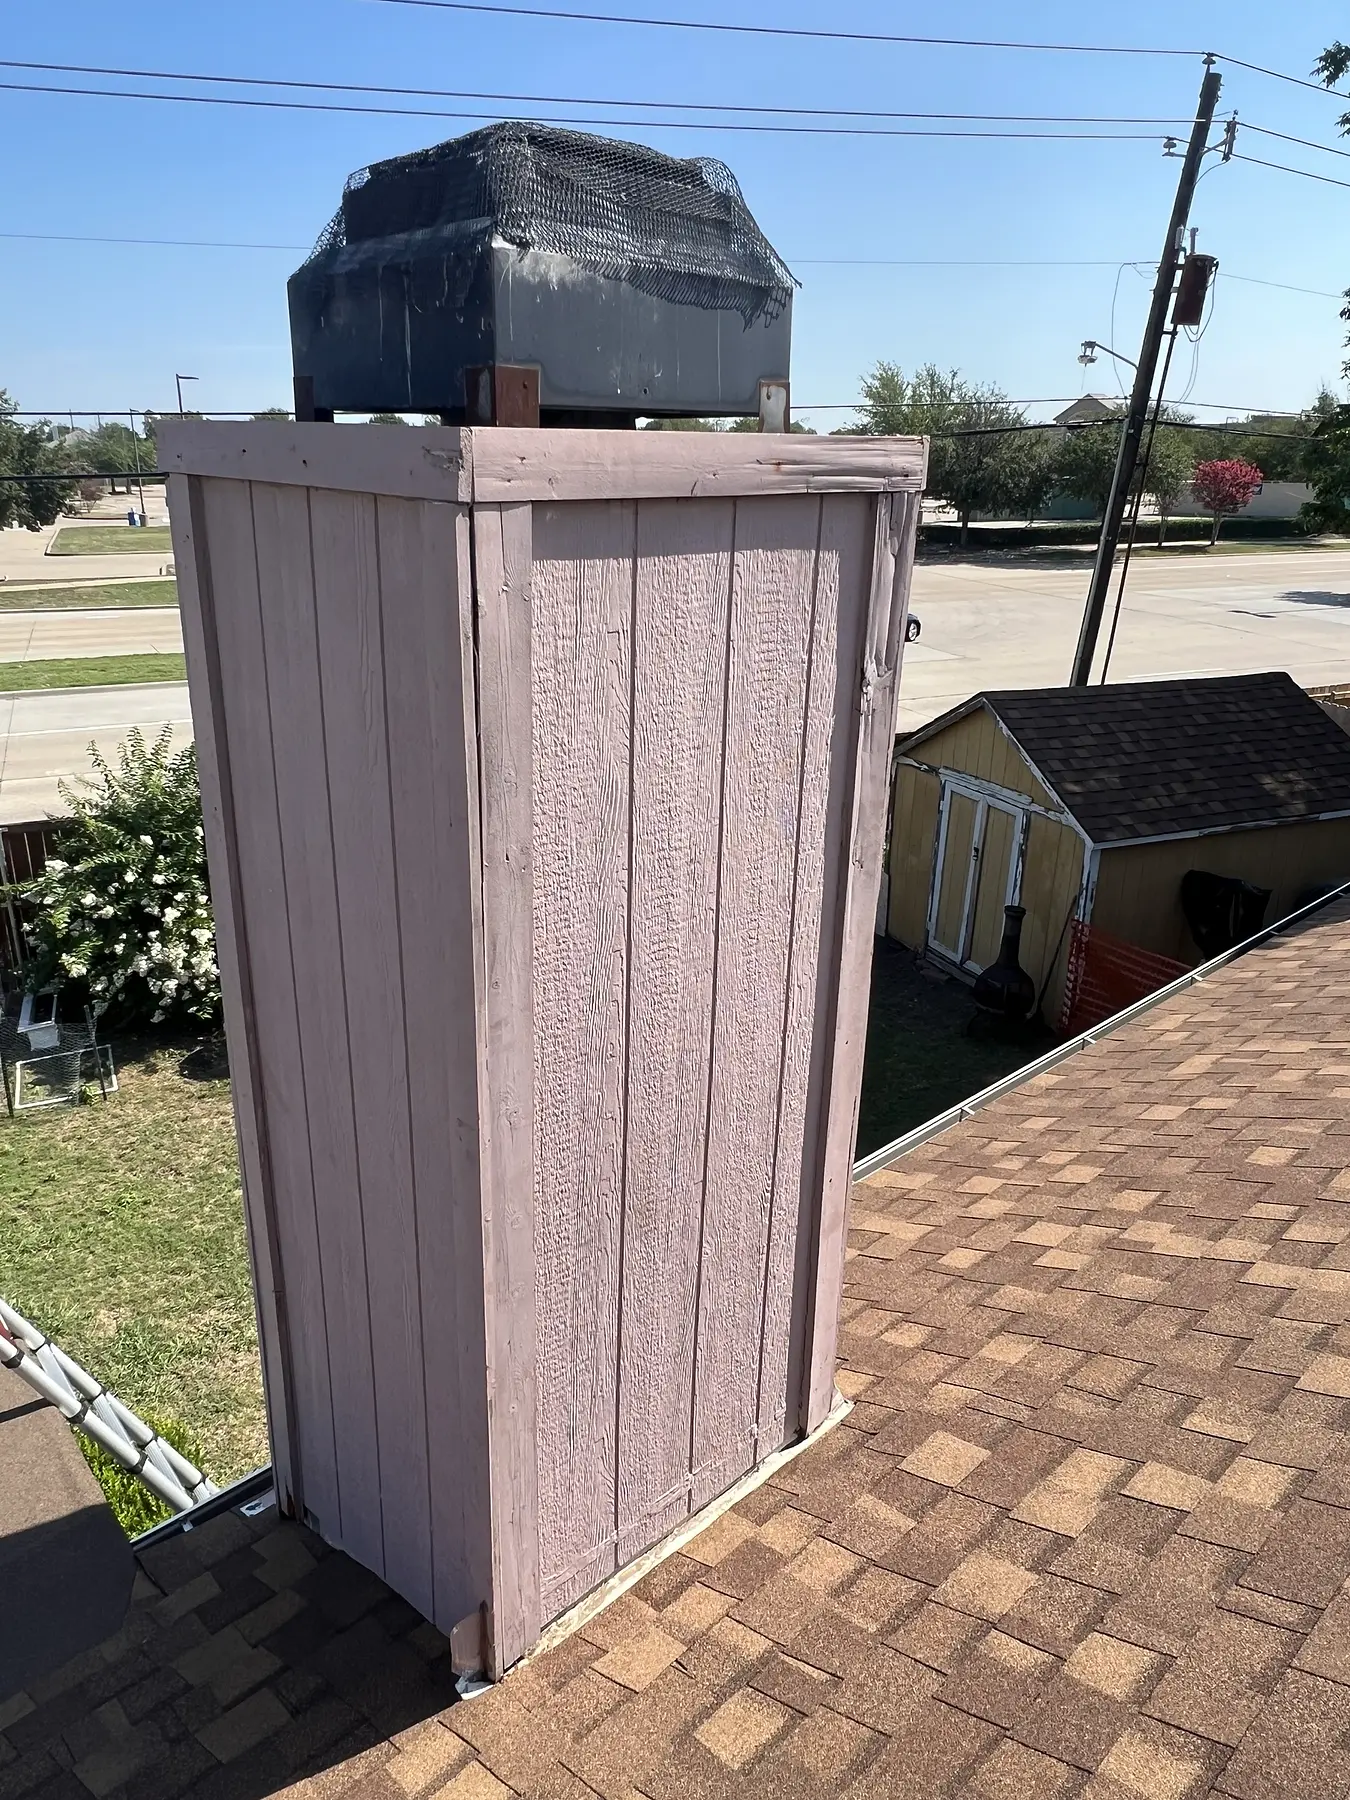
Tall chimney re-trimmed in James Hardie

Frisco

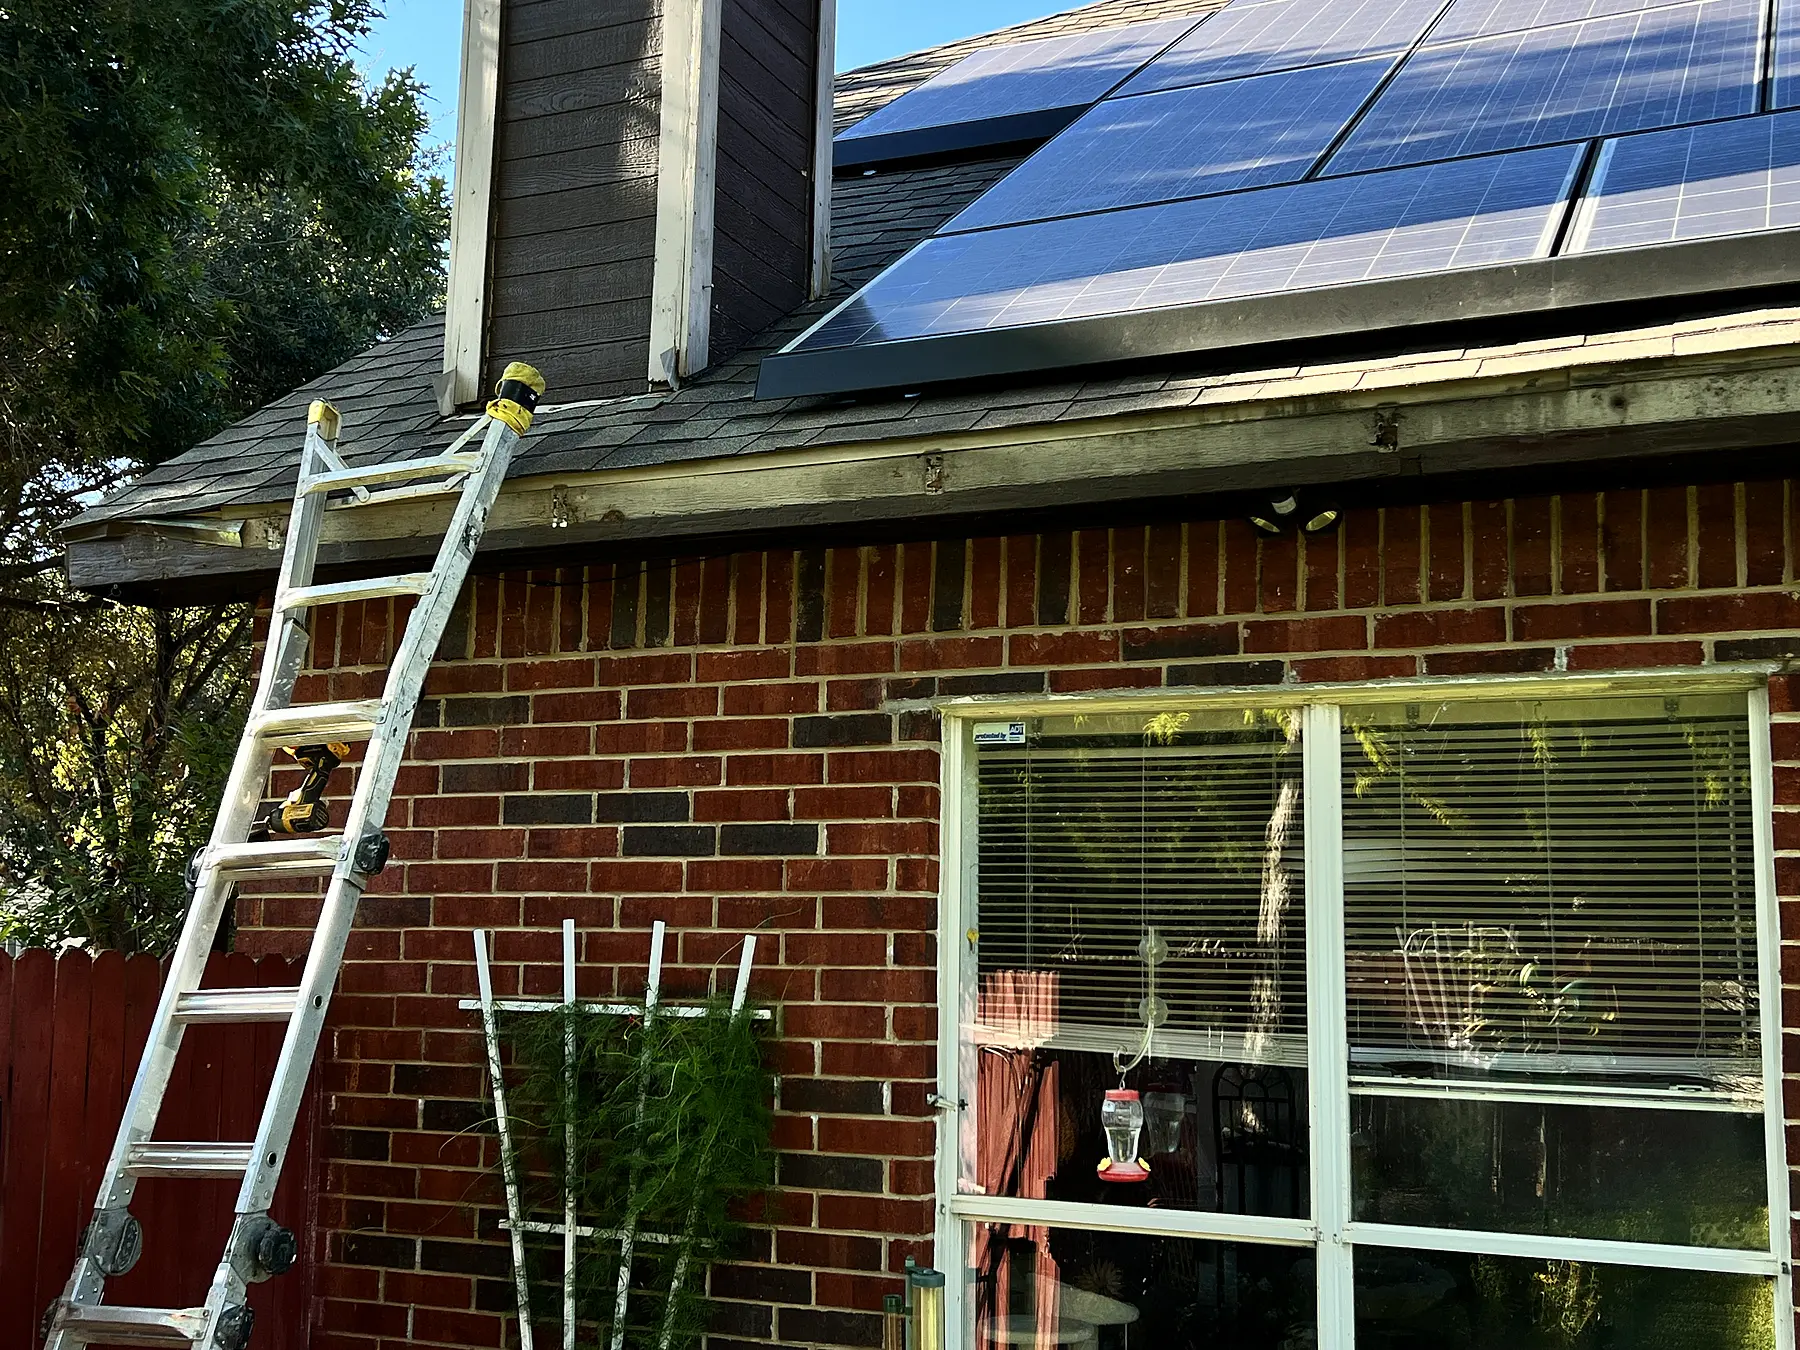
A monster of a chimney. We replaced the trim with James Hardie trim, then caulked, sealed and painted it to match.

Before
Before: Weathered trim and siding — Tall chimney re-trimmed in James Hardie, Frisco
Weathered trim and siding
Before: Old trim at the roofline — Tall chimney re-trimmed in James Hardie, Frisco
Old trim at the roofline
During
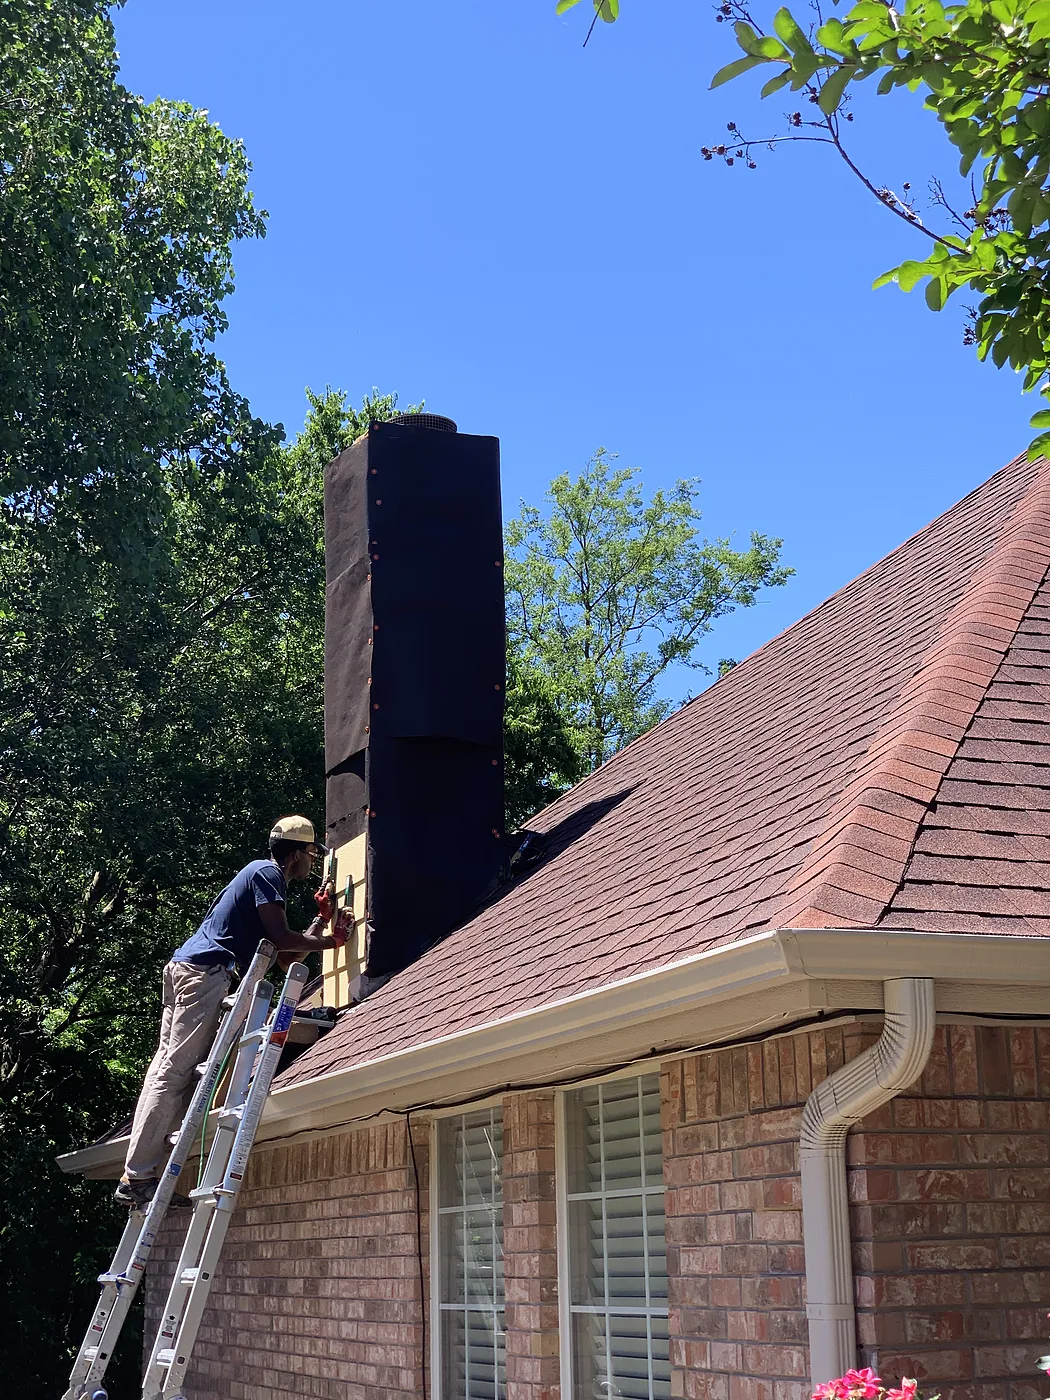
During: Working off the ladder — Tall chimney re-trimmed in James Hardie, Frisco
Working off the ladder
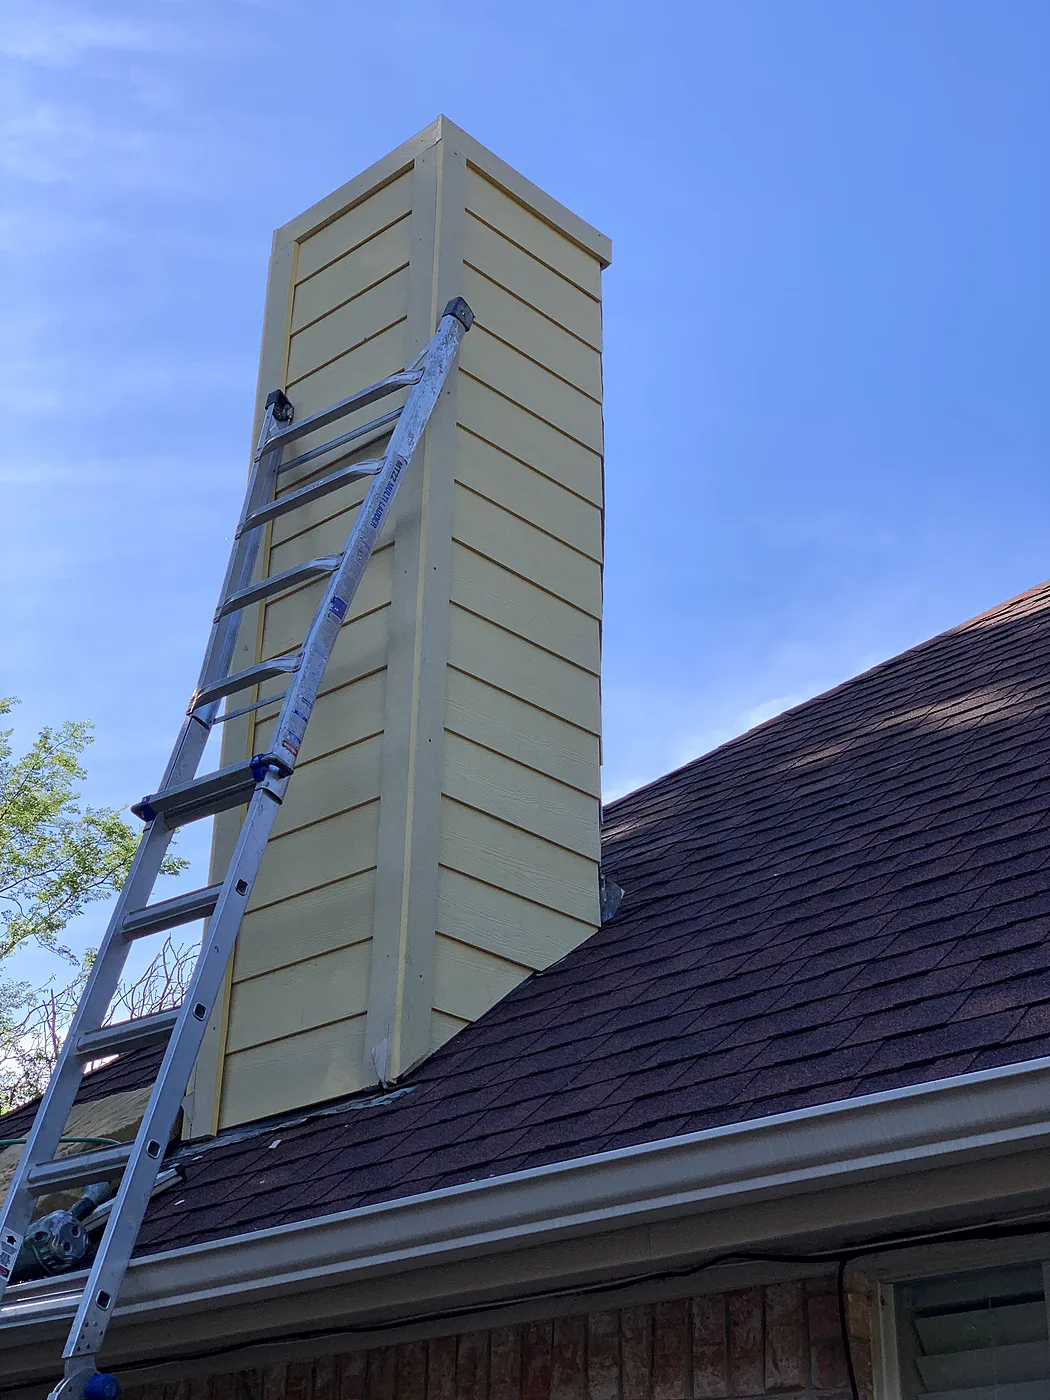
During: New trim going on — Tall chimney re-trimmed in James Hardie, Frisco
New trim going on
After
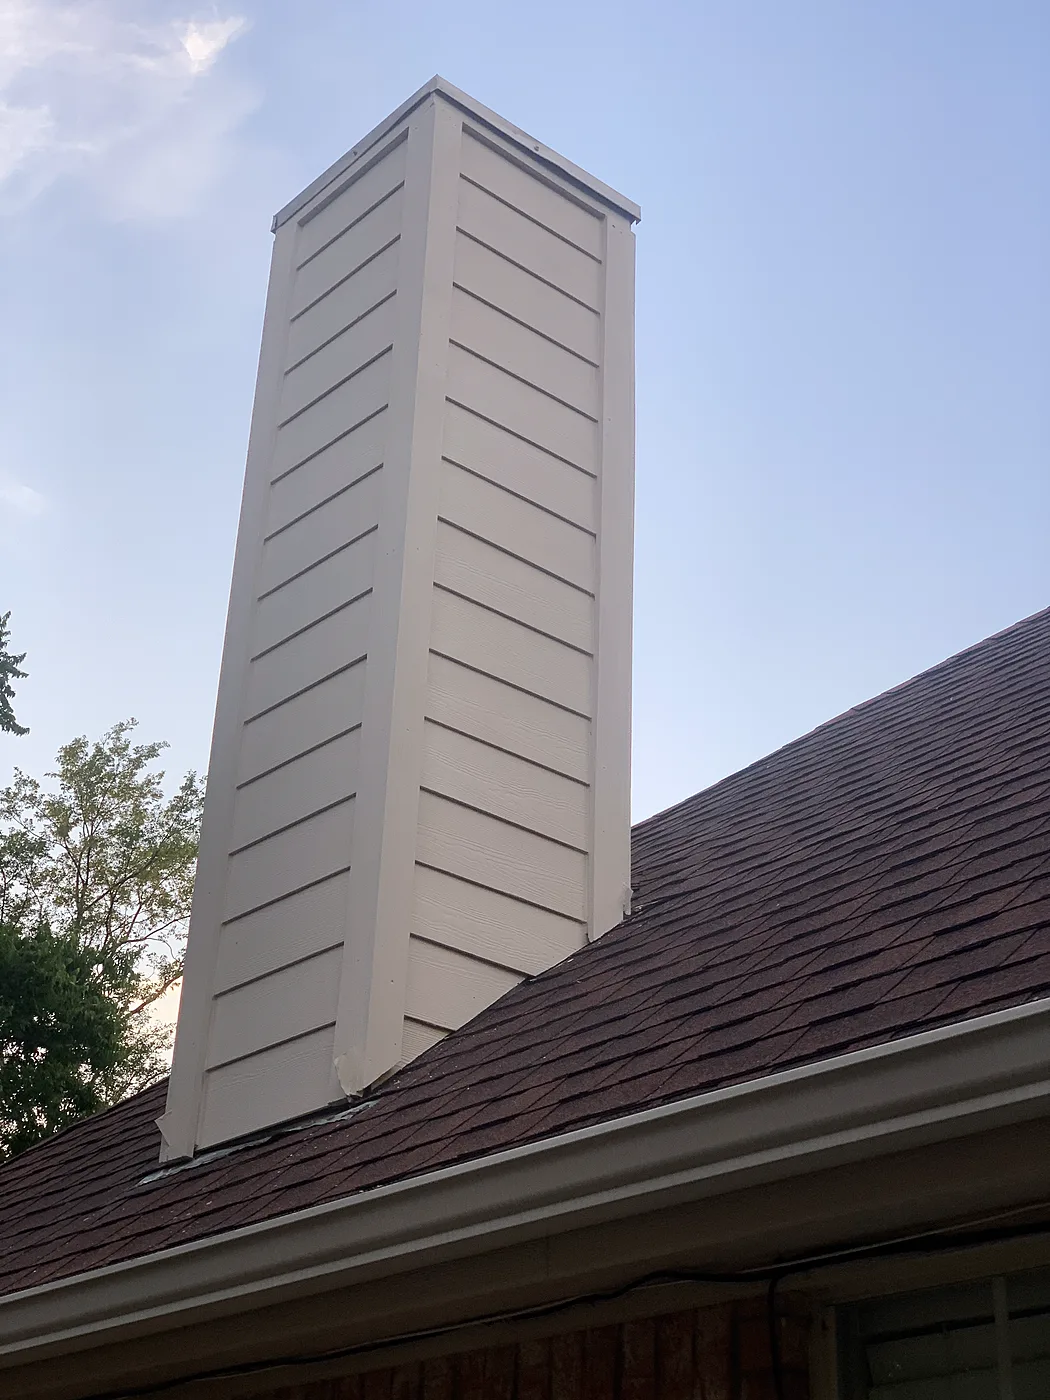
After: New Hardie trim, painted — Tall chimney re-trimmed in James Hardie, Frisco
New Hardie trim, painted

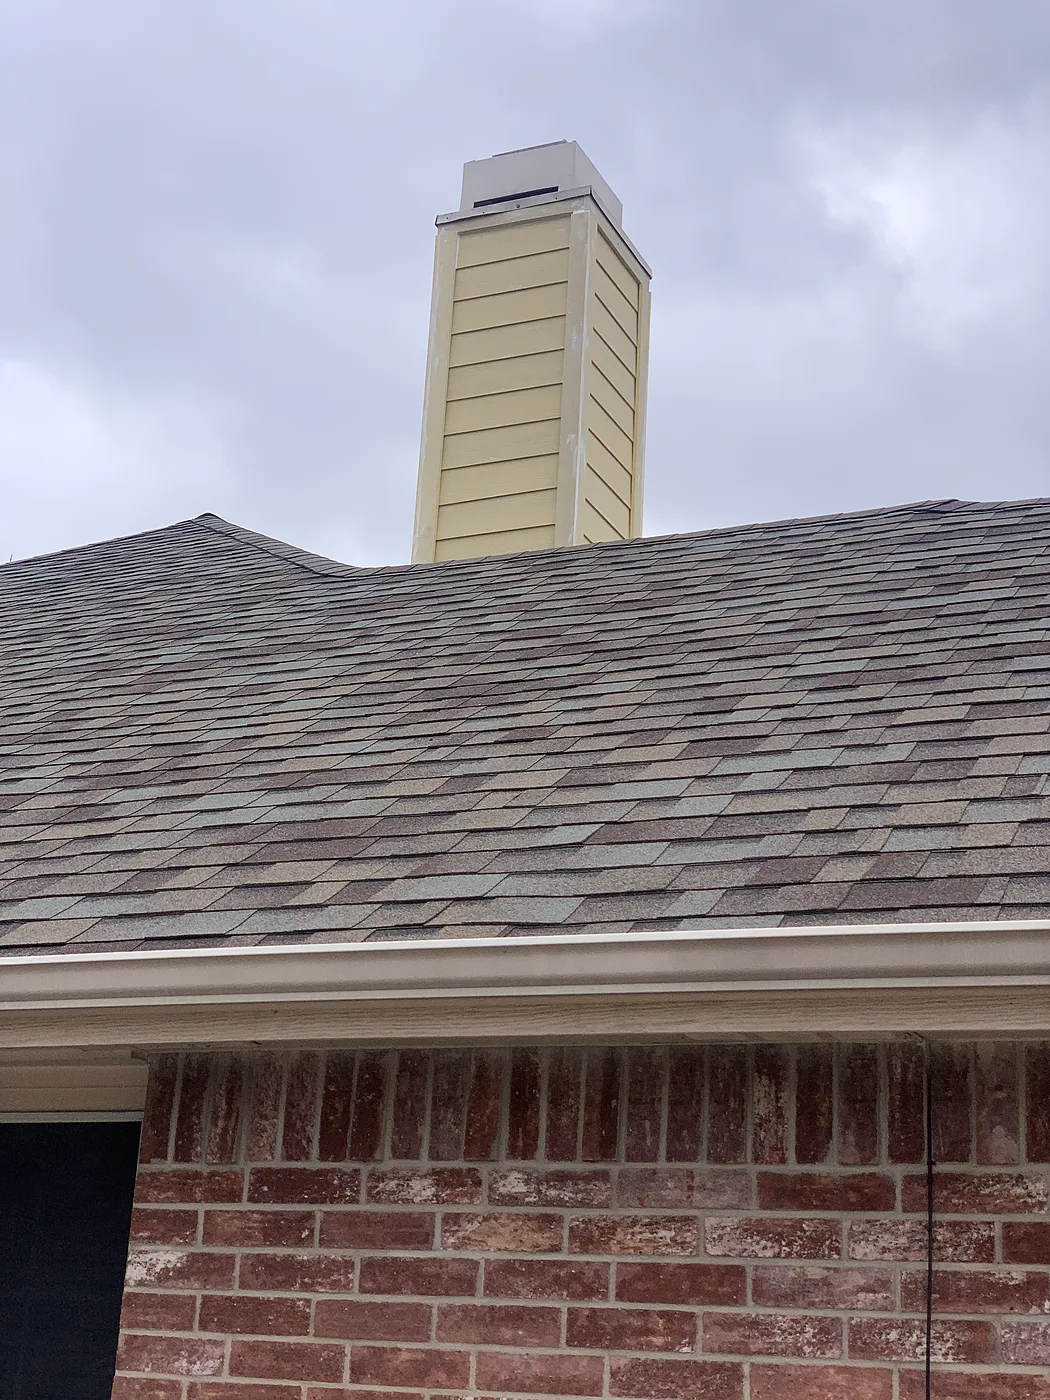
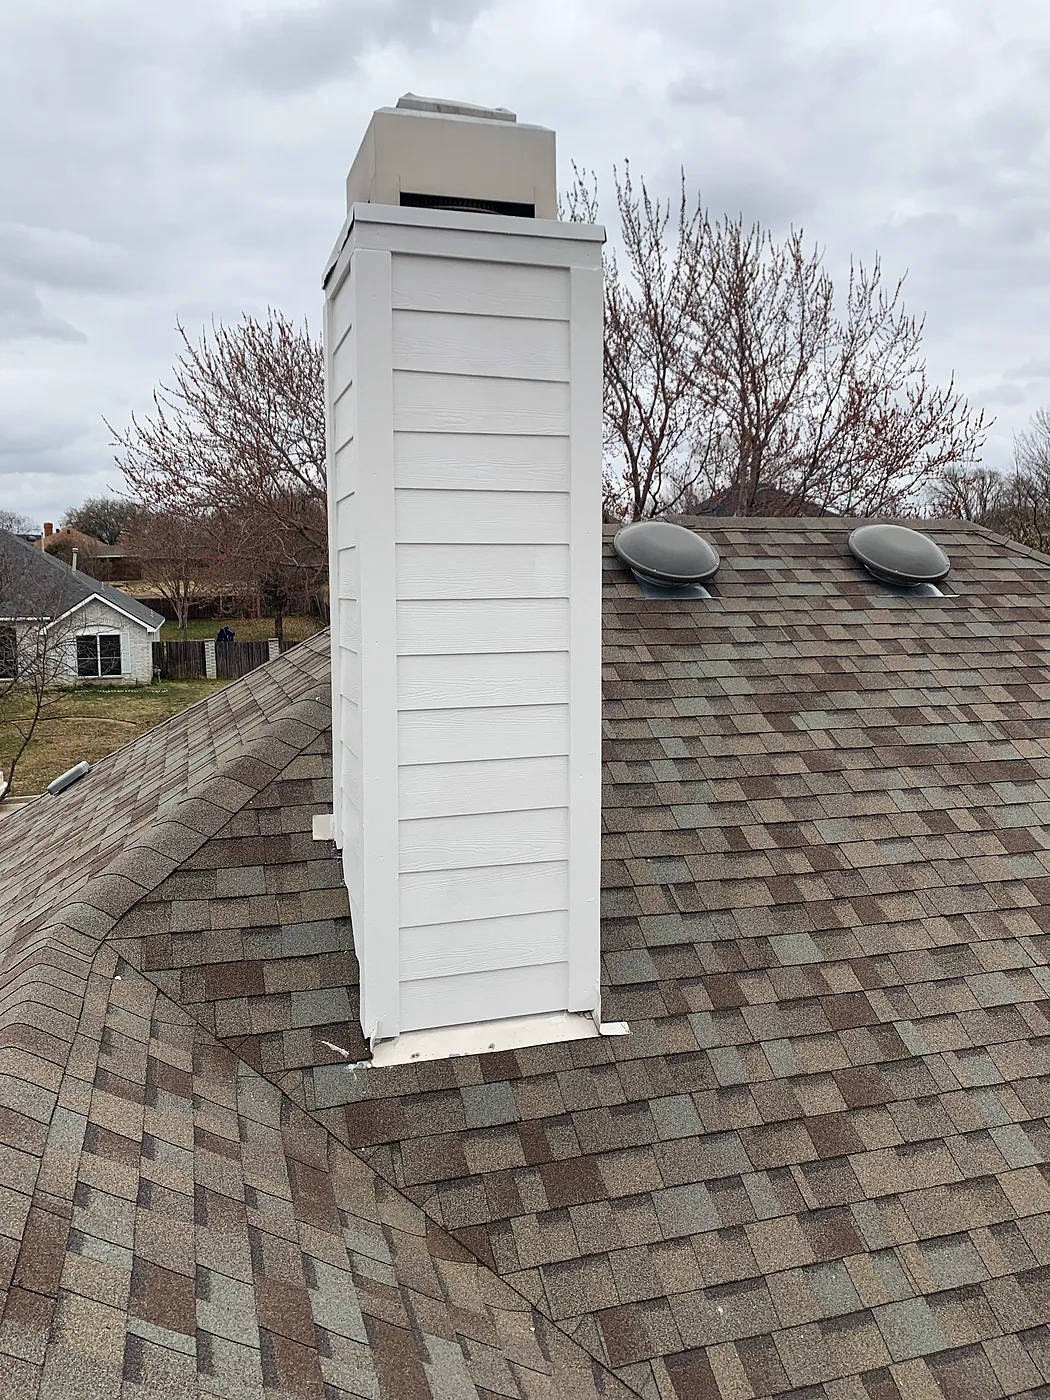
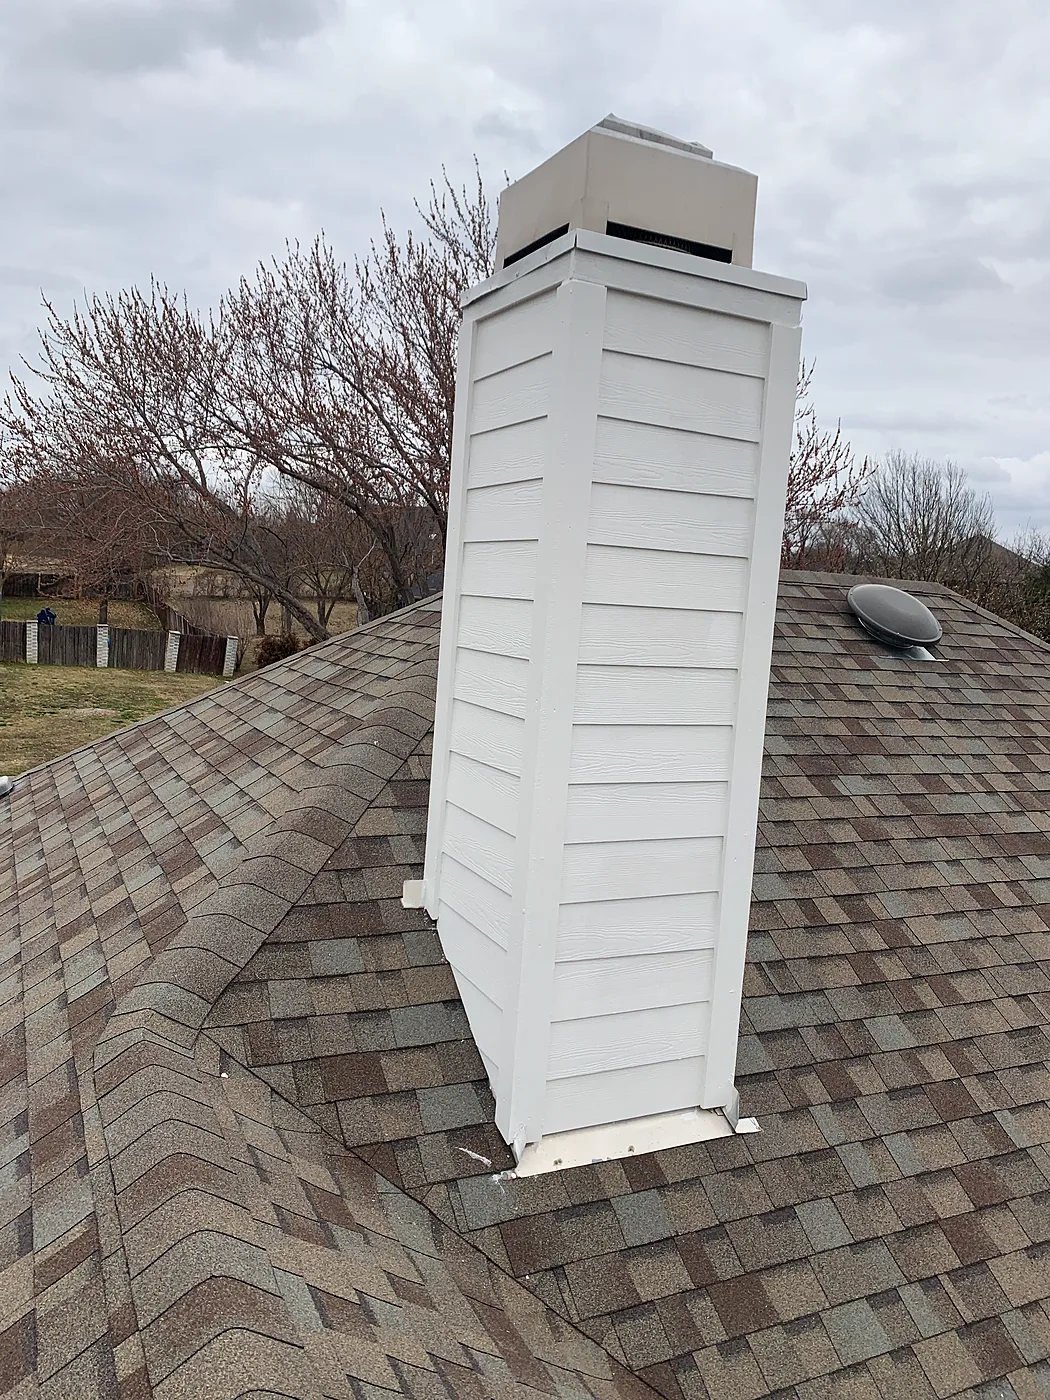
Chimney chase rebuilt with Hardie

The Colony

Chimney chase rebuilt with James Hardie, sealed and painted.

Before
Before: Before — Chimney chase rebuilt with Hardie, The Colony
Before
After
After: Rebuilt in Hardie — Chimney chase rebuilt with Hardie, The Colony
Rebuilt in Hardie
After: Sealed and painted — Chimney chase rebuilt with Hardie, The Colony
Sealed and painted

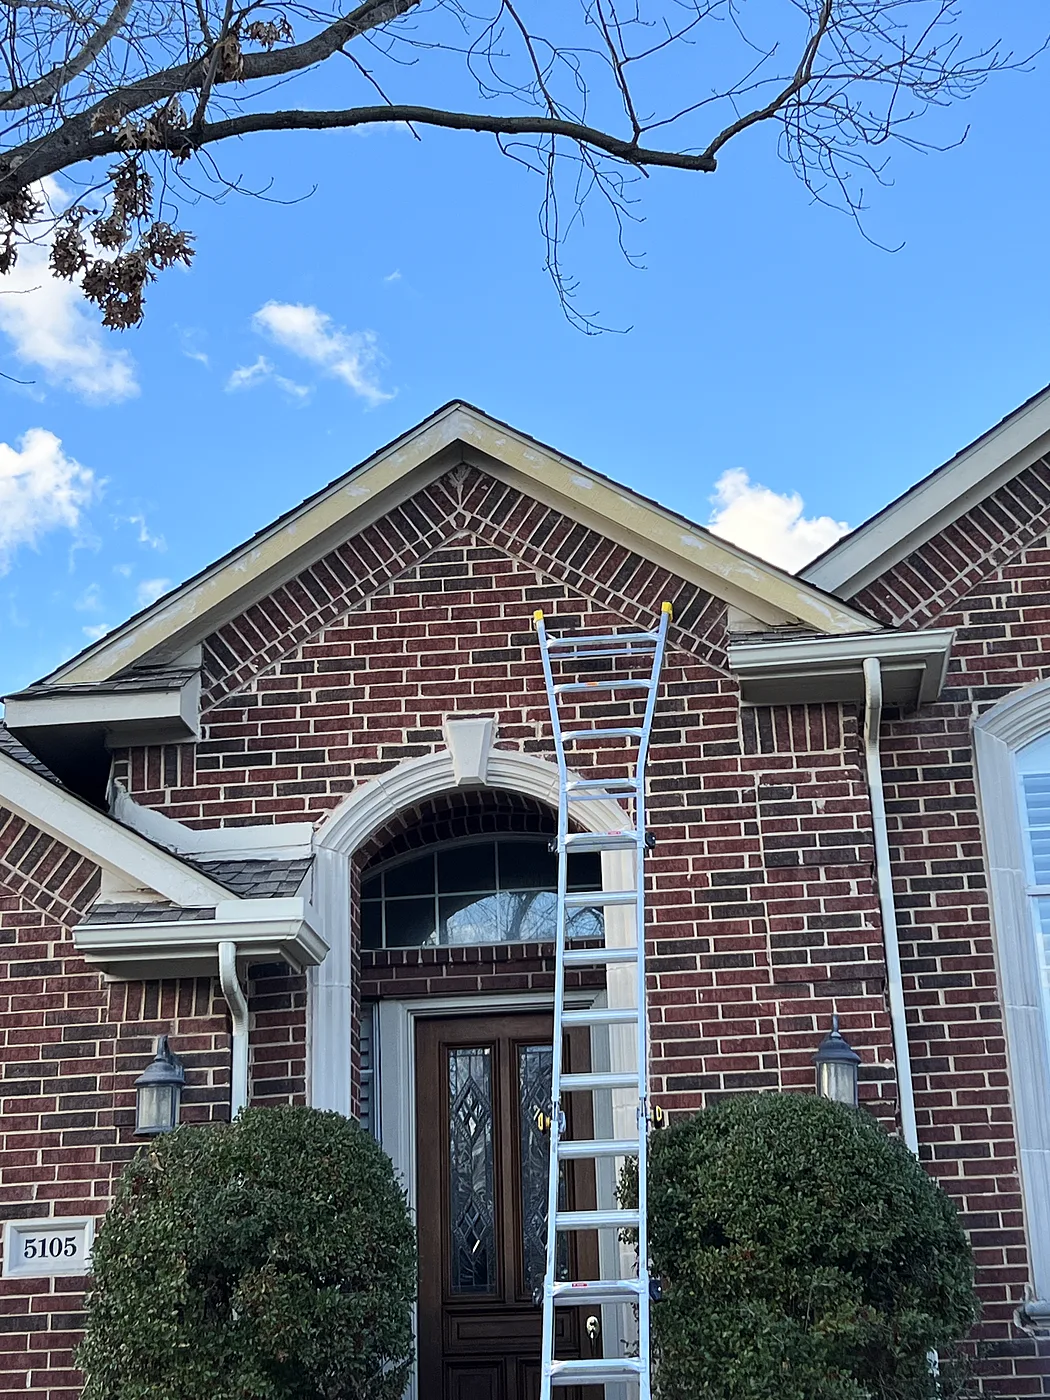
Hardie fascia and chimney trim upgrade

Dallas

Upgraded the fascia and the chimney trim to James Hardie, then caulked, sealed and painted.

During
During: Fascia work at the front gable — Hardie fascia and chimney trim upgrade, Dallas
Fascia work at the front gable
During: New Hardie trim on the chimney — Hardie fascia and chimney trim upgrade, Dallas
New Hardie trim on the chimney
After
After: Chimney trim finished — Hardie fascia and chimney trim upgrade, Dallas
Chimney trim finished

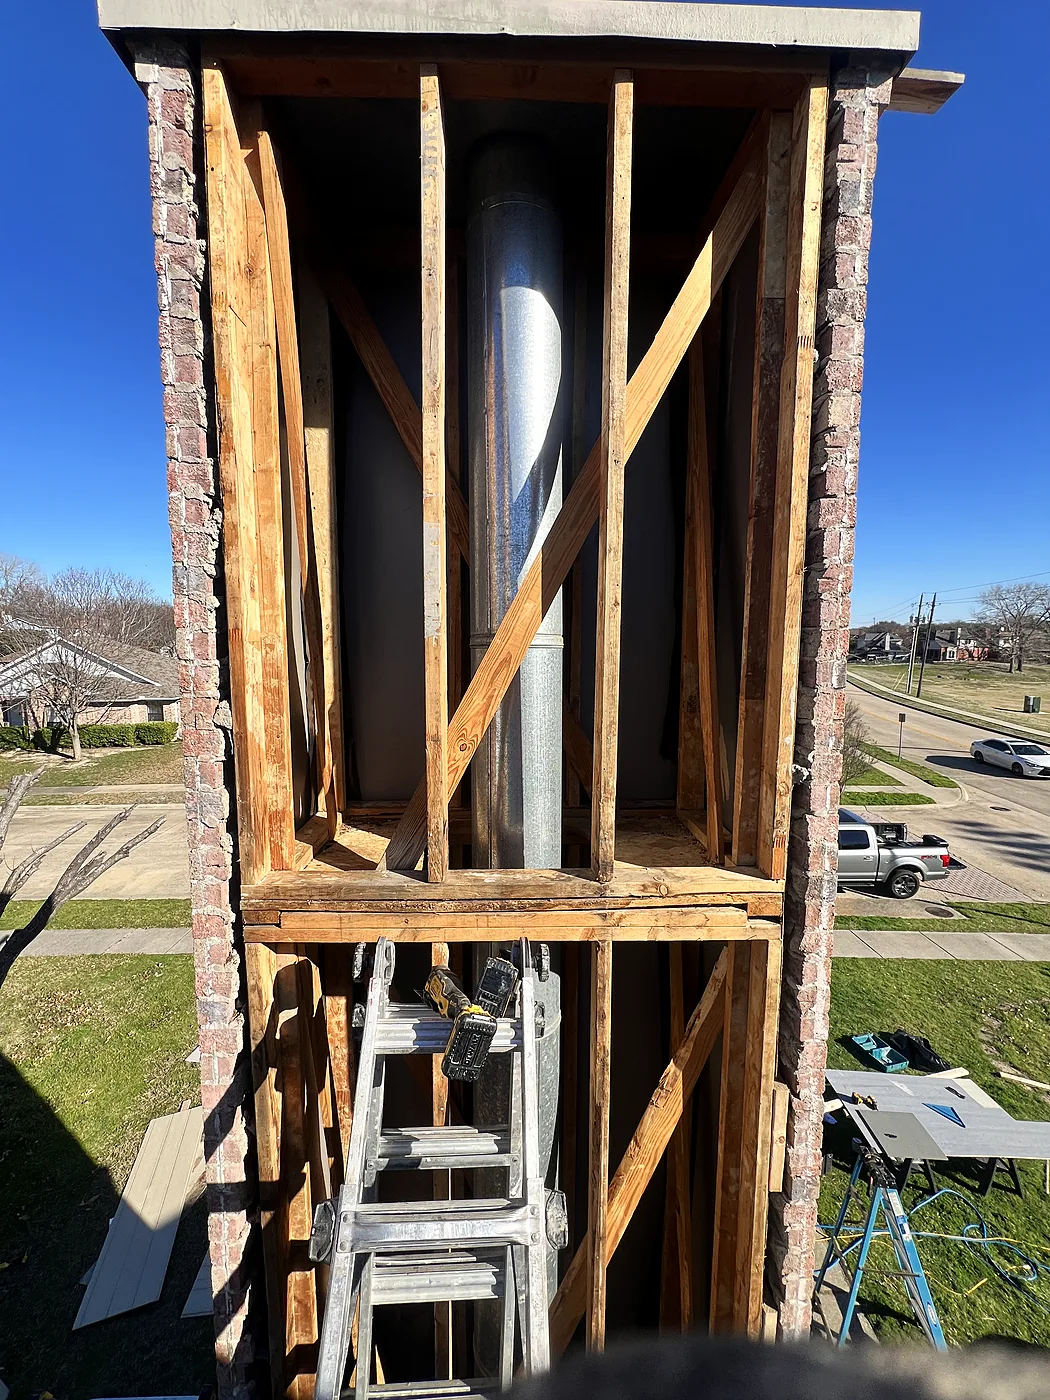
Chimney chase re-sided

McKinney

Chimney chase opened up to the framing, re-sided and capped.

Before
Before: Opened to the framing — Chimney chase re-sided, McKinney
Opened to the framing
During
During: New siding going on — Chimney chase re-sided, McKinney
New siding going on
After
After: Re-sided chase — Chimney chase re-sided, McKinney
Re-sided chase

Chimney caps & shrouds

Flat-style, Stevenson, peaked standing-seam and custom shrouds, measured and built to fit. Every cap includes paint to match and haul-off of the old one.

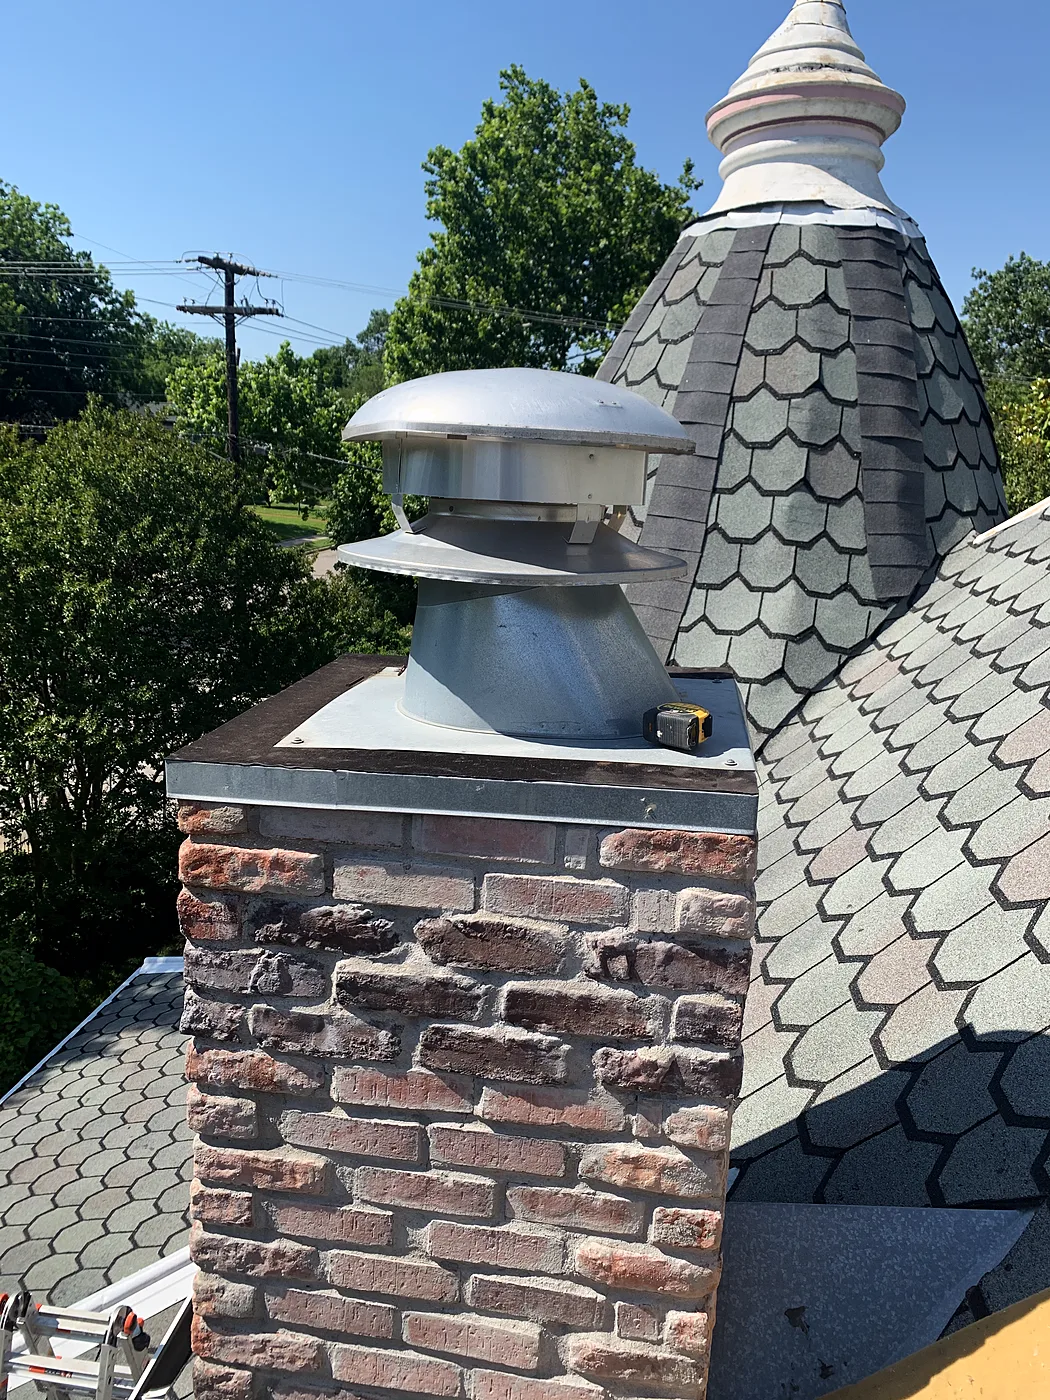
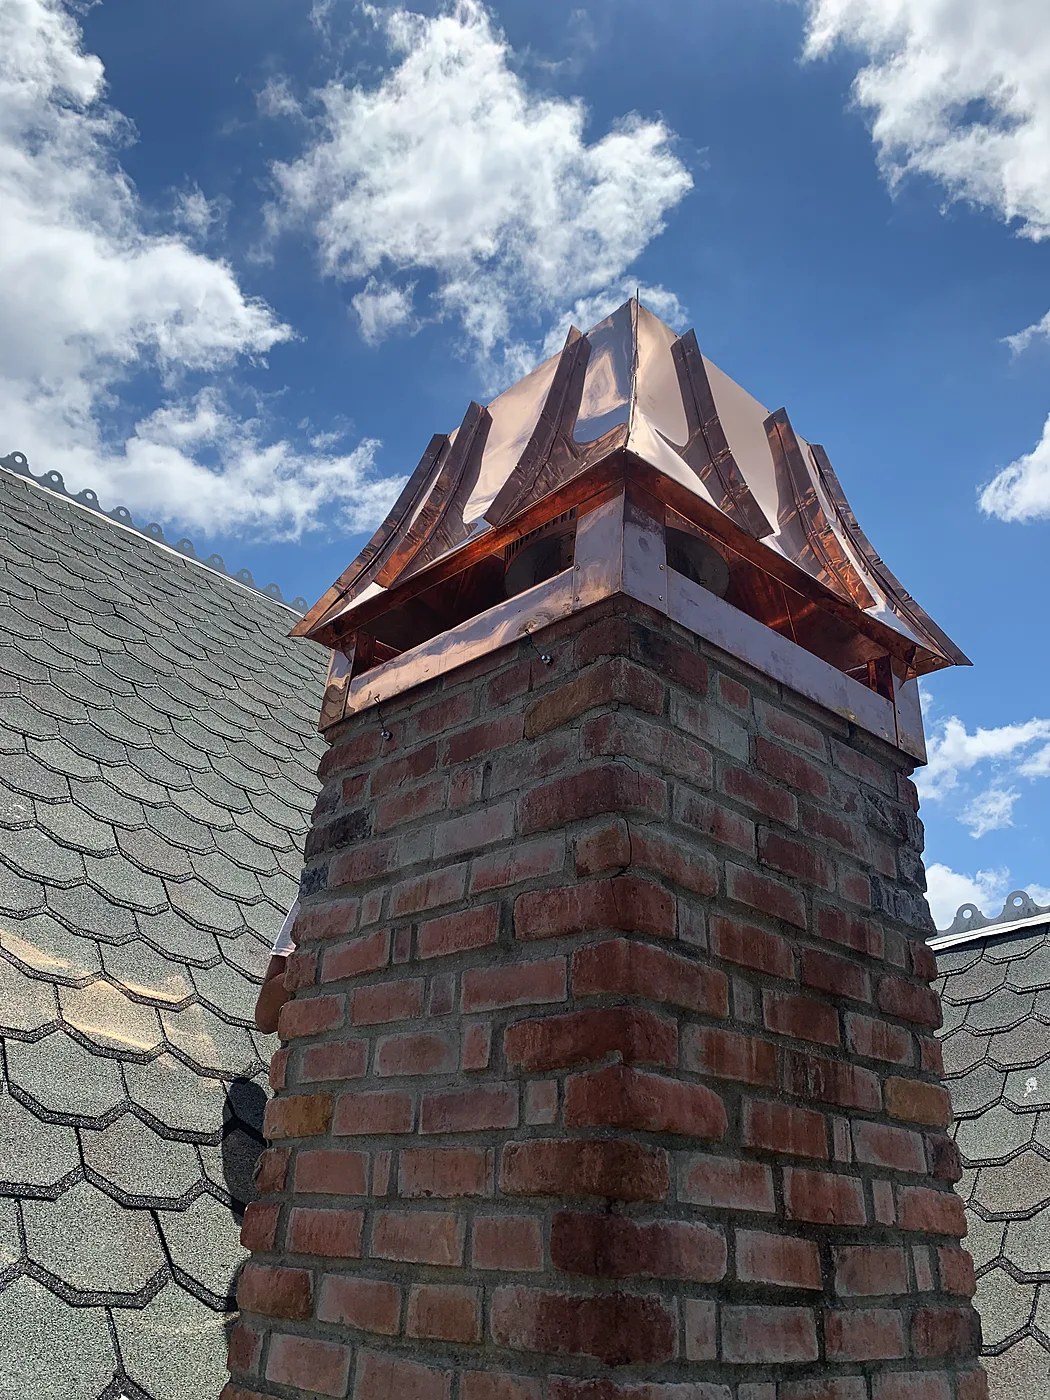
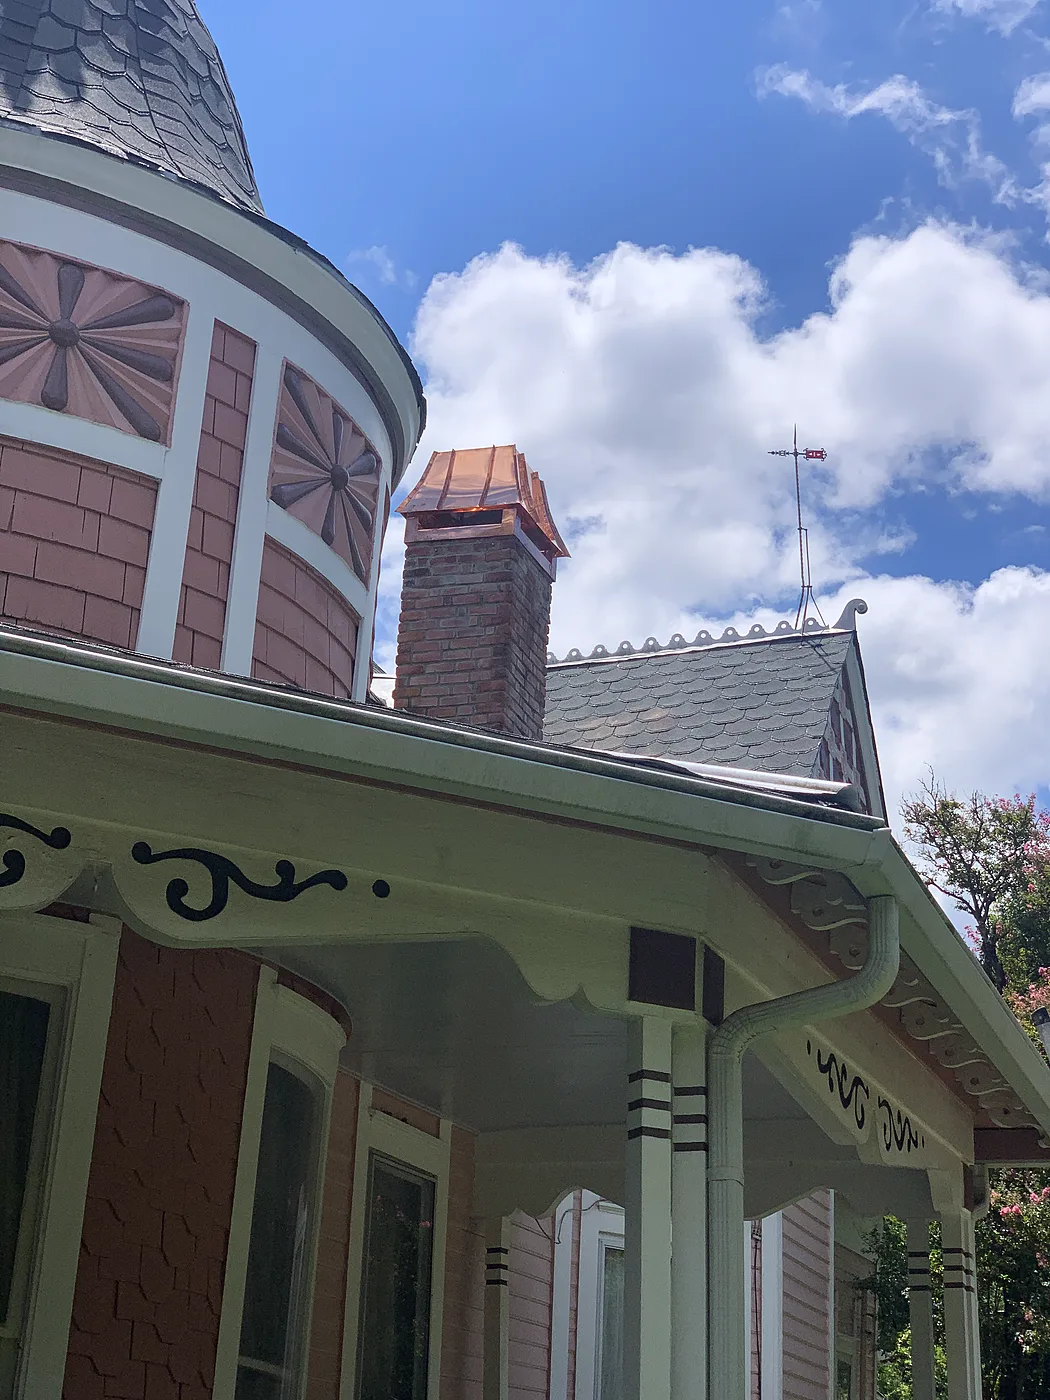
Custom copper chimney cap on a 100-year-old Victorian

Downtown McKinney

A 100-year-old Victorian in the heart of downtown McKinney. The owner wanted a custom copper chimney cap, which has to be exact, so we measured, confirmed the measurements, then delivered and installed a flawless copper cap.

Before
Before: Before, old caps — Custom copper chimney cap on a 100-year-old Victorian, Downtown McKinney
Before, old caps
After
After: Custom copper cap — Custom copper chimney cap on a 100-year-old Victorian, Downtown McKinney
Custom copper cap
After: From the street — Custom copper chimney cap on a 100-year-old Victorian, Downtown McKinney
From the street

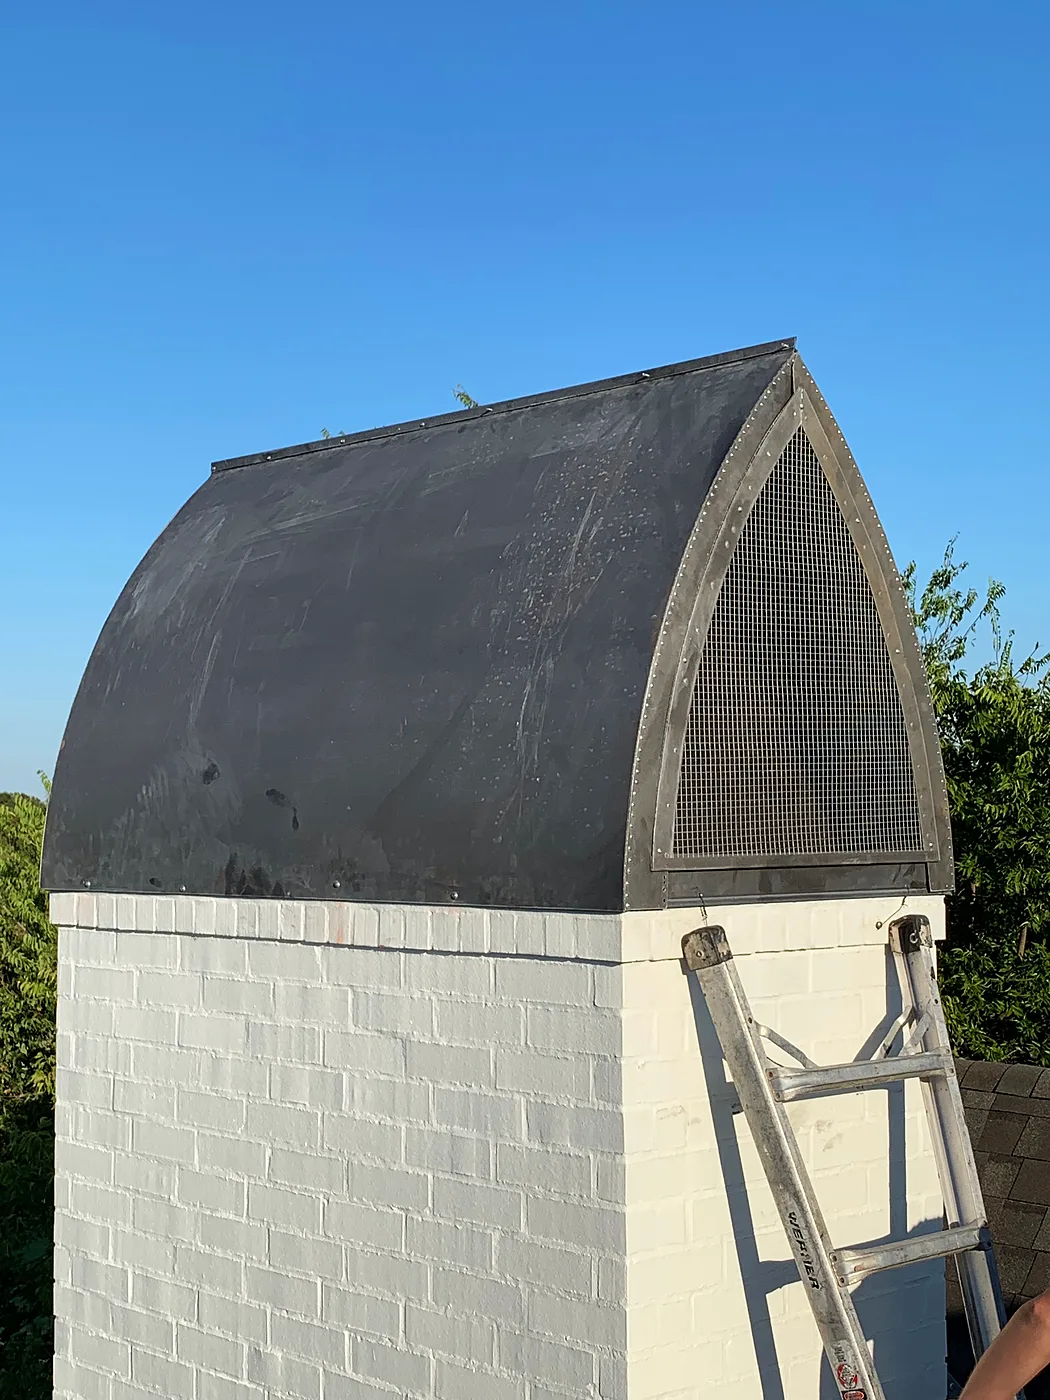
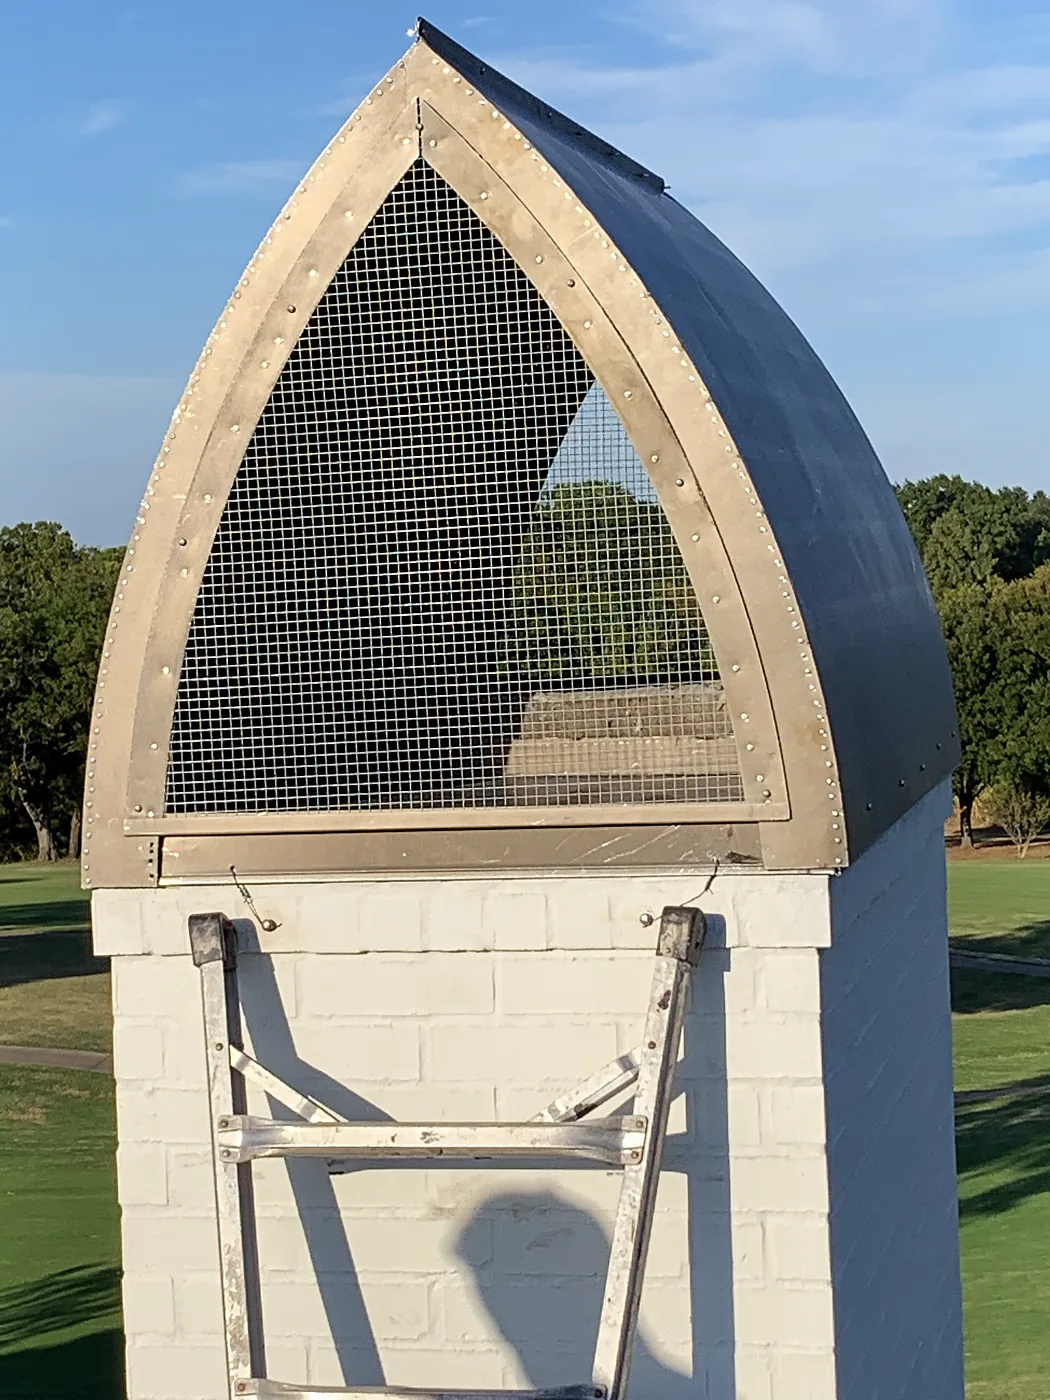
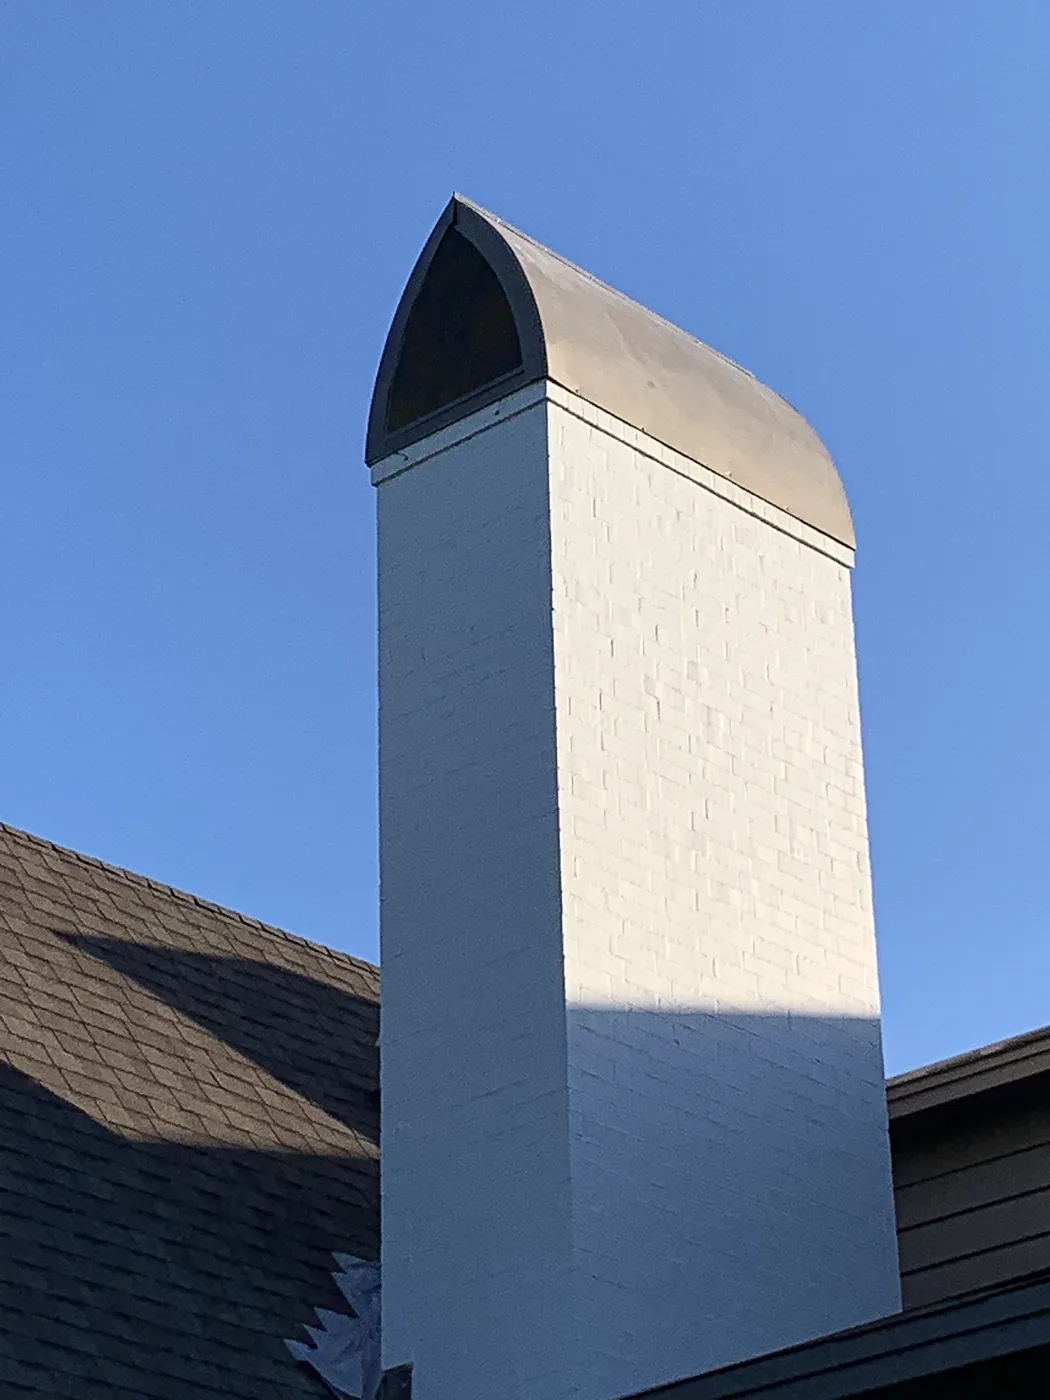
One-of-a-kind luxury chimney shrouds

Richardson

A builder brought us in for very high-end, one-of-a-kind chimney shrouds on a new home. The house has four chimneys and we installed one on each.

During
During: Shroud set on the chimney — One-of-a-kind luxury chimney shrouds, Richardson
Shroud set on the chimney
After
After: Up close: custom arched shroud — One-of-a-kind luxury chimney shrouds, Richardson
Up close: custom arched shroud
After: Finished, from the roofline — One-of-a-kind luxury chimney shrouds, Richardson
Finished, from the roofline

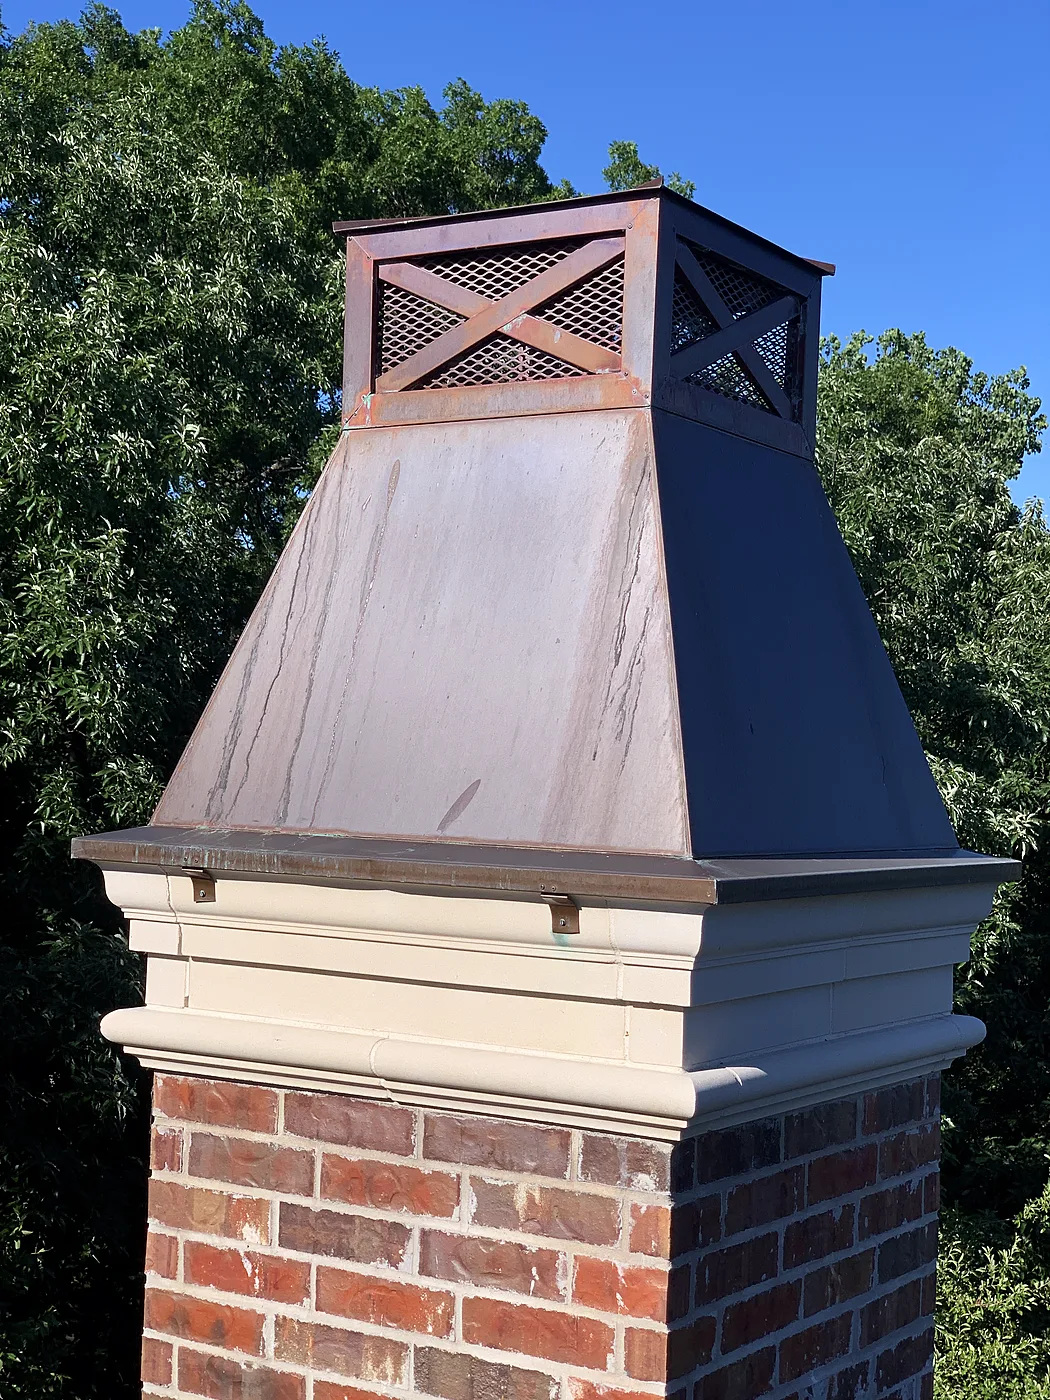
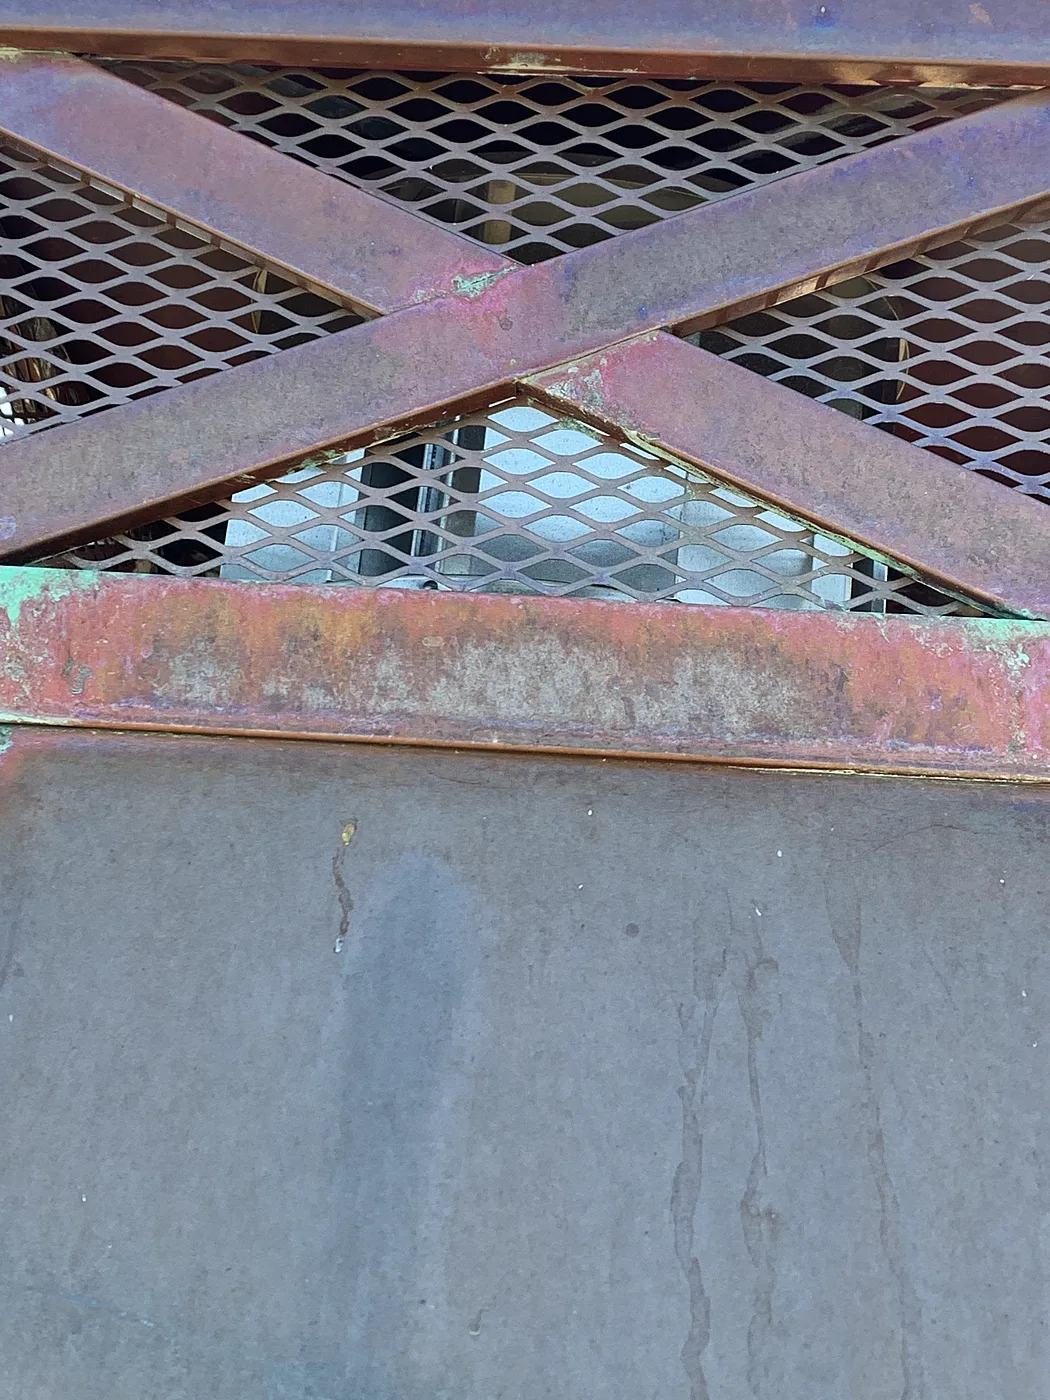
Custom masonry cap and shroud

Preston Hollow, Dallas

A complete custom masonry cap and shroud design.

After
After: Custom copper shroud, up close — Custom masonry cap and shroud, Preston Hollow, Dallas
Custom copper shroud, up close
After: Detail: copper cross-hatch vents — Custom masonry cap and shroud, Preston Hollow, Dallas
Detail: copper cross-hatch vents

Super-oversized flat-style cap replaced

Dallas

The old super-oversized flat-style cap came off and a brand-new one went on.

Before
Before: Old cap — Super-oversized flat-style cap replaced, Dallas
Old cap
After
After: Brand-new oversized cap — Super-oversized flat-style cap replaced, Dallas
Brand-new oversized cap

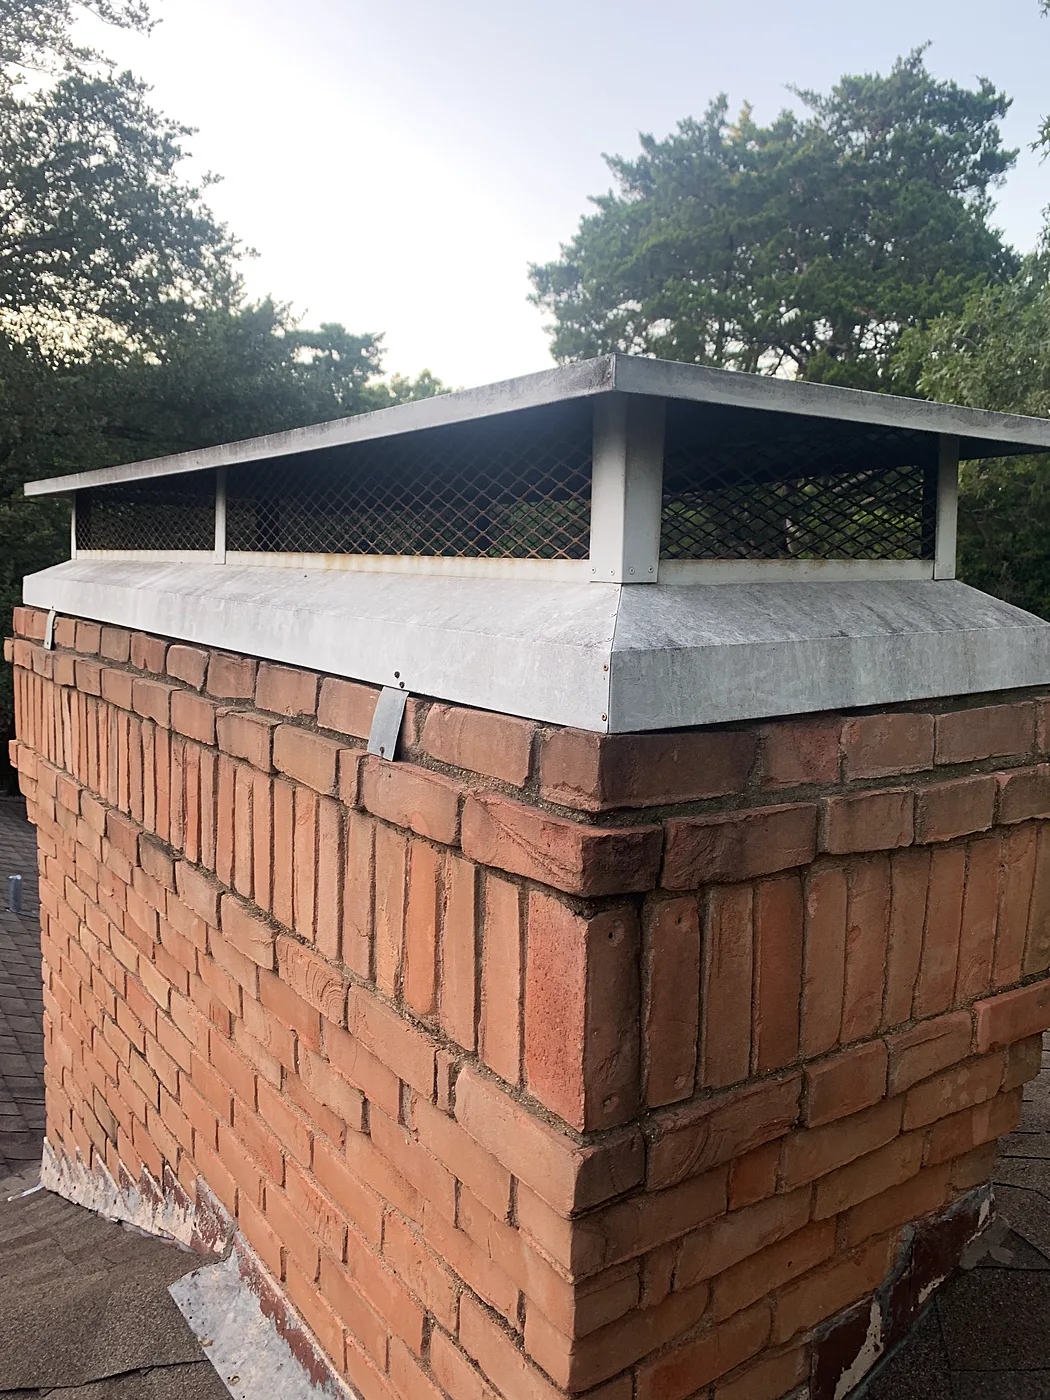
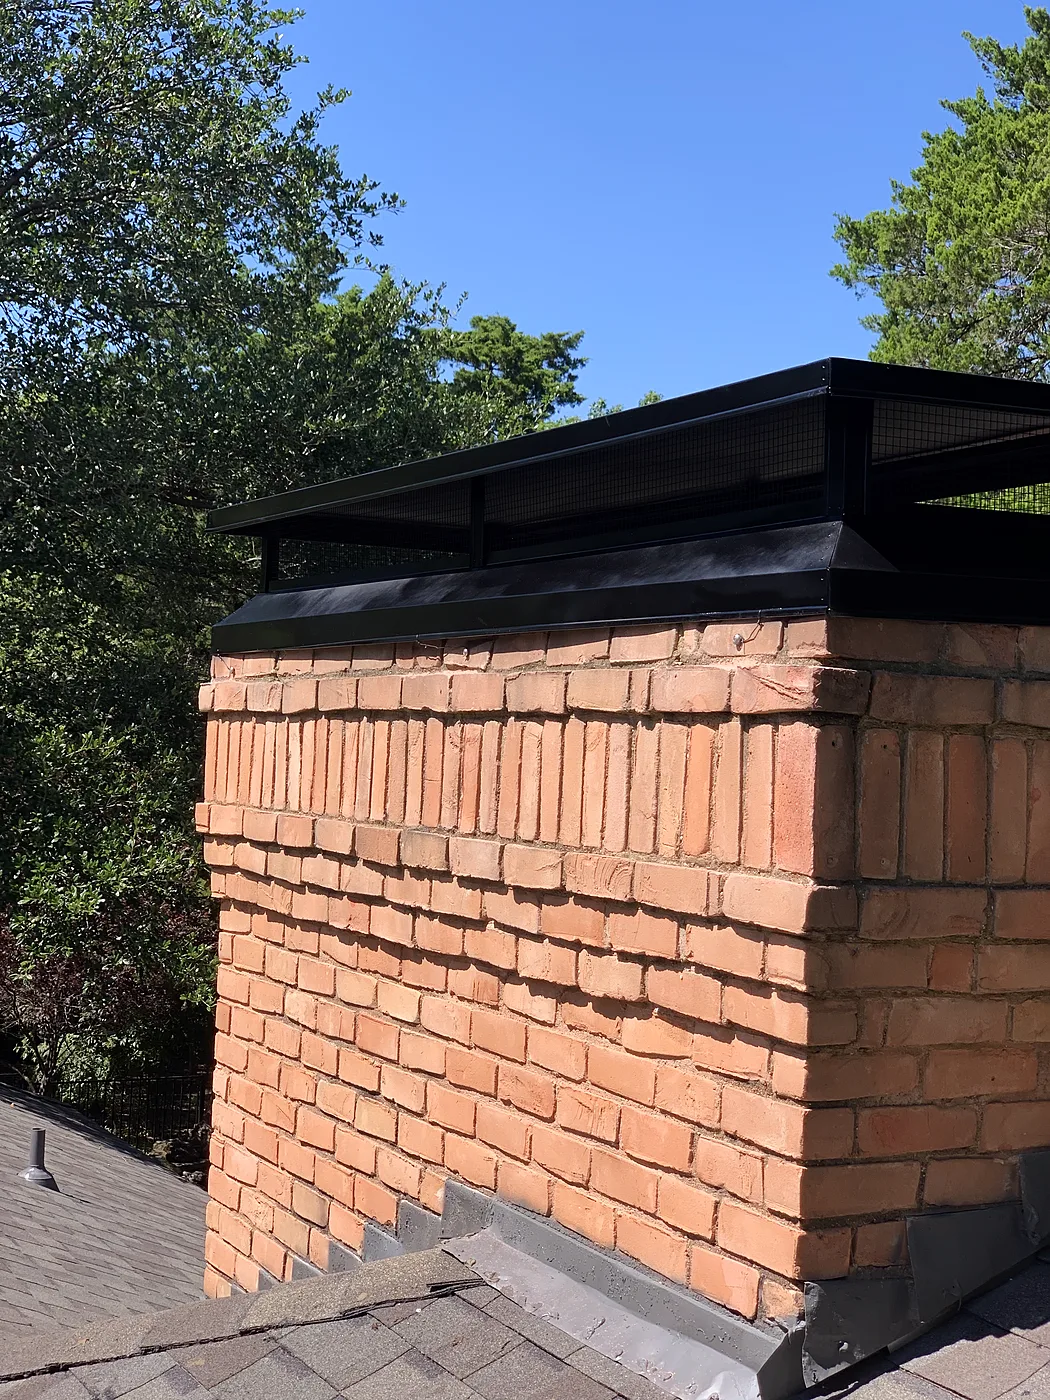
Old cap replaced with a custom flat-style cap

Plano

Same chimney, before and after replacing the cap with a custom flat-style cap.

Before
Before: Old cap — Old cap replaced with a custom flat-style cap, Plano
Old cap
After
After: New custom flat-style cap — Old cap replaced with a custom flat-style cap, Plano
New custom flat-style cap

Fireplaces

Built from the framing up: stone, brick, shiplap, tile, mantels, hearths and inserts.

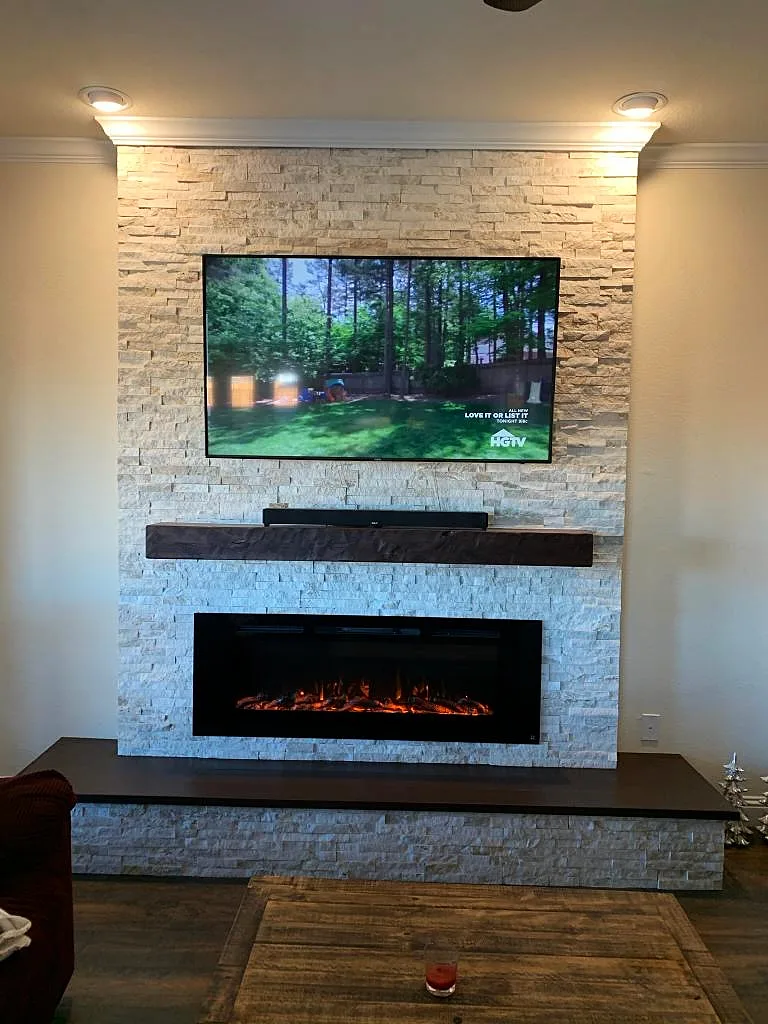
Custom fireplace built from scratch

Aubrey

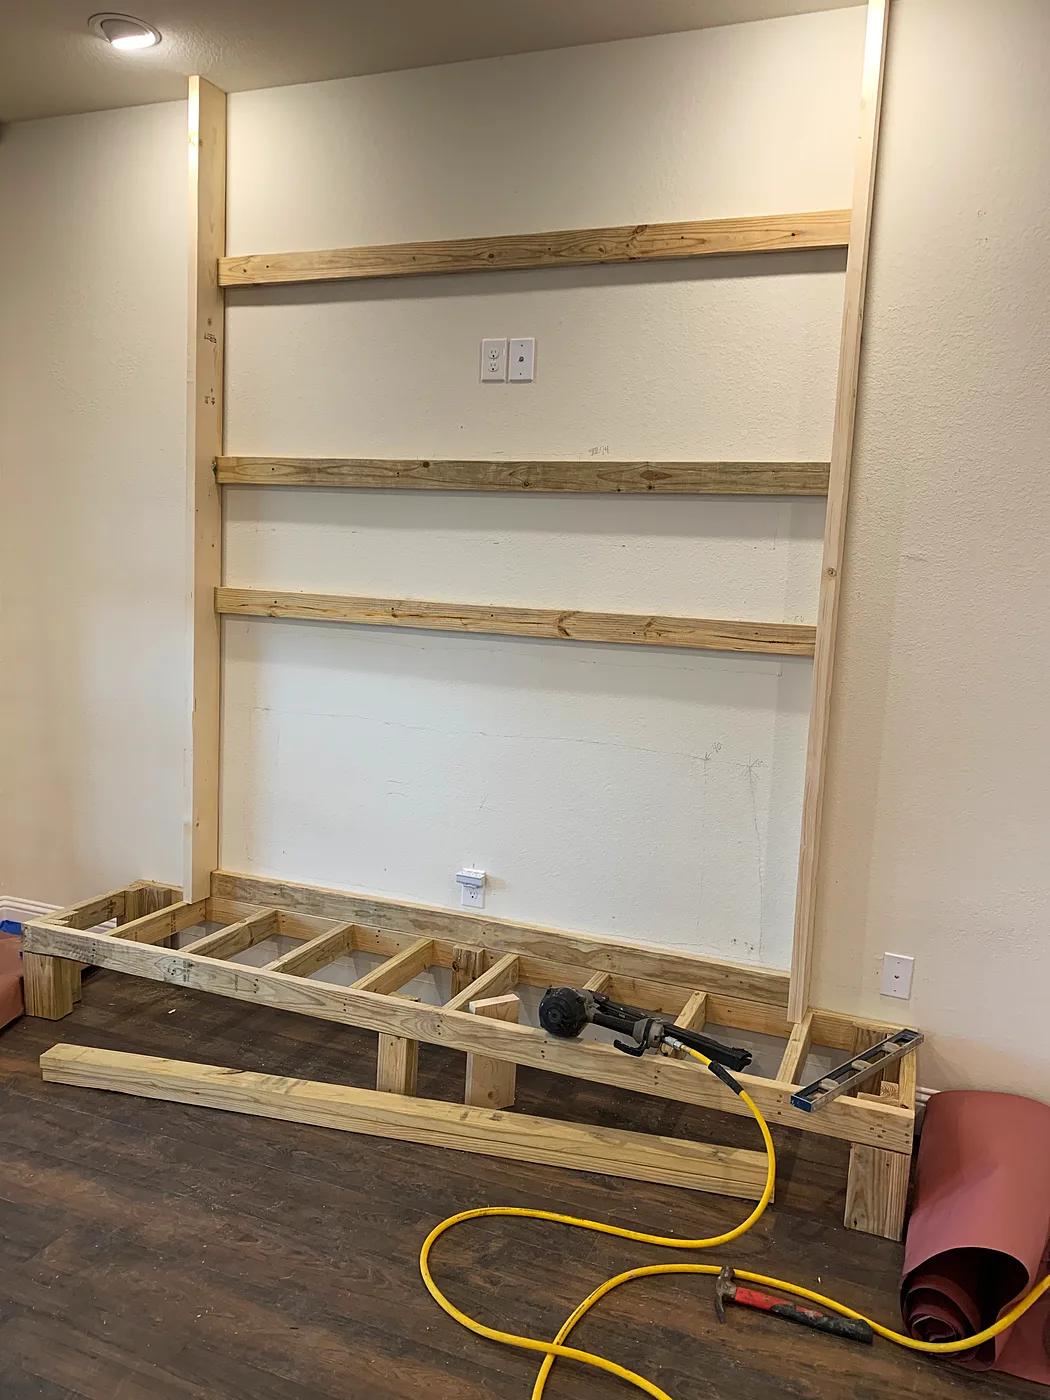
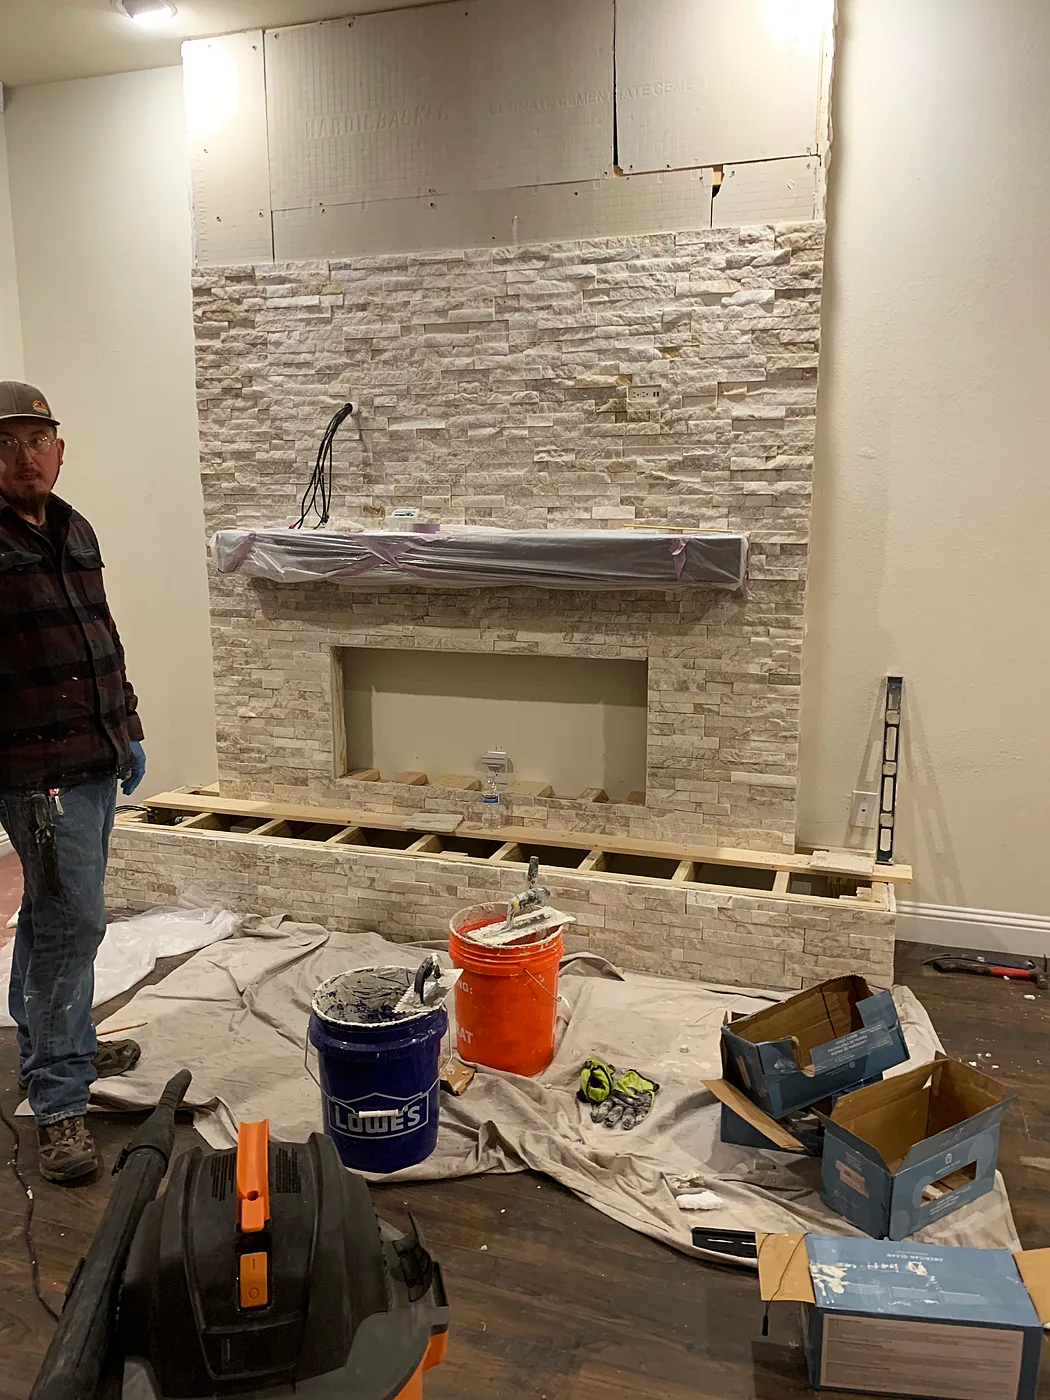
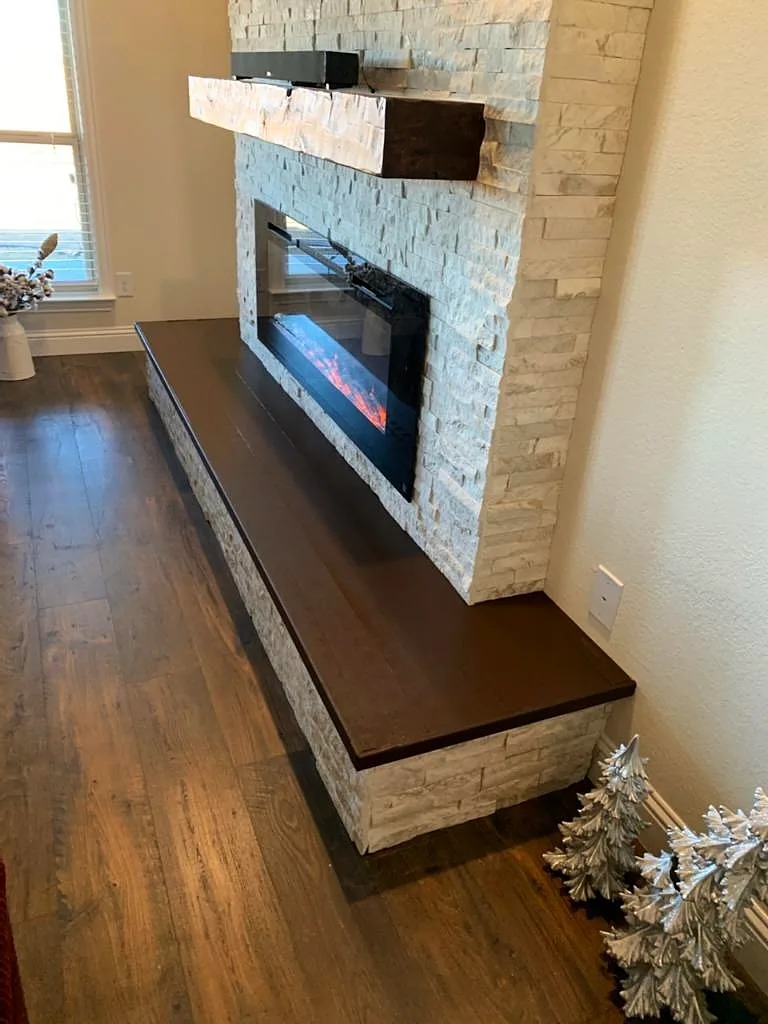
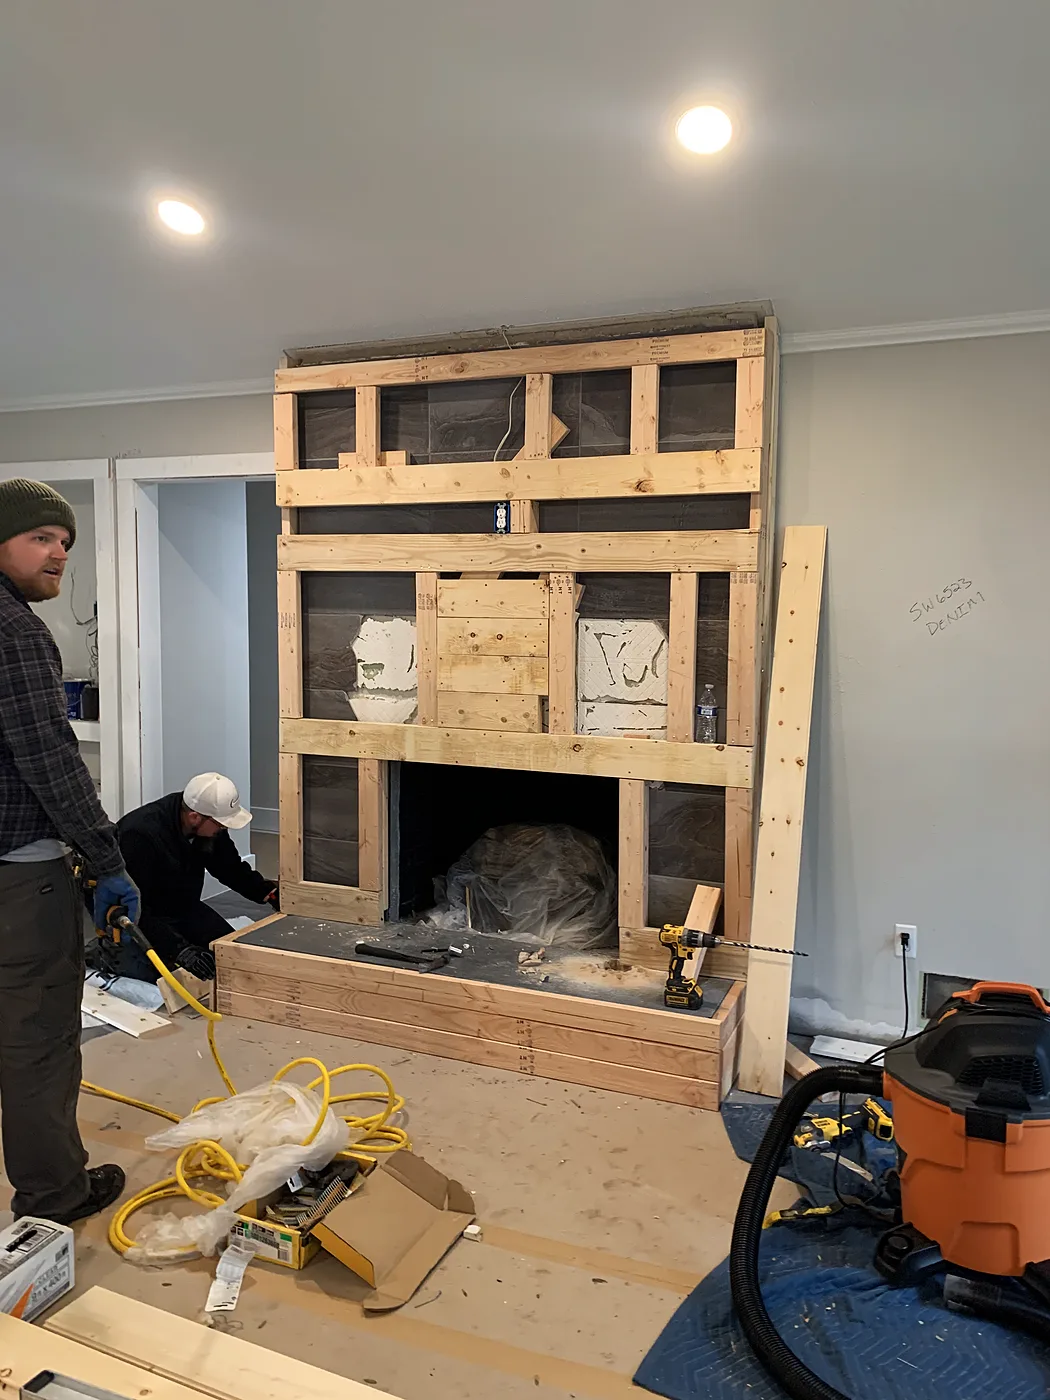
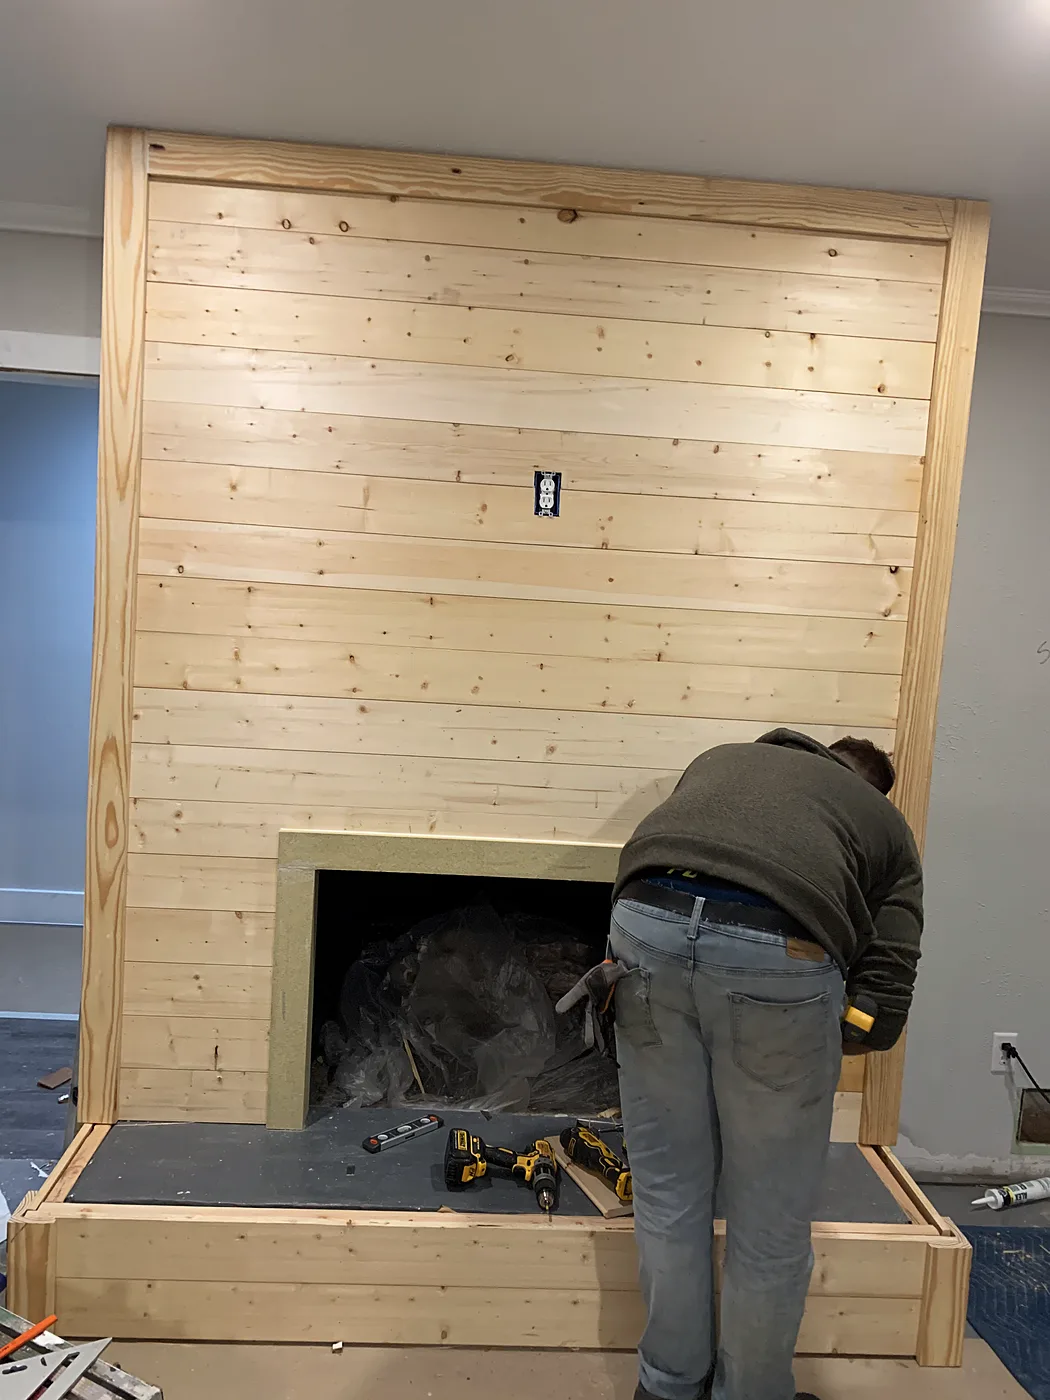
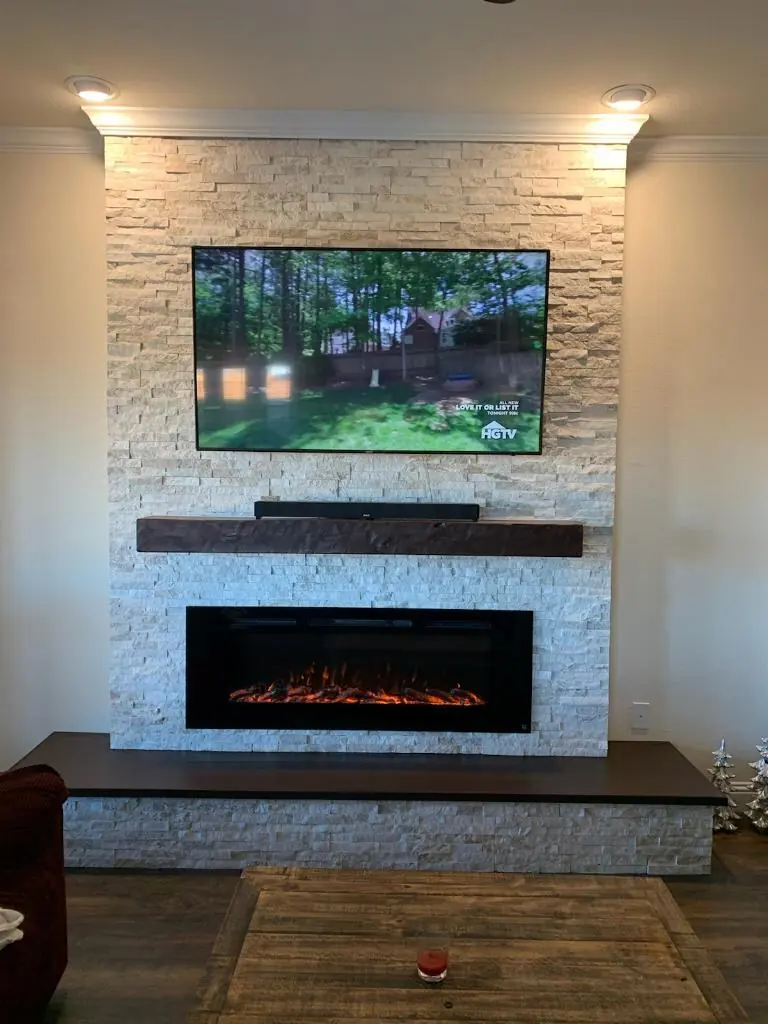
Built from a bare wall: we framed the wall and hearth, set the electric insert, faced it floor to ceiling in stacked stone, and finished it with a floating wood mantel and a raised hearth bench.

During
During: Framing on a bare wall — Custom fireplace built from scratch, Aubrey
Framing on a bare wall
During: Stone, mantel and hearth going up — Custom fireplace built from scratch, Aubrey
Stone, mantel and hearth going up
After
After: Finished, floor to ceiling — Custom fireplace built from scratch, Aubrey
Finished, floor to ceiling
After: Raised hearth bench — Custom fireplace built from scratch, Aubrey
Raised hearth bench

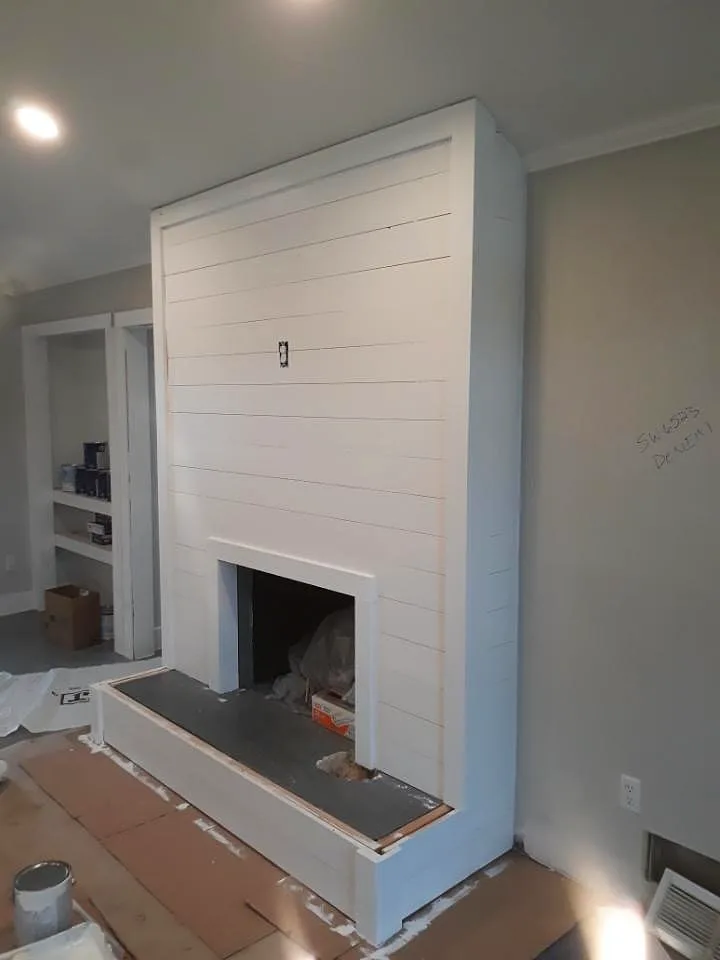
Fireplace built out and finished in white shiplap

Richardson

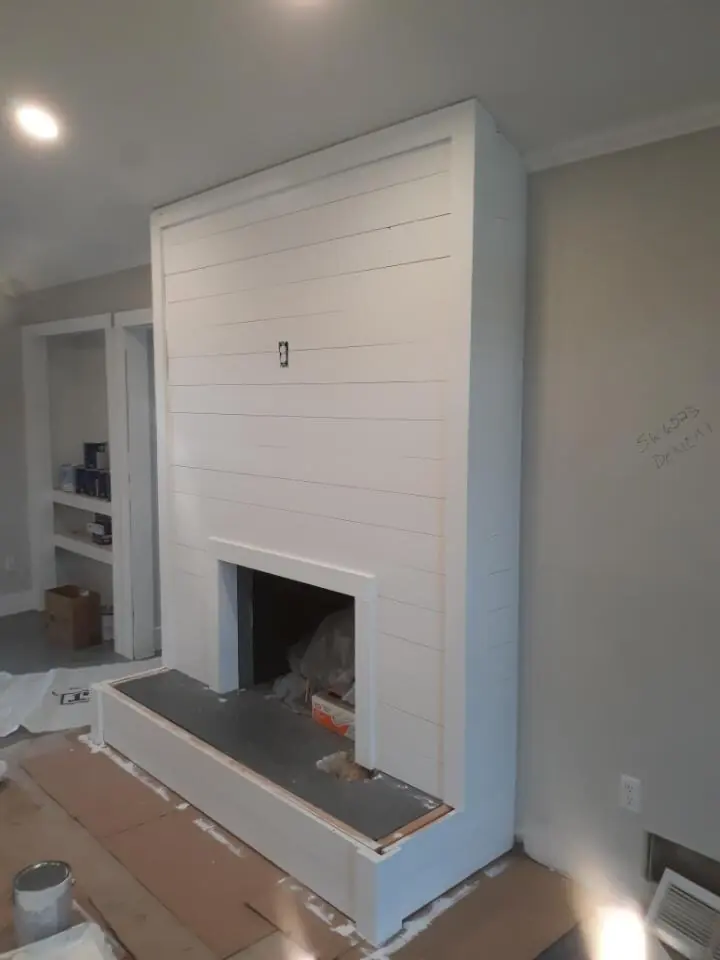
It was just a firebox with drywall around it. We demoed the drywall, framed it out, built out the fireplace and finished it in shiplap and trim. The custom-ordered hearthstone was installed when it came in.

During
During: Framed out — Fireplace built out and finished in white shiplap, Richardson
Framed out
During: Shiplap going up — Fireplace built out and finished in white shiplap, Richardson
Shiplap going up
After
After: Finished in white shiplap — Fireplace built out and finished in white shiplap, Richardson
Finished in white shiplap

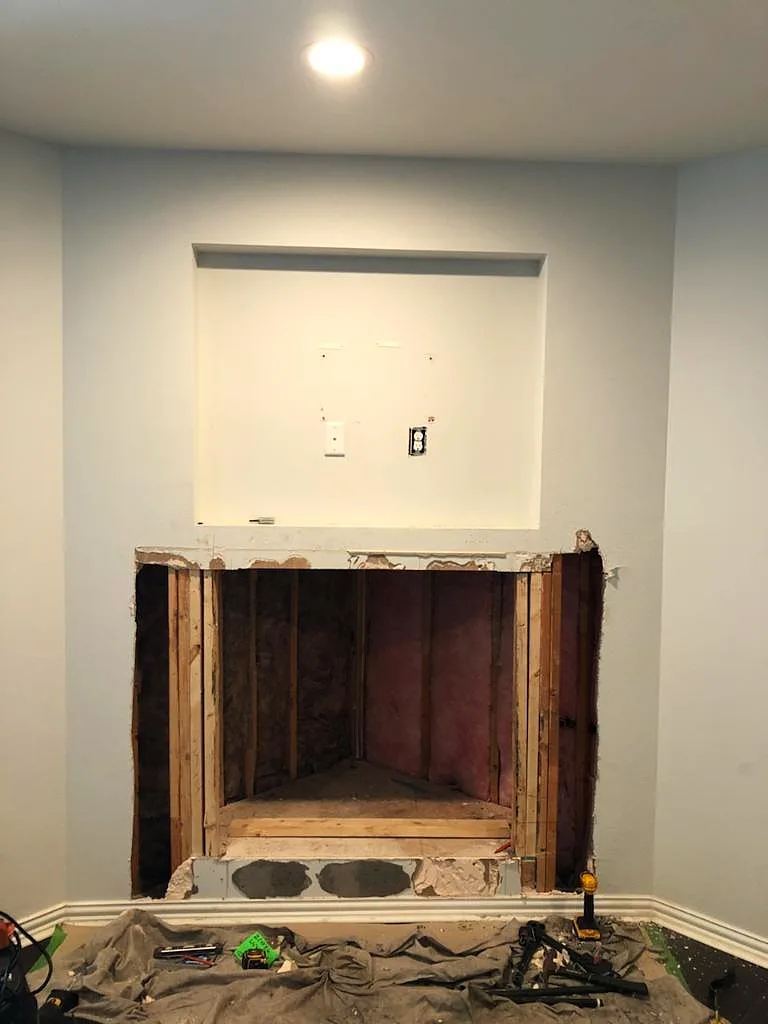
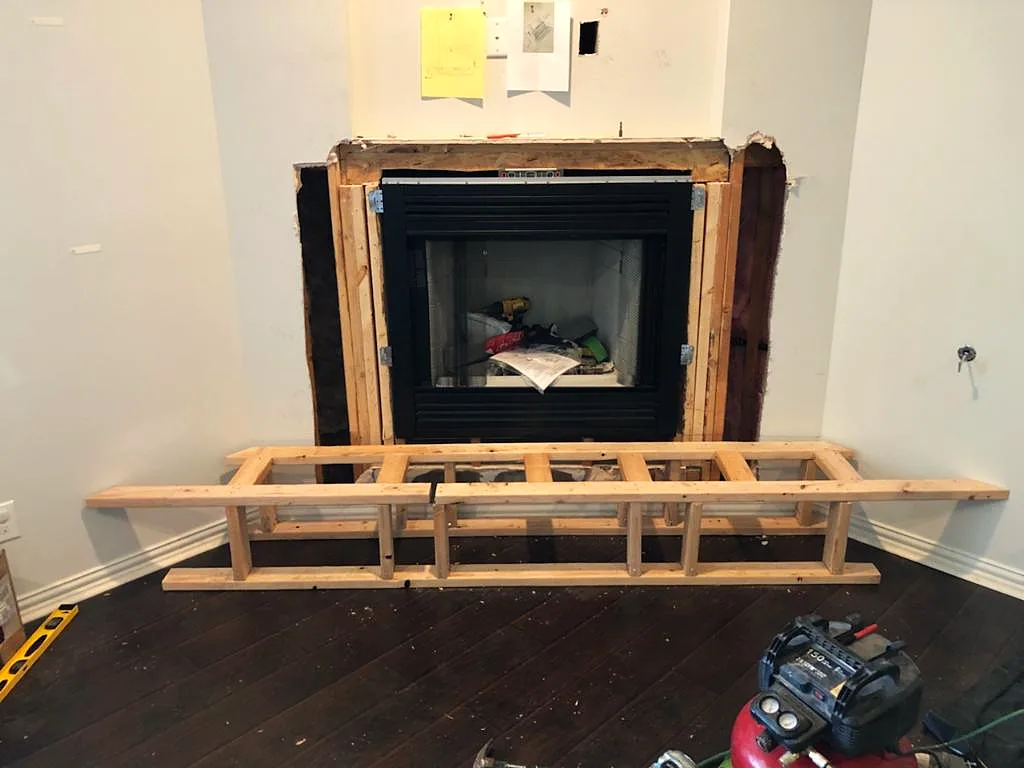
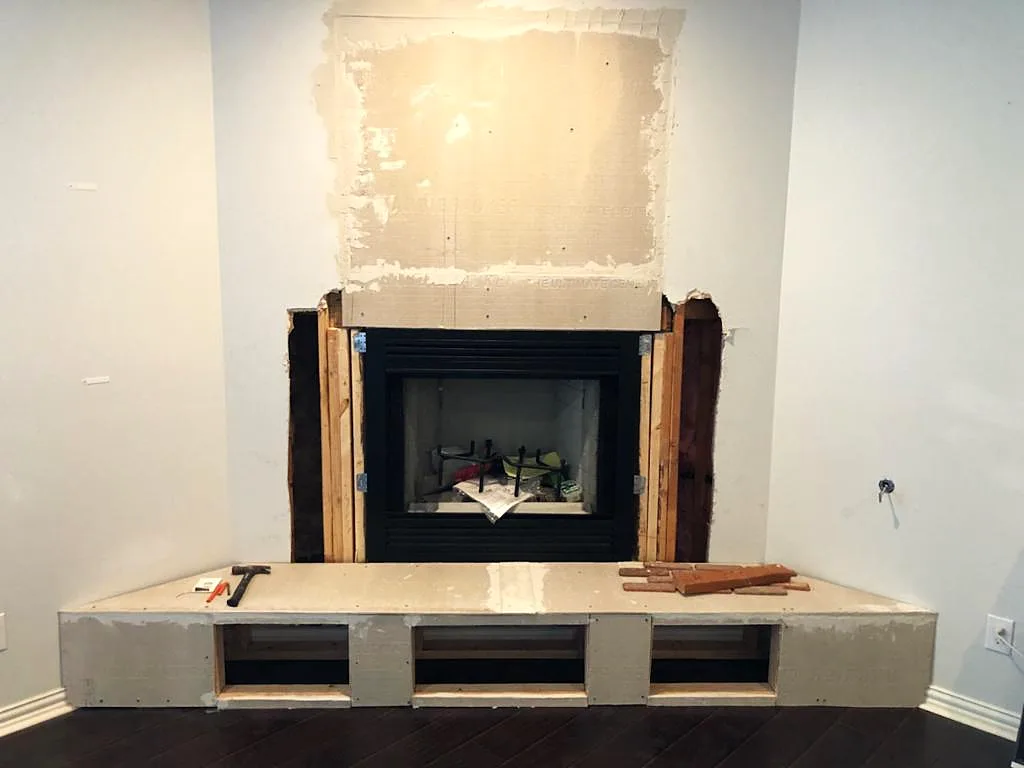
Fireplace rebuilt from the bare wall and firebox

Dallas

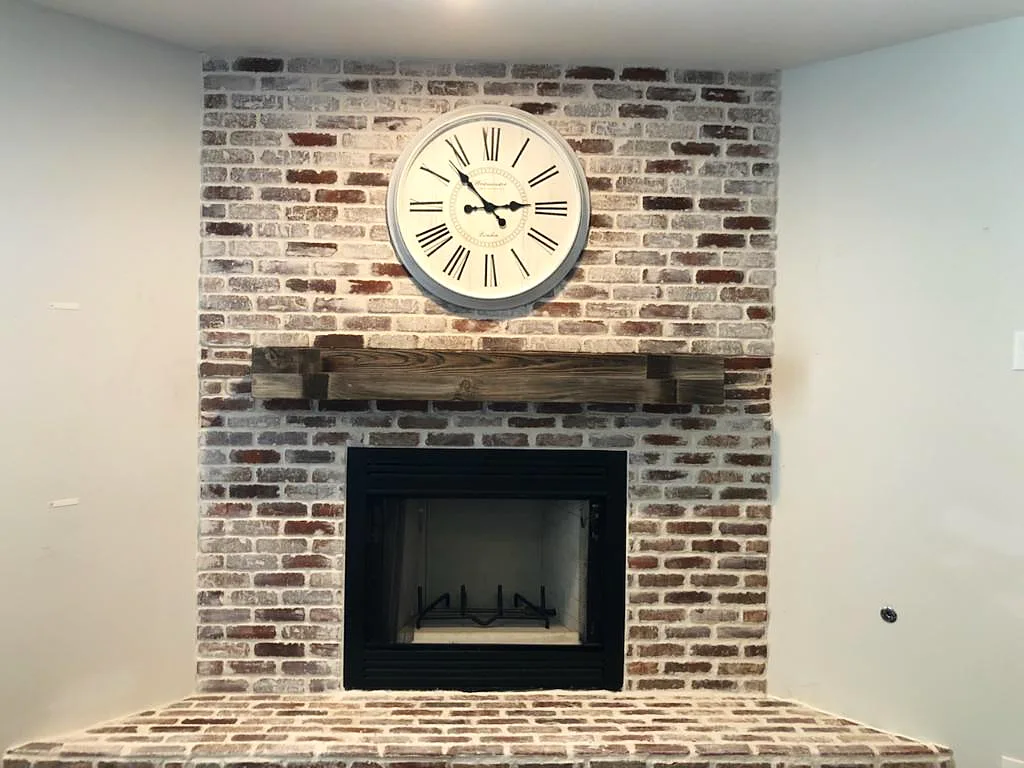
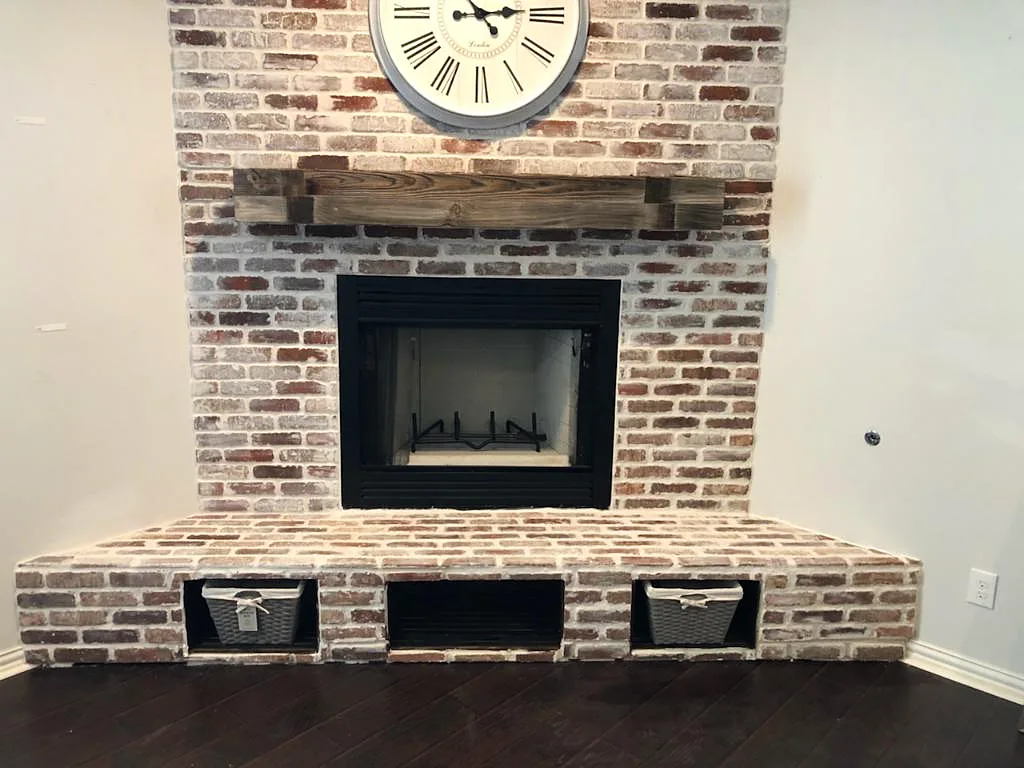
We started from the bare wall and firebox, framed a new raised hearth with built-in storage cubbies, faced it all in whitewashed brick, and added a wood mantel.

Before
Before: Bare wall and firebox — Fireplace rebuilt from the bare wall and firebox, Dallas
Bare wall and firebox
During
During: Framing the raised hearth — Fireplace rebuilt from the bare wall and firebox, Dallas
Framing the raised hearth
During: Hearth set, wall prepped — Fireplace rebuilt from the bare wall and firebox, Dallas
Hearth set, wall prepped
After
After: Whitewashed brick and mantel — Fireplace rebuilt from the bare wall and firebox, Dallas
Whitewashed brick and mantel
After: Hearth with storage cubbies — Fireplace rebuilt from the bare wall and firebox, Dallas
Hearth with storage cubbies

Complete fireplace remodel

Dallas

Complete fireplace remodel. We replaced the firebox and the piping first.

Before
Before: Before — Complete fireplace remodel, Dallas
Before
After
After: Finished — Complete fireplace remodel, Dallas
Finished

Stacked-stone fireplace with a stone hearth

Frisco

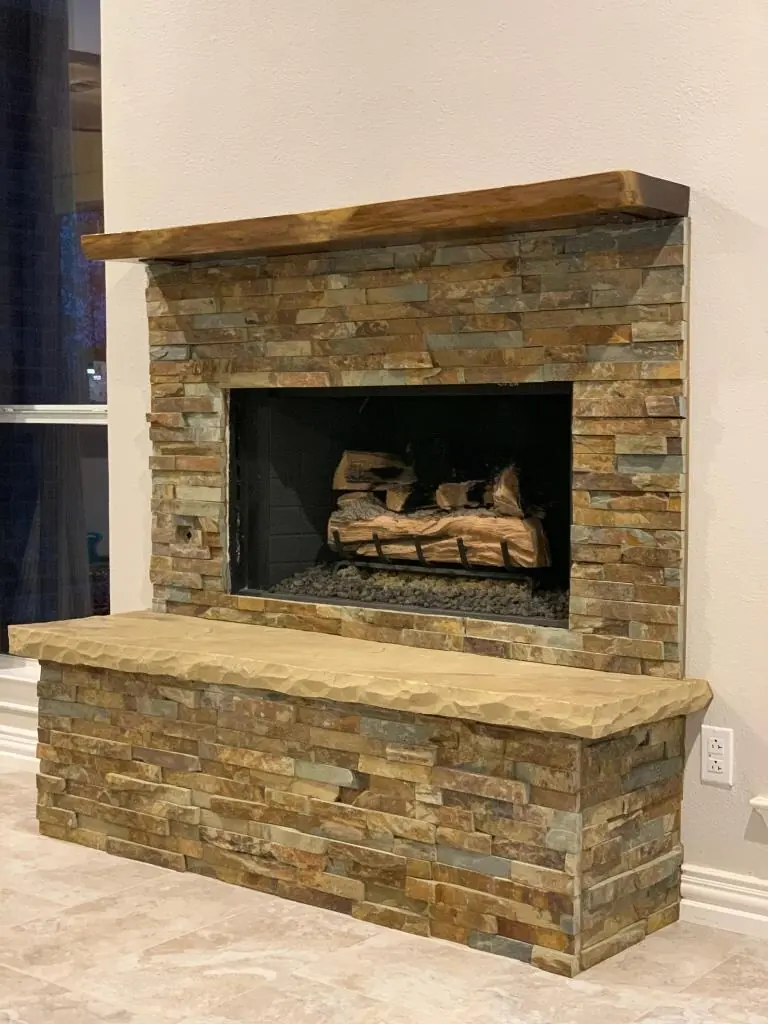
Stacked stone surround, raised stone hearth and a wood mantel.

Before
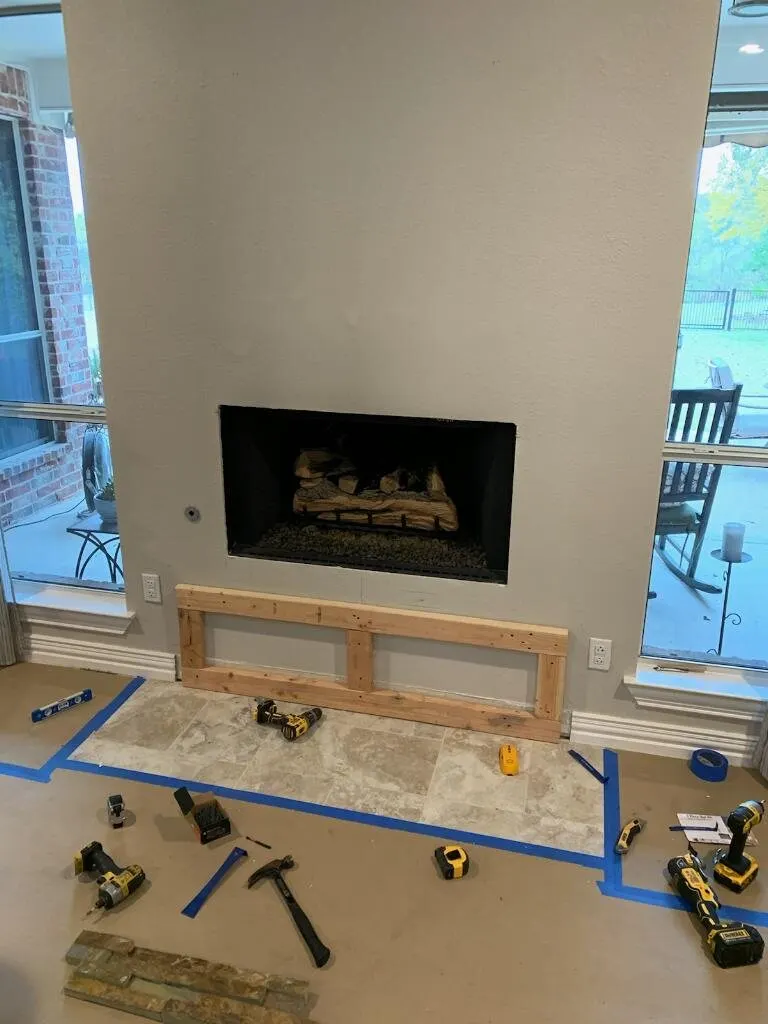
Before: Hearth being framed — Stacked-stone fireplace with a stone hearth, Frisco
Hearth being framed
During
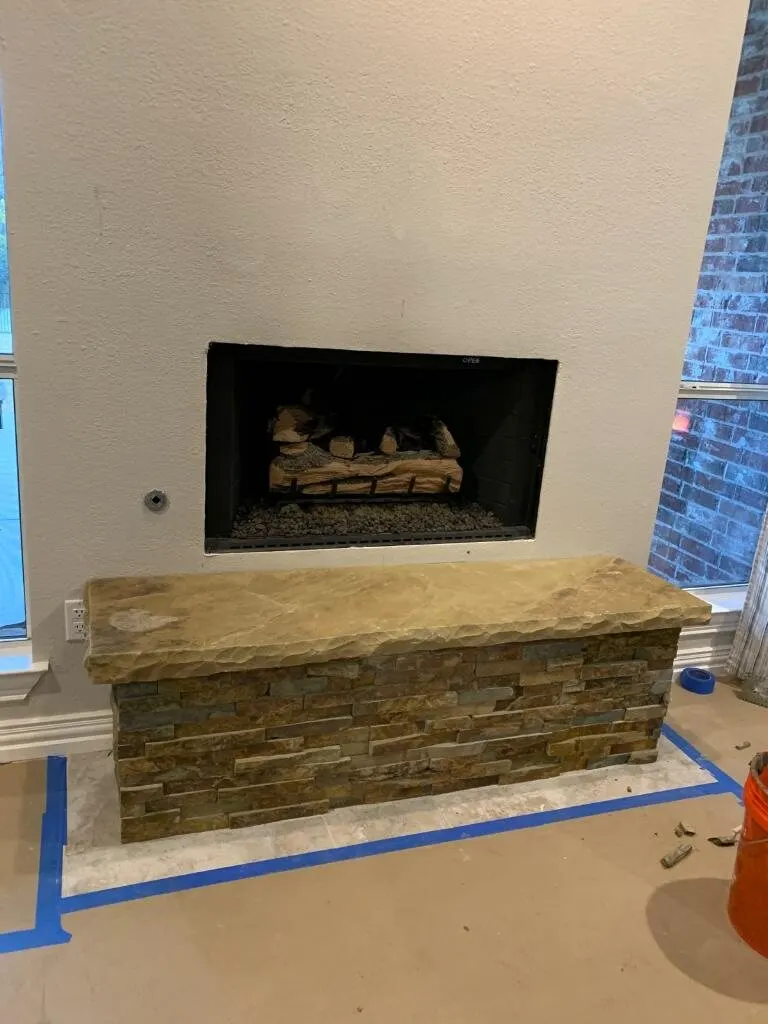
During: Stone going on the hearth — Stacked-stone fireplace with a stone hearth, Frisco
Stone going on the hearth
After
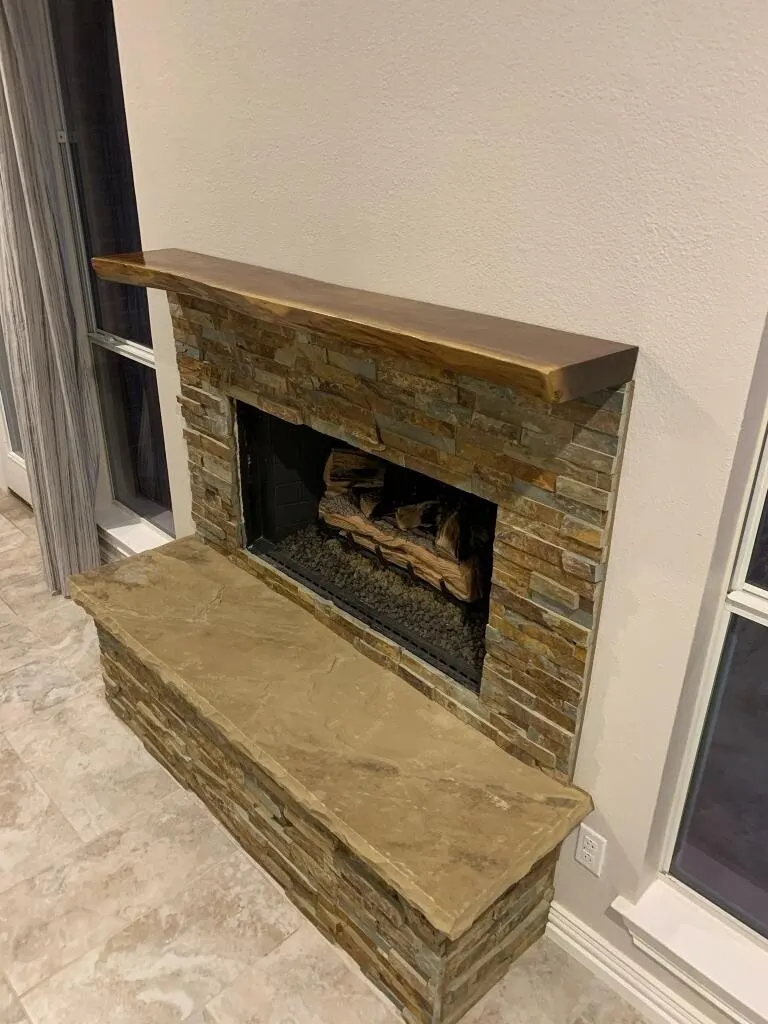
After: Hearth and mantel — Stacked-stone fireplace with a stone hearth, Frisco
Hearth and mantel

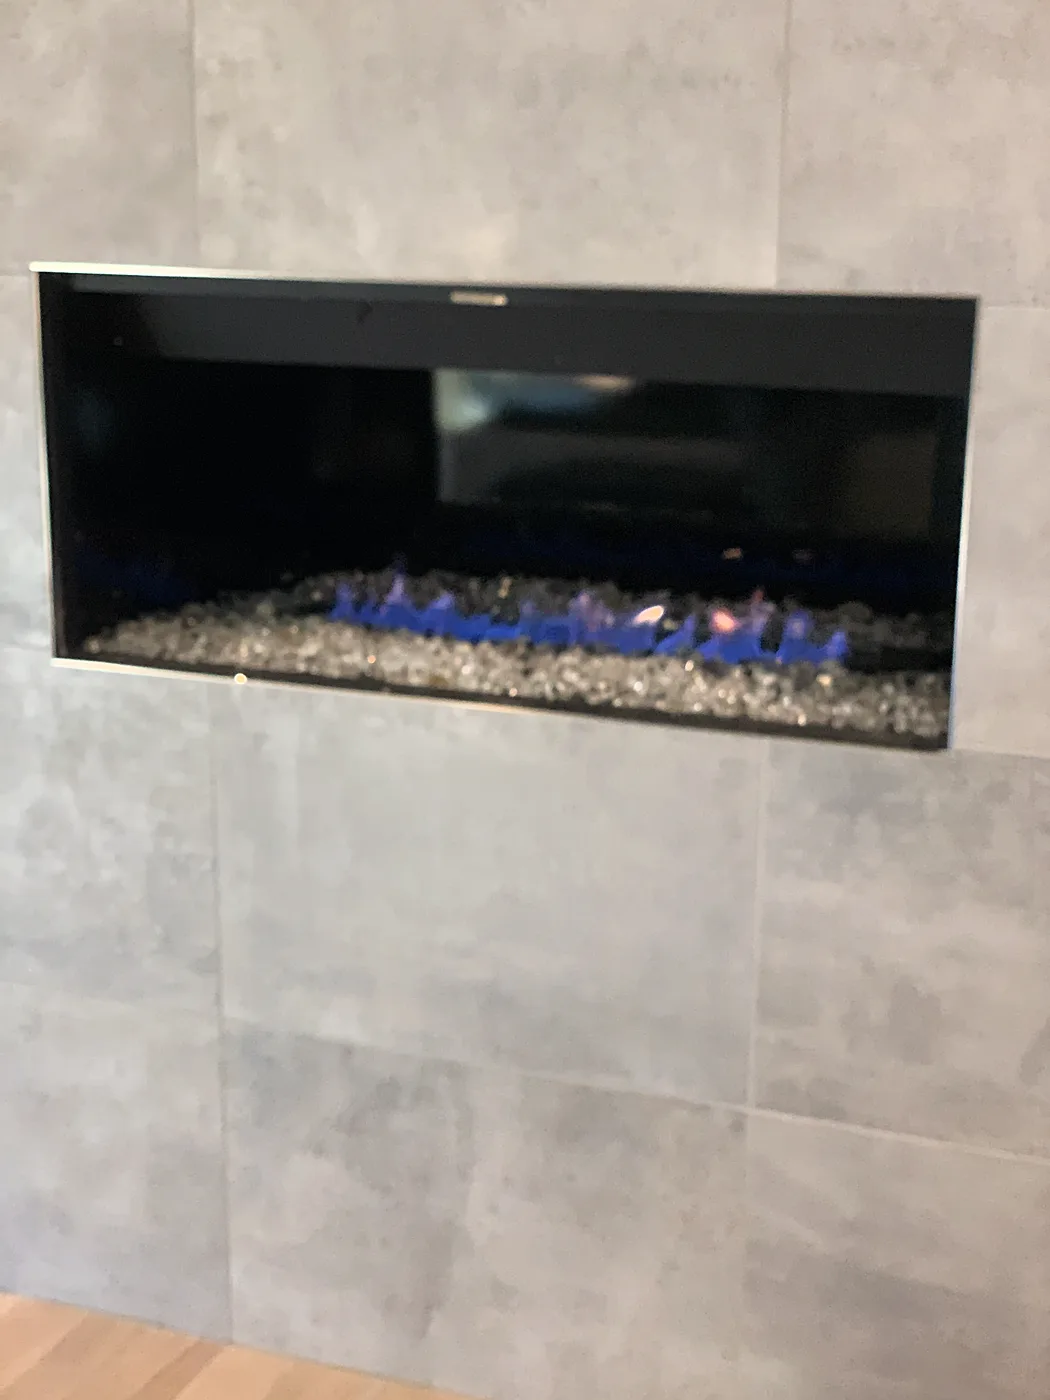
Custom gas insert with fire glass

Dallas

Custom gas insert set into the firebox, with fire glass added.

During
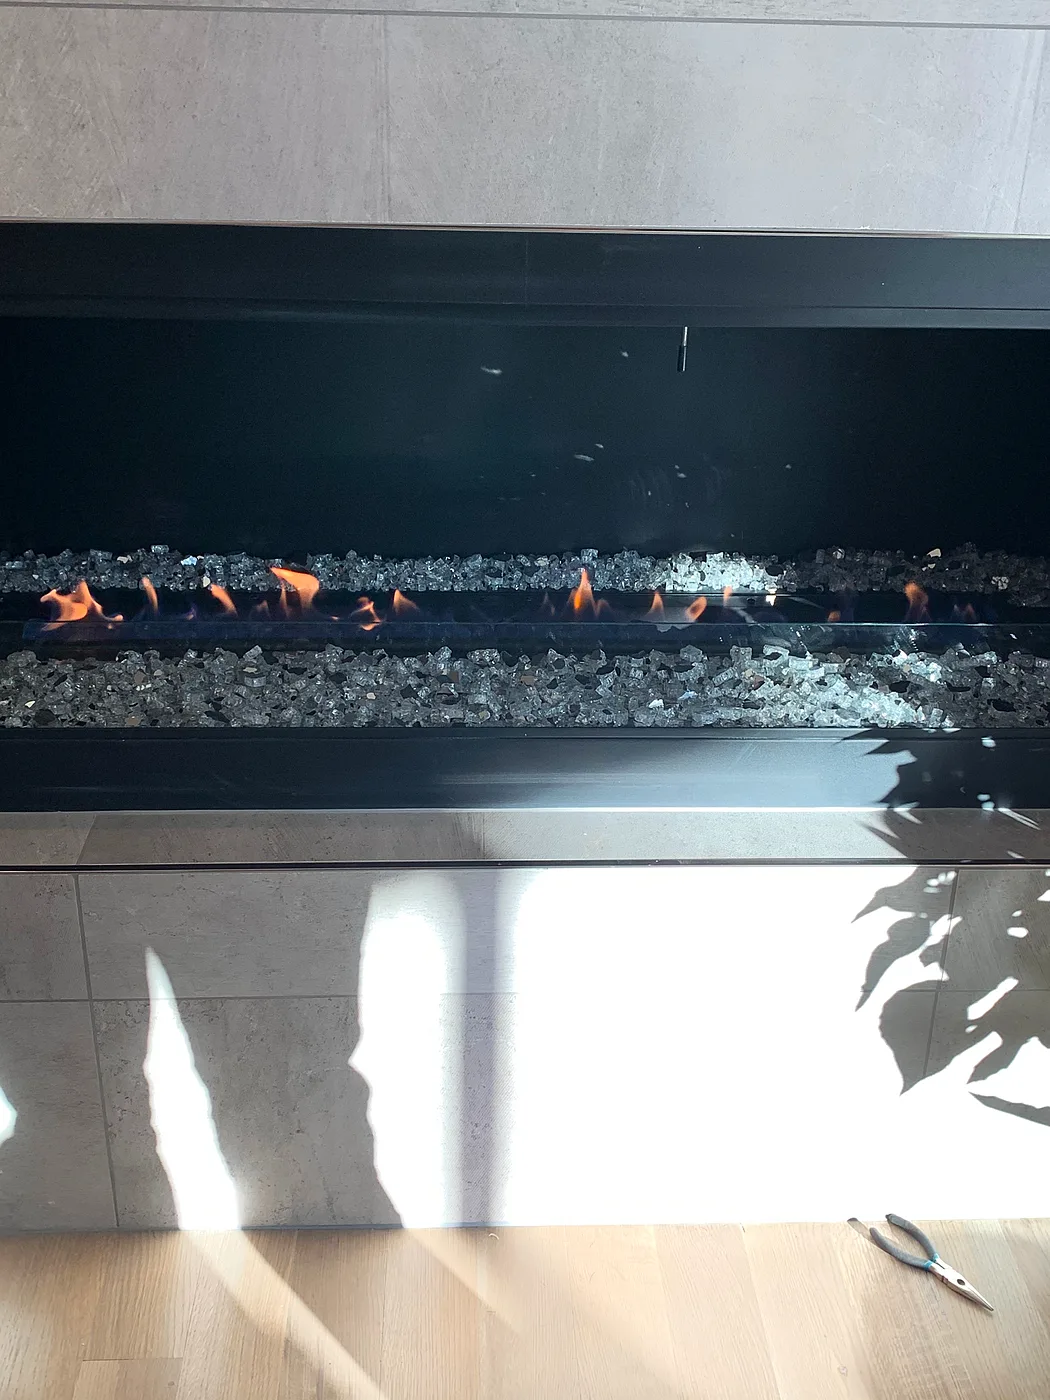
During: Fire glass going in — Custom gas insert with fire glass, Dallas
Fire glass going in
After
After: Finished insert — Custom gas insert with fire glass, Dallas
Finished insert

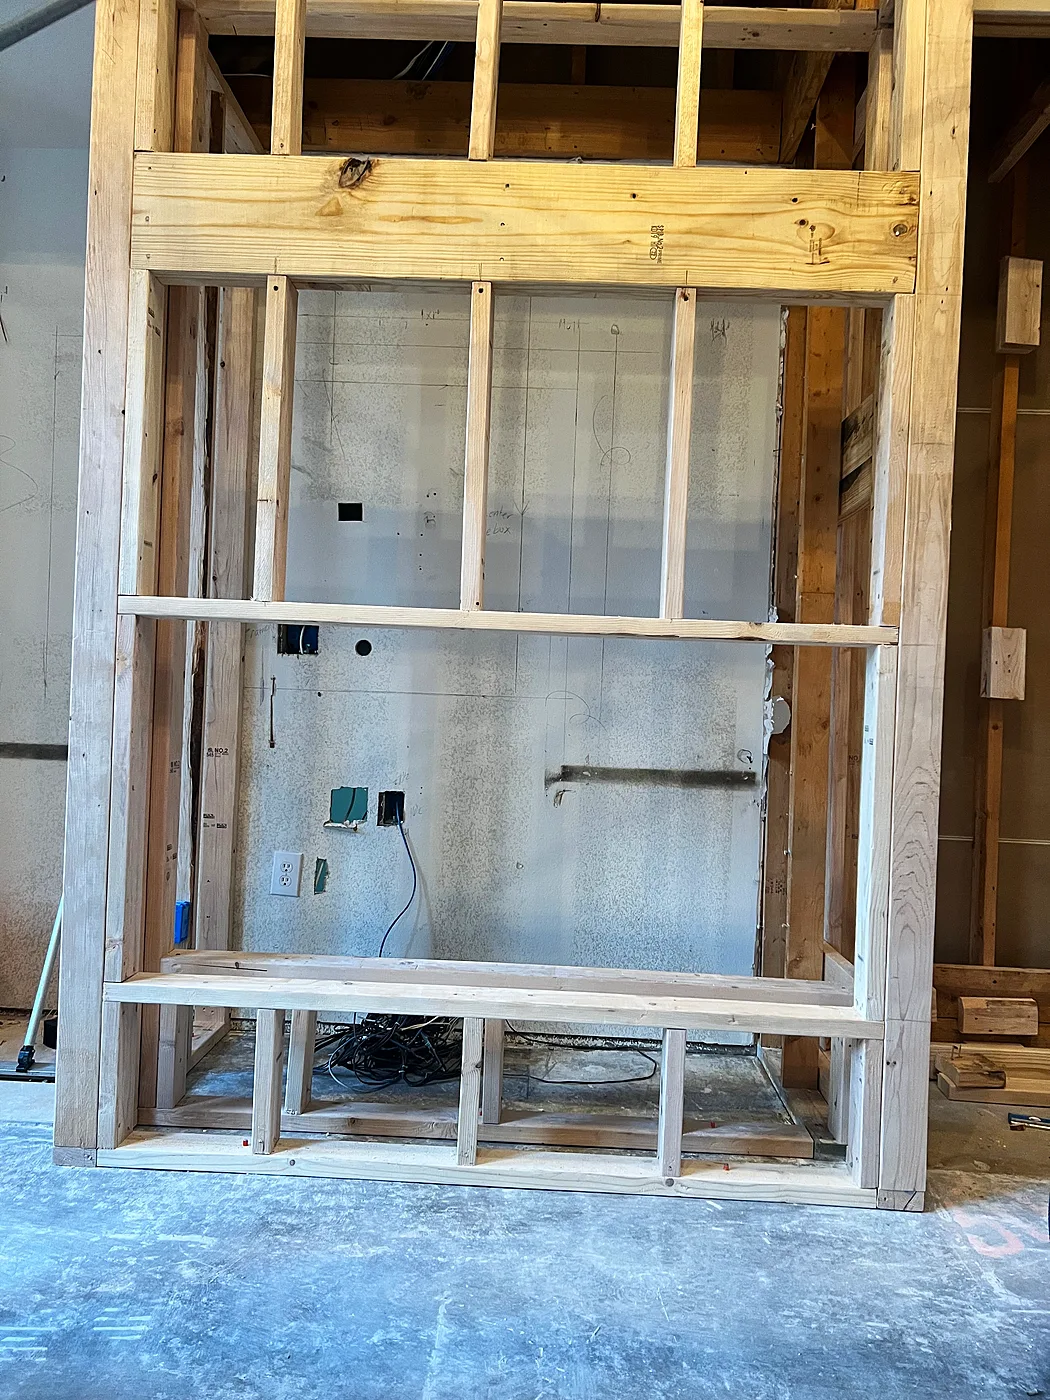
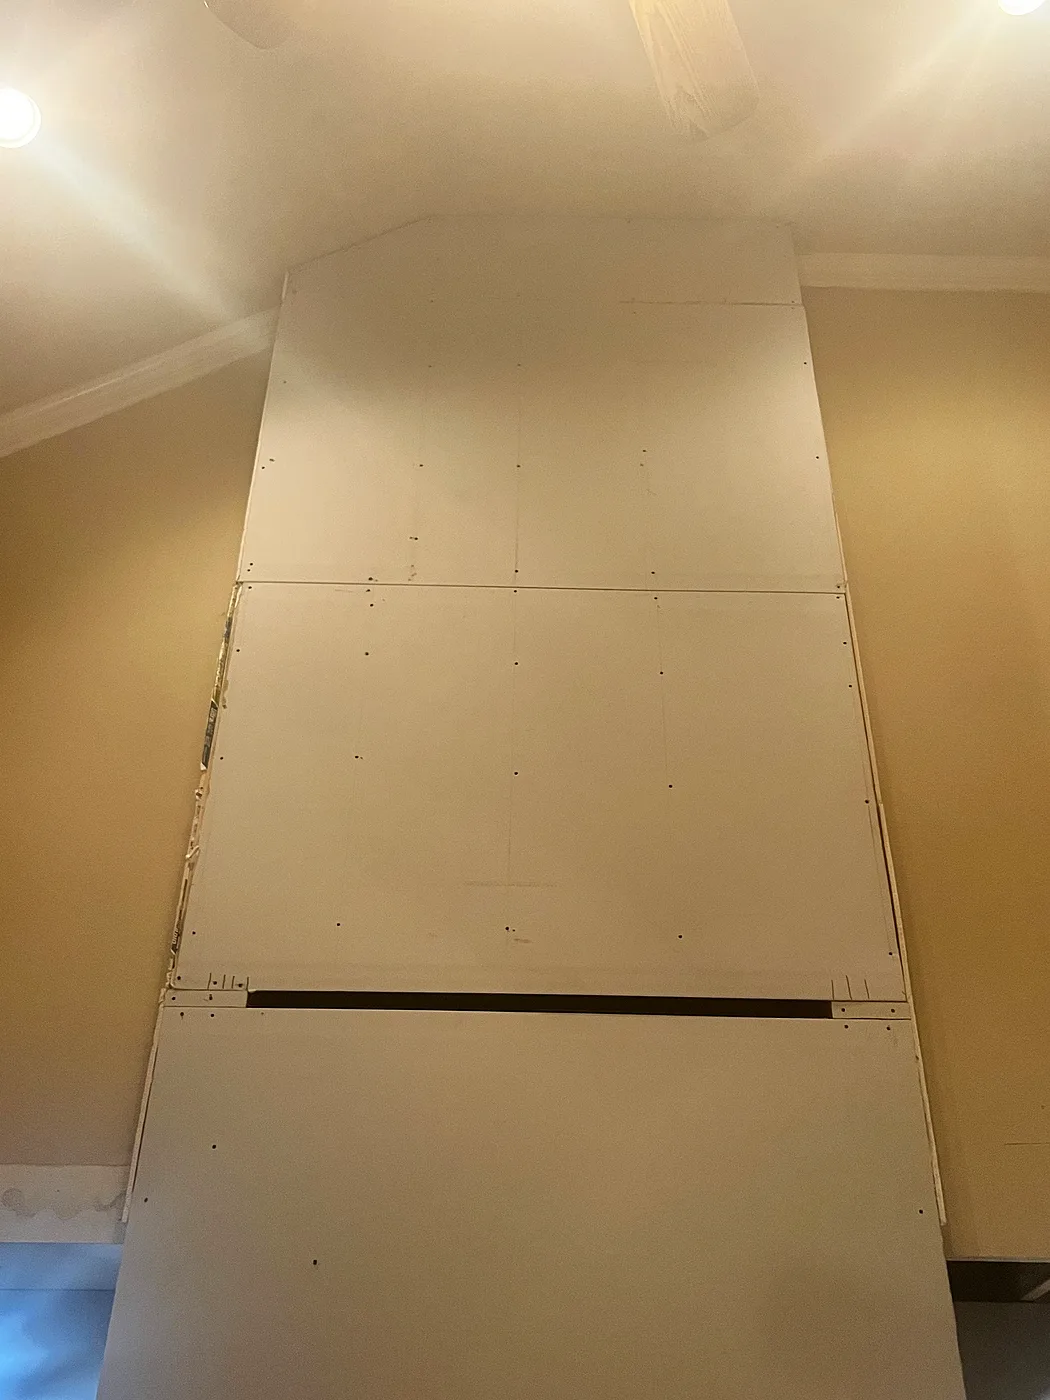
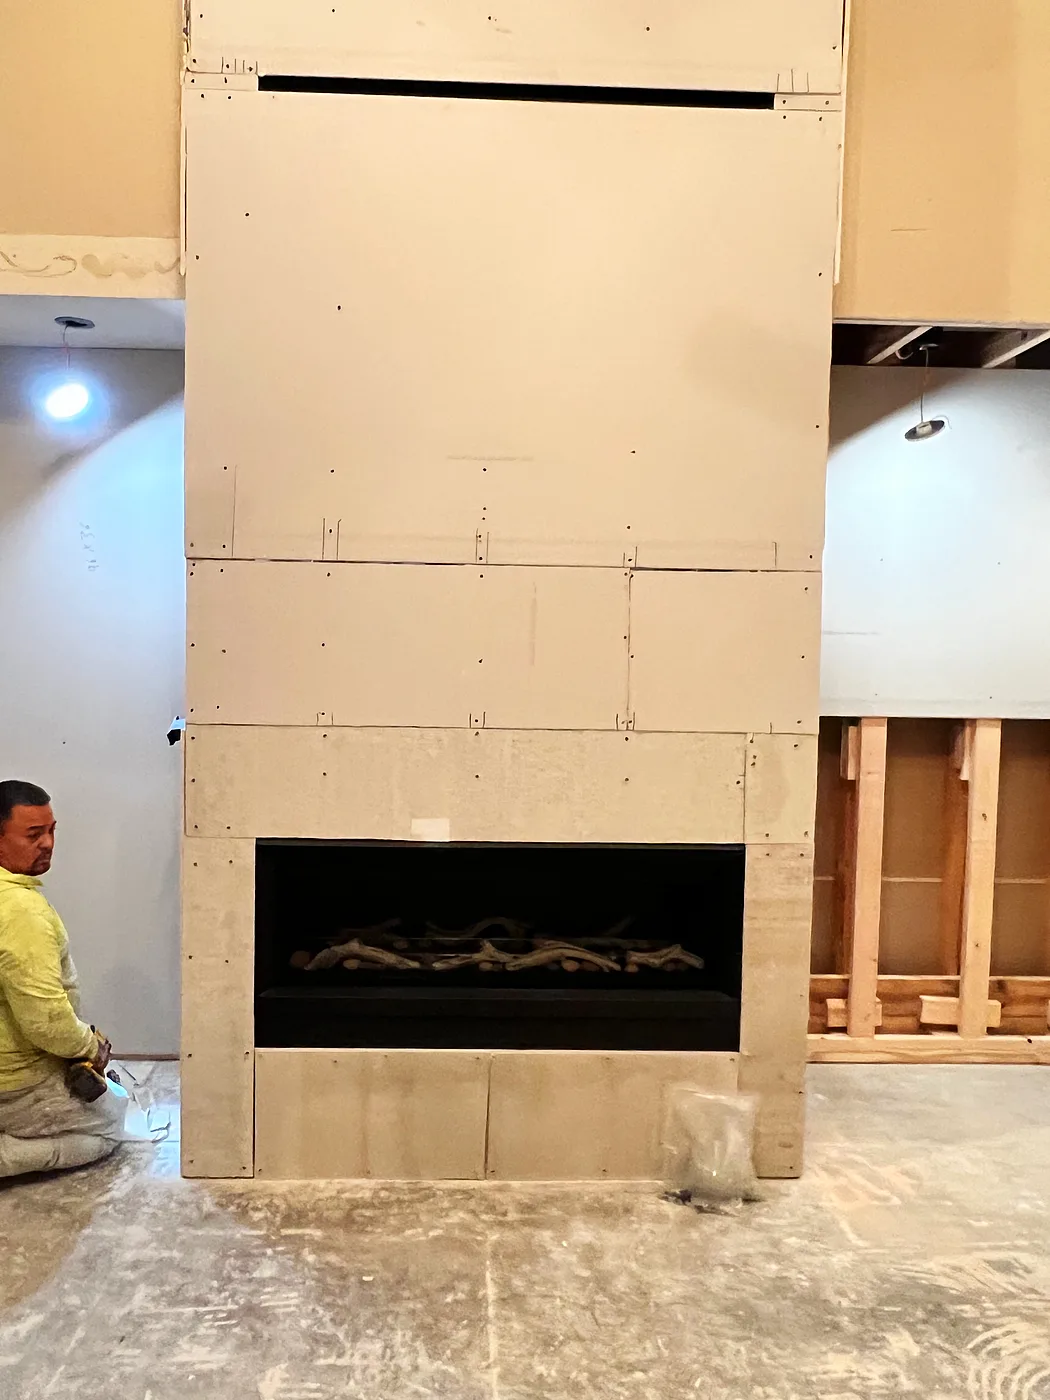
Custom fireplace framed from scratch

McKinney

Custom fireplace wall framed from scratch up to the vaulted ceiling, with a linear gas insert set and boarded.

During
During: Framing the fireplace wall — Custom fireplace framed from scratch, McKinney
Framing the fireplace wall
During: Boarded to the ceiling — Custom fireplace framed from scratch, McKinney
Boarded to the ceiling
After
After: Insert set — Custom fireplace framed from scratch, McKinney
Insert set

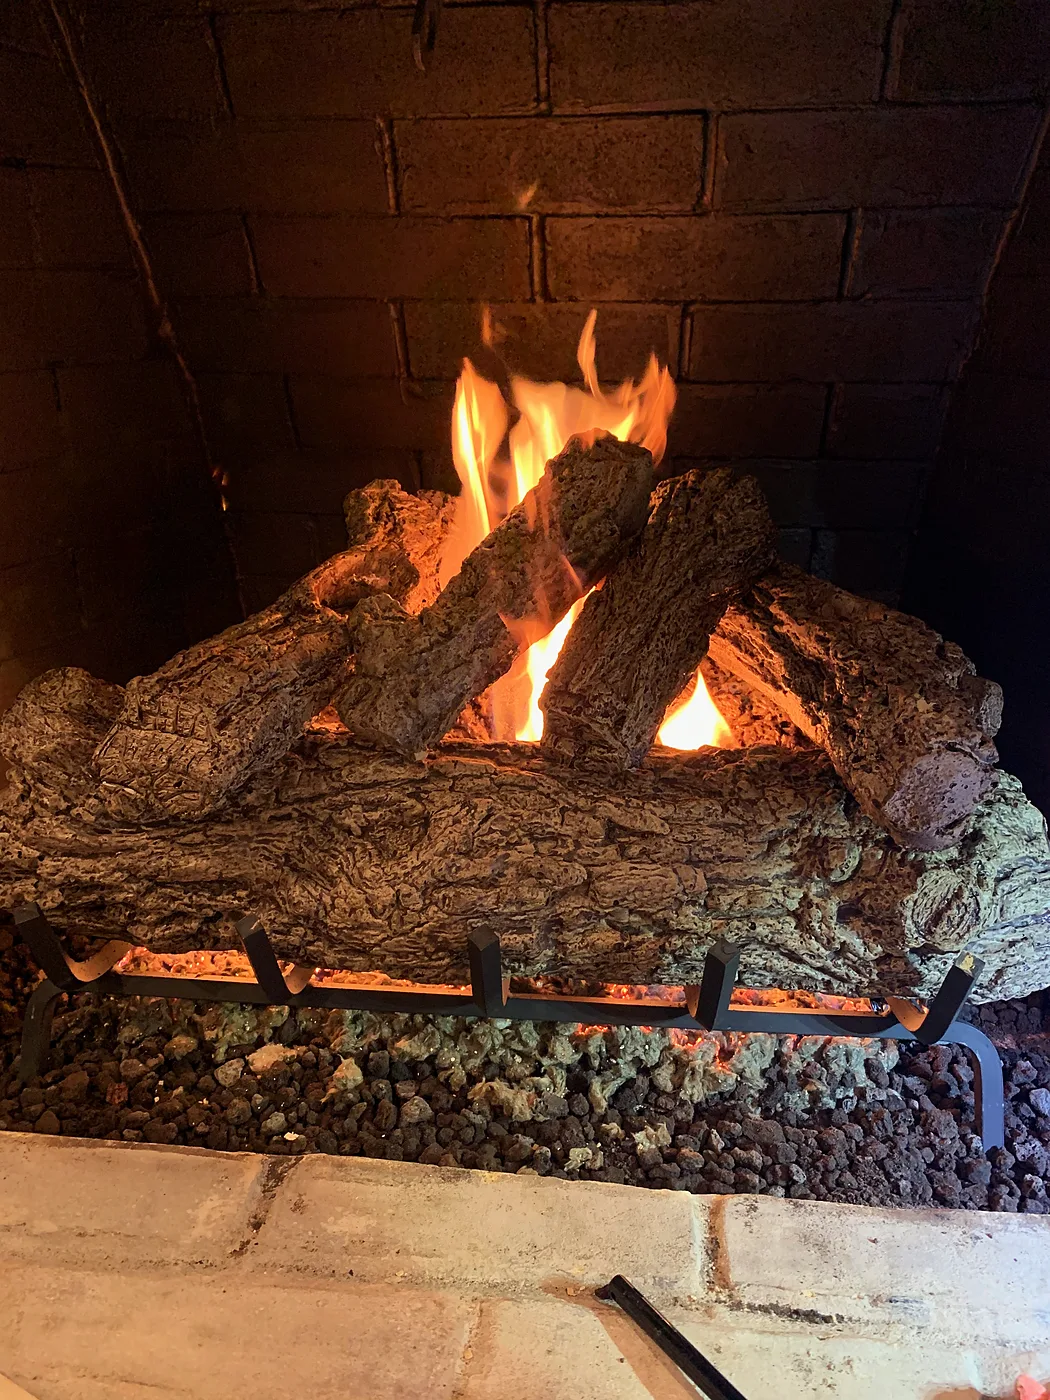
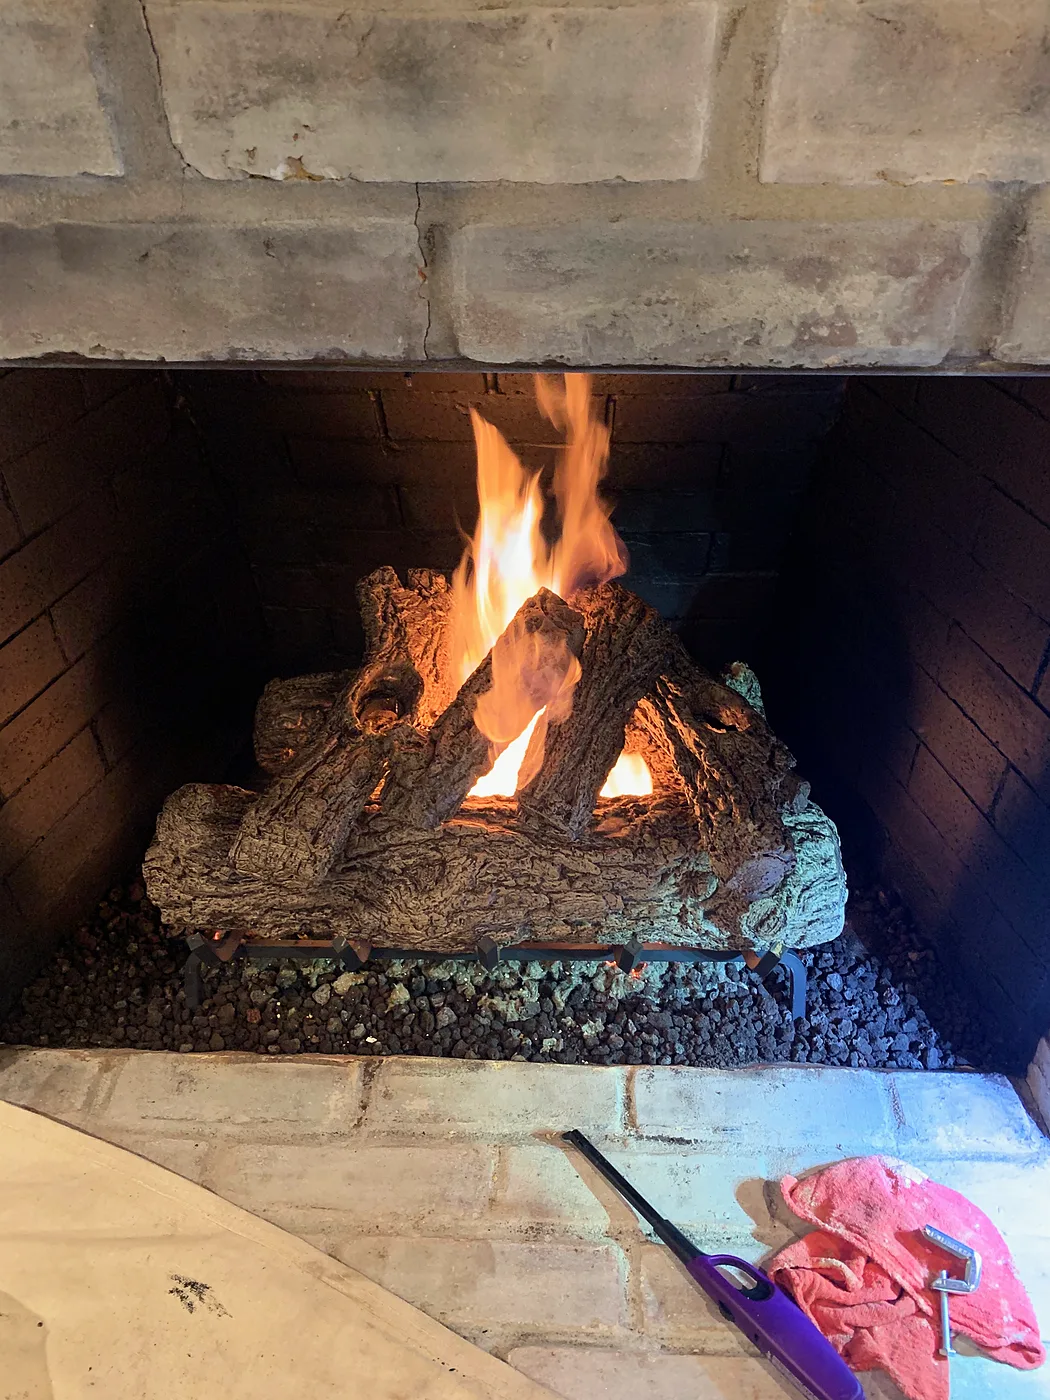
Gas log set replaced

Richardson

Removed the outdated gas log set, cleaned out the firebox, and installed the new set the homeowners picked, with black fire rock, embers and sand under the burners.

After
After: New gas logs lit — Gas log set replaced, Richardson
New gas logs lit
After: Fire rock and embers — Gas log set replaced, Richardson
Fire rock and embers

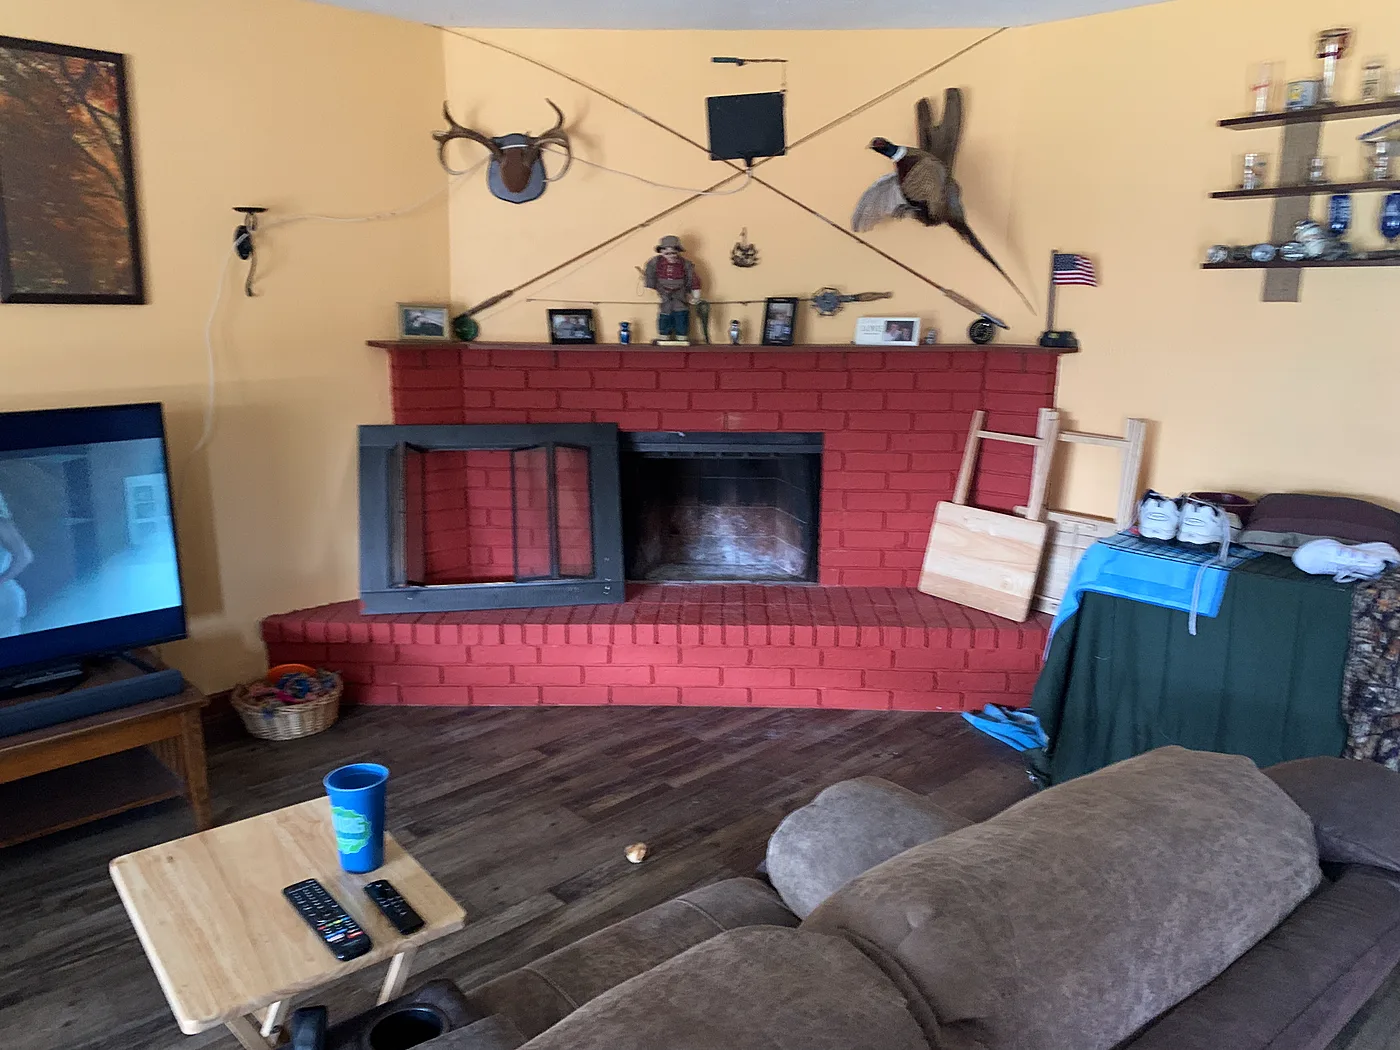
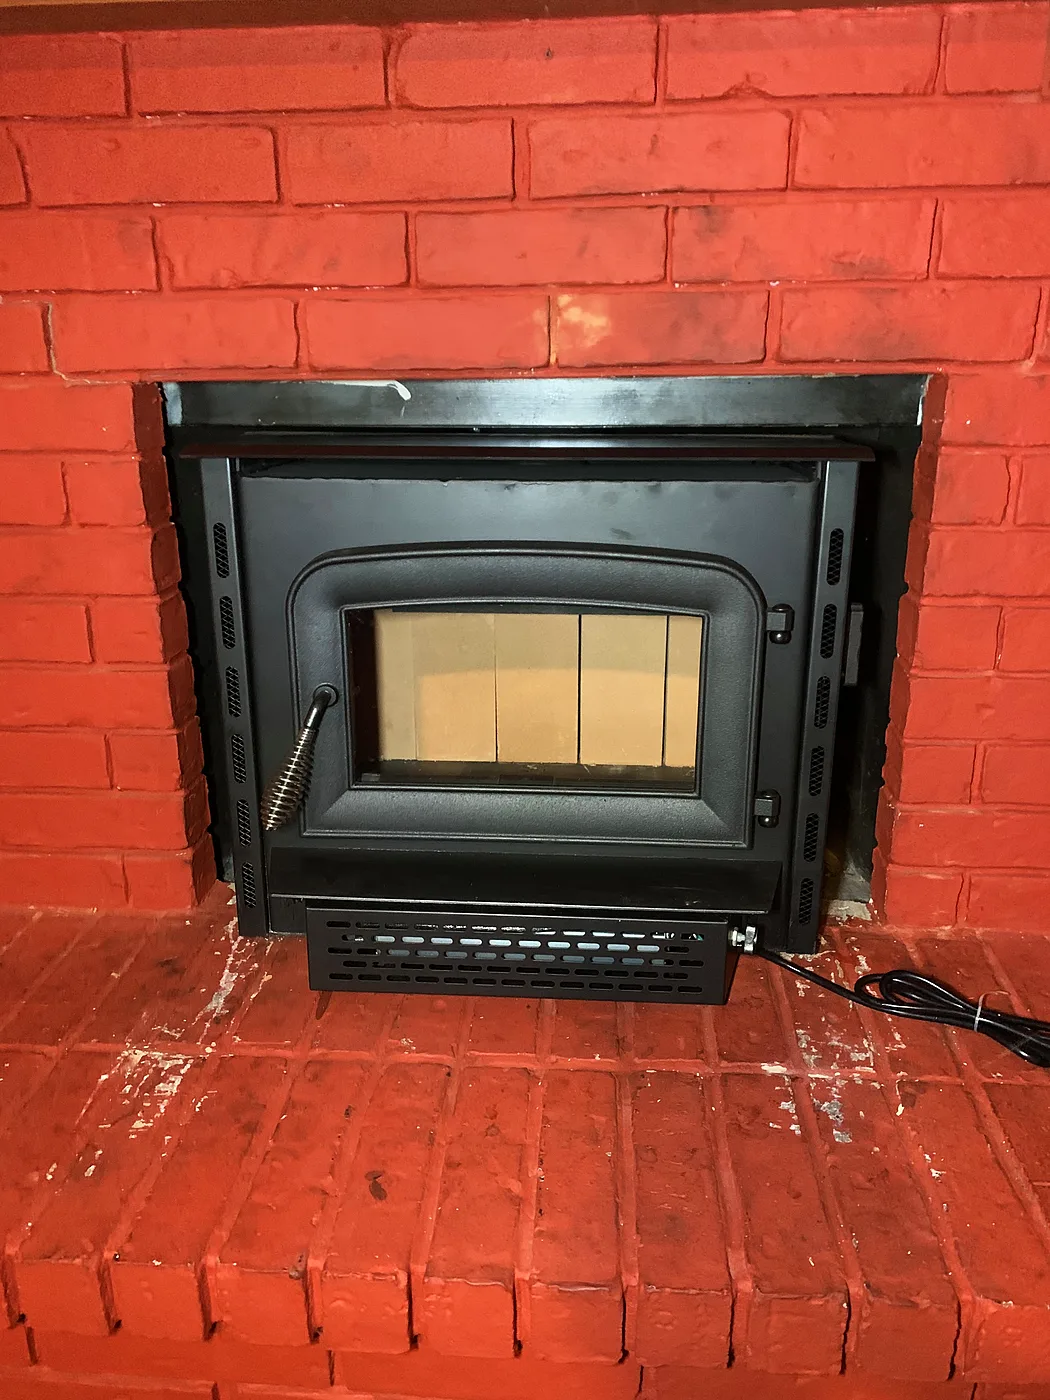
Heat-circulating wood fireplace insert and blower

The Colony

Pulled all the old piping from the base of the firebox out through the chimney, routed new piping in from the top, and installed and connected the new heat-circulating unit.

Before
Before: Before — Heat-circulating wood fireplace insert and blower, The Colony
Before
After
After: New insert installed — Heat-circulating wood fireplace insert and blower, The Colony
New insert installed

Masonry

Retaining walls, tuckpointing, brick repair and German smear.

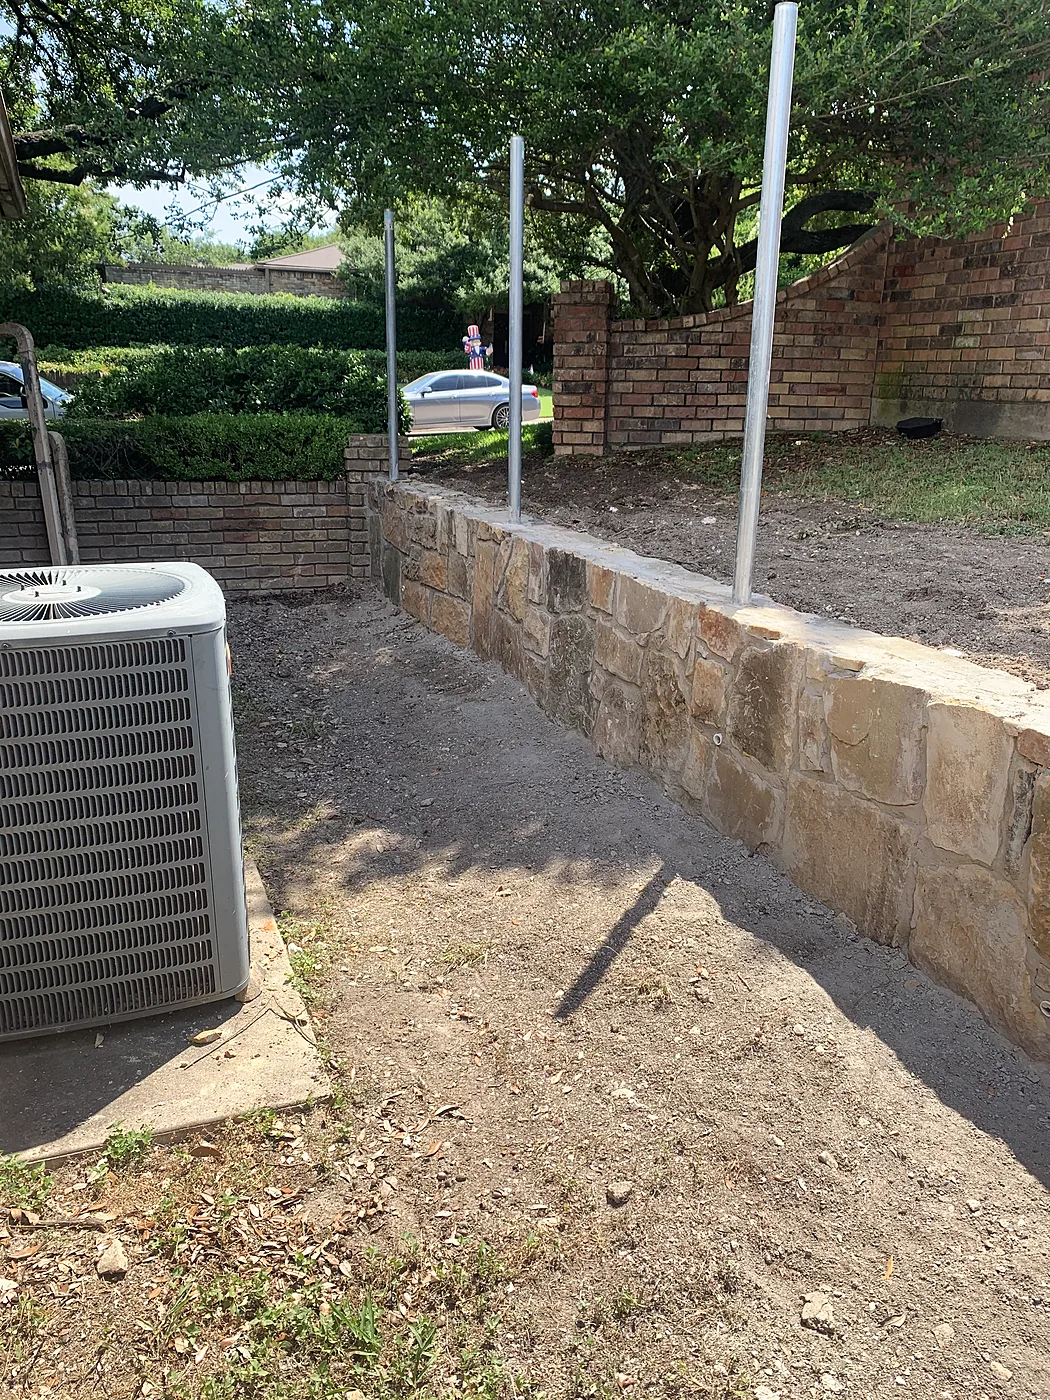
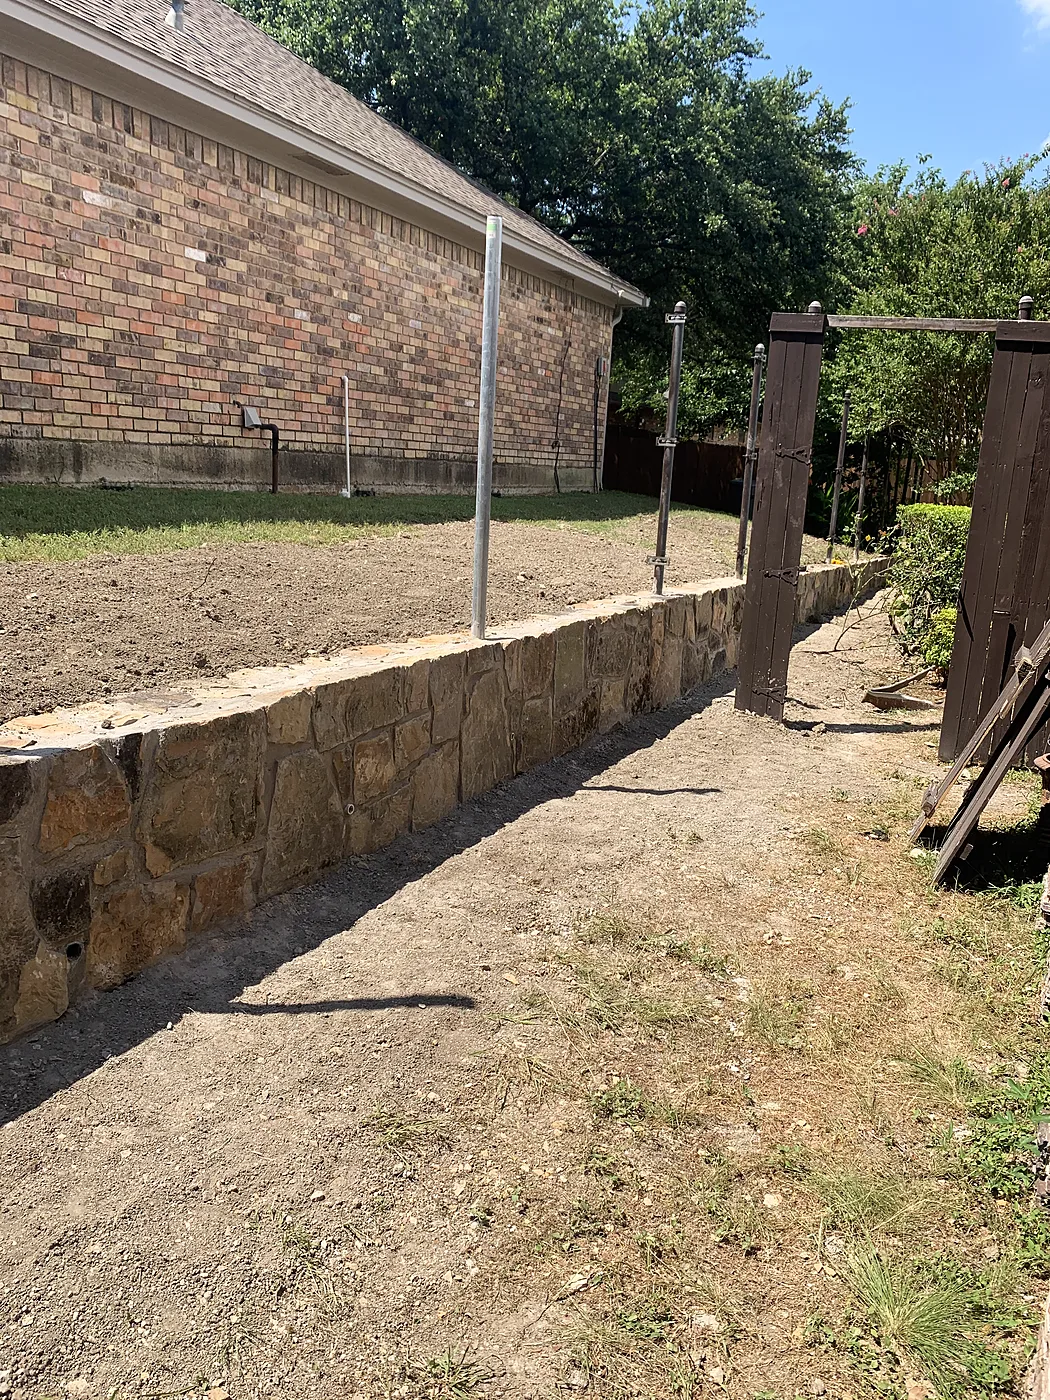
Retaining wall torn out and rebuilt

Dallas

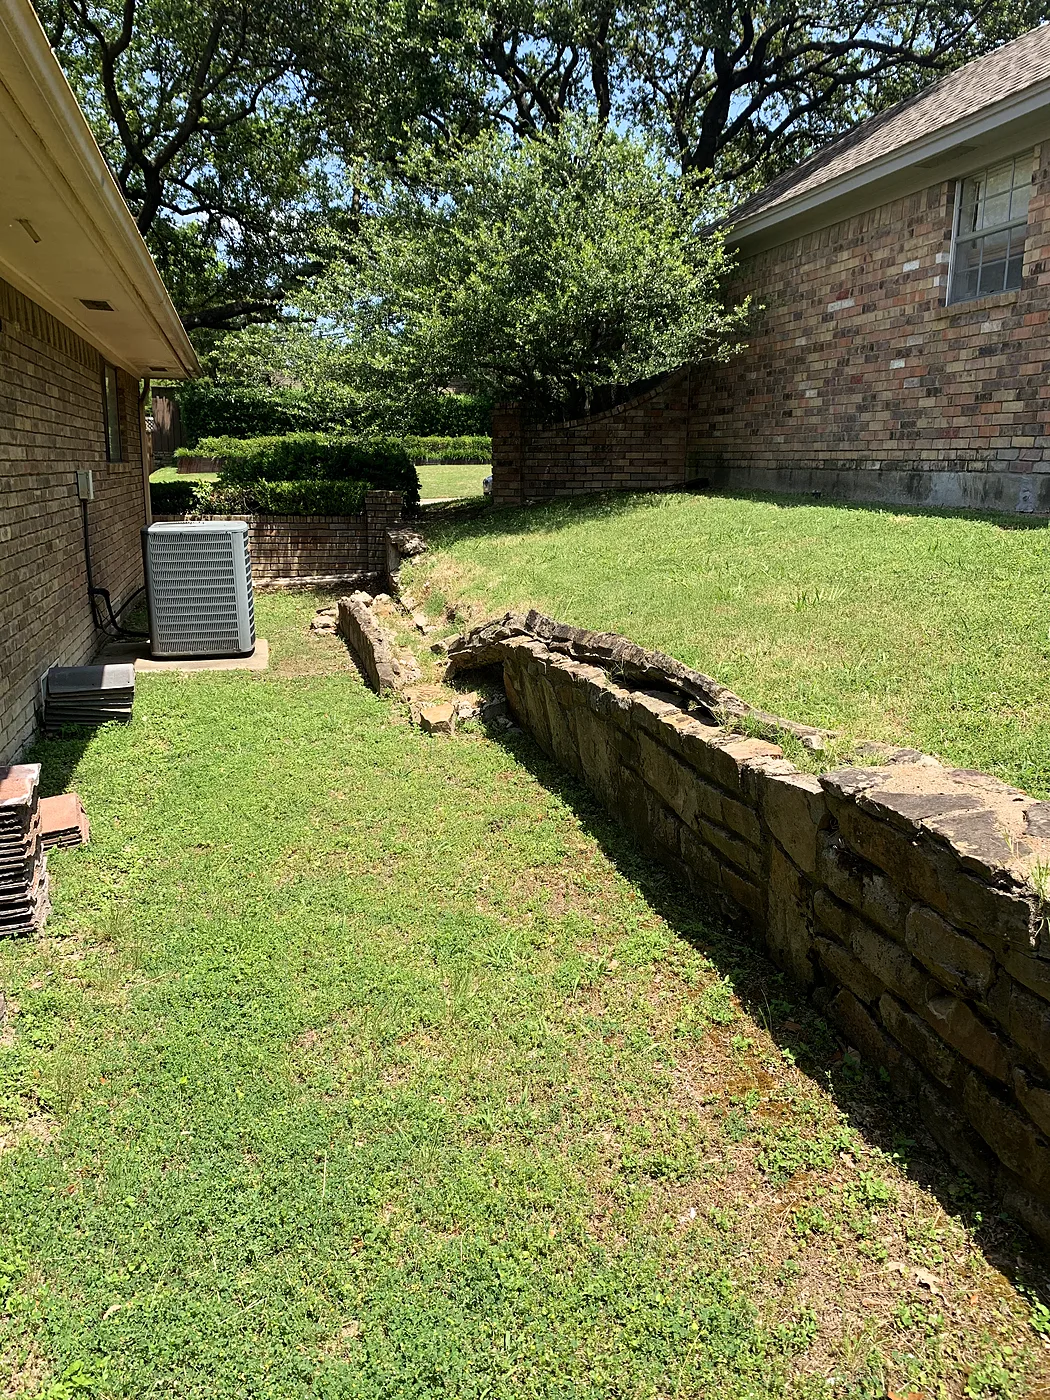
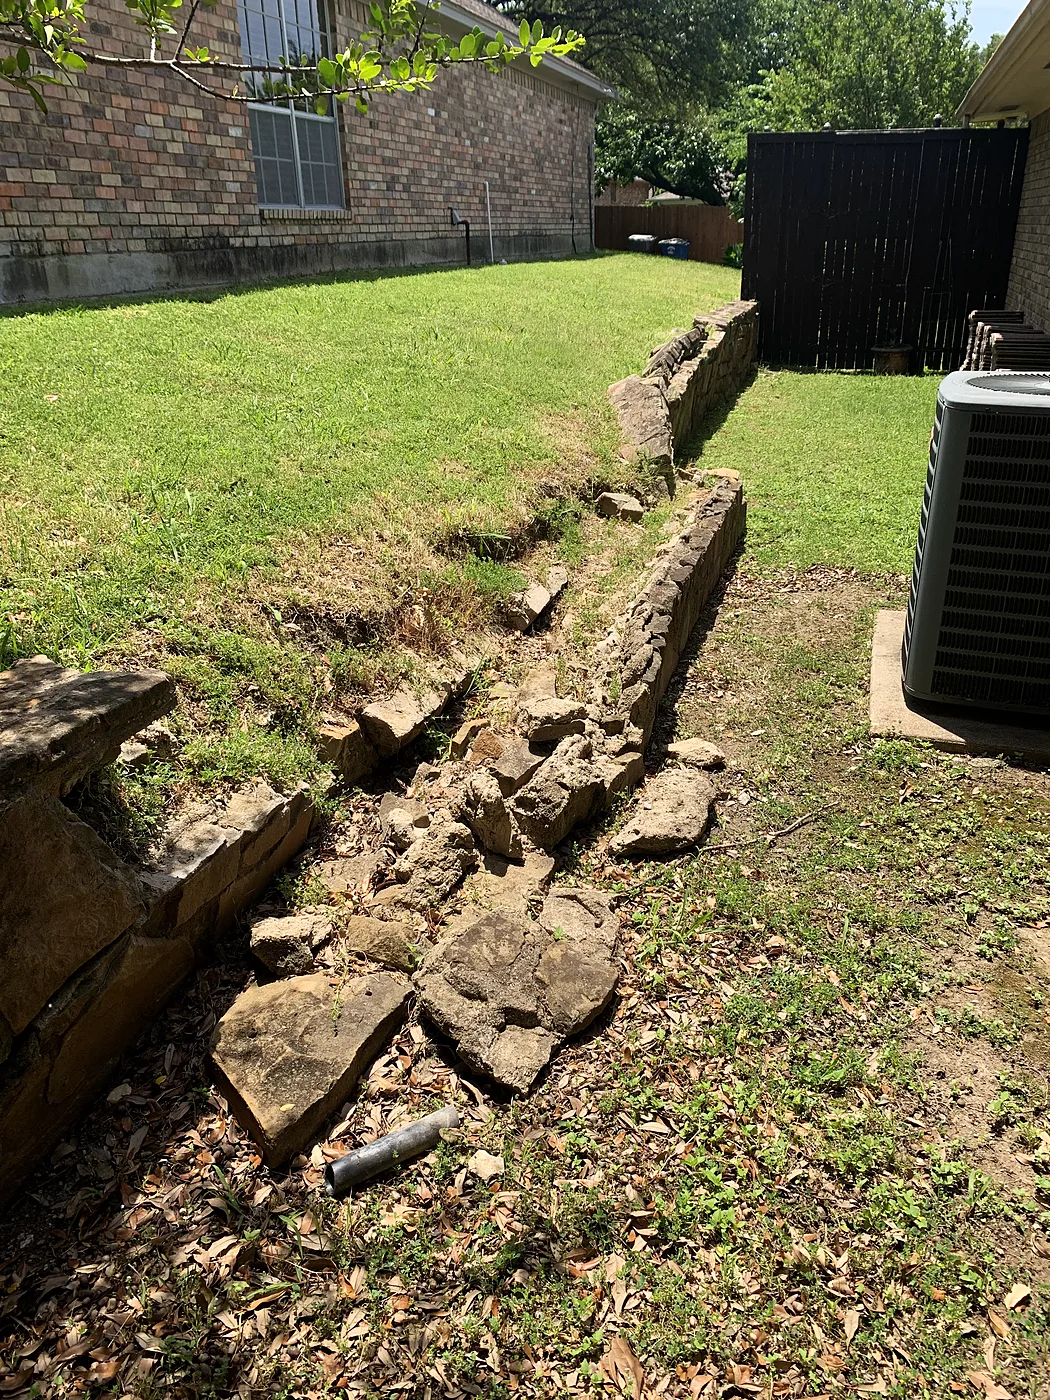
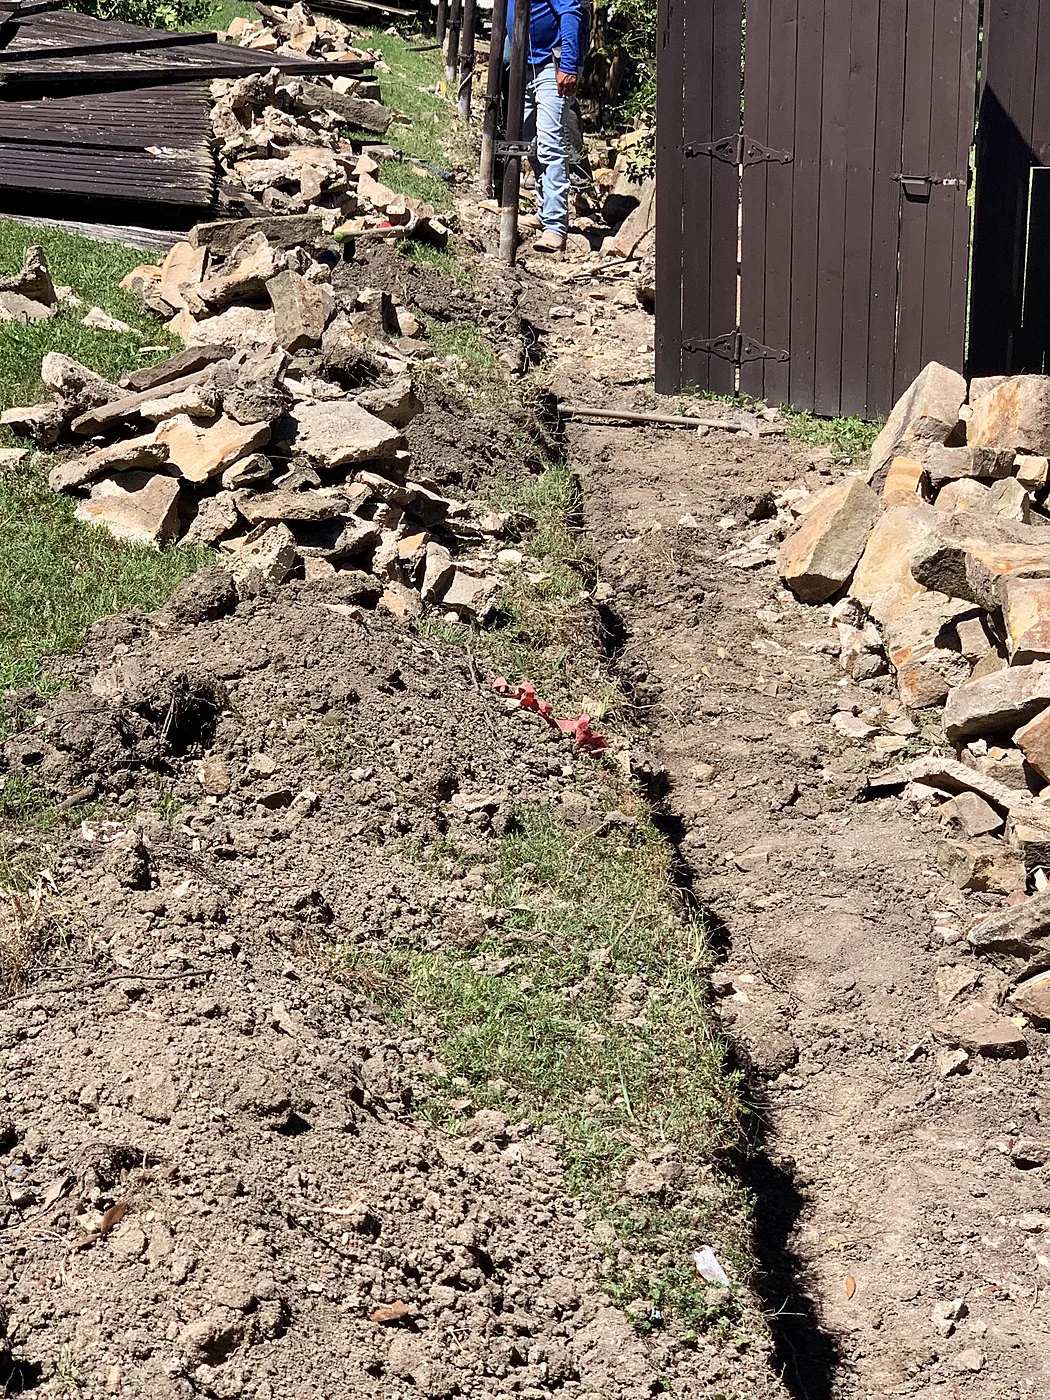
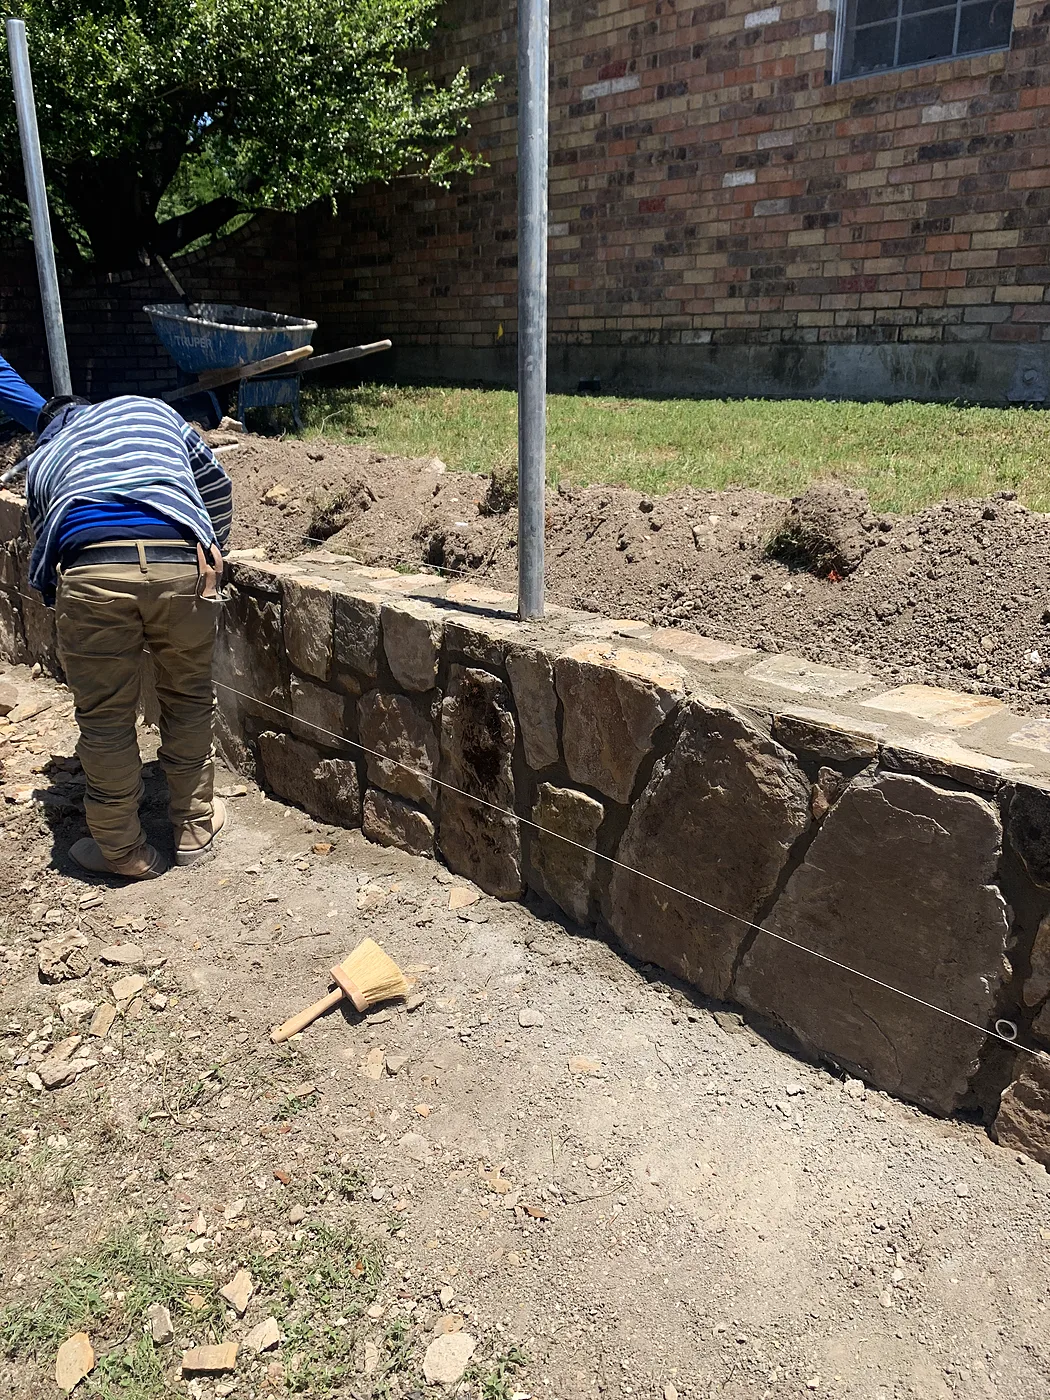
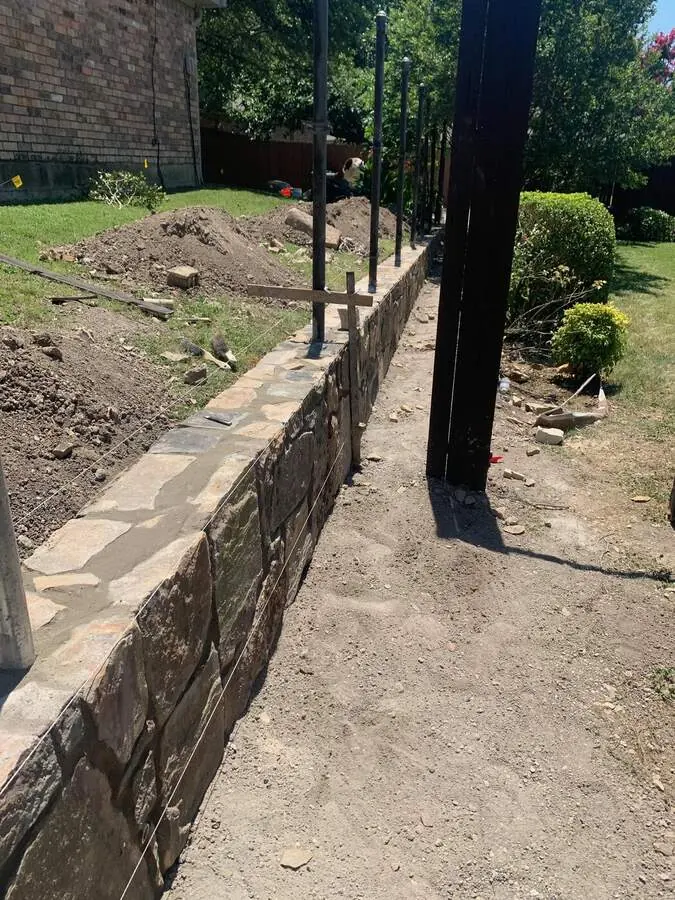
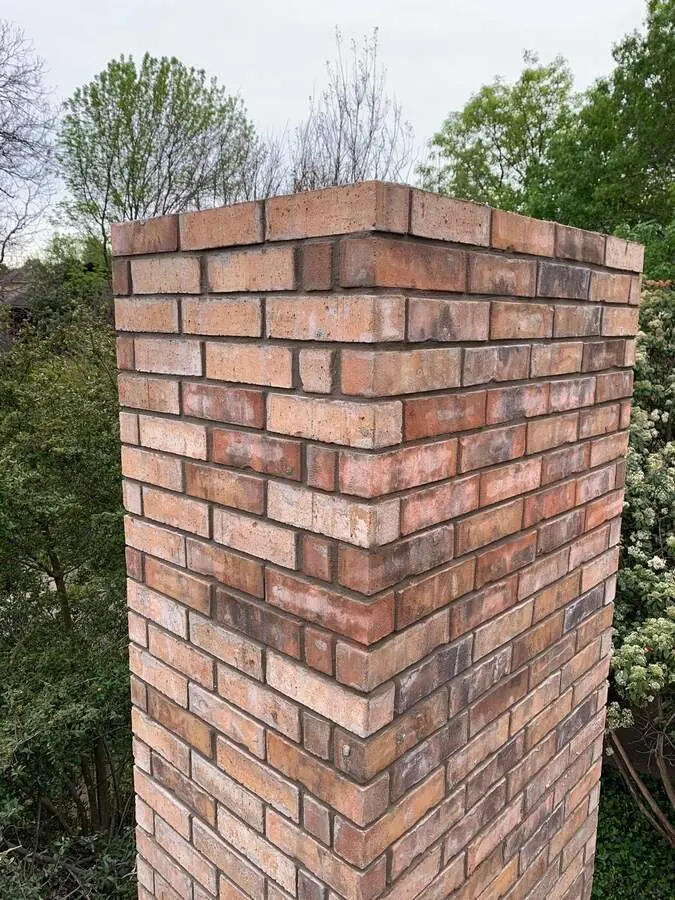
We demoed the failing wall and dug it all out, then rebuilt it with fence posts, rebar and weep holes, and tuckpointed it. Same job: repaired the arch above the front door and rebuilt a brick column.

Before
Before: Wall failing along the yard — Retaining wall torn out and rebuilt, Dallas
Wall failing along the yard
Before: Stone falling out — Retaining wall torn out and rebuilt, Dallas
Stone falling out
During
During: Torn out and excavated — Retaining wall torn out and rebuilt, Dallas
Torn out and excavated
During: Rebuilding on new posts — Retaining wall torn out and rebuilt, Dallas
Rebuilding on new posts
After
After: Rebuilt wall — Retaining wall torn out and rebuilt, Dallas
Rebuilt wall
After: Finished run — Retaining wall torn out and rebuilt, Dallas
Finished run

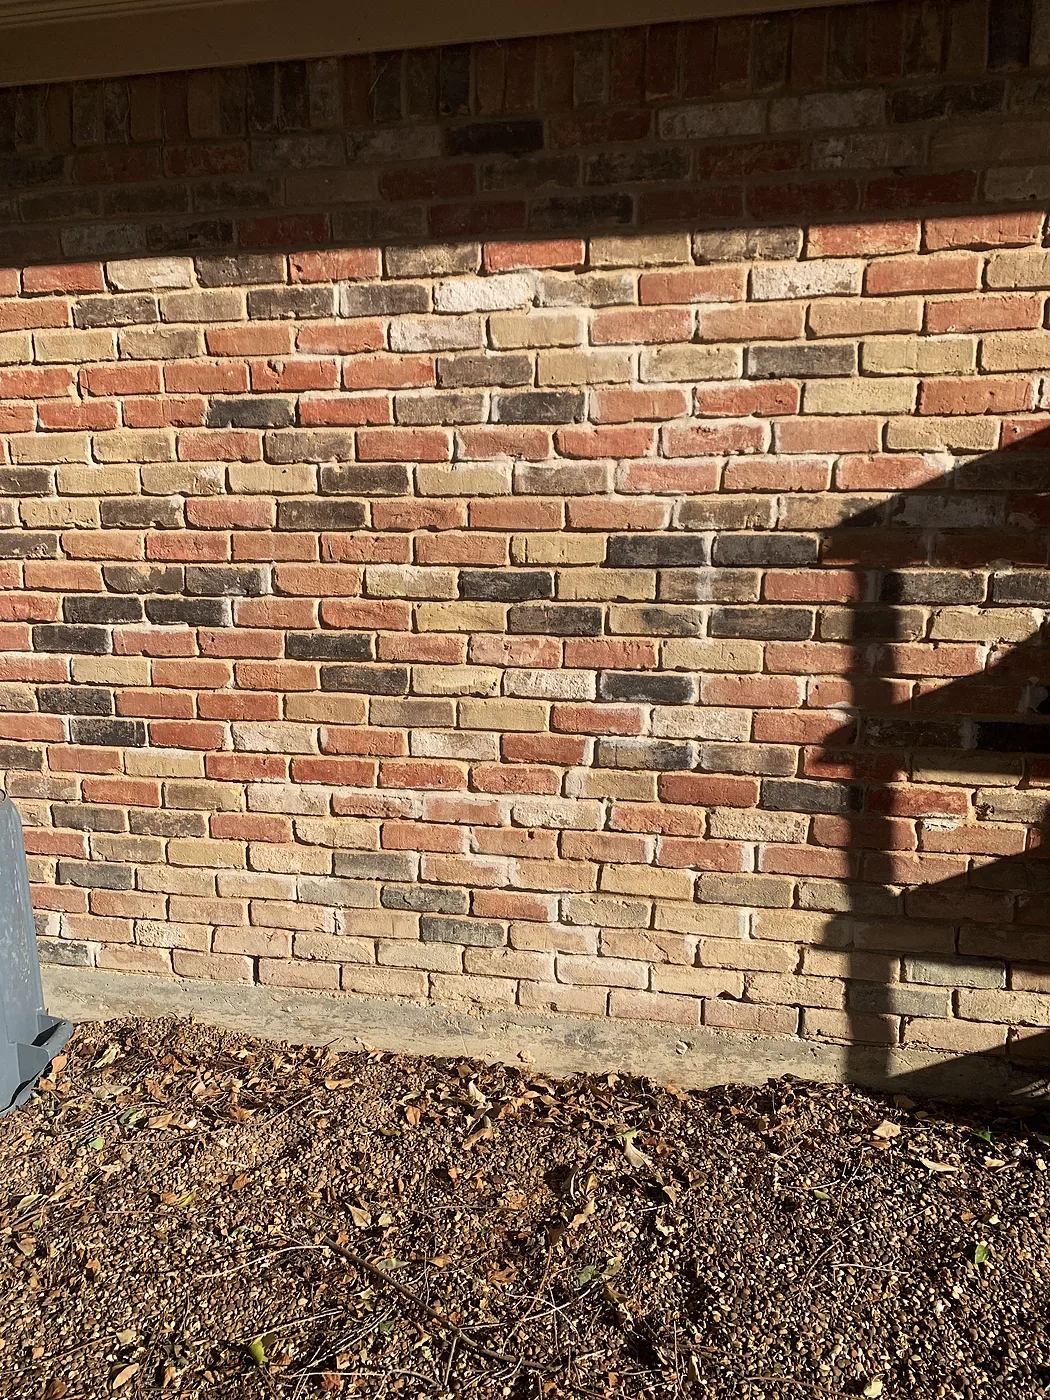
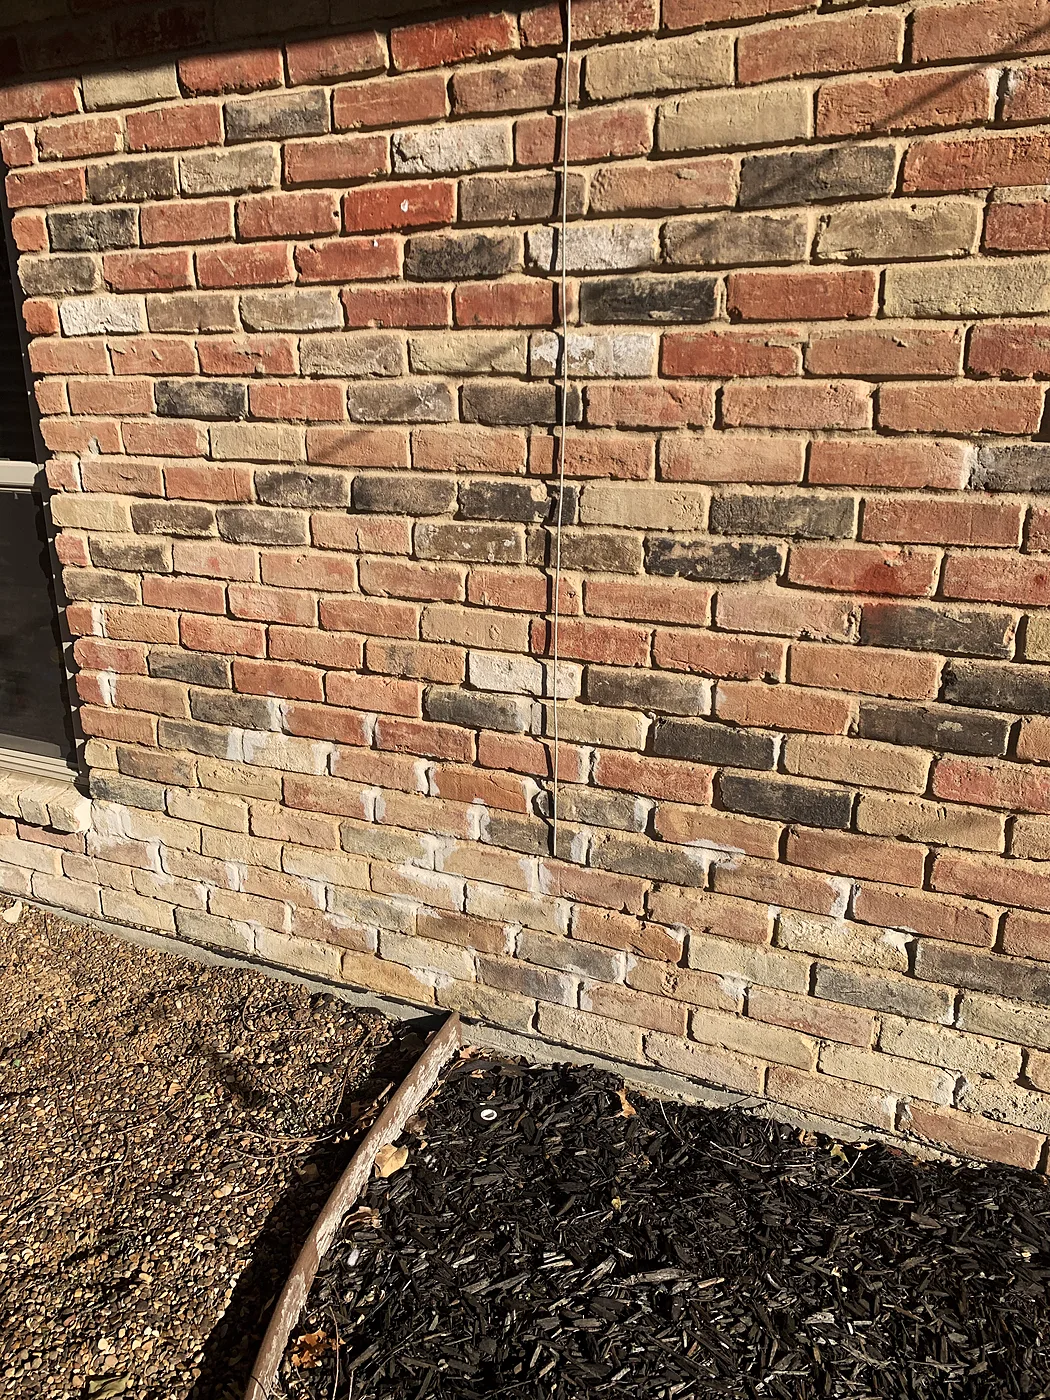
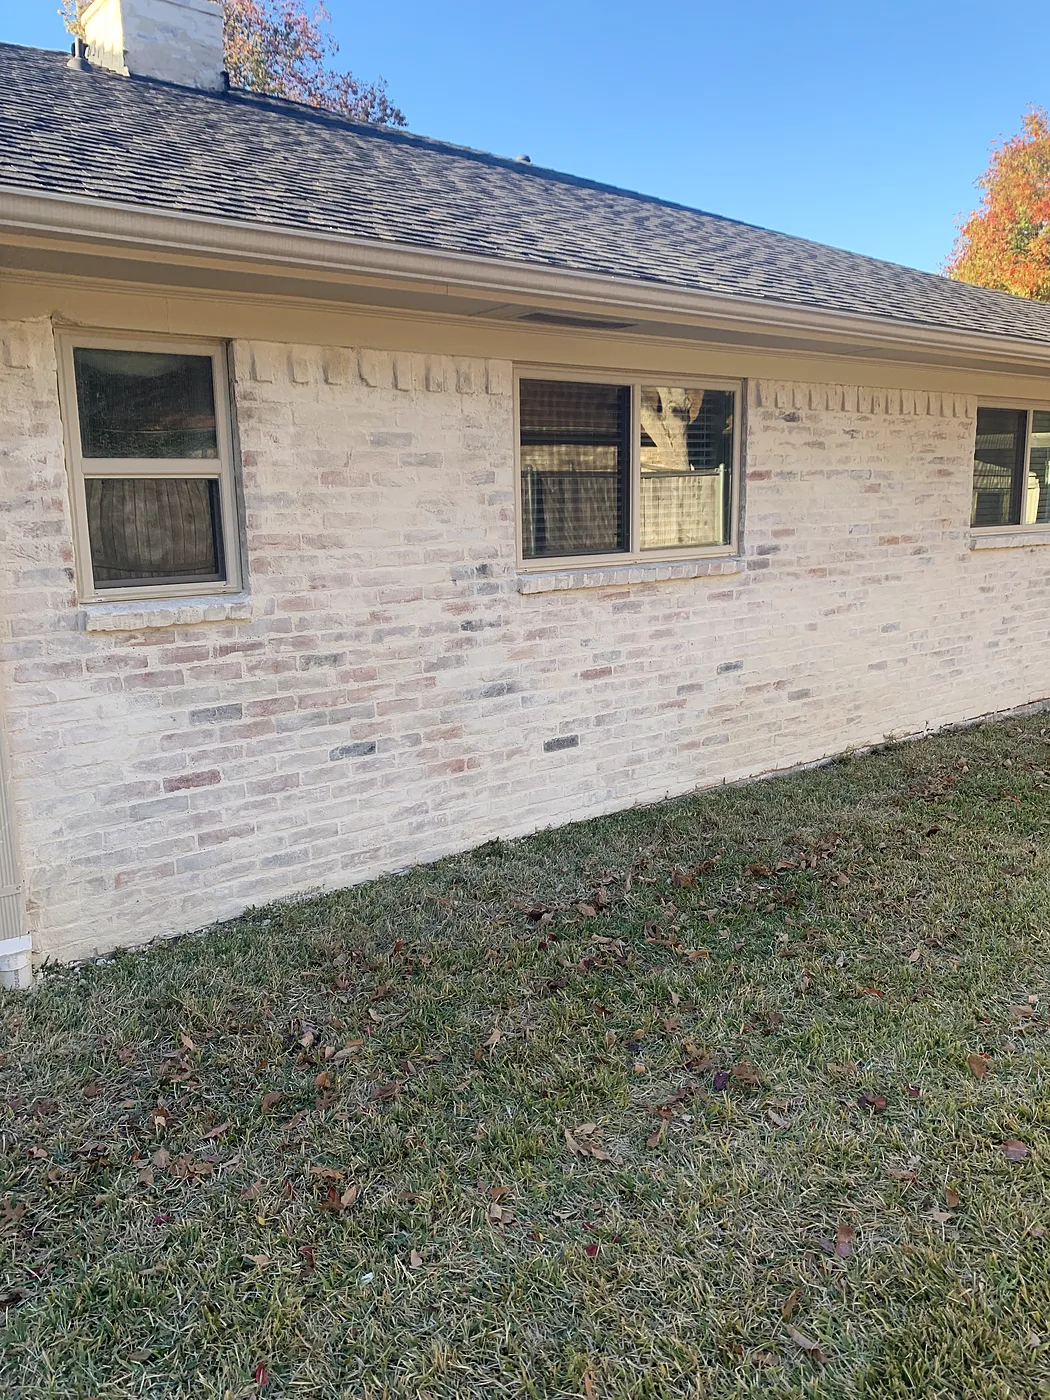
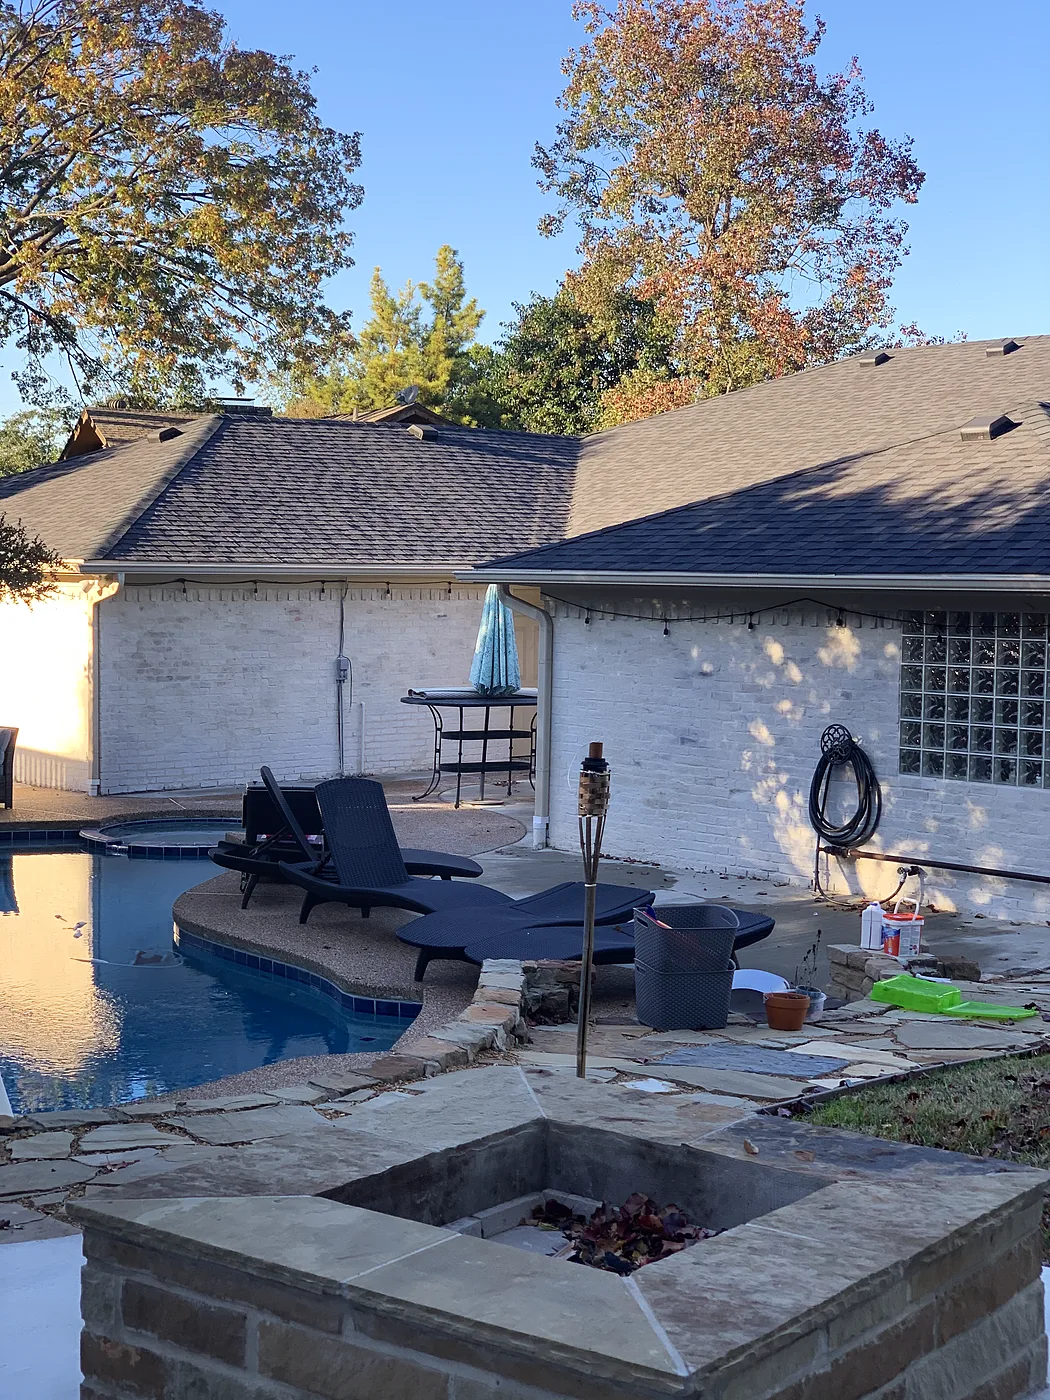
White-wash German smear

Dallas

White-wash German smear over the whole house, every wall.

Before
Before: Before: the long side, red brick — White-wash German smear, Dallas
Before: the long side, red brick
Before: Before, side wall — White-wash German smear, Dallas
Before, side wall
After
After: After: the long side, whitewashed — White-wash German smear, Dallas
After: the long side, whitewashed
After: After, from the pool — White-wash German smear, Dallas
After, from the pool

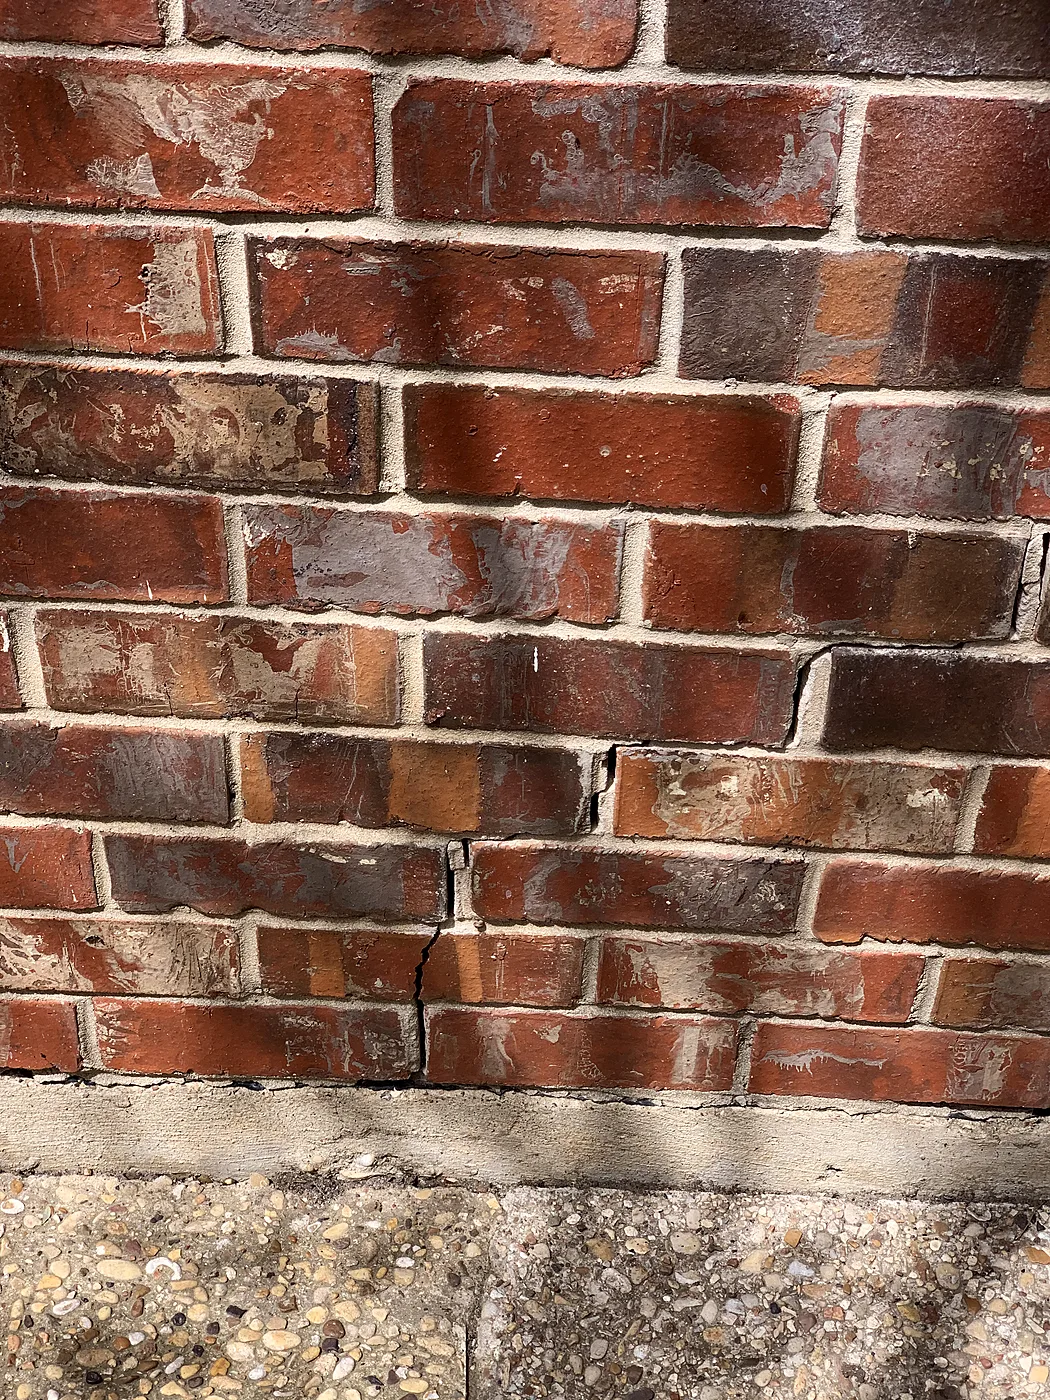
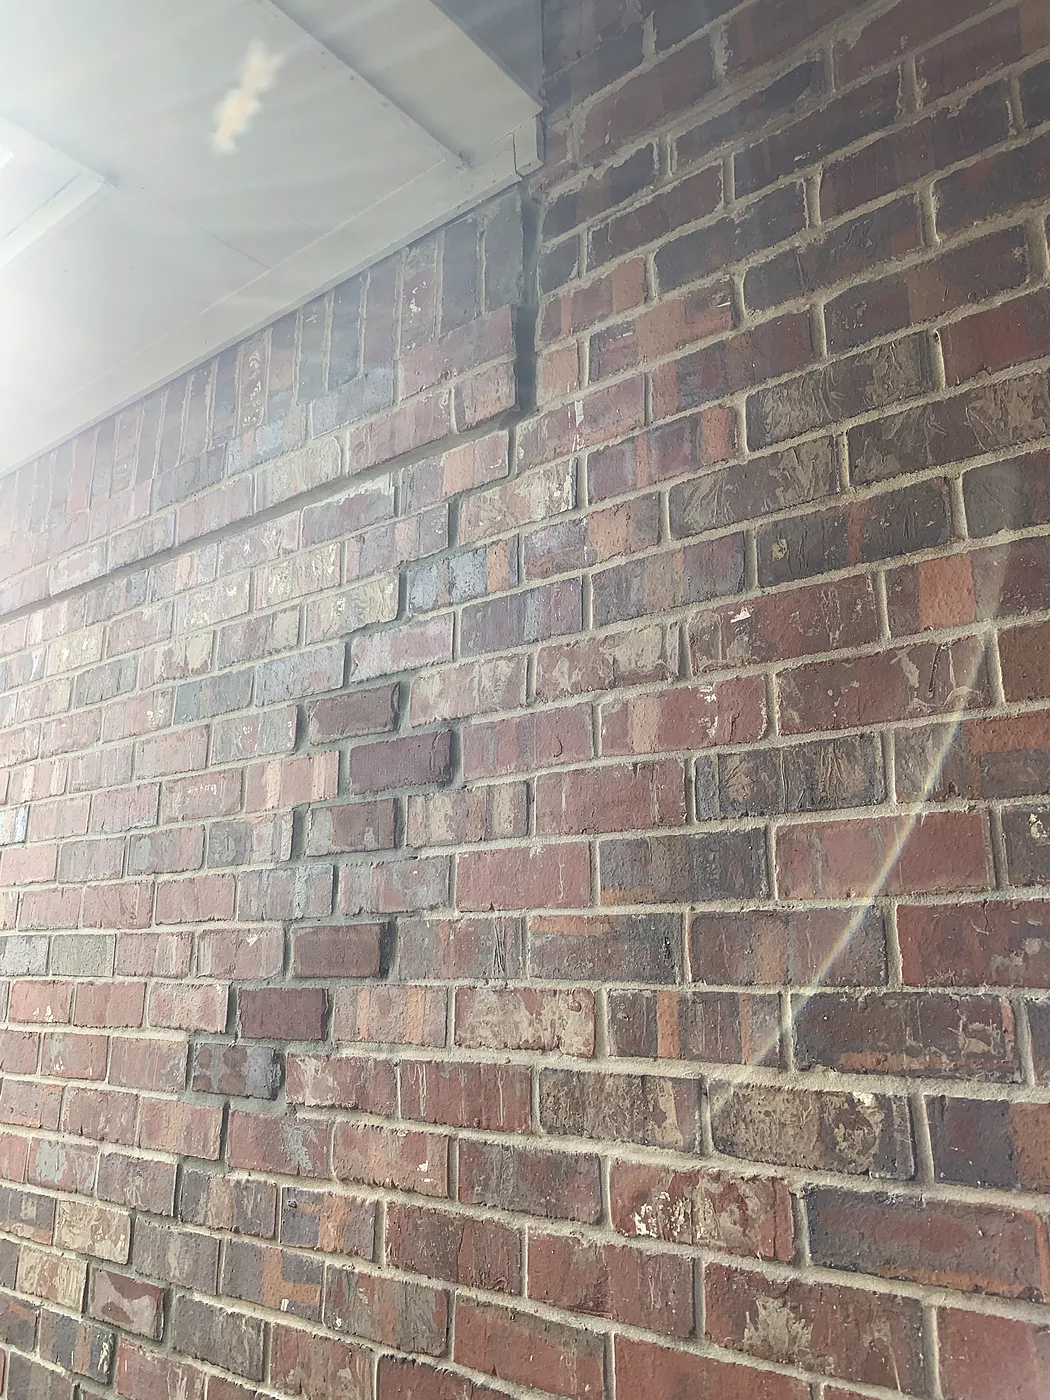
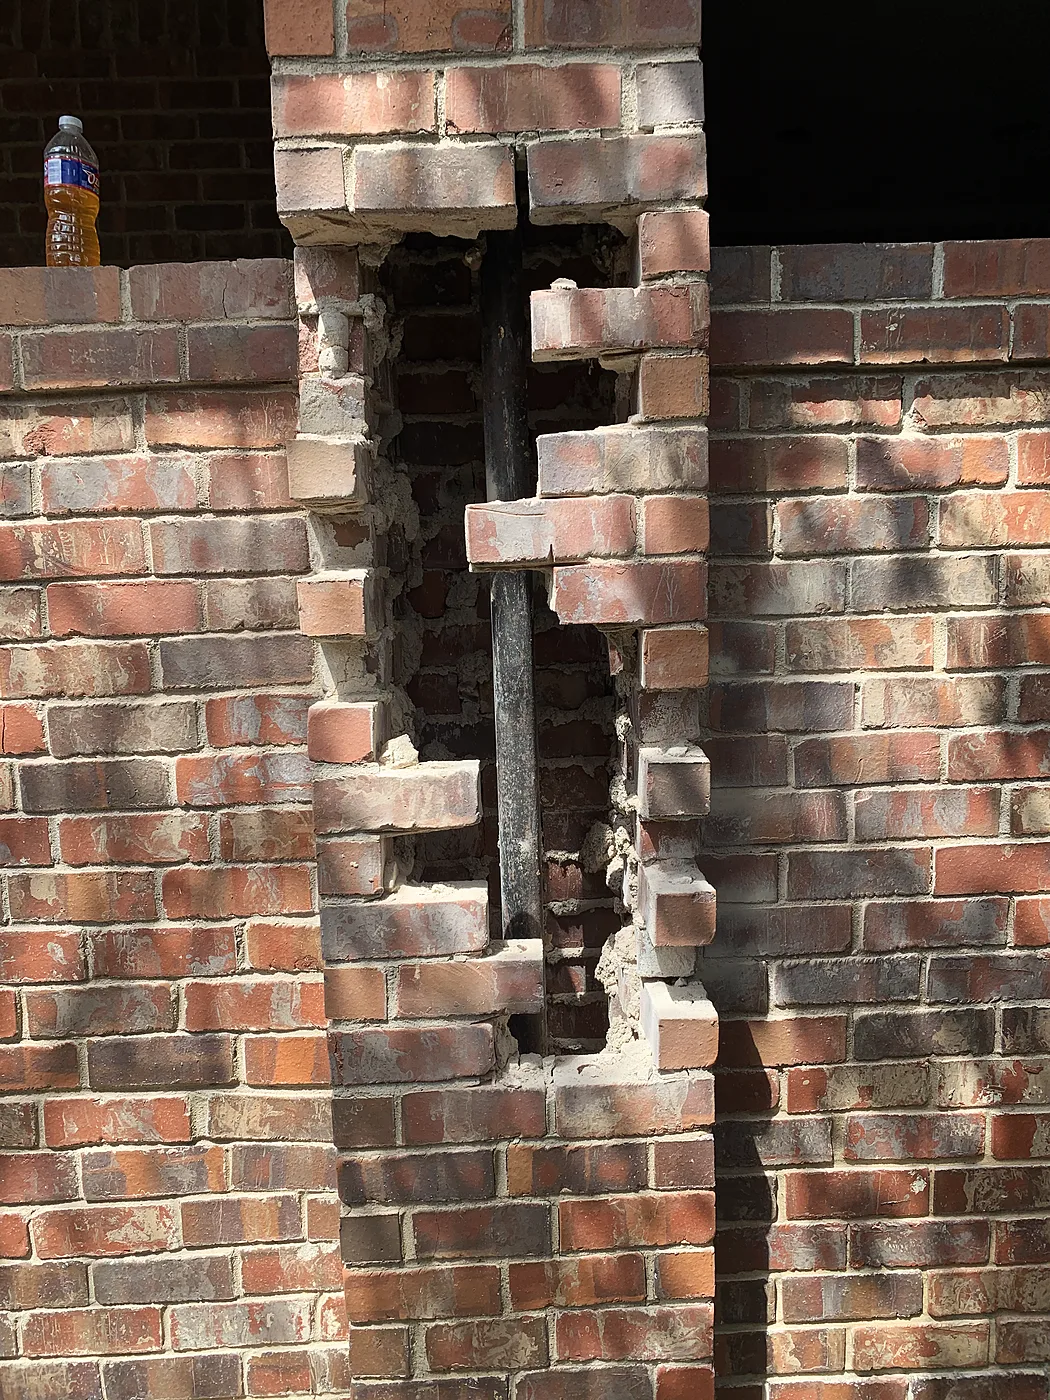
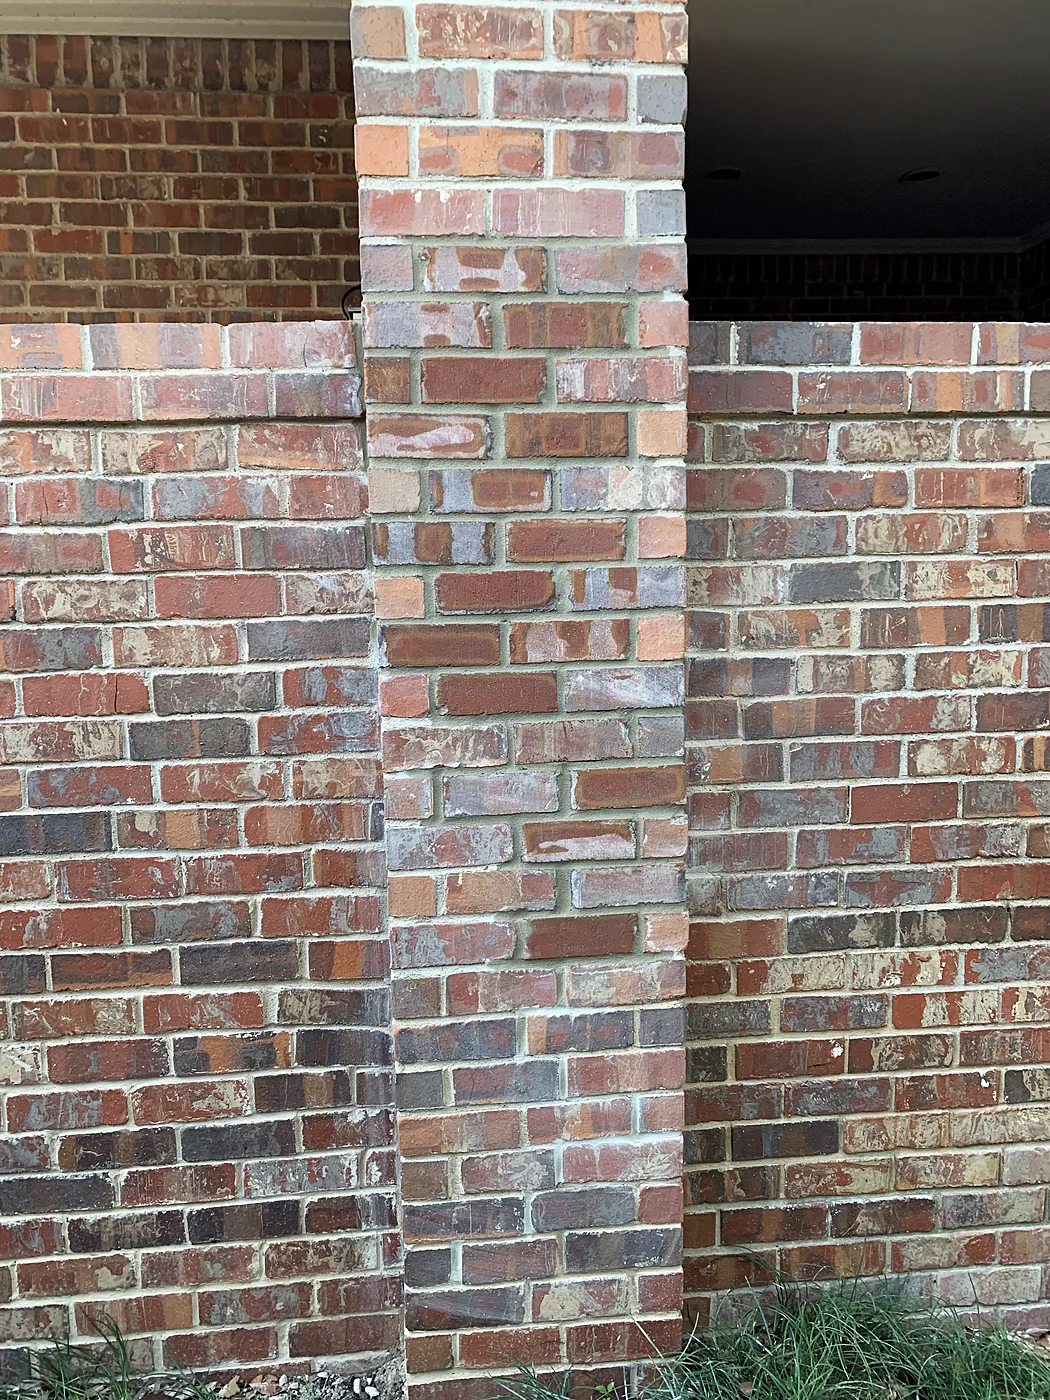
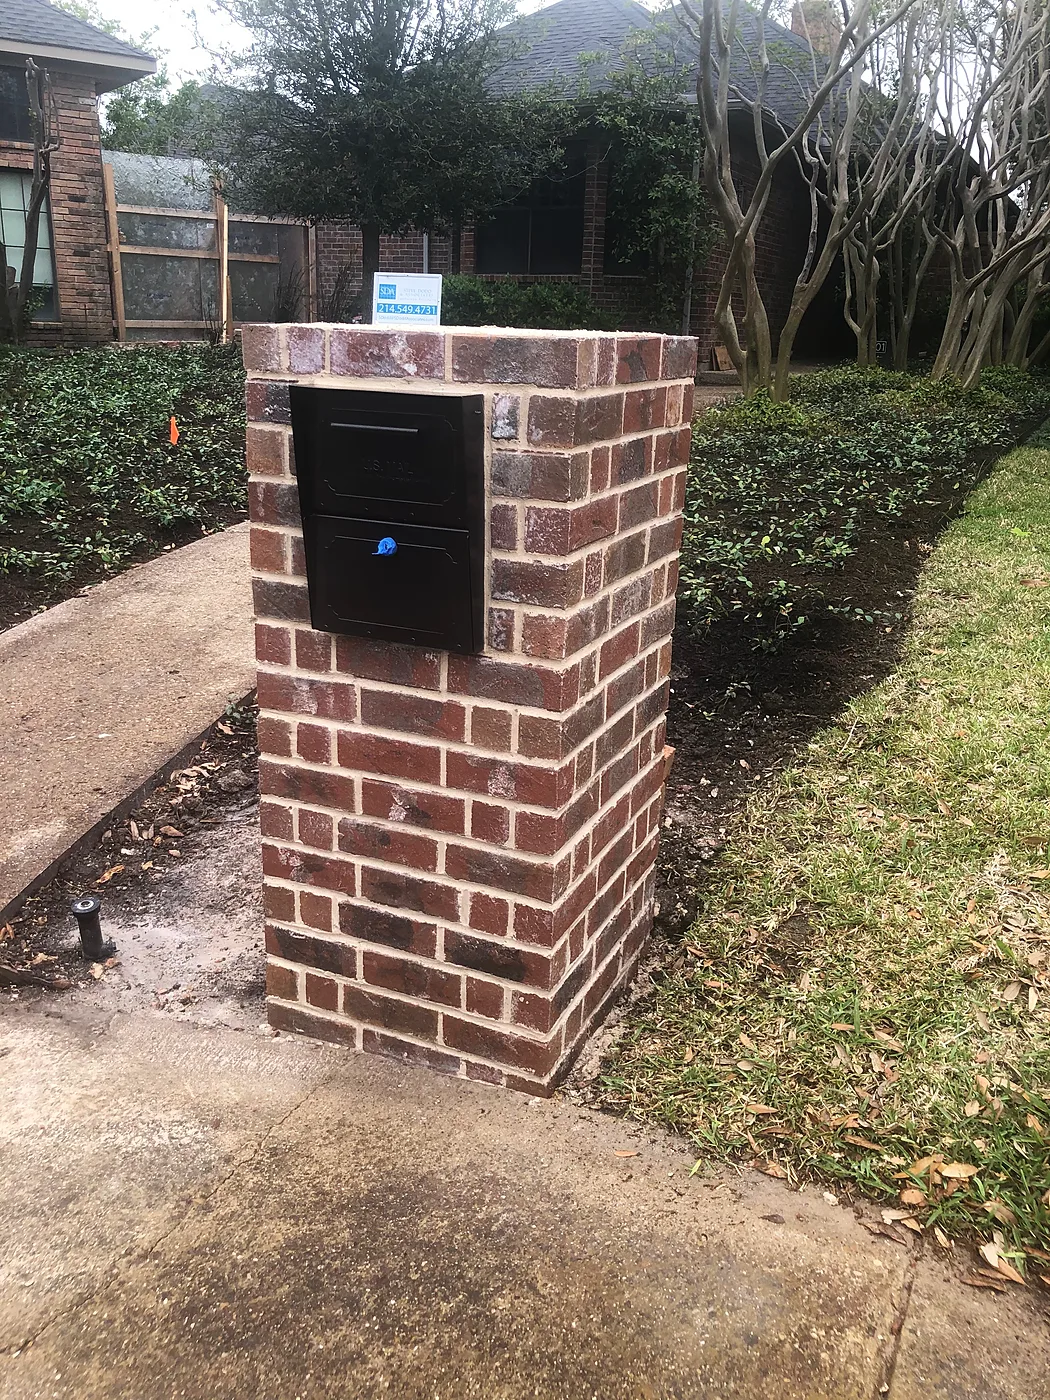
Damaged brick cut out and rebuilt, plus a custom masonry mailbox

Dallas

We cut out the cracked and damaged brick, rebuilt it to match, and tuckpointed the joints. Then a custom masonry mailbox for the same house.

Before
Before: Cracked brick — Damaged brick cut out and rebuilt, plus a custom masonry mailbox, Dallas
Cracked brick
Before: Displaced brick — Damaged brick cut out and rebuilt, plus a custom masonry mailbox, Dallas
Displaced brick
During
During: Damaged brick cut out — Damaged brick cut out and rebuilt, plus a custom masonry mailbox, Dallas
Damaged brick cut out
After
After: Rebuilt and repointed — Damaged brick cut out and rebuilt, plus a custom masonry mailbox, Dallas
Rebuilt and repointed
After: Custom masonry mailbox — Damaged brick cut out and rebuilt, plus a custom masonry mailbox, Dallas
Custom masonry mailbox

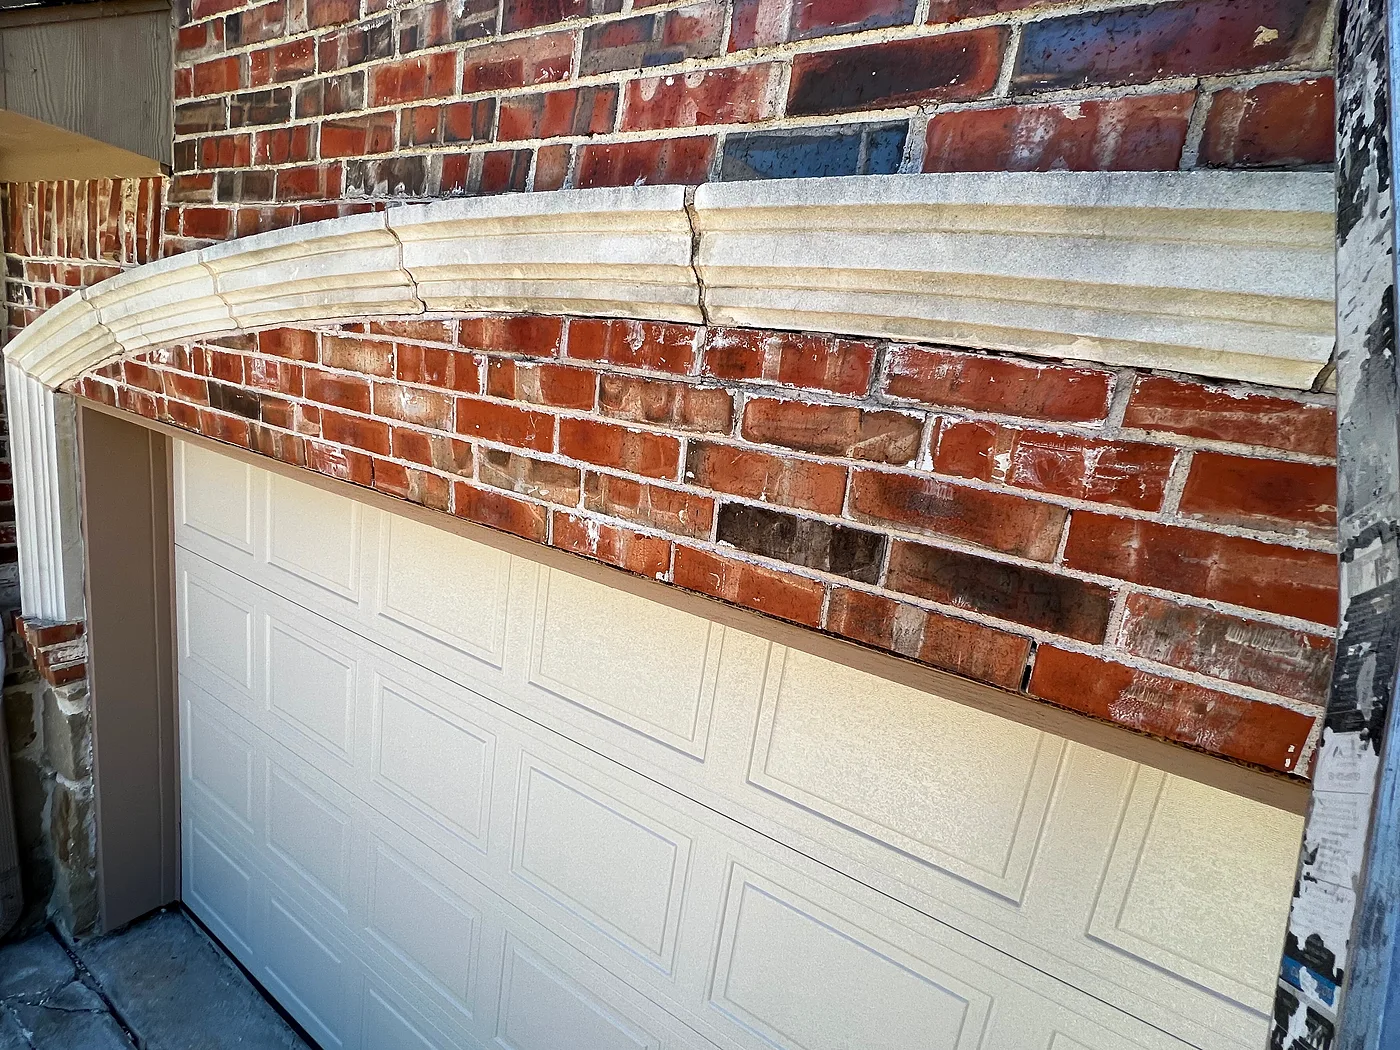
Cast stone tuckpointing, color-matched

McKinney

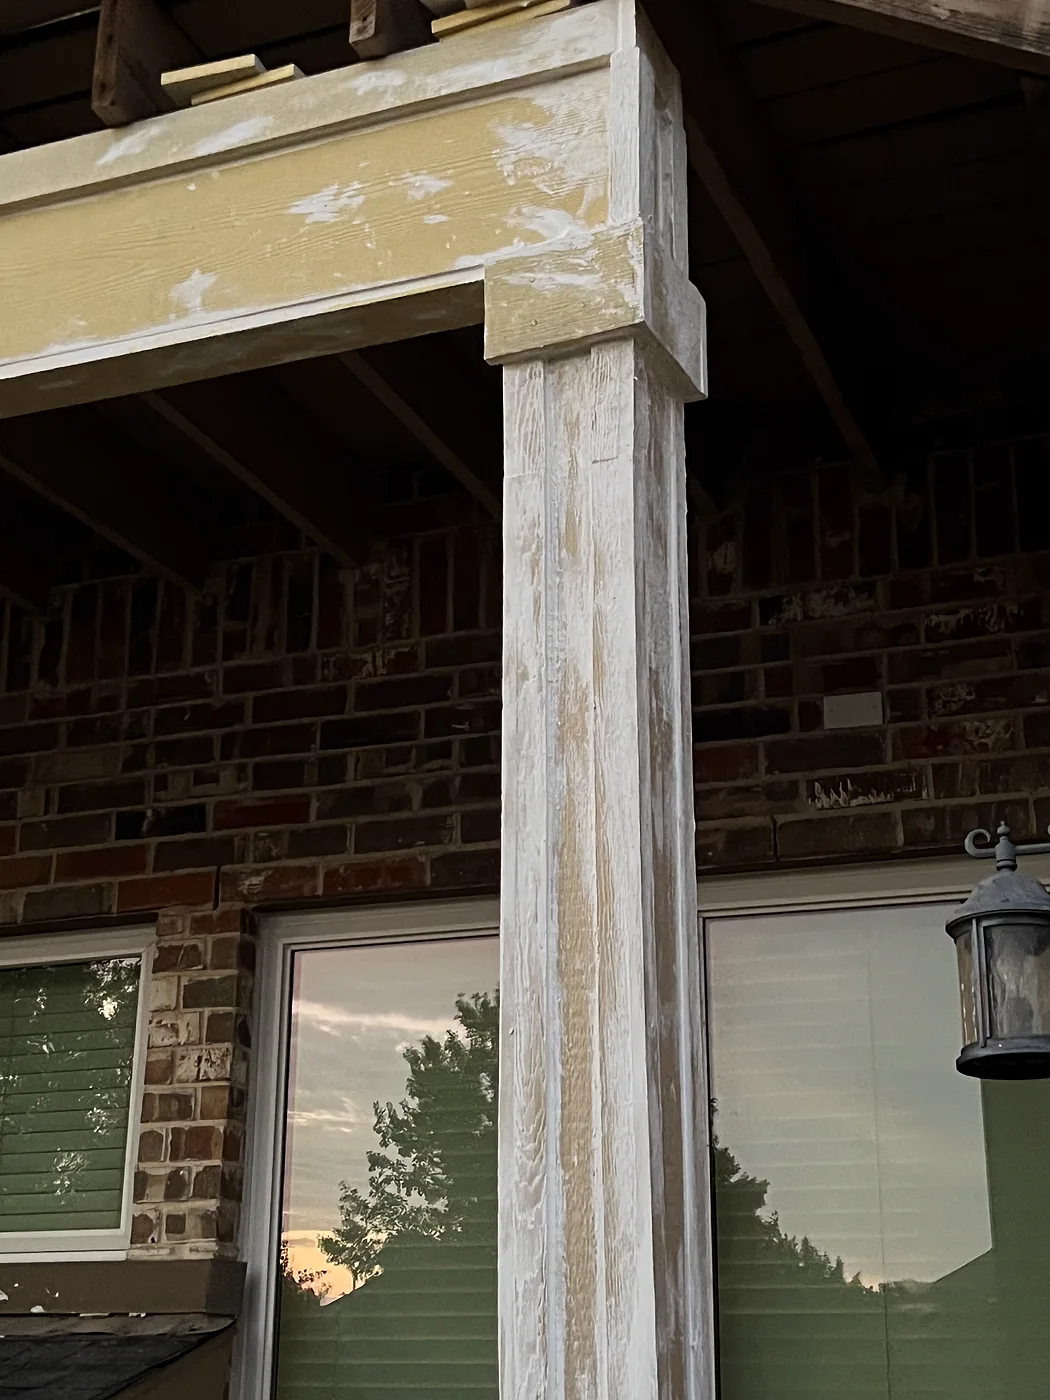
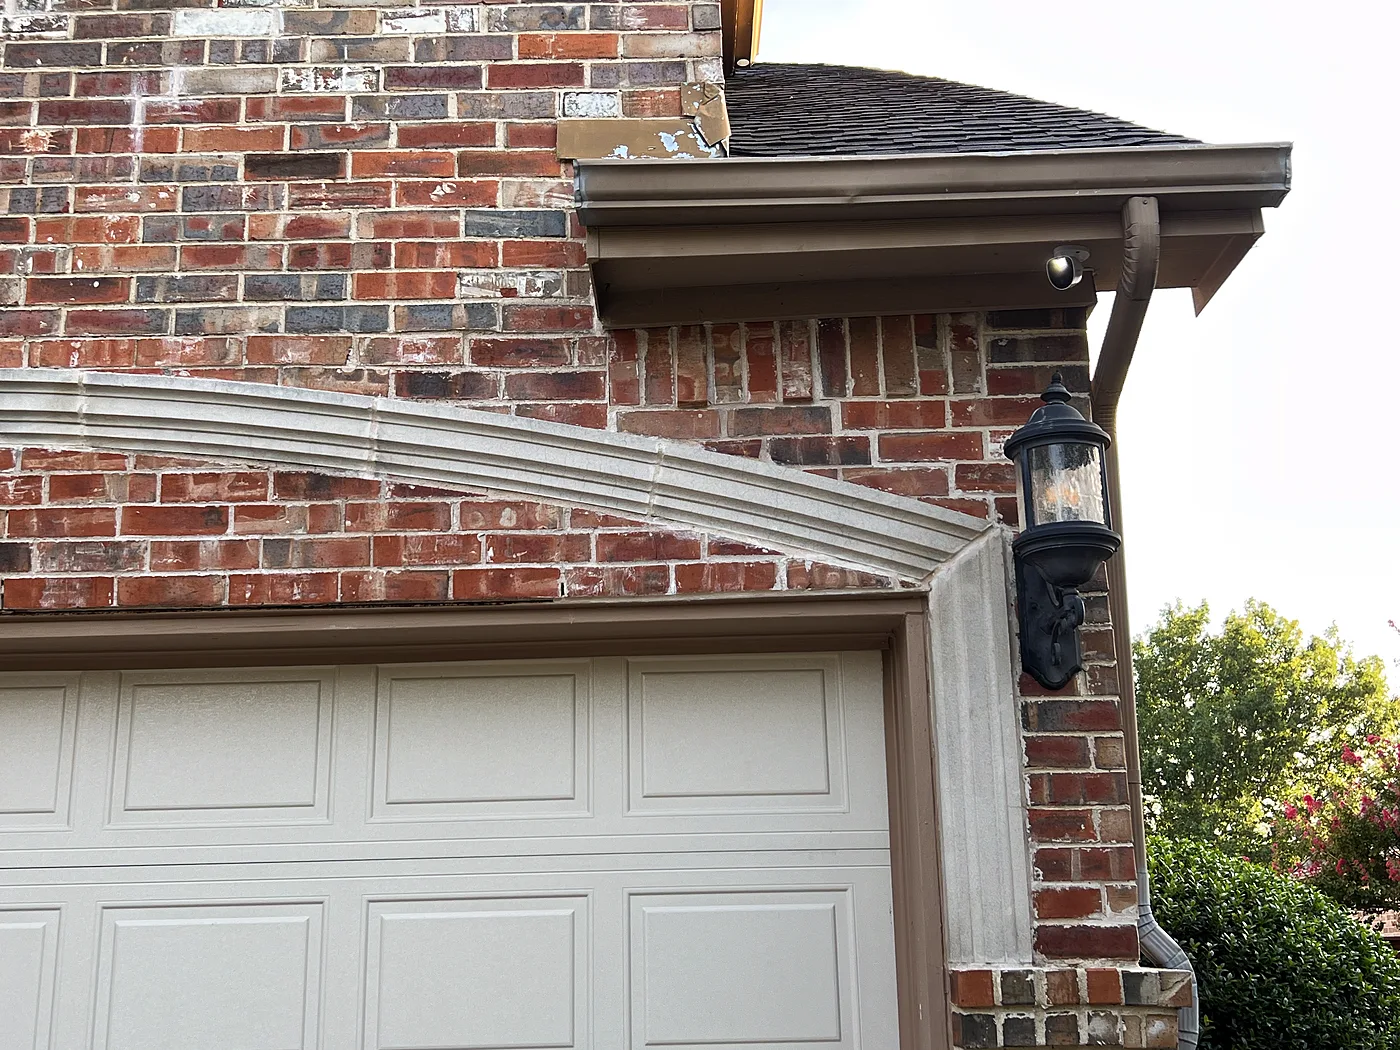
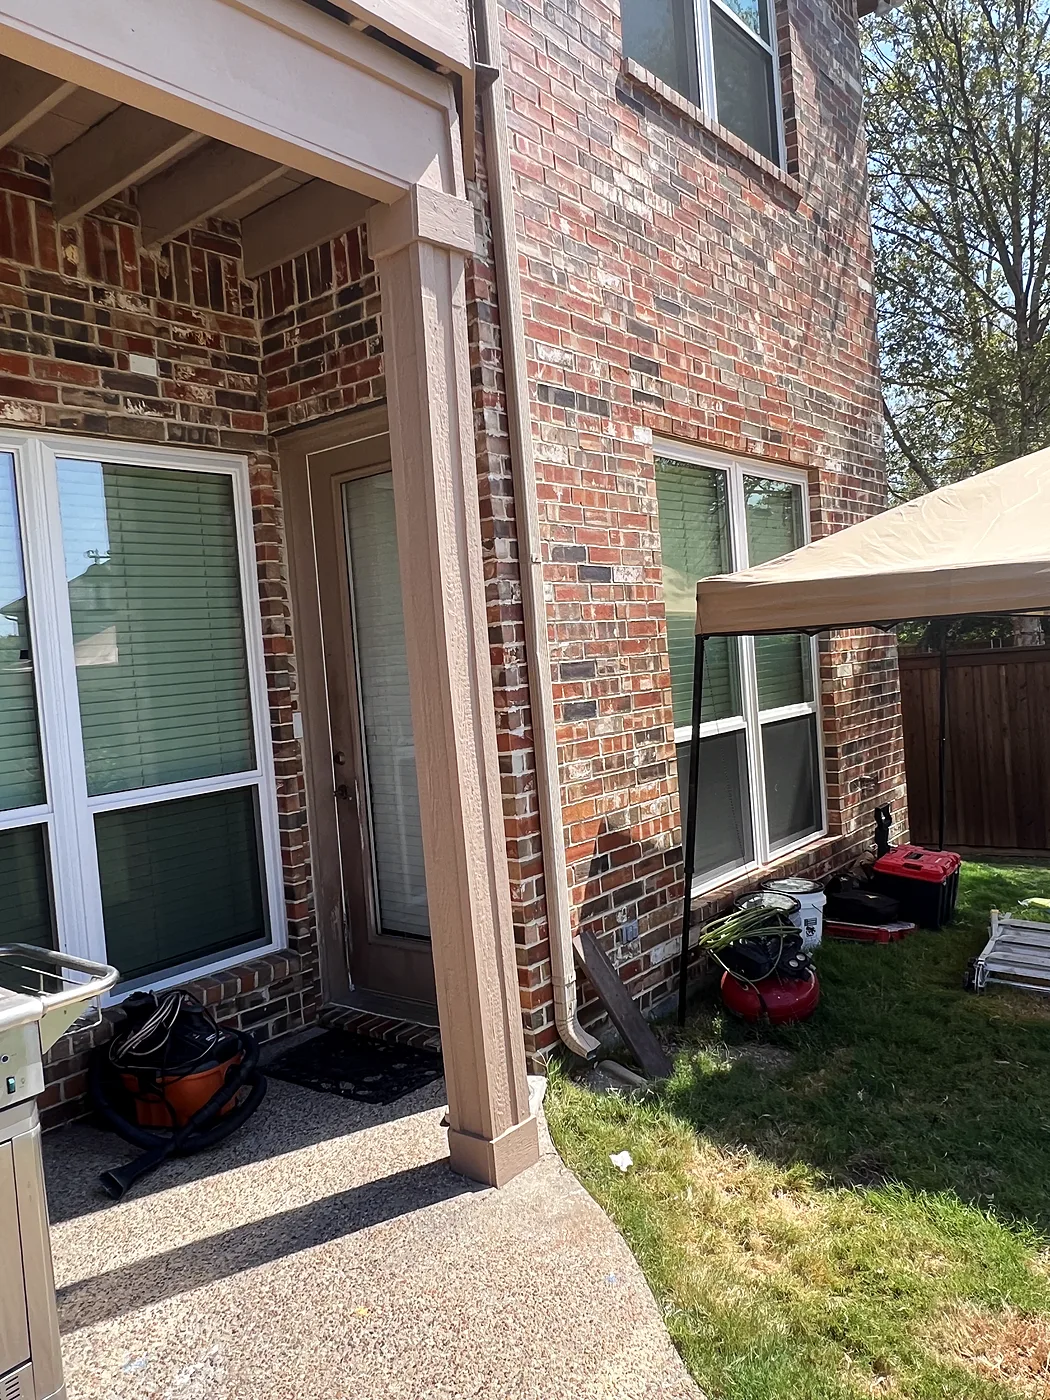
The mortar joints in the cast stone around her garage door and windows were weathered and falling out. We ground out every weathered joint and repacked them with color-matched mortar. That led to replacing the sun-rotted siding and trim around her back patio with James Hardie, painted to match.

Before
Before: Cracked cast stone and failing joints — Cast stone tuckpointing, color-matched, McKinney
Cracked cast stone and failing joints
Before: Sun-rotted patio post and trim — Cast stone tuckpointing, color-matched, McKinney
Sun-rotted patio post and trim
After
After: Joints ground out and repacked, color-matched — Cast stone tuckpointing, color-matched, McKinney
Joints ground out and repacked, color-matched
After: New Hardie patio trim, painted — Cast stone tuckpointing, color-matched, McKinney
New Hardie patio trim, painted

Exterior paint

Full repaints, painted brick, two-tone schemes and trim packages.

Full exterior paint, fence stain and front door

Allen

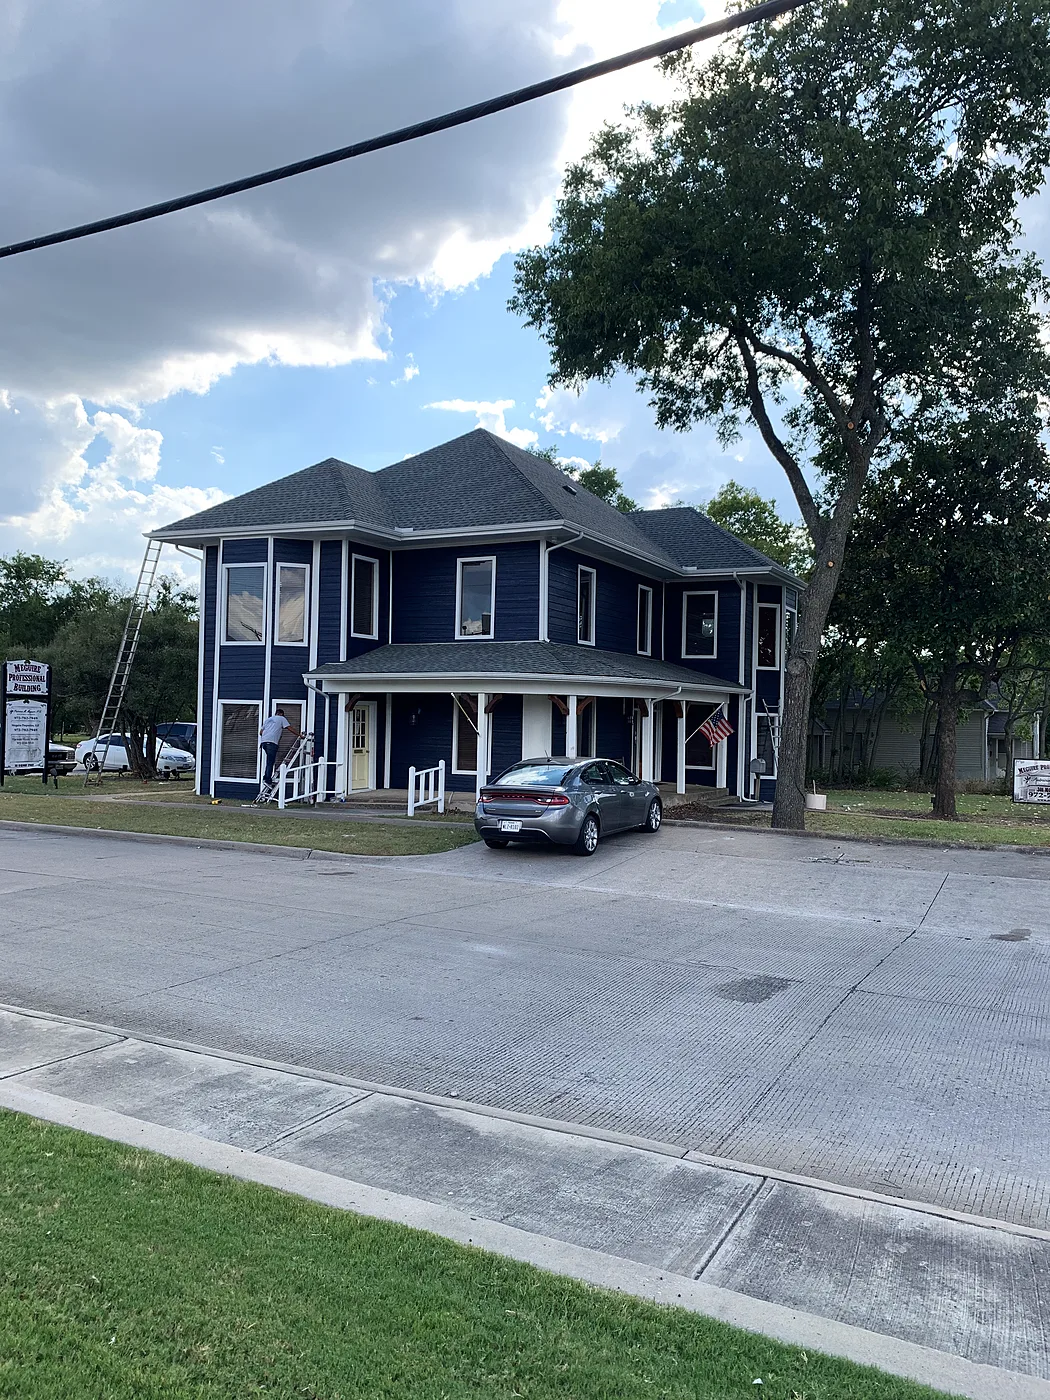
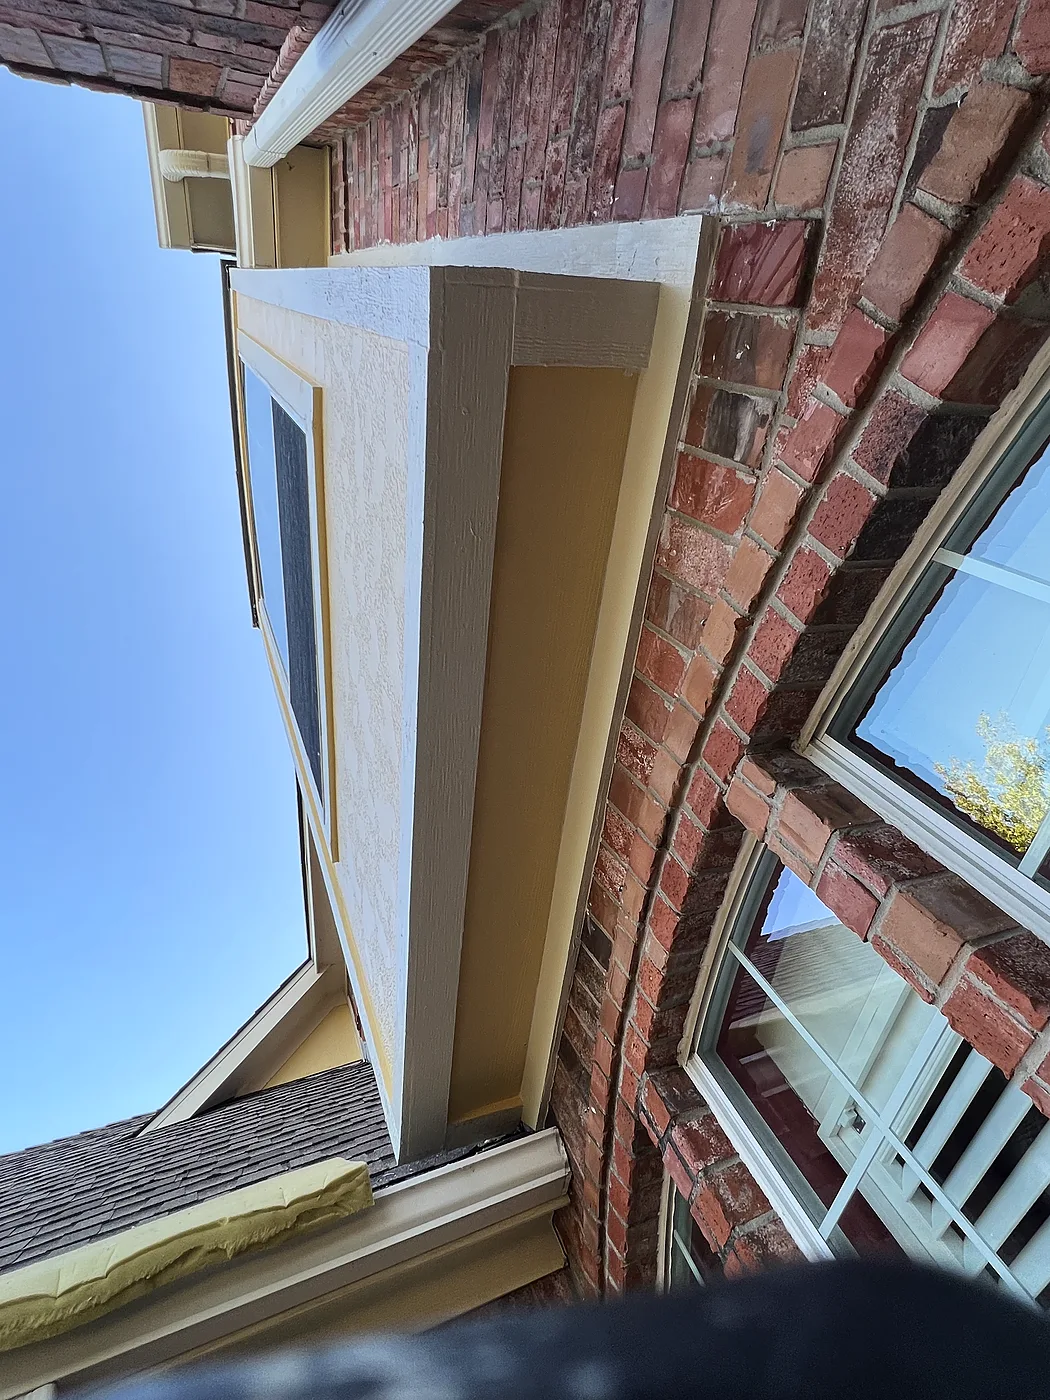
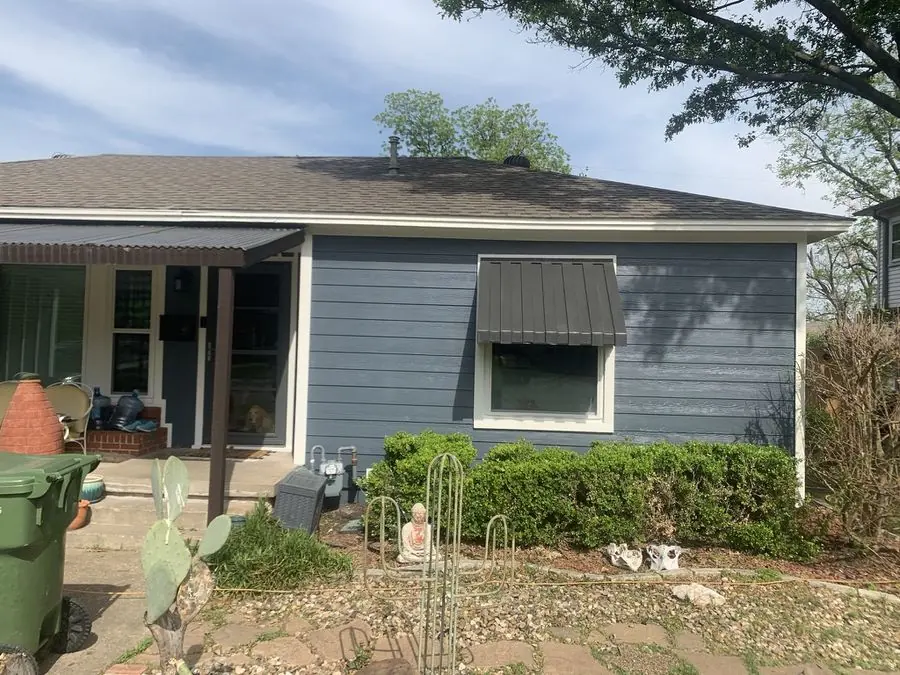
One of our favorite paint jobs: full prep and taping, blue siding with crisp white trim on the bump-outs and box window, soffits and fascia painted, the fence stained a rich brown, and the front door refinished.

Before
Before: Box window before — Full exterior paint, fence stain and front door, Allen
Box window before
Before: Fence before — Full exterior paint, fence stain and front door, Allen
Fence before
During
During: Prepped and taped — Full exterior paint, fence stain and front door, Allen
Prepped and taped
During: Trim prepped for paint — Full exterior paint, fence stain and front door, Allen
Trim prepped for paint
After
After: Box window after — Full exterior paint, fence stain and front door, Allen
Box window after
After: Fence stained — Full exterior paint, fence stain and front door, Allen
Fence stained

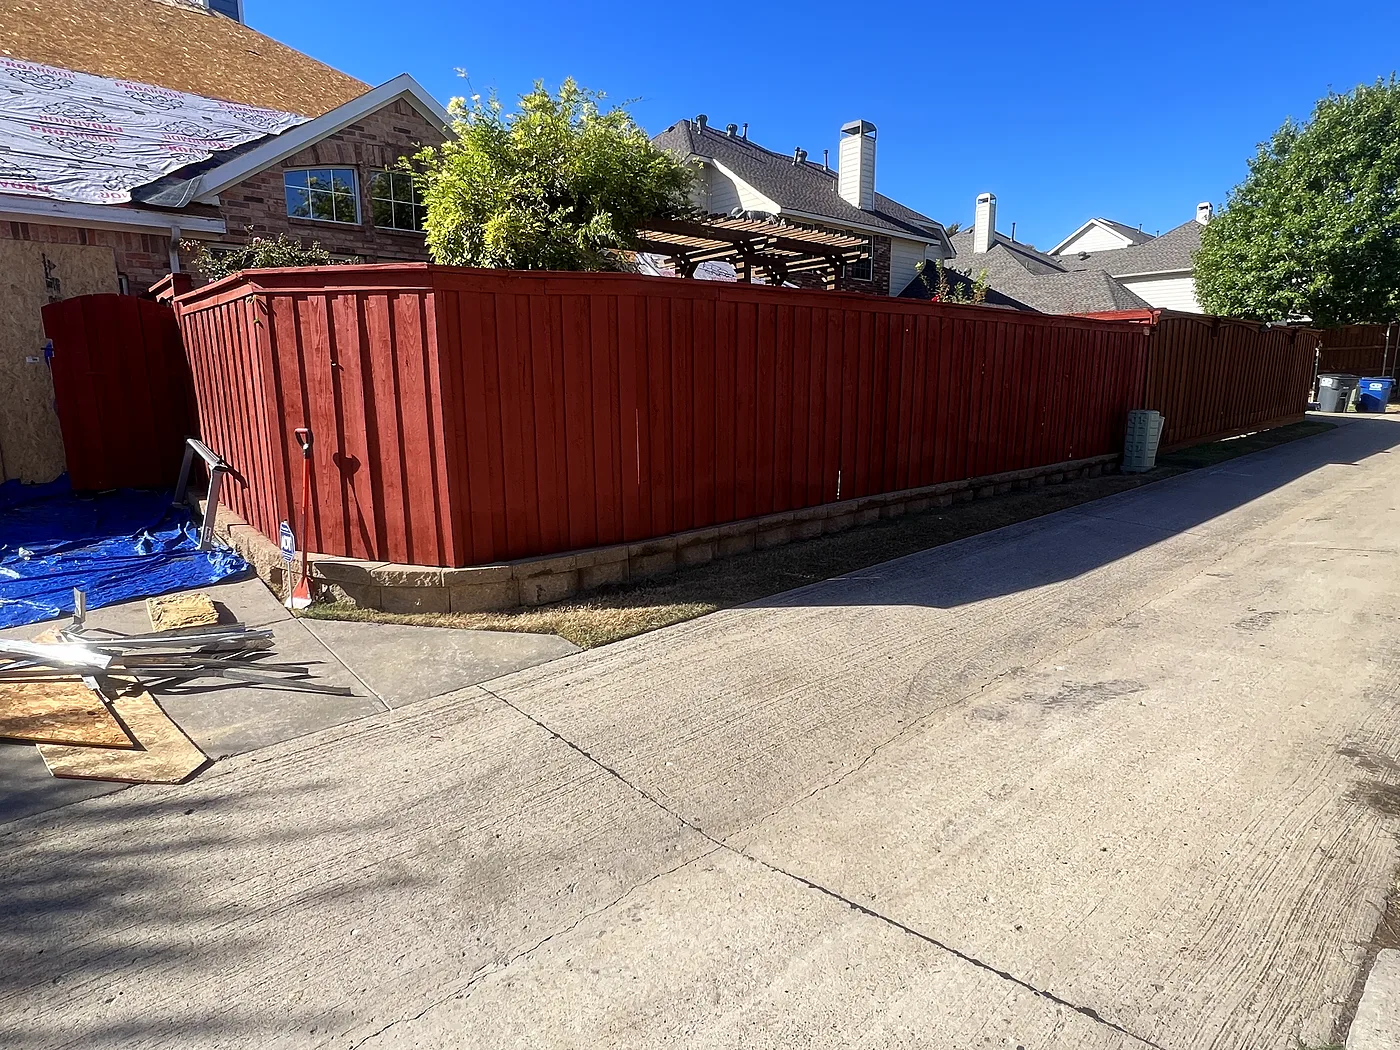
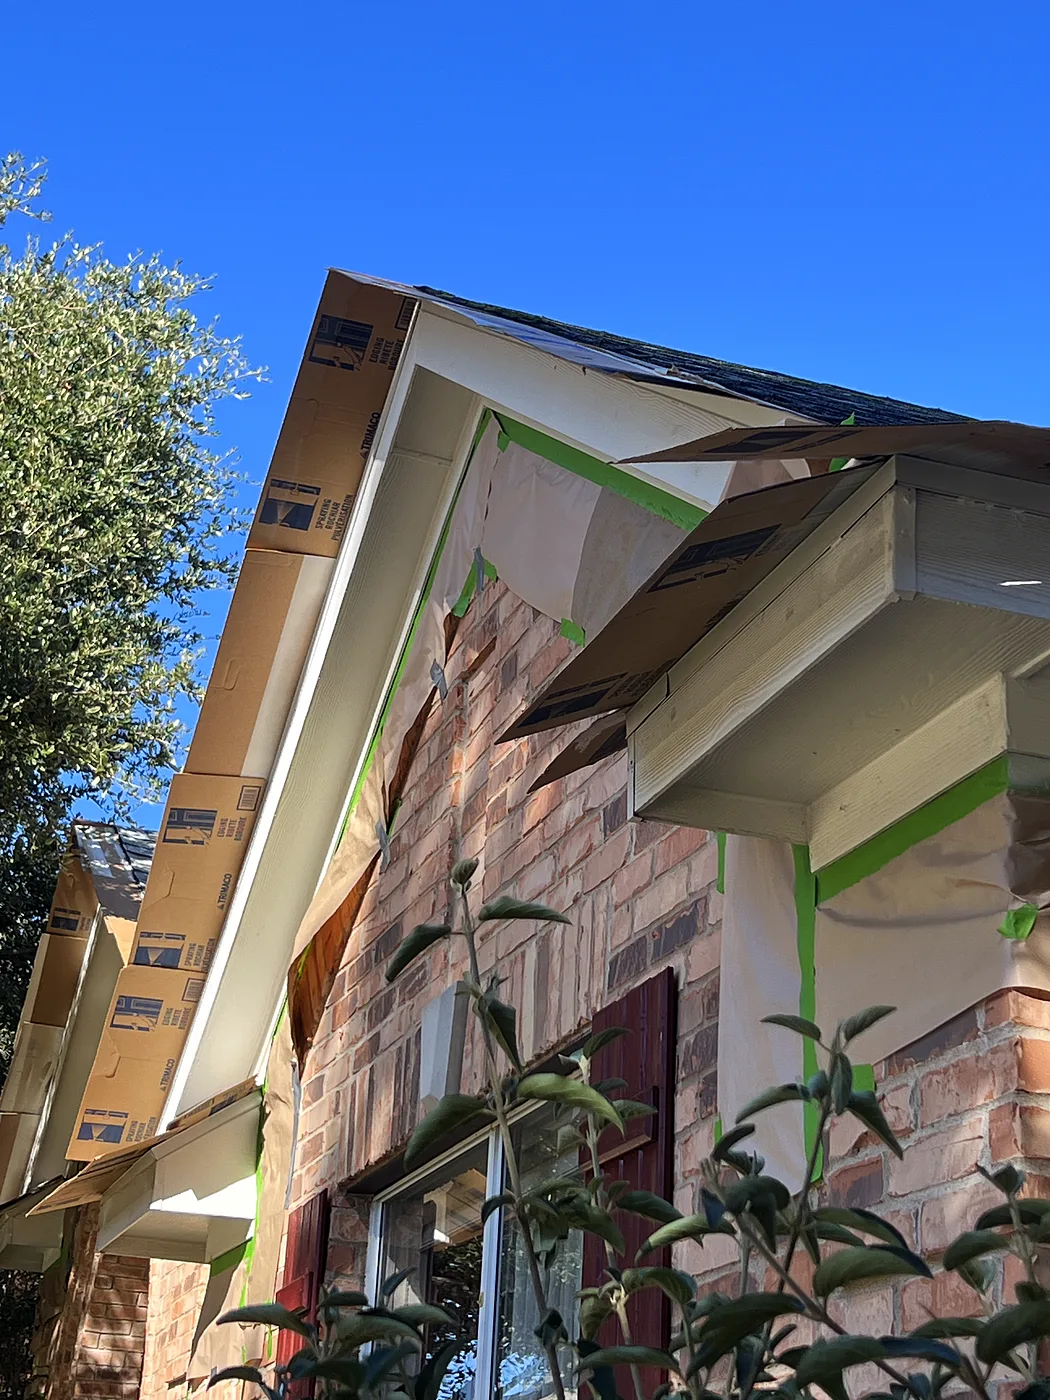
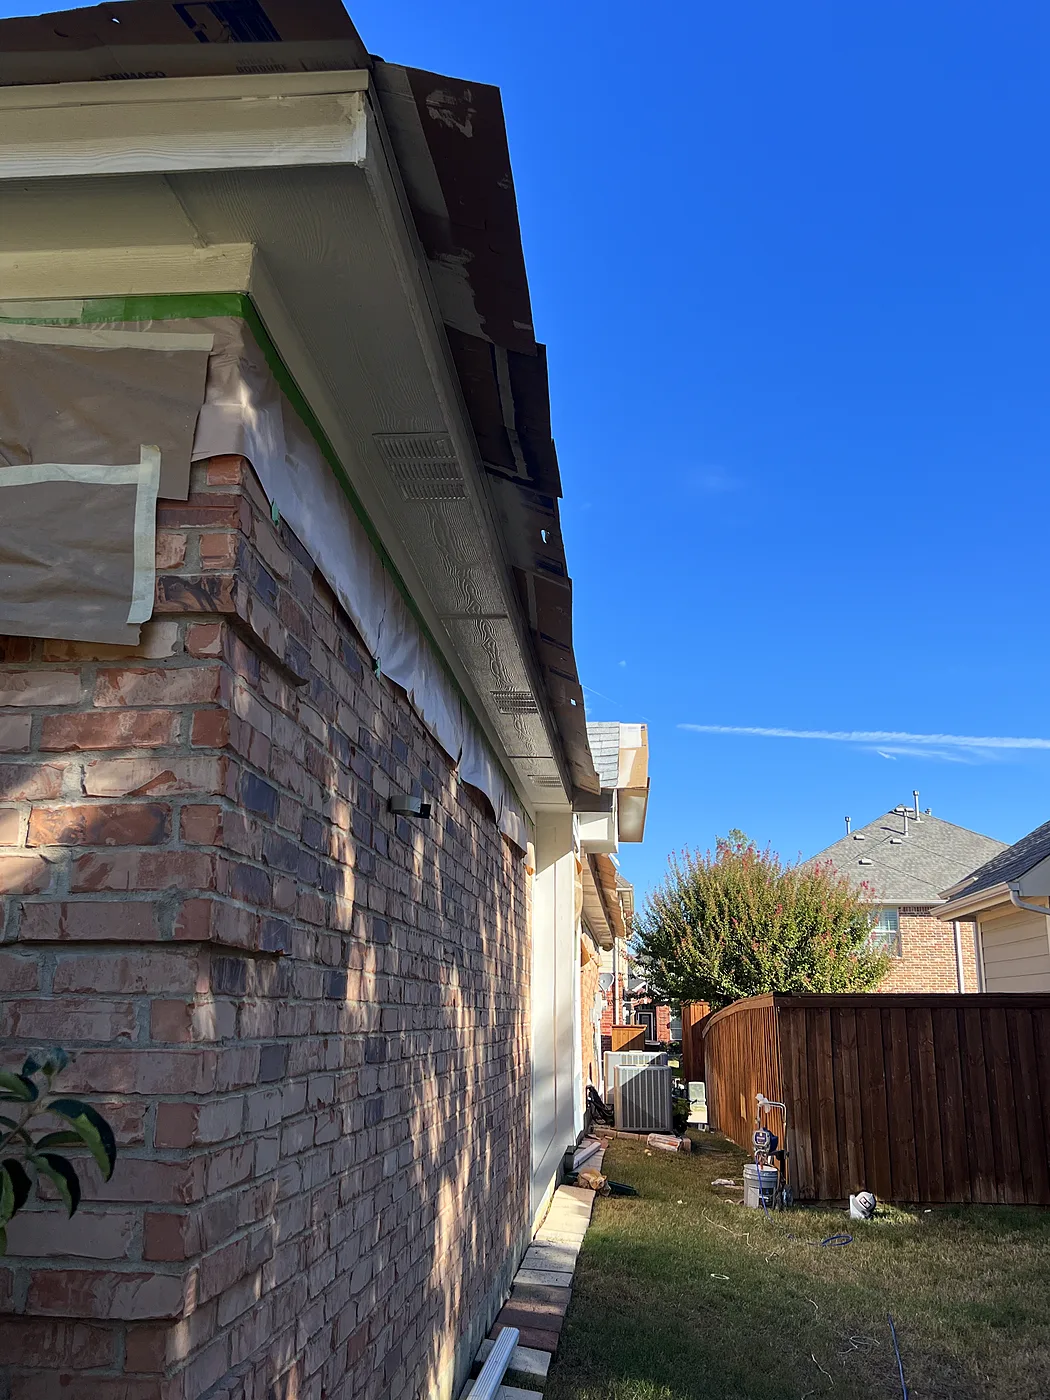
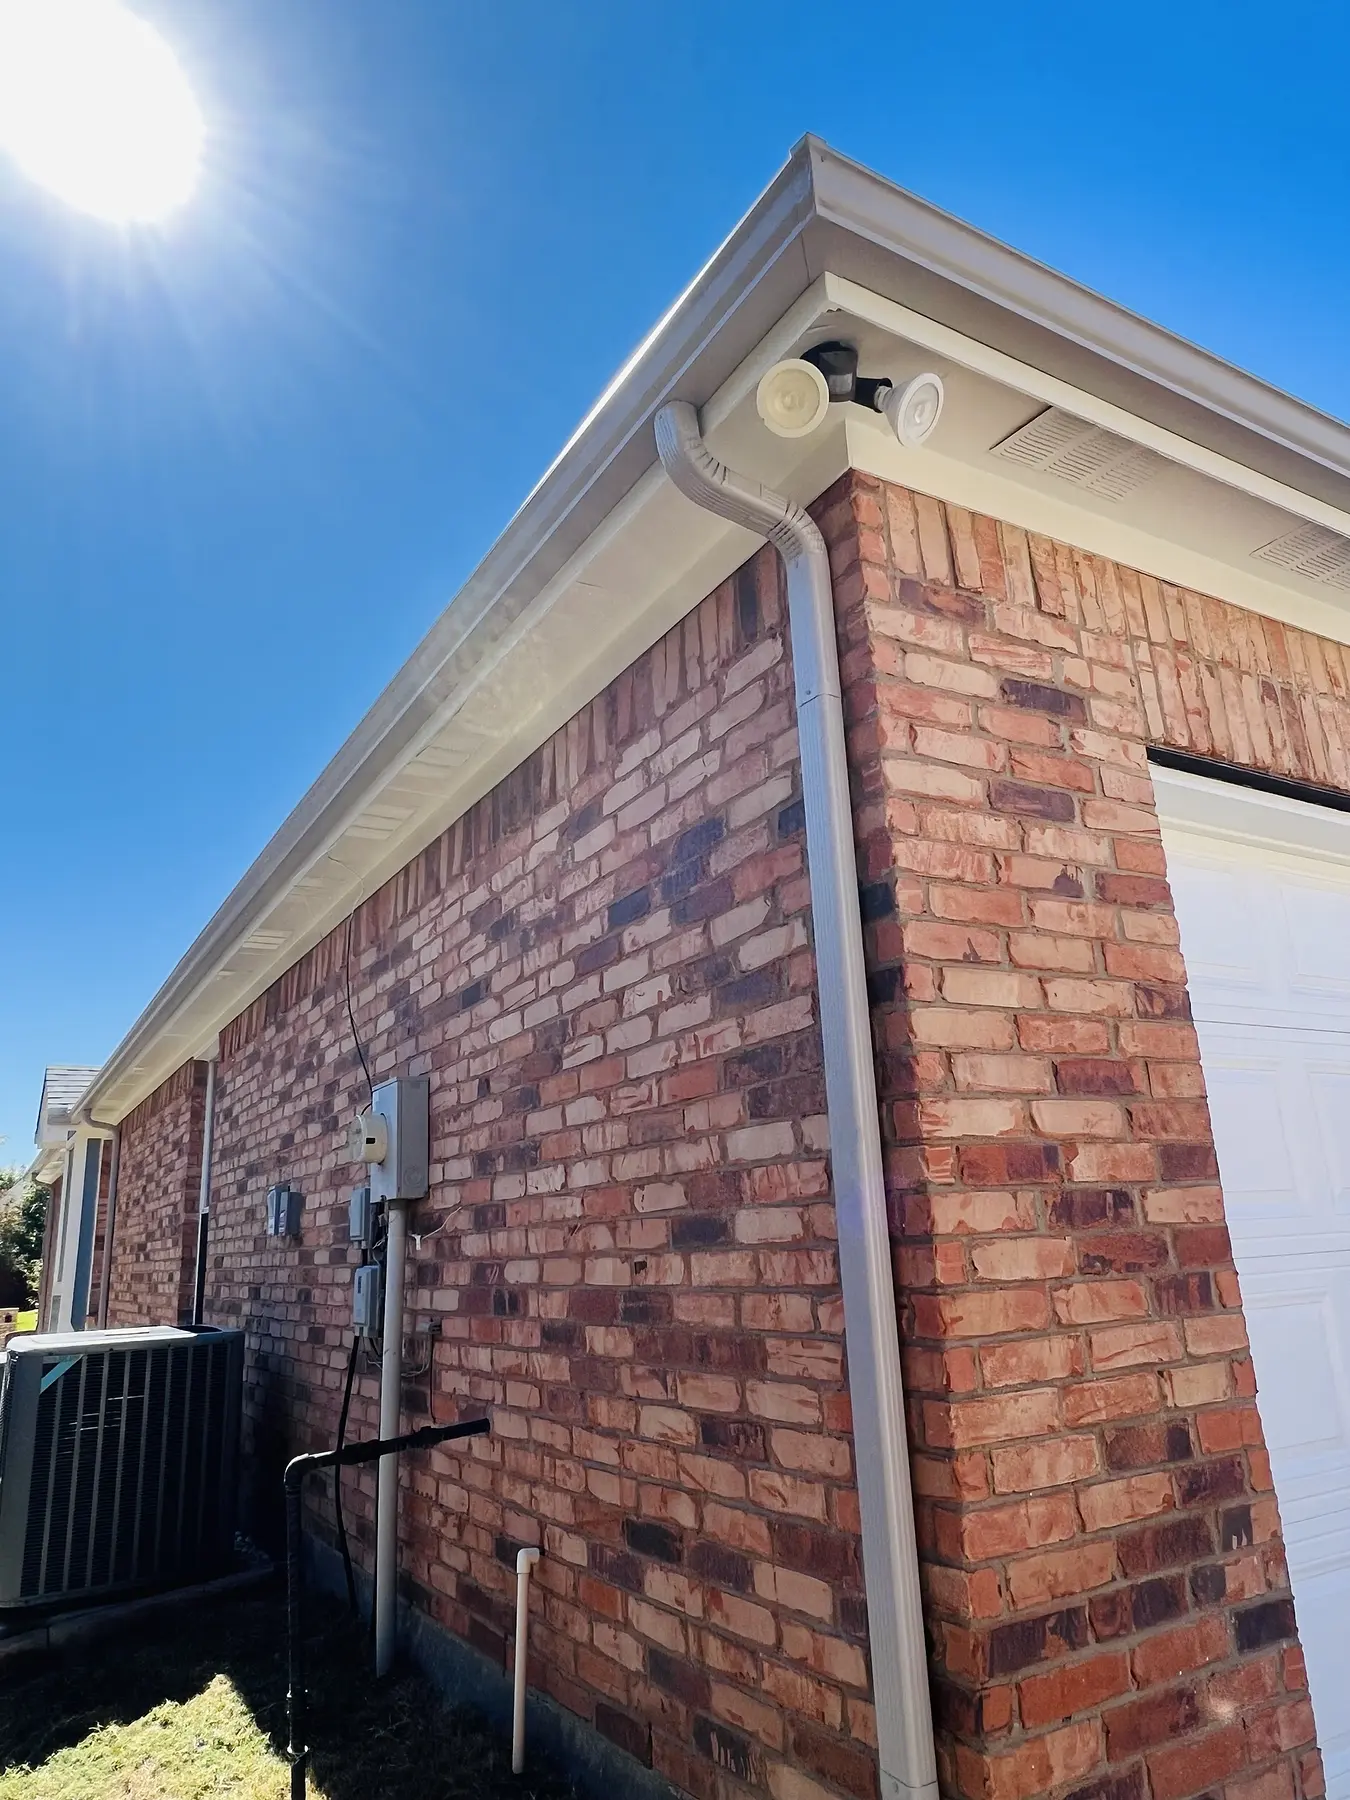
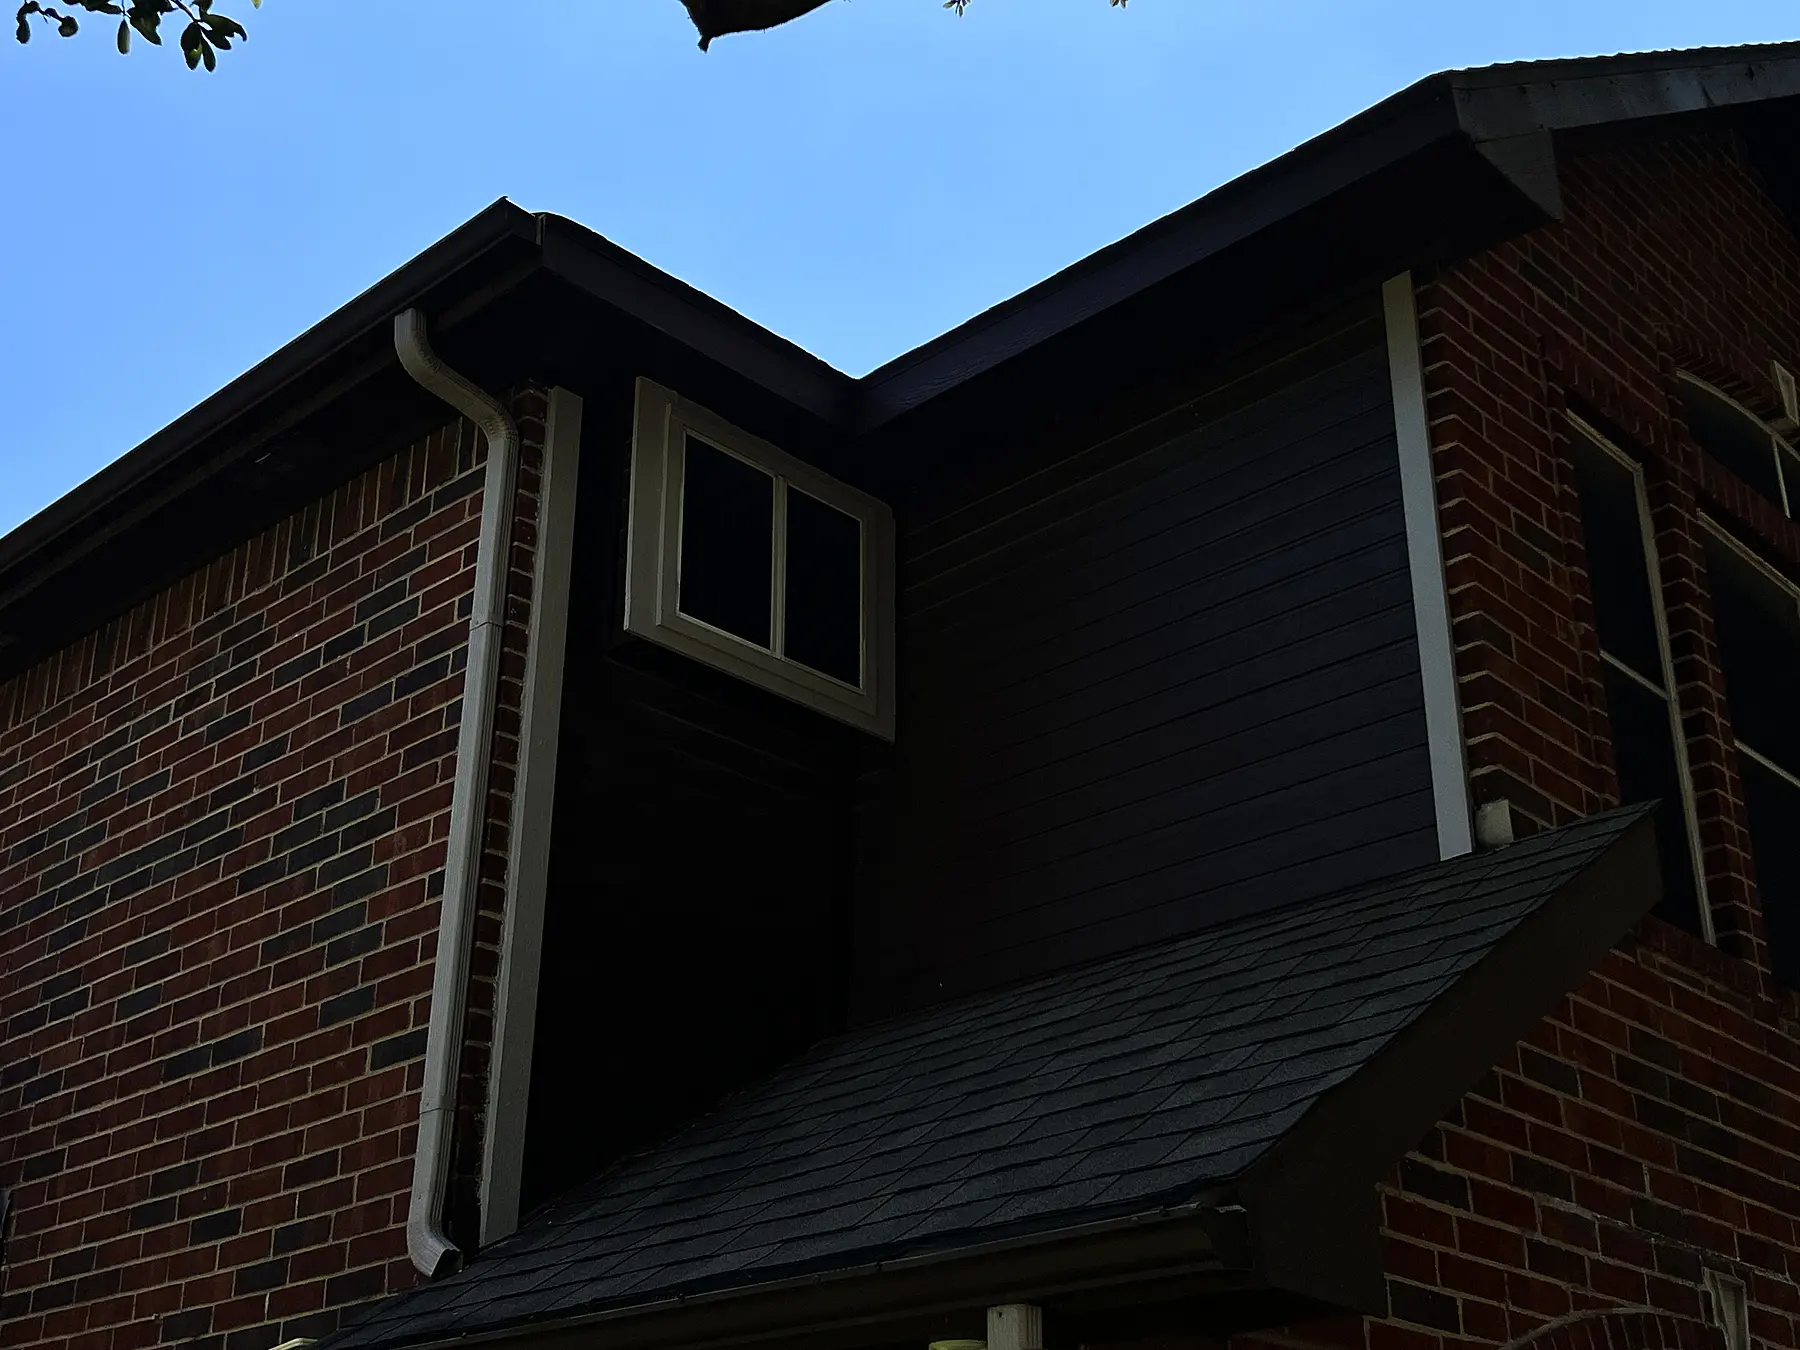
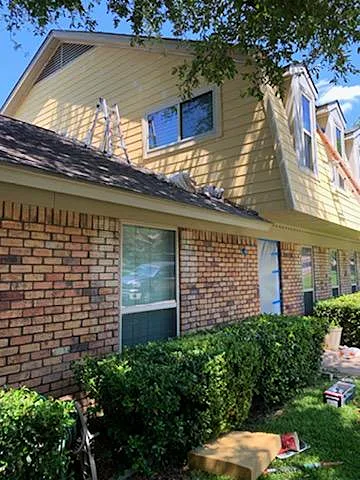
Siding, trim, soffit and fascia repair, then a three-tone repaint

McKinney

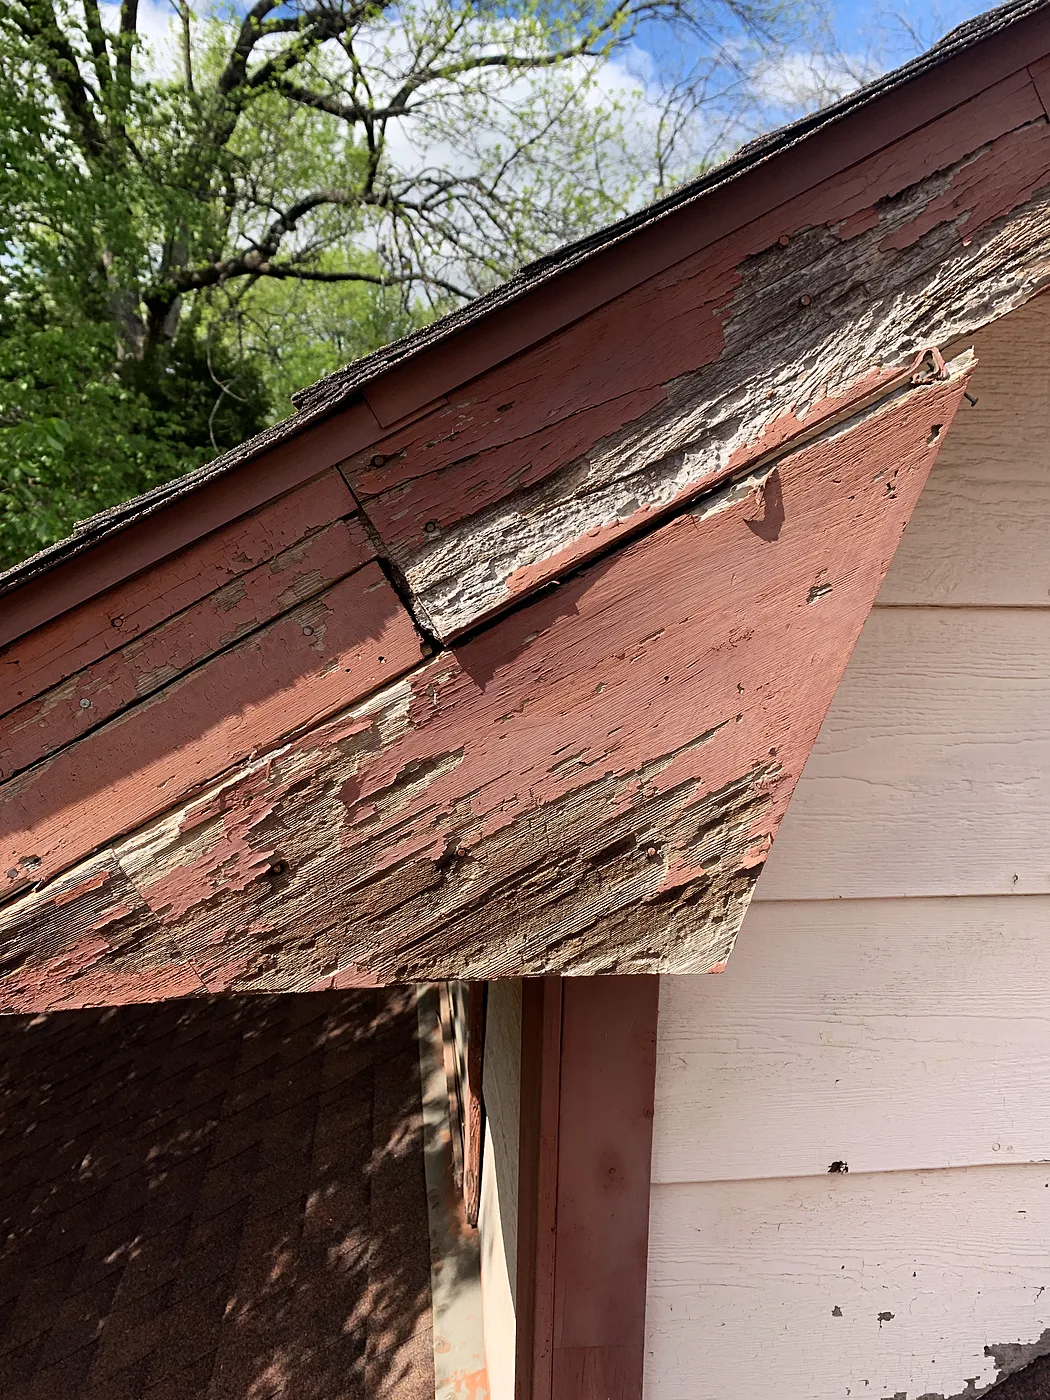
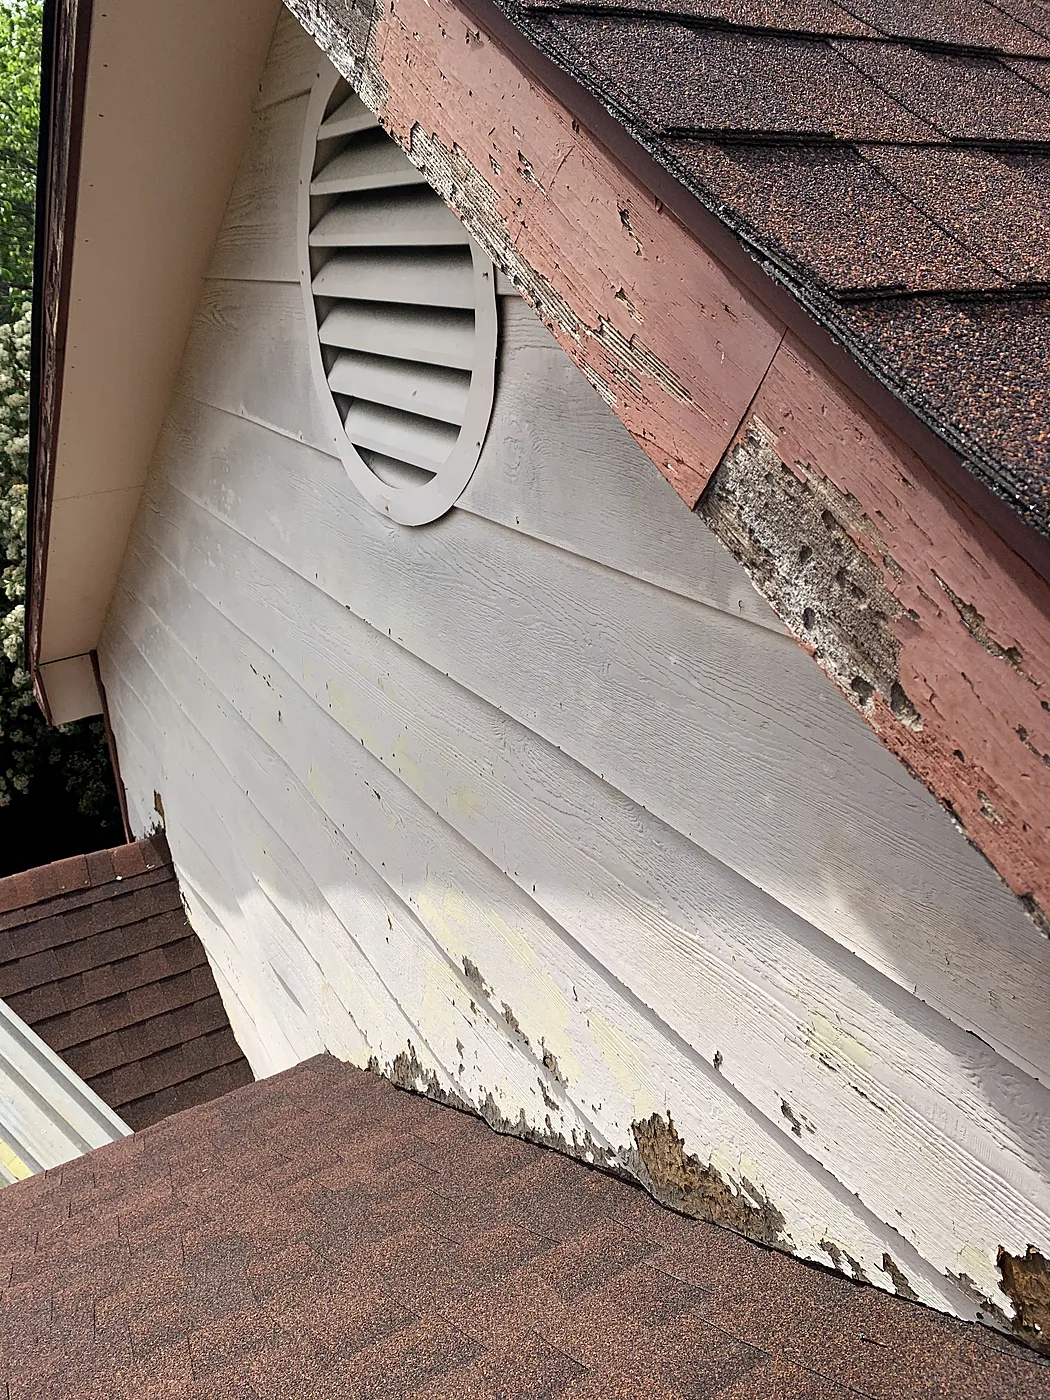
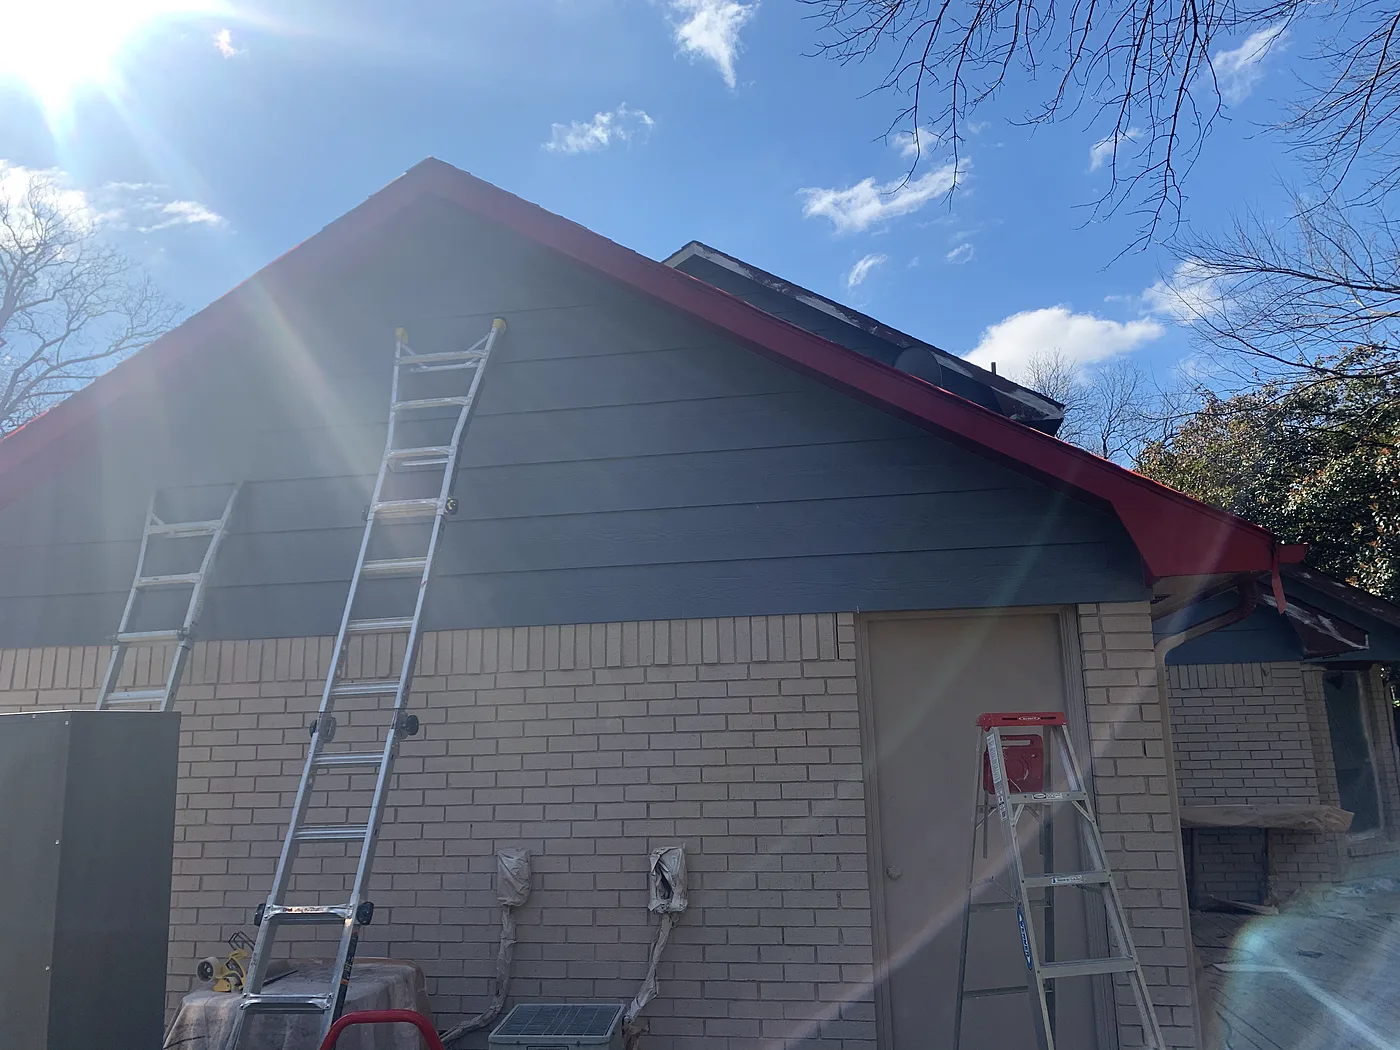
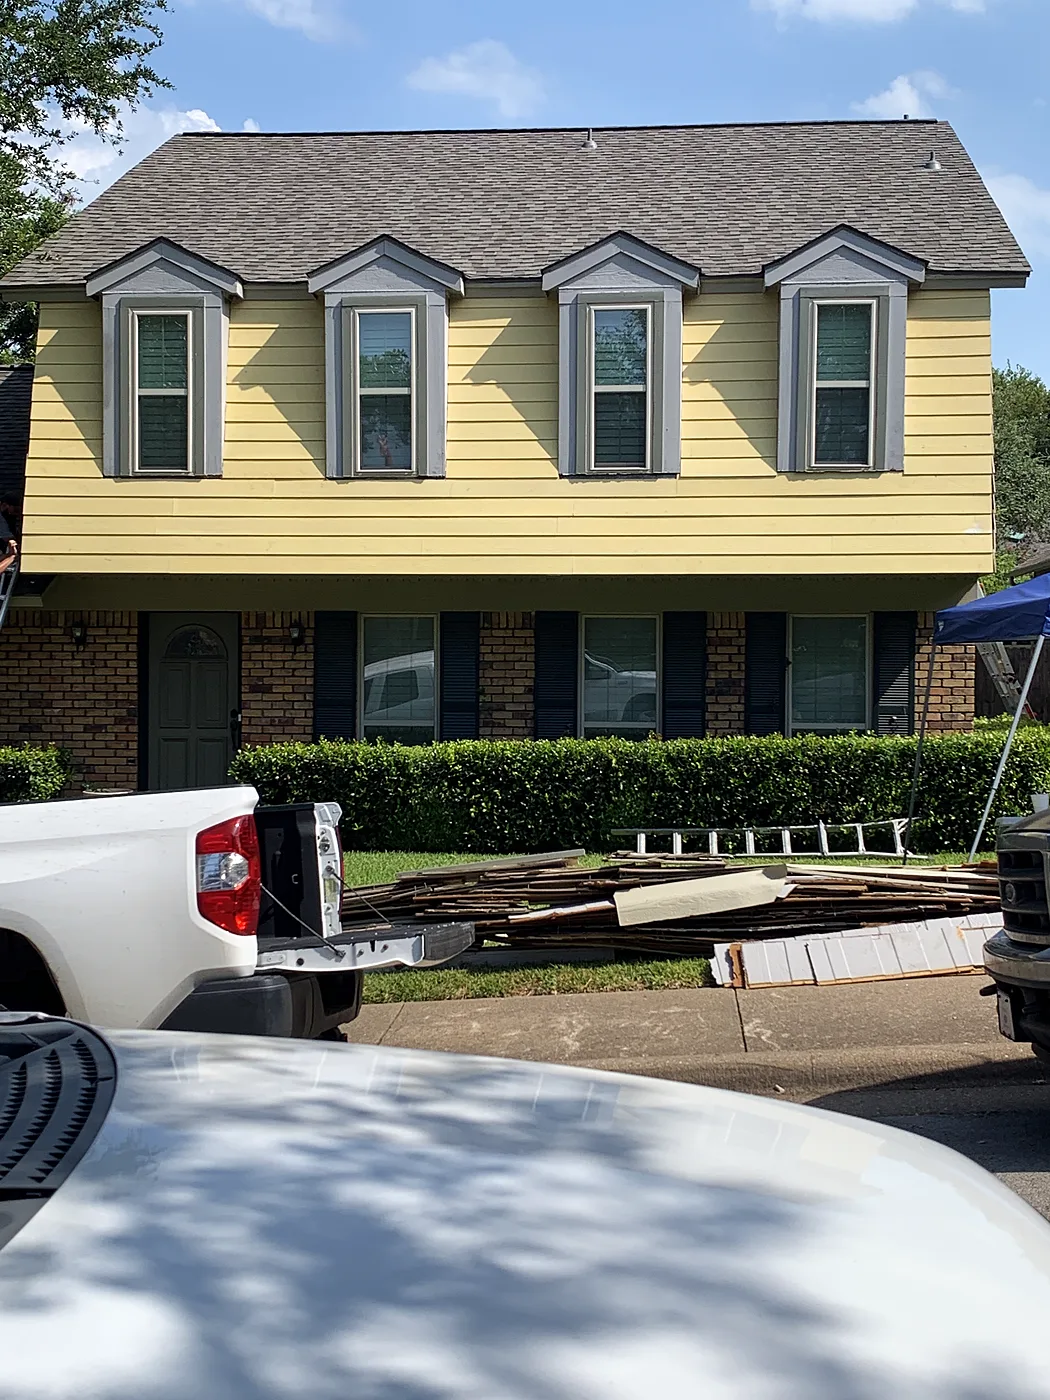
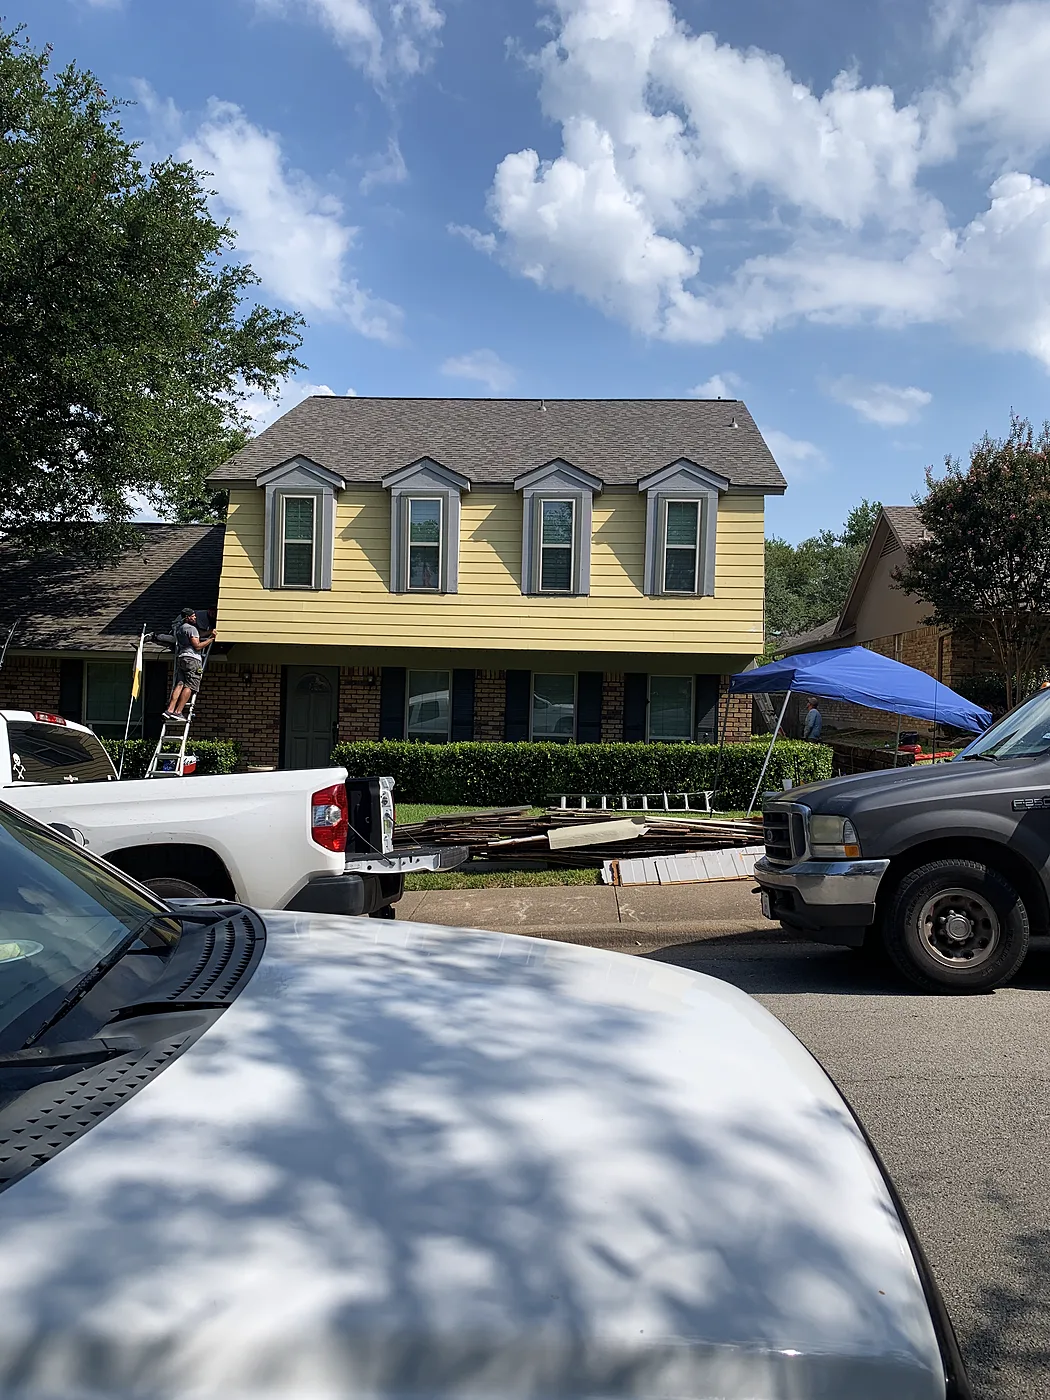
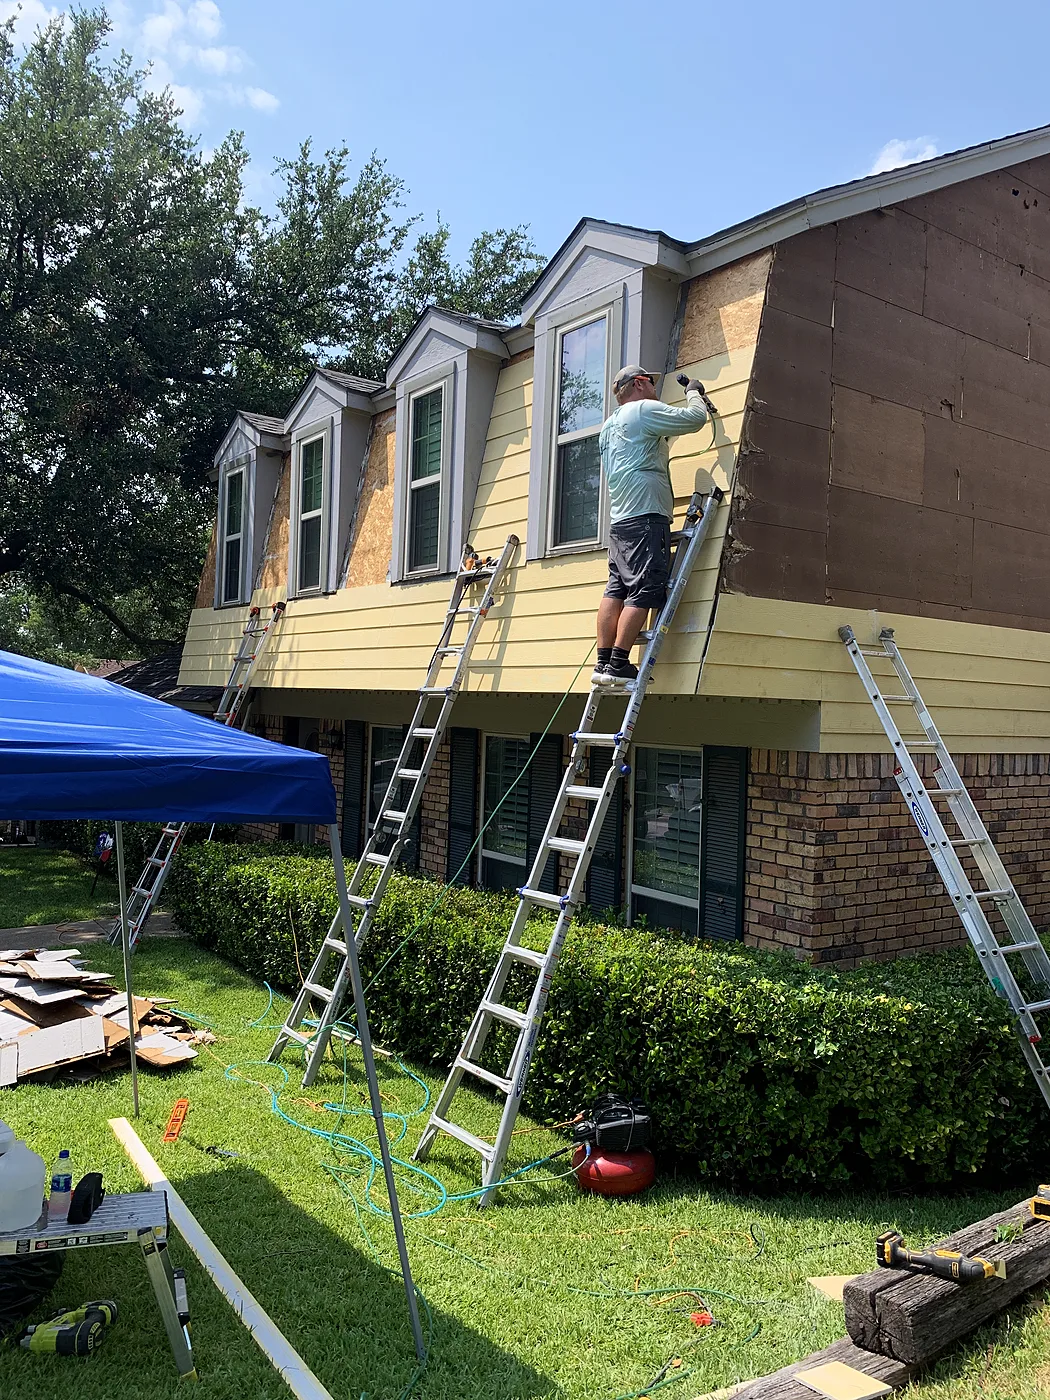
Same house as the chimney rebuild. The siding, trim, soffit and fascia were rotted through. We repaired and replaced all of it, then painted the house in three colors.

Before
Before: Fascia rotted through — Siding, trim, soffit and fascia repair, then a three-tone repaint, McKinney
Fascia rotted through
Before: Rotted trim and siding at the gable — Siding, trim, soffit and fascia repair, then a three-tone repaint, McKinney
Rotted trim and siding at the gable
During
During: New paint going on — Siding, trim, soffit and fascia repair, then a three-tone repaint, McKinney
New paint going on
During: Siding and trim, first color — Siding, trim, soffit and fascia repair, then a three-tone repaint, McKinney
Siding and trim, first color
After
After: Three-tone finish — Siding, trim, soffit and fascia repair, then a three-tone repaint, McKinney
Three-tone finish
After: From the driveway — Siding, trim, soffit and fascia repair, then a three-tone repaint, McKinney
From the driveway

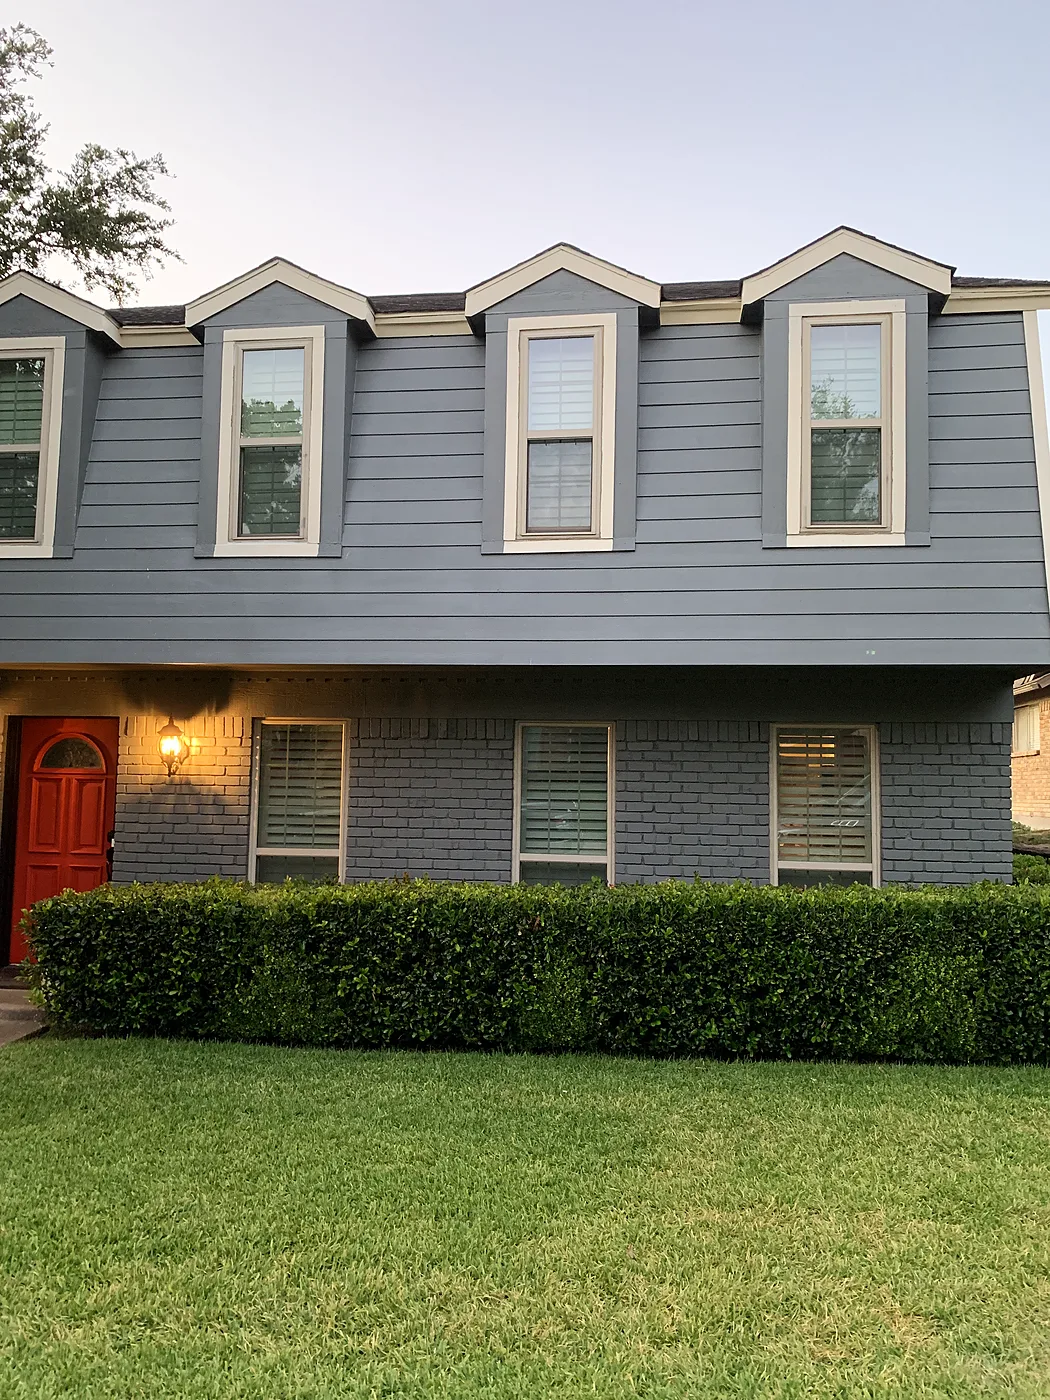
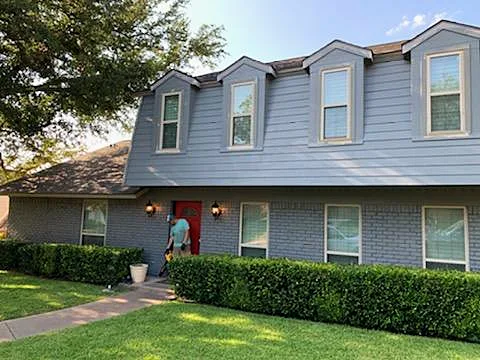
Every window trimmed in James Hardie, then a two-tone repaint

McKinney

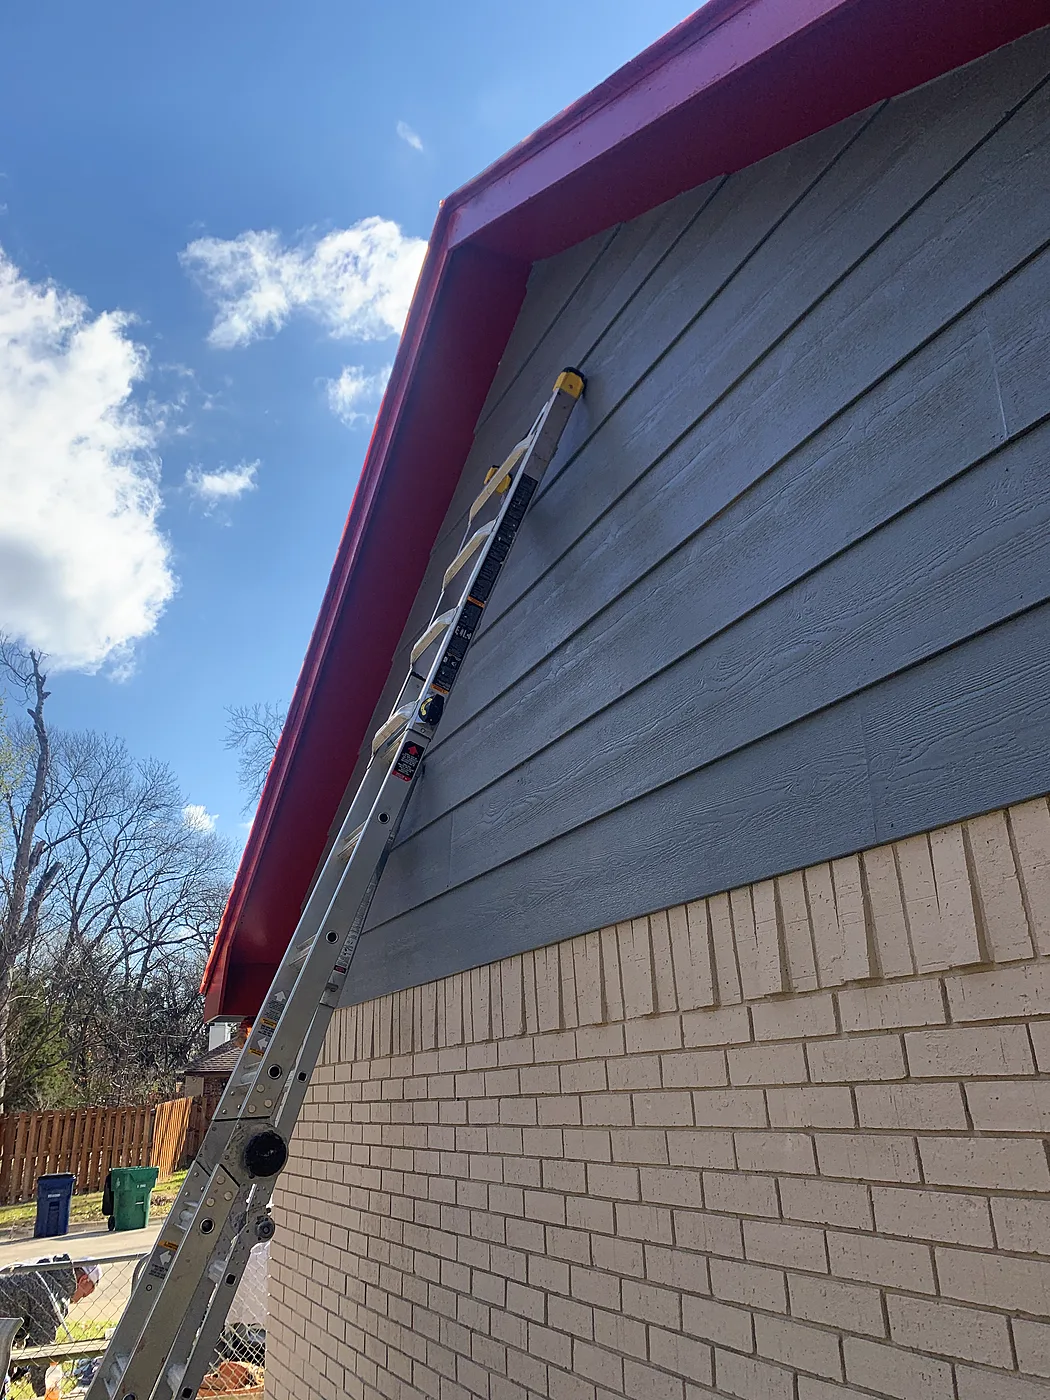
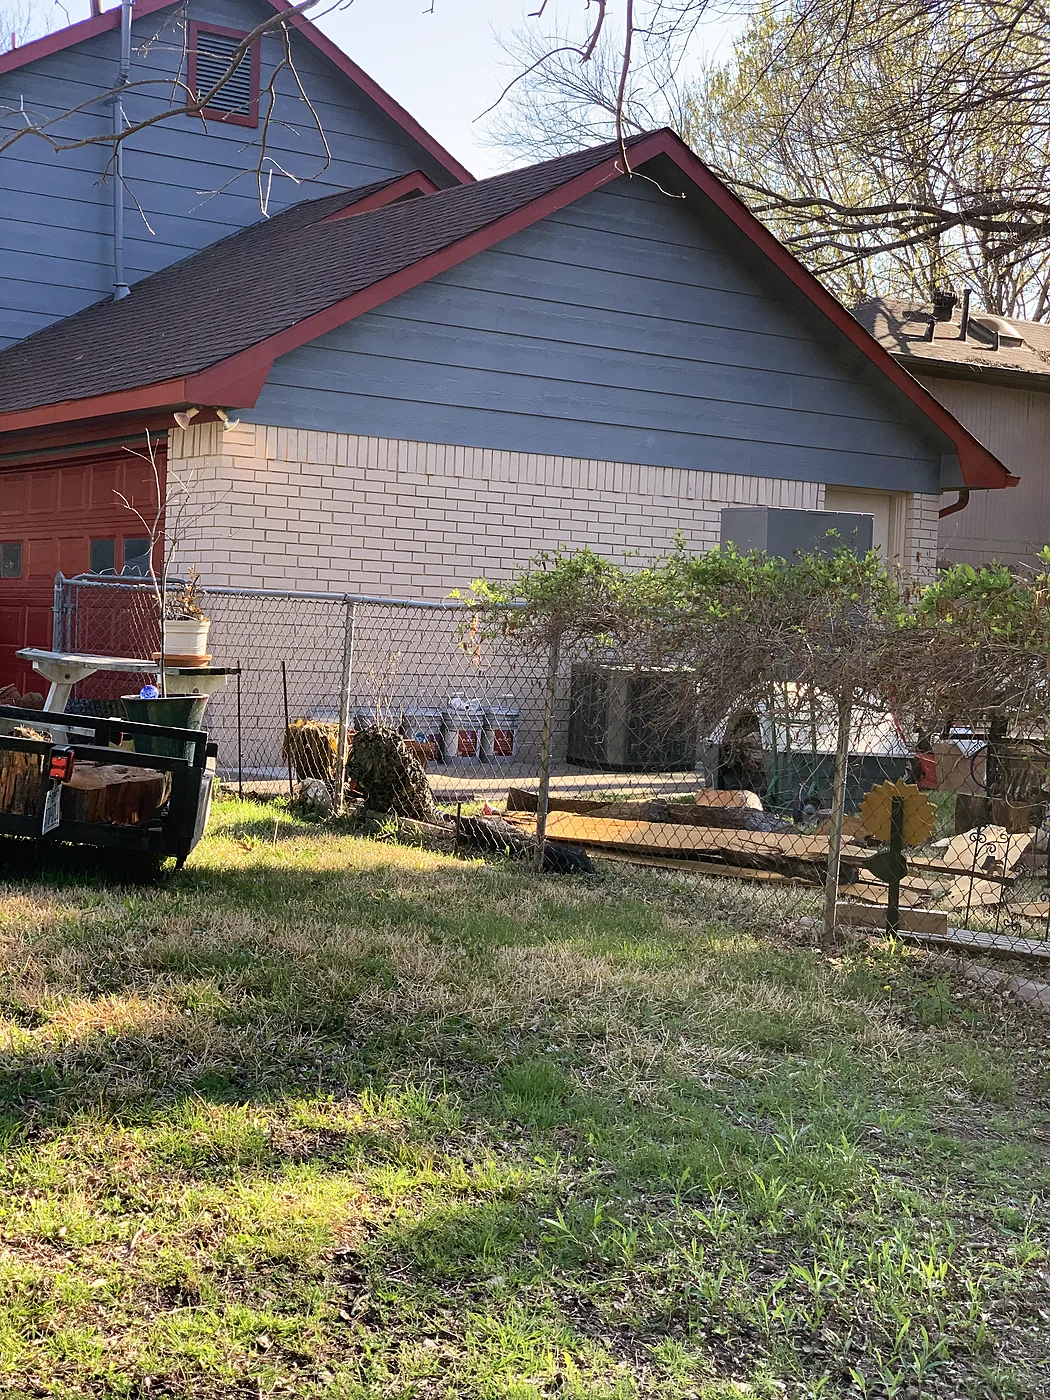
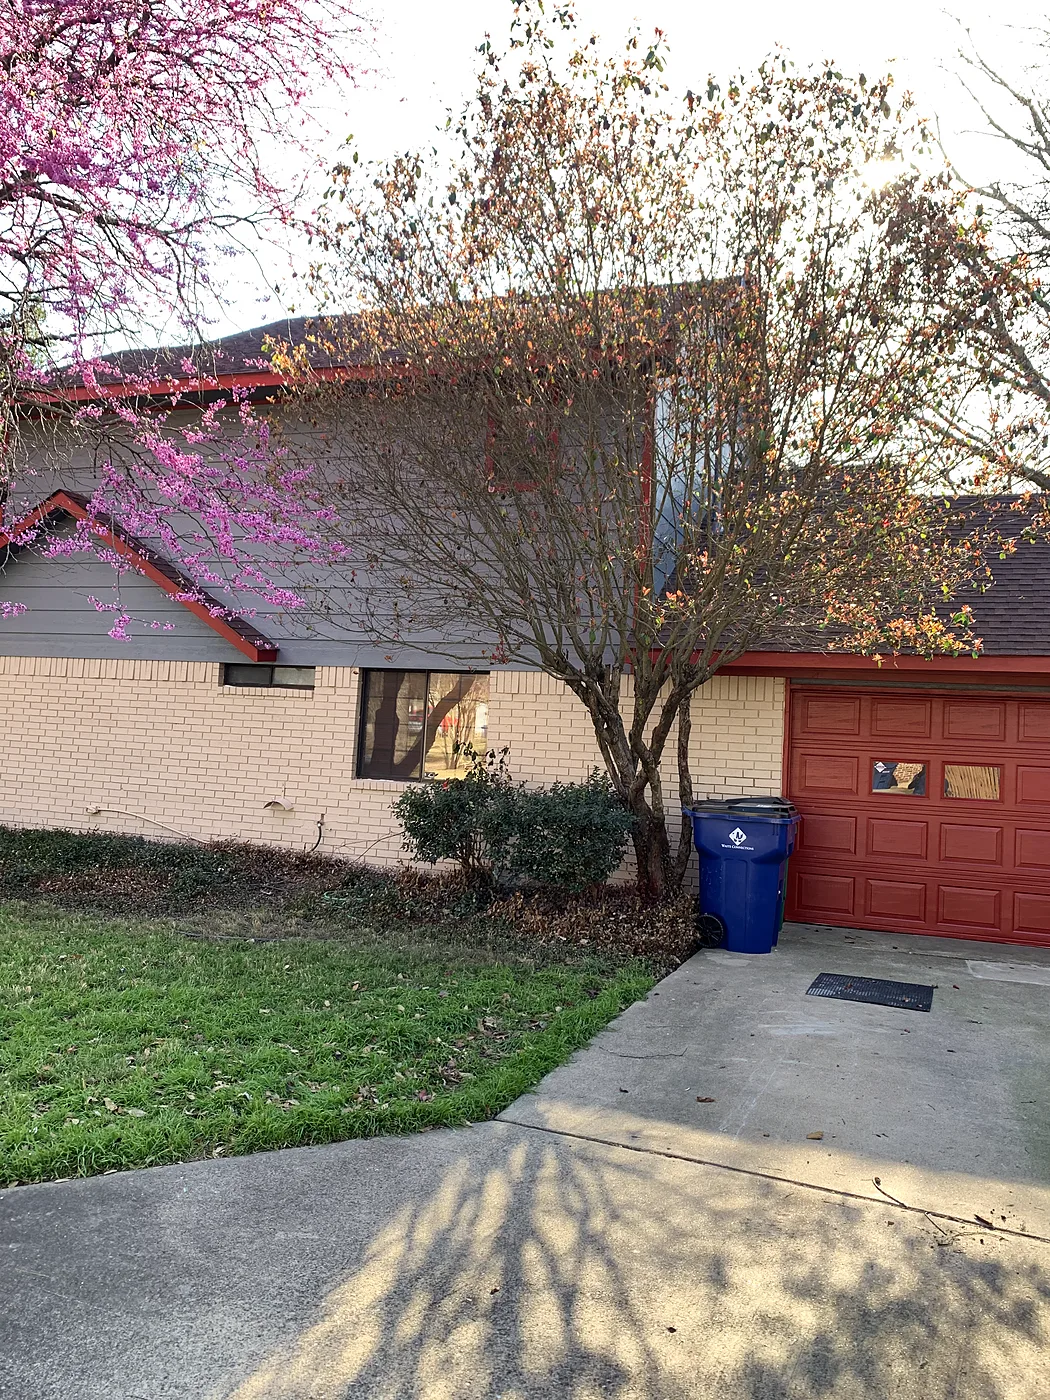
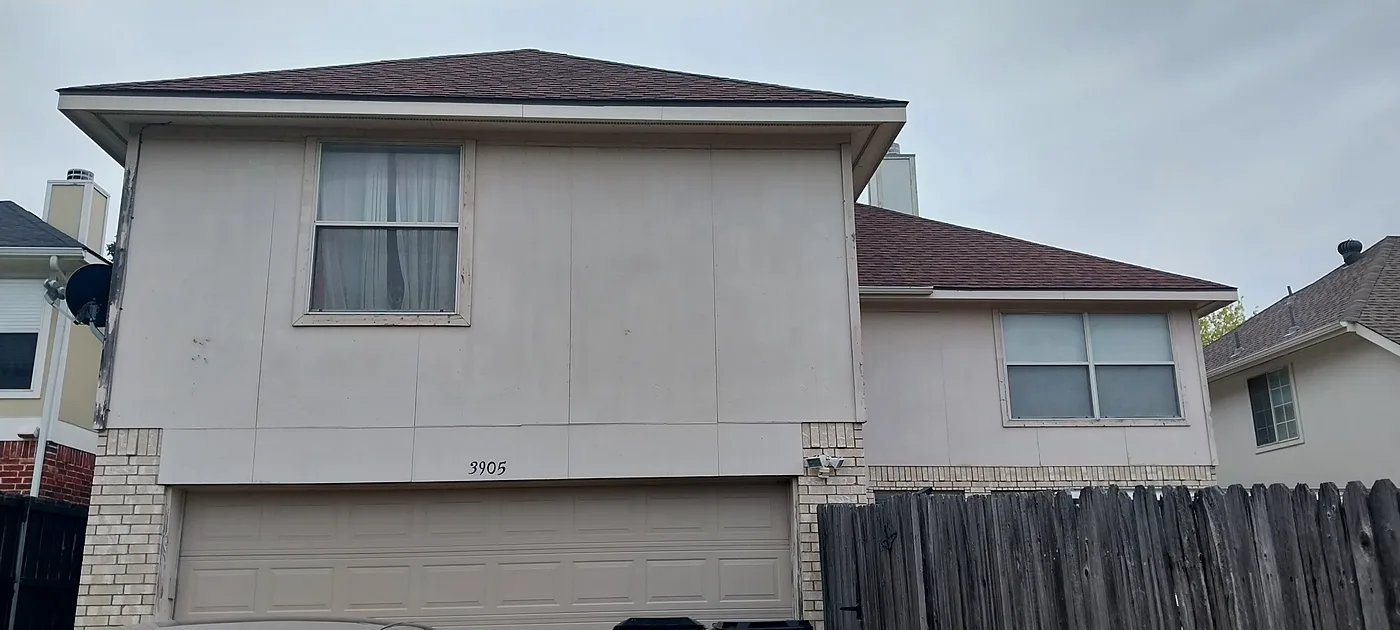
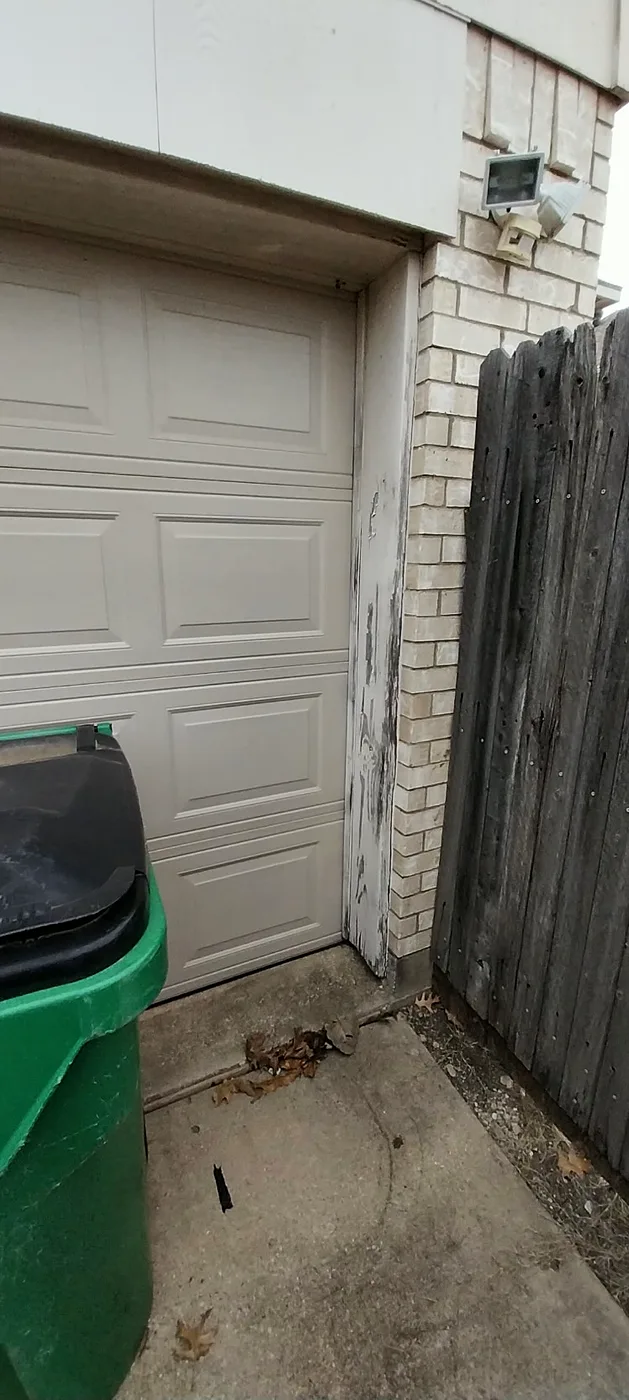
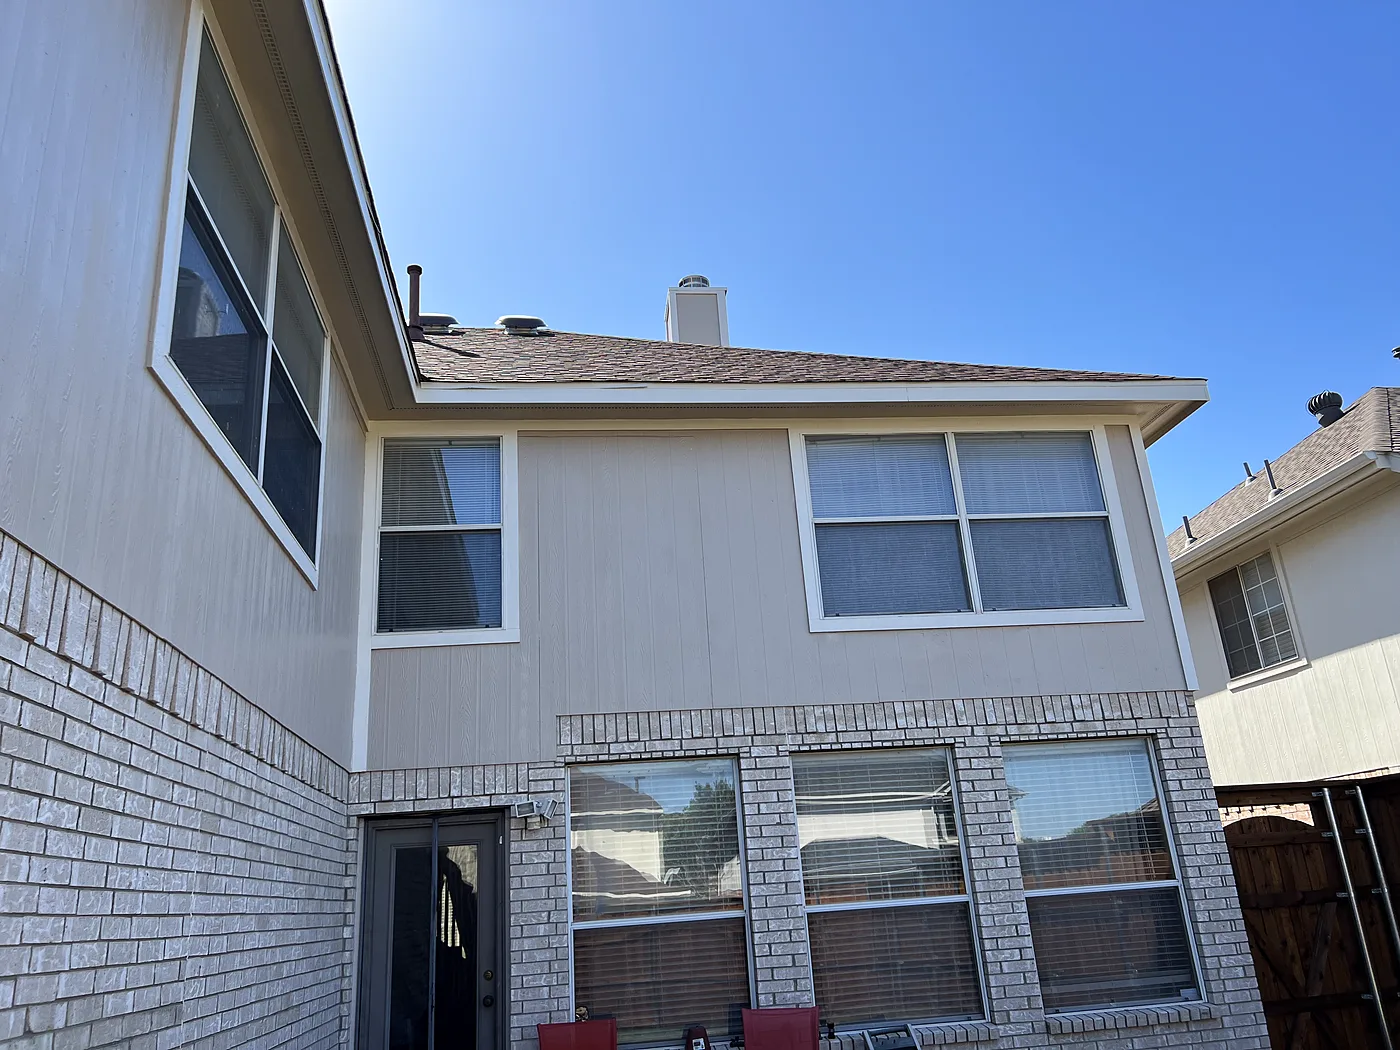
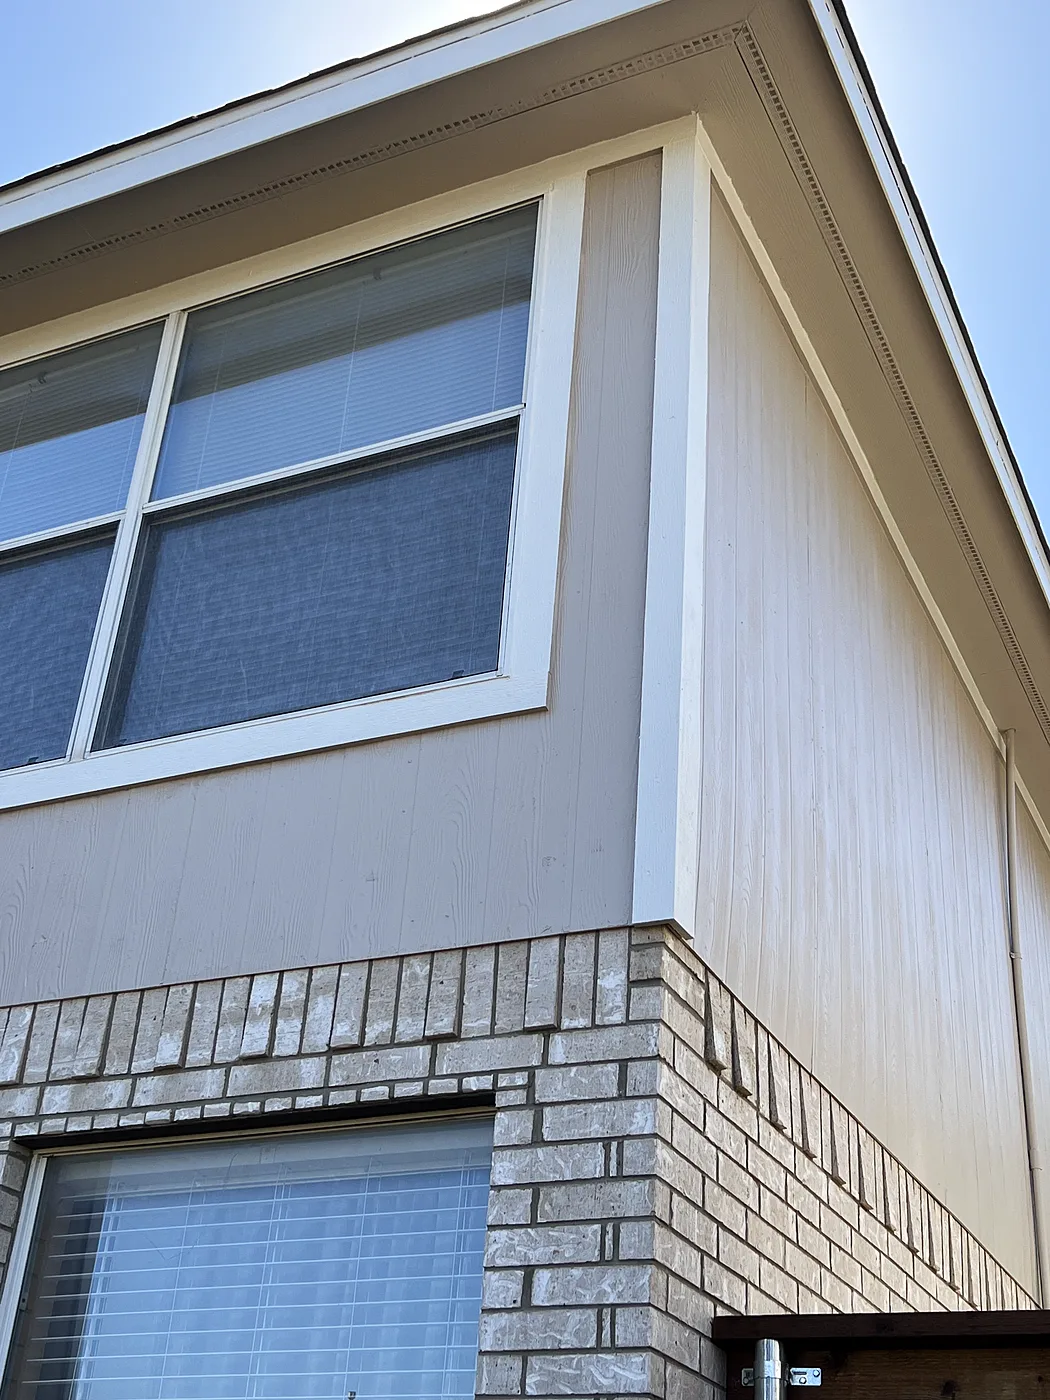
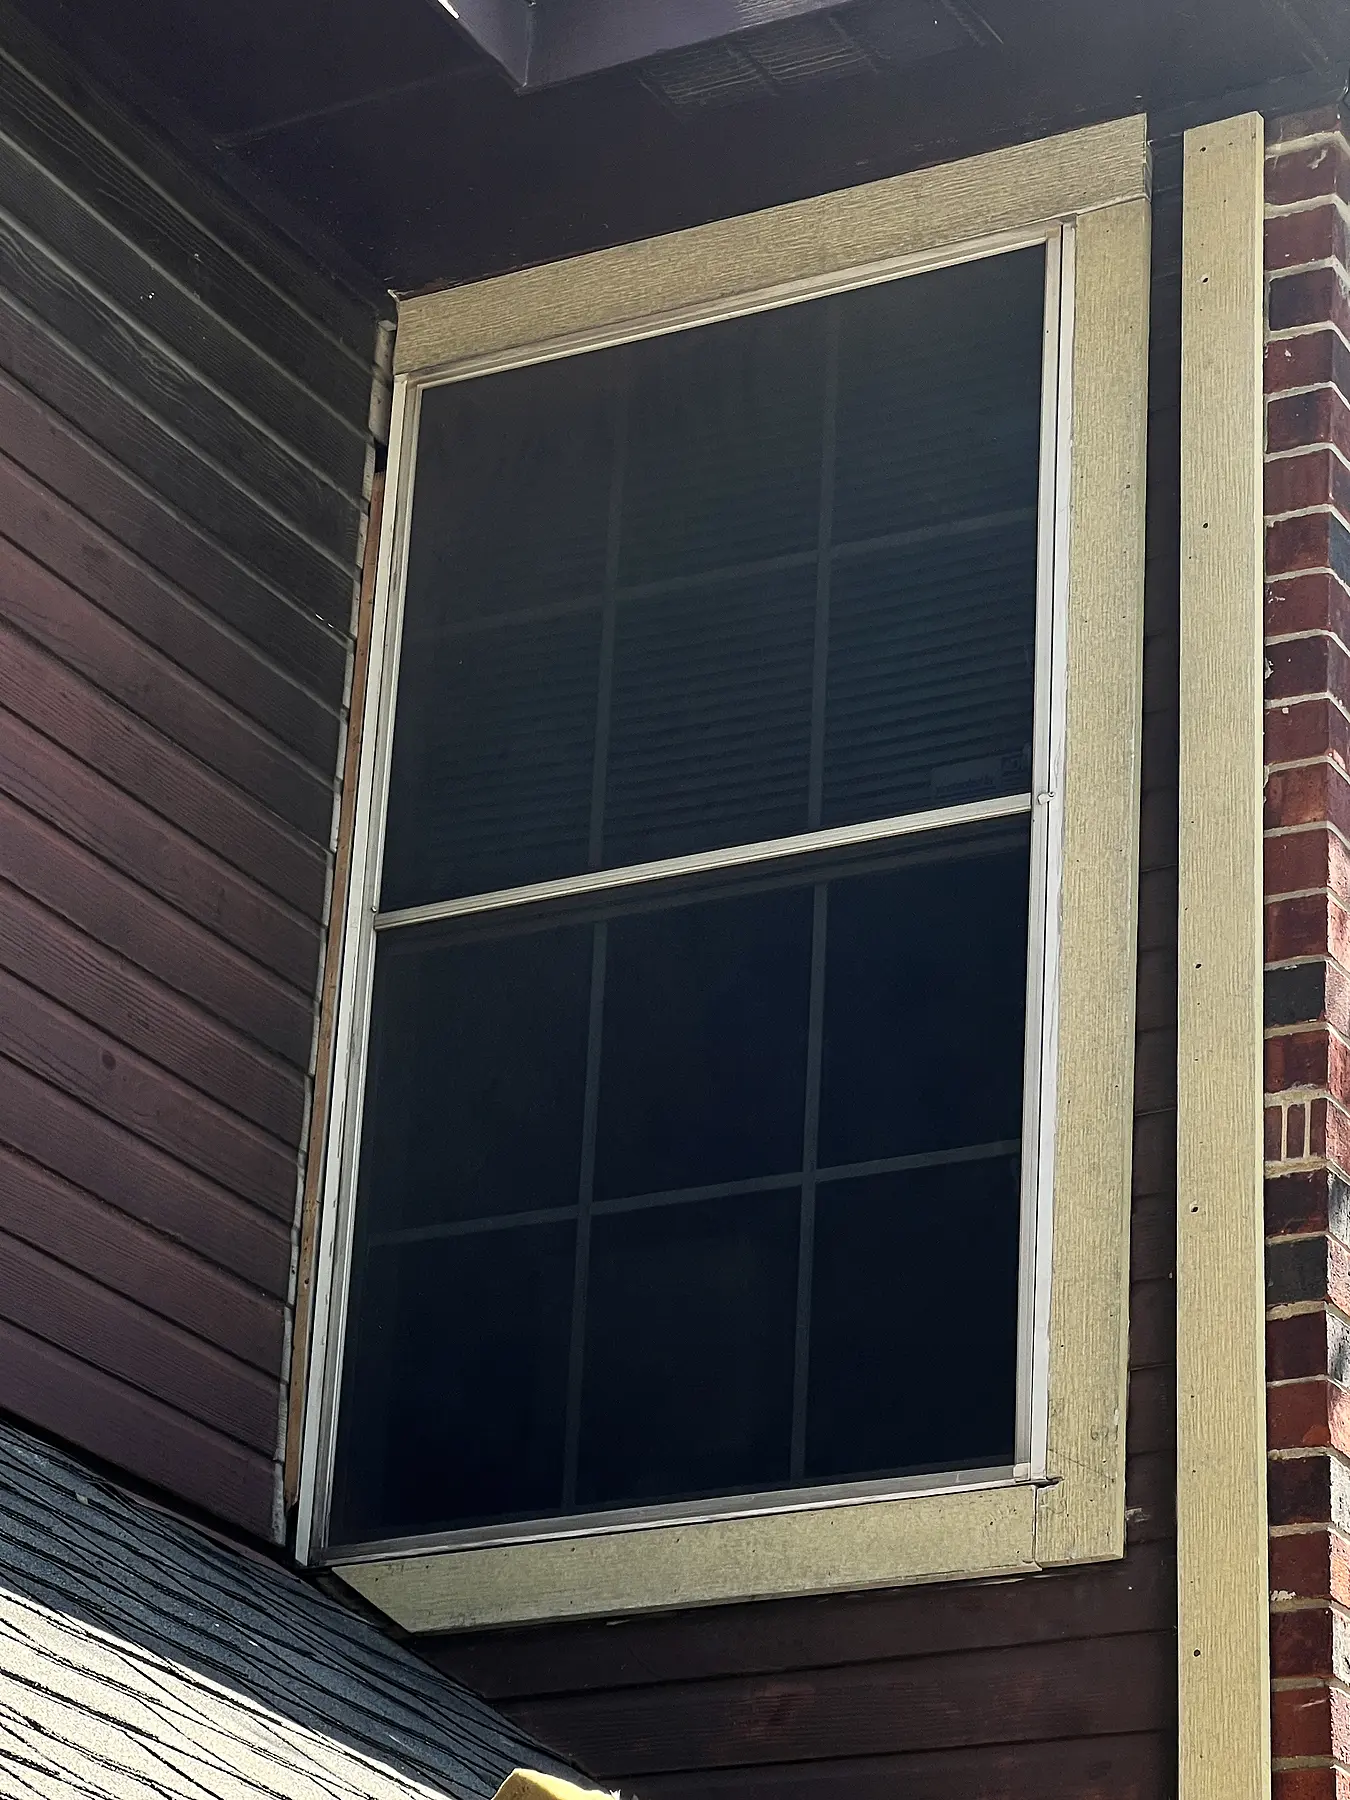
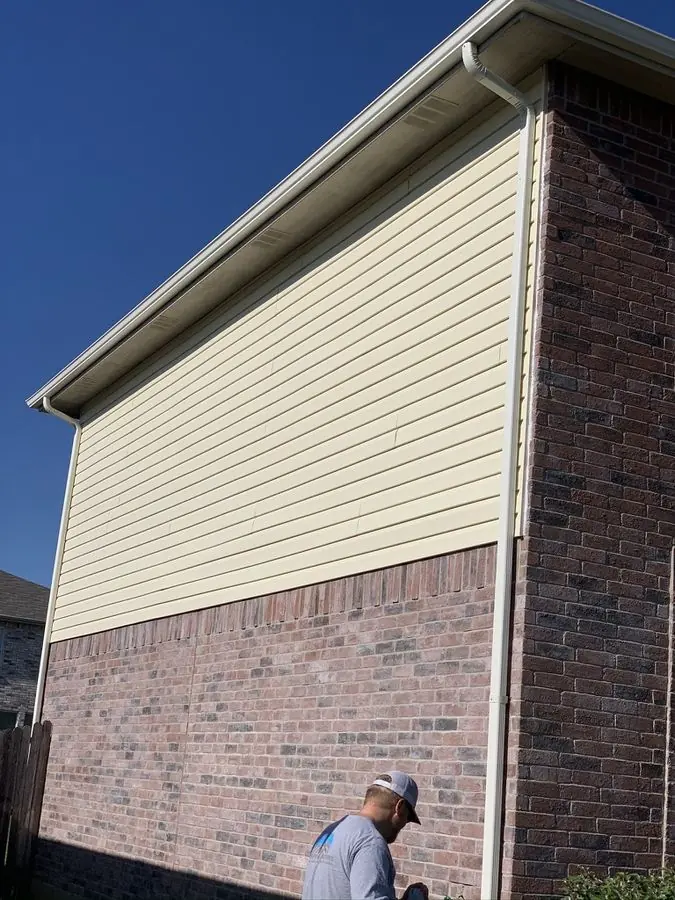
Brick on the first floor, siding and trim on the second. The trim around every window had rotted because the builder used cheap material. We replaced all of the window trim with James Hardie trim boards, replaced the garage door trim, caulked and sealed everything, and painted the house two-tone.

Before
Before: Before, back of the house — Every window trimmed in James Hardie, then a two-tone repaint, McKinney
Before, back of the house
Before: Rotted garage trim — Every window trimmed in James Hardie, then a two-tone repaint, McKinney
Rotted garage trim
After
After: After, back of the house — Every window trimmed in James Hardie, then a two-tone repaint, McKinney
After, back of the house
After: New Hardie window trim — Every window trimmed in James Hardie, then a two-tone repaint, McKinney
New Hardie window trim

Squirrel and water damage repaired, then a two-tone brown and white repaint

McKinney

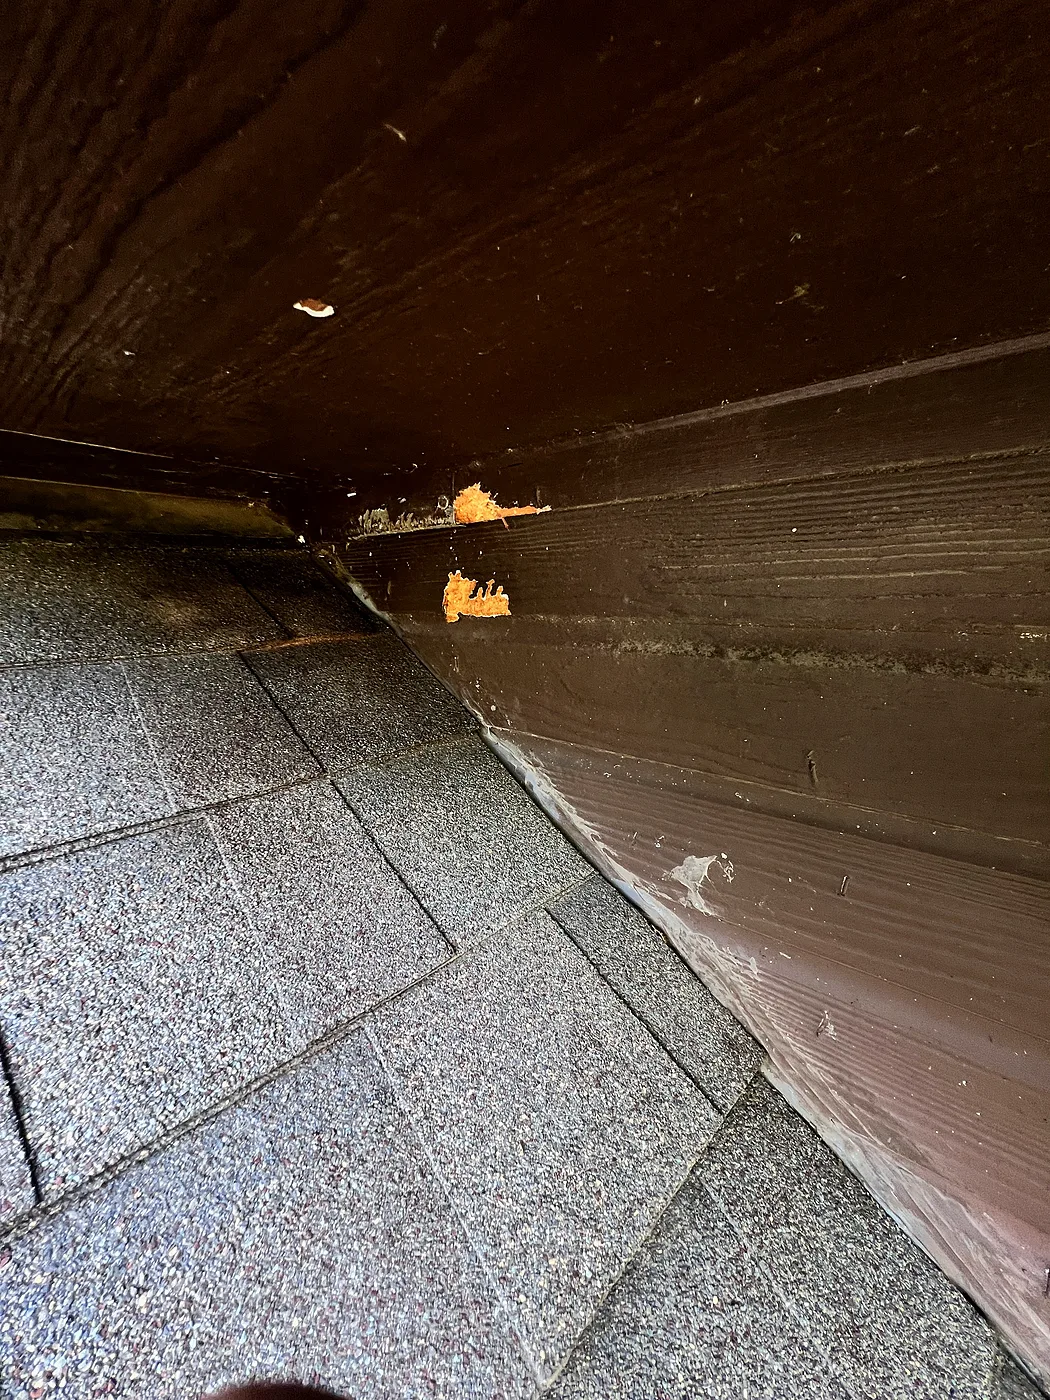
Squirrels had eaten through the trim boards and siding at the roofline, and the soffit was water-damaged from incorrectly installed gutters. We made the repairs with top-quality products, which led to replacing siding around the house, then painted the entire home two-tone brown and white.

Before
Before: Squirrel damage at the roofline — Squirrel and water damage repaired, then a two-tone brown and white repaint, McKinney
Squirrel damage at the roofline
Before: Water-damaged soffit — Squirrel and water damage repaired, then a two-tone brown and white repaint, McKinney
Water-damaged soffit
During
During: Repairs underway — Squirrel and water damage repaired, then a two-tone brown and white repaint, McKinney
Repairs underway
During: Trim before paint — Squirrel and water damage repaired, then a two-tone brown and white repaint, McKinney
Trim before paint
After
After: Two-tone brown and white — Squirrel and water damage repaired, then a two-tone brown and white repaint, McKinney
Two-tone brown and white
After: Finished roofline — Squirrel and water damage repaired, then a two-tone brown and white repaint, McKinney
Finished roofline

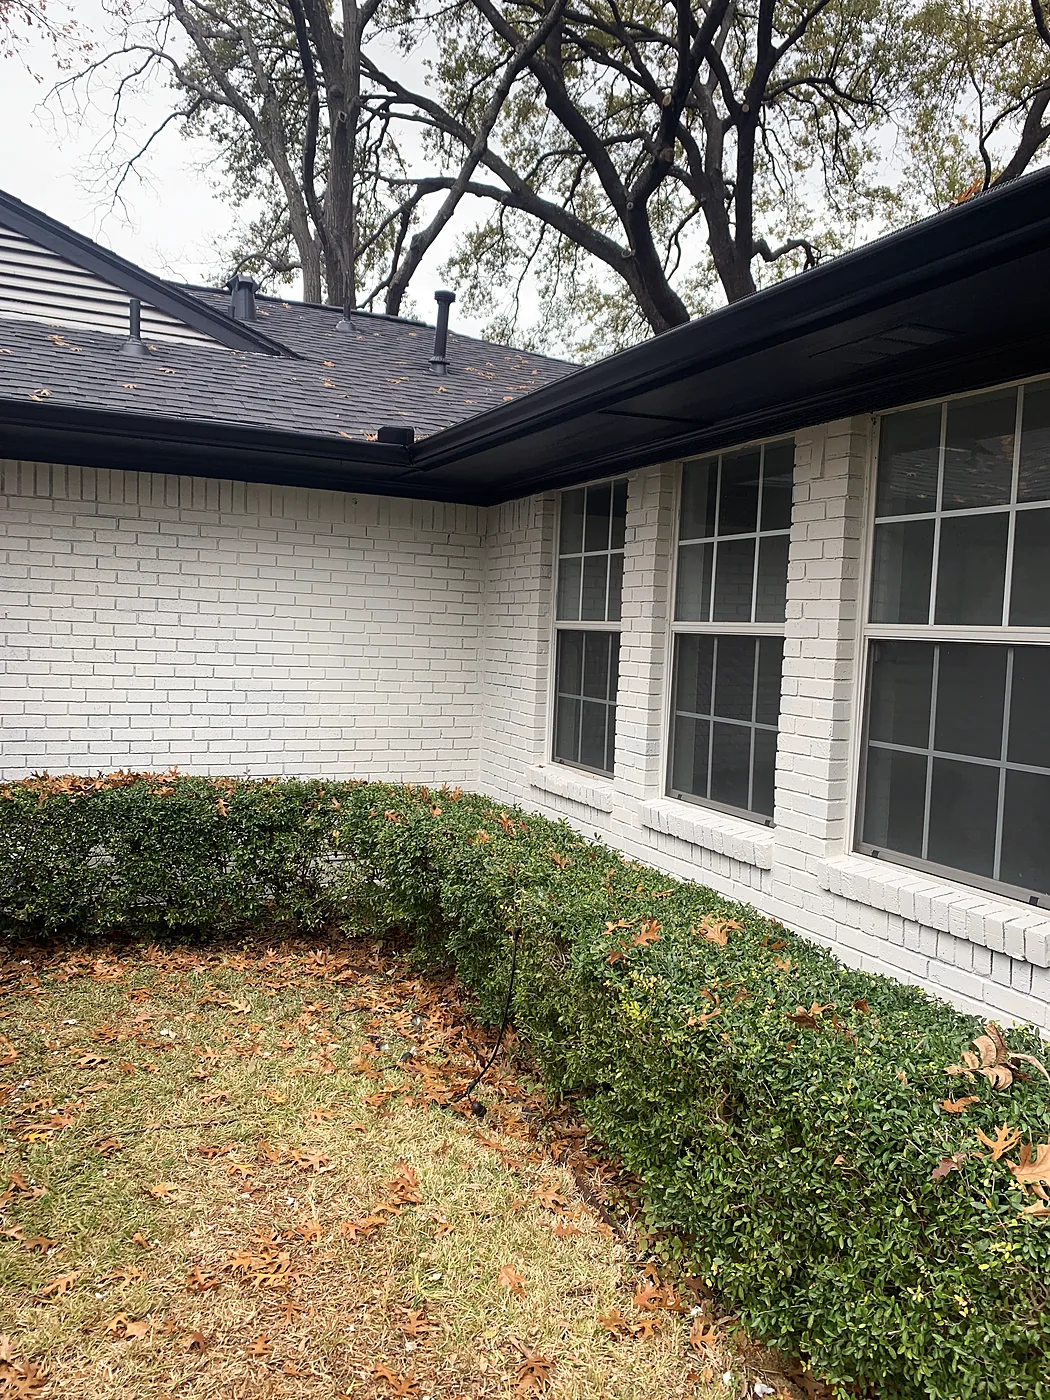
Two-tone exterior: white brick, black trim

Dallas

Two-tone paint: brick in white, and all soffits, fascia, gutters and doors in black.

Before
Before: Before — Two-tone exterior: white brick, black trim, Dallas
Before
Before: Before, back corner — Two-tone exterior: white brick, black trim, Dallas
Before, back corner
After
After: After: white brick, black trim — Two-tone exterior: white brick, black trim, Dallas
After: white brick, black trim
After: After, front windows — Two-tone exterior: white brick, black trim, Dallas
After, front windows

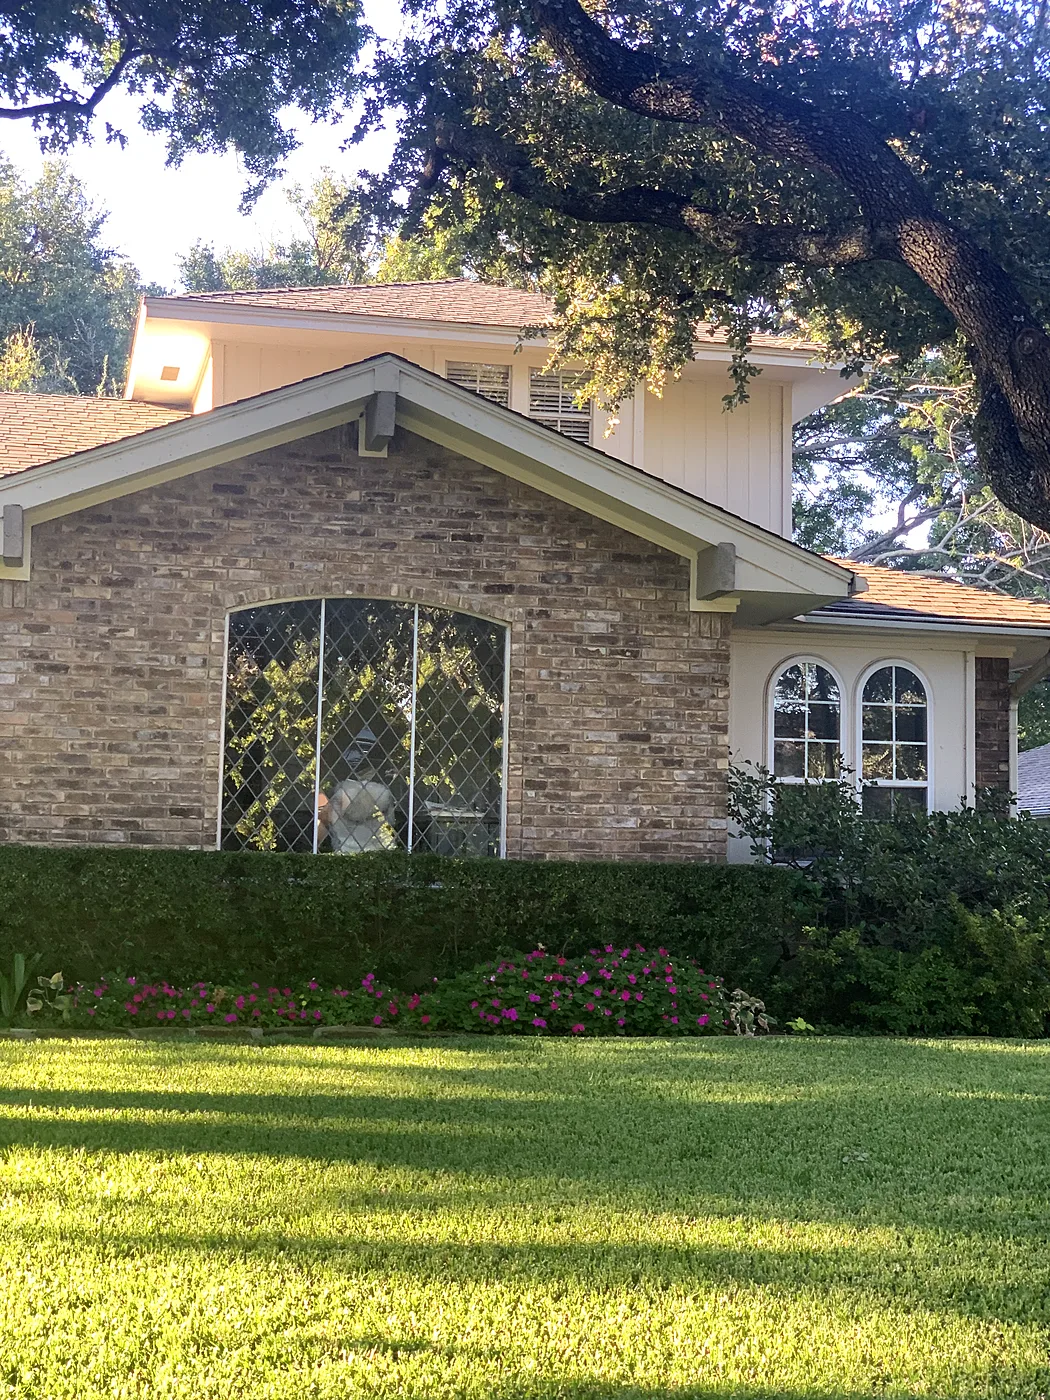
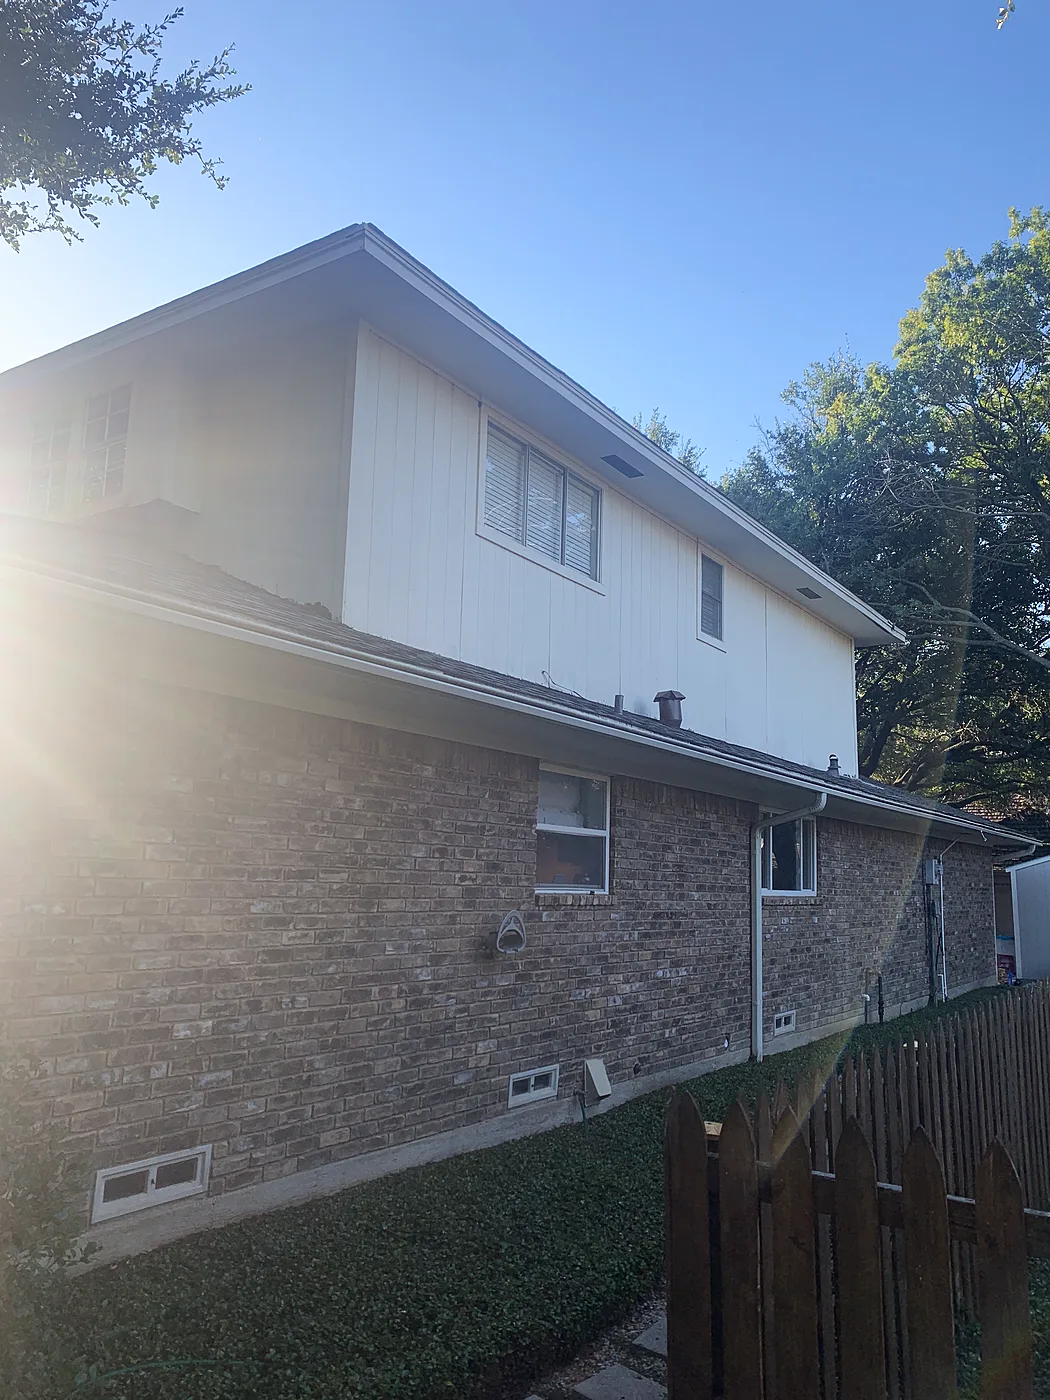
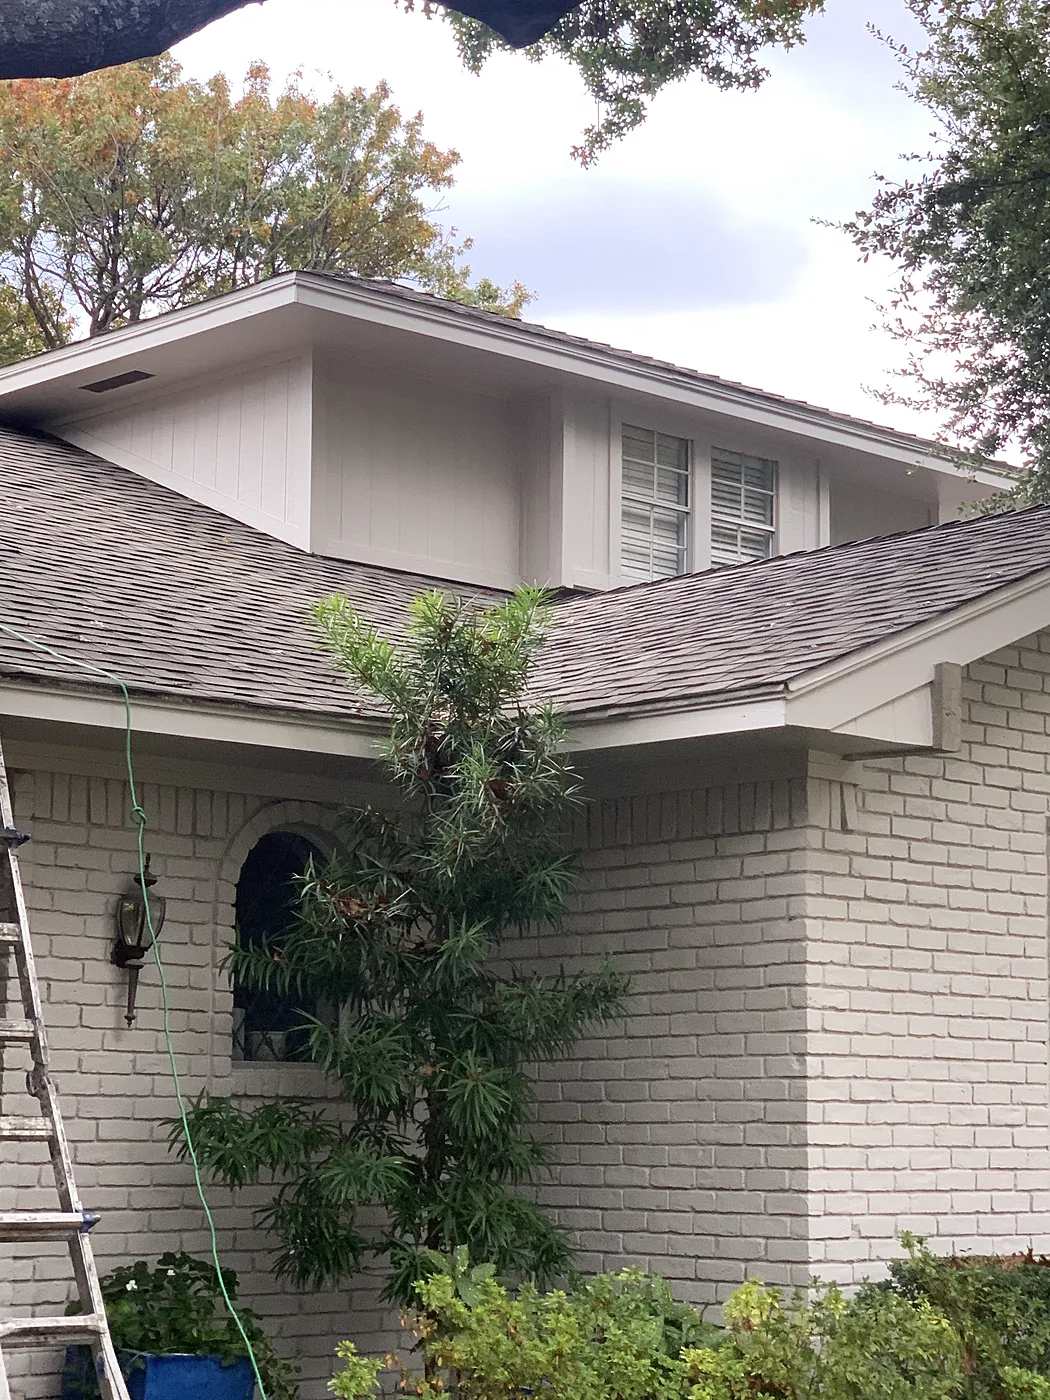
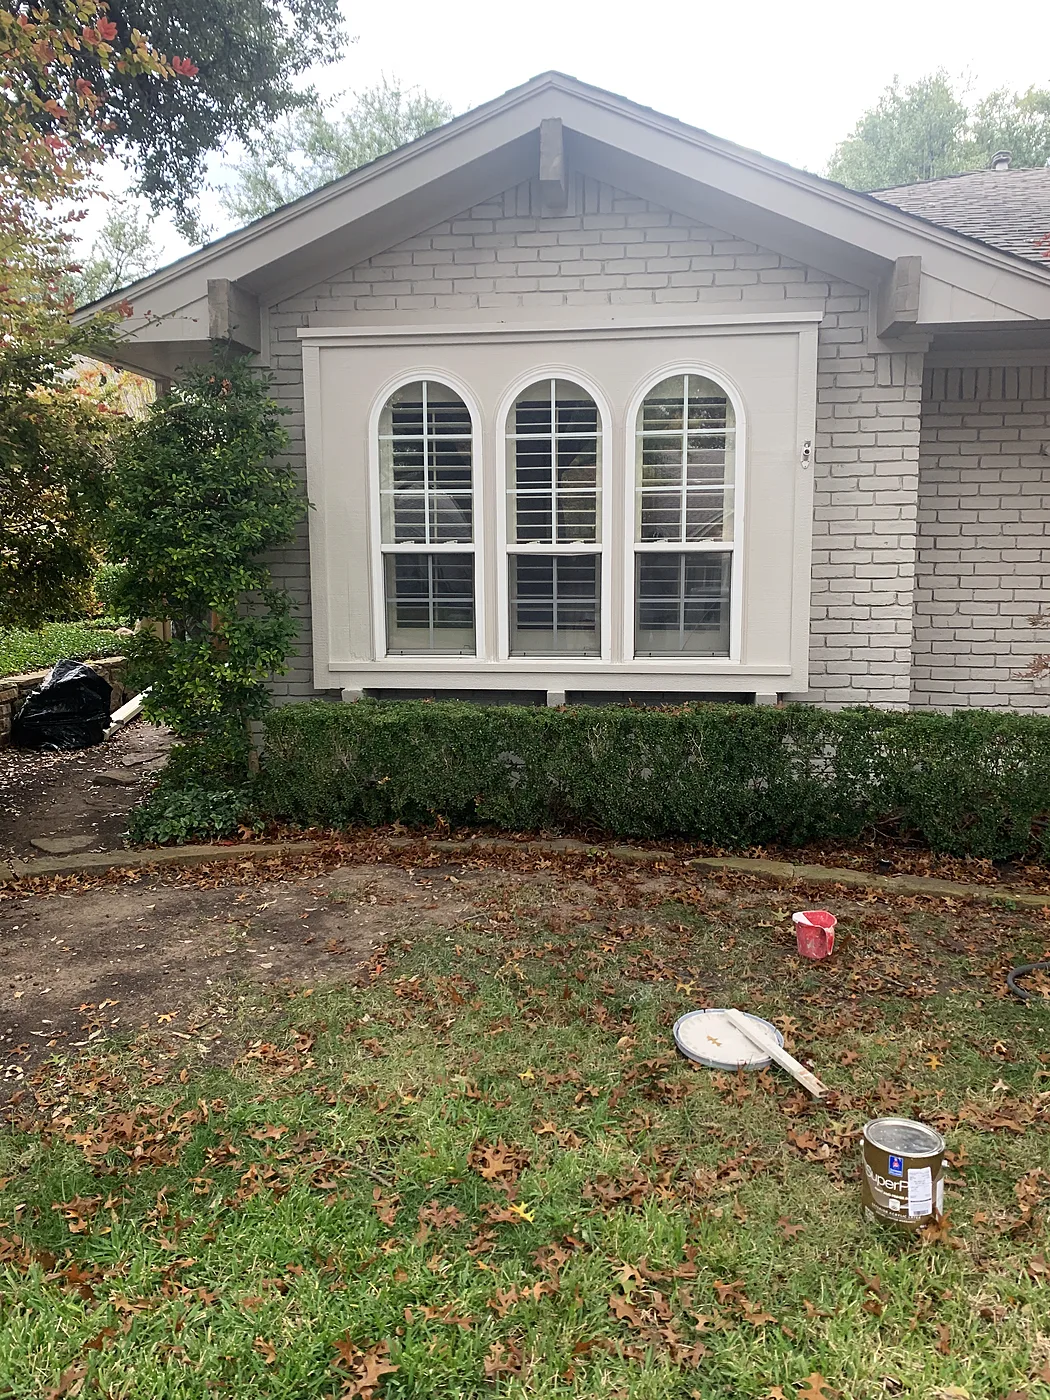
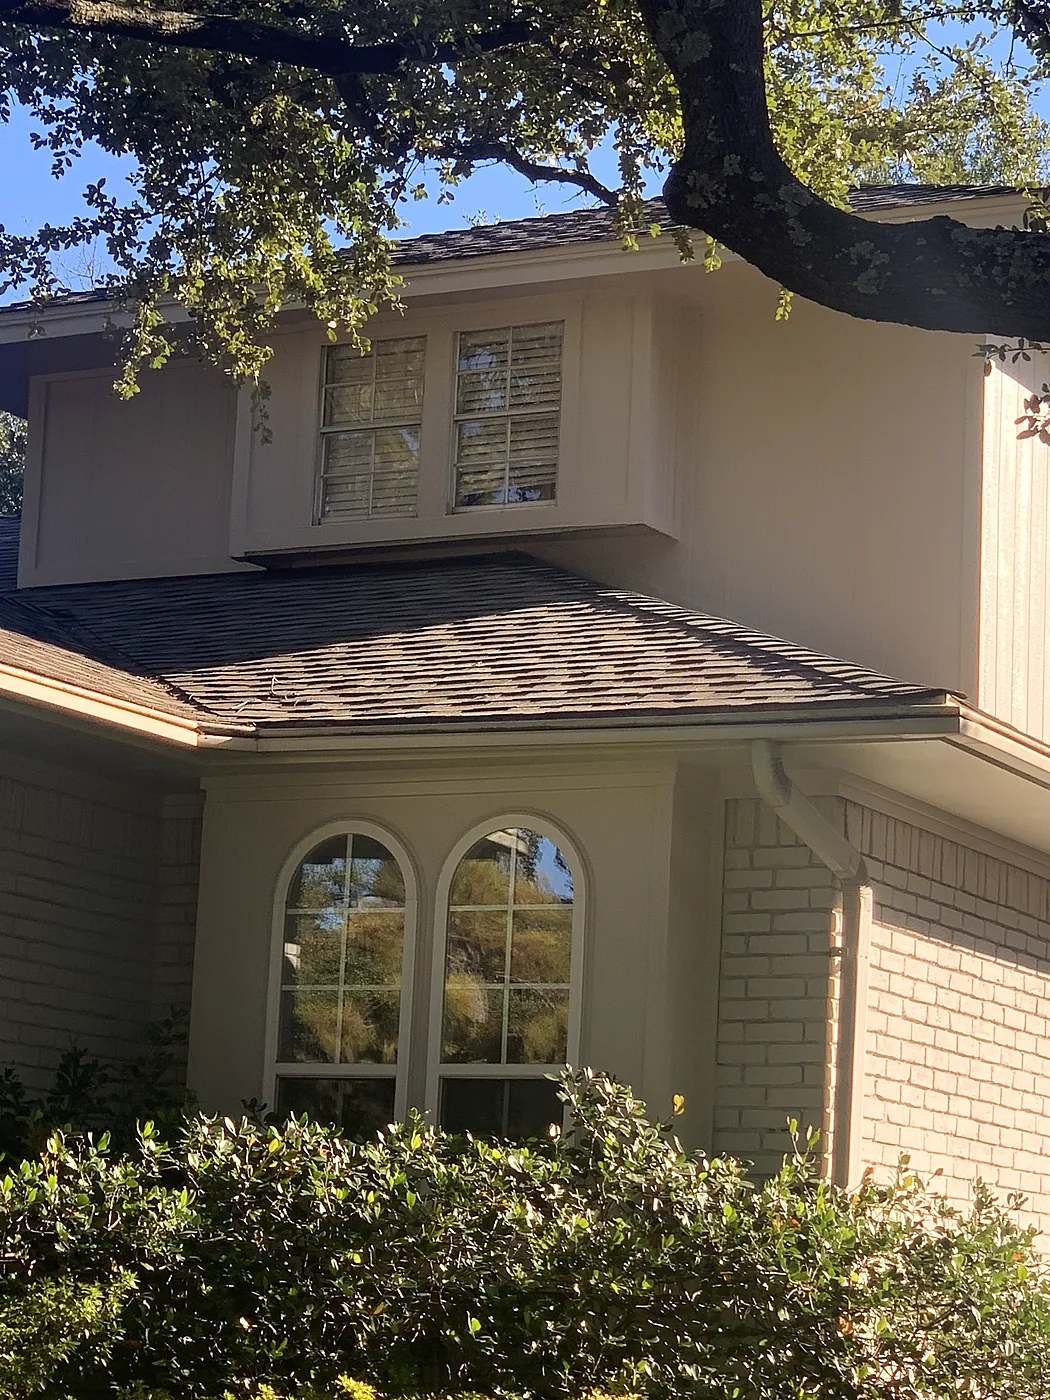
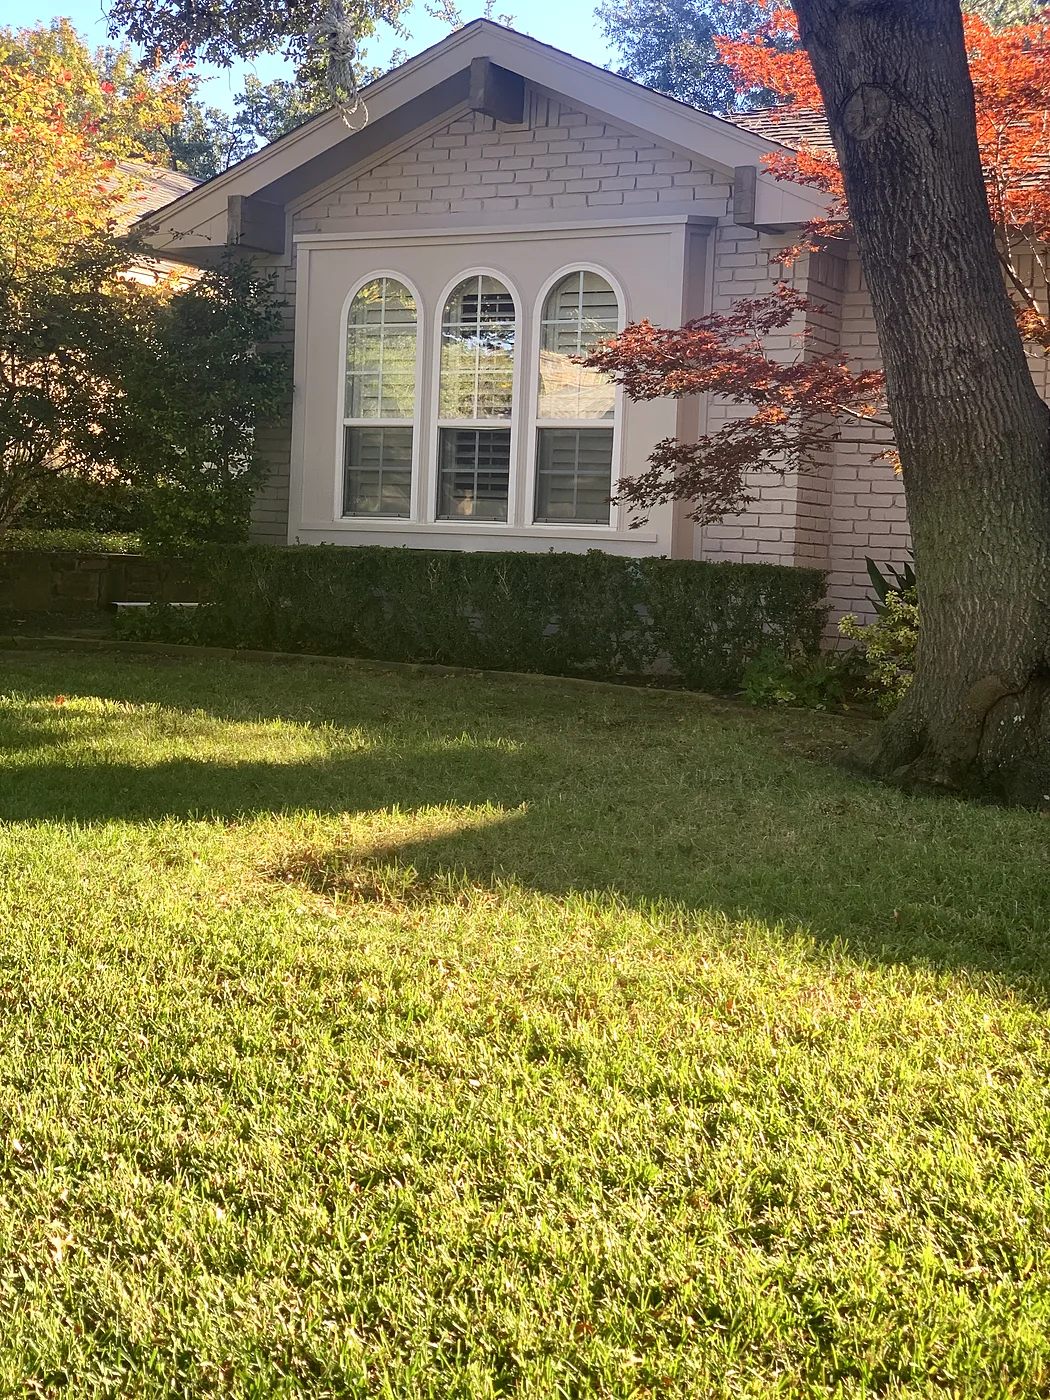
Painted brick, siding, soffit and fascia

Lake Highlands, Dallas

Painted the brick and all of the siding, soffit and fascia.

Before
Before: Before, front — Painted brick, siding, soffit and fascia, Lake Highlands, Dallas
Before, front
Before: Before, long side — Painted brick, siding, soffit and fascia, Lake Highlands, Dallas
Before, long side
During
During: Painting the front — Painted brick, siding, soffit and fascia, Lake Highlands, Dallas
Painting the front
During: First coat on — Painted brick, siding, soffit and fascia, Lake Highlands, Dallas
First coat on
After
After: After, two-story side — Painted brick, siding, soffit and fascia, Lake Highlands, Dallas
After, two-story side
After: After, arched windows — Painted brick, siding, soffit and fascia, Lake Highlands, Dallas
After, arched windows

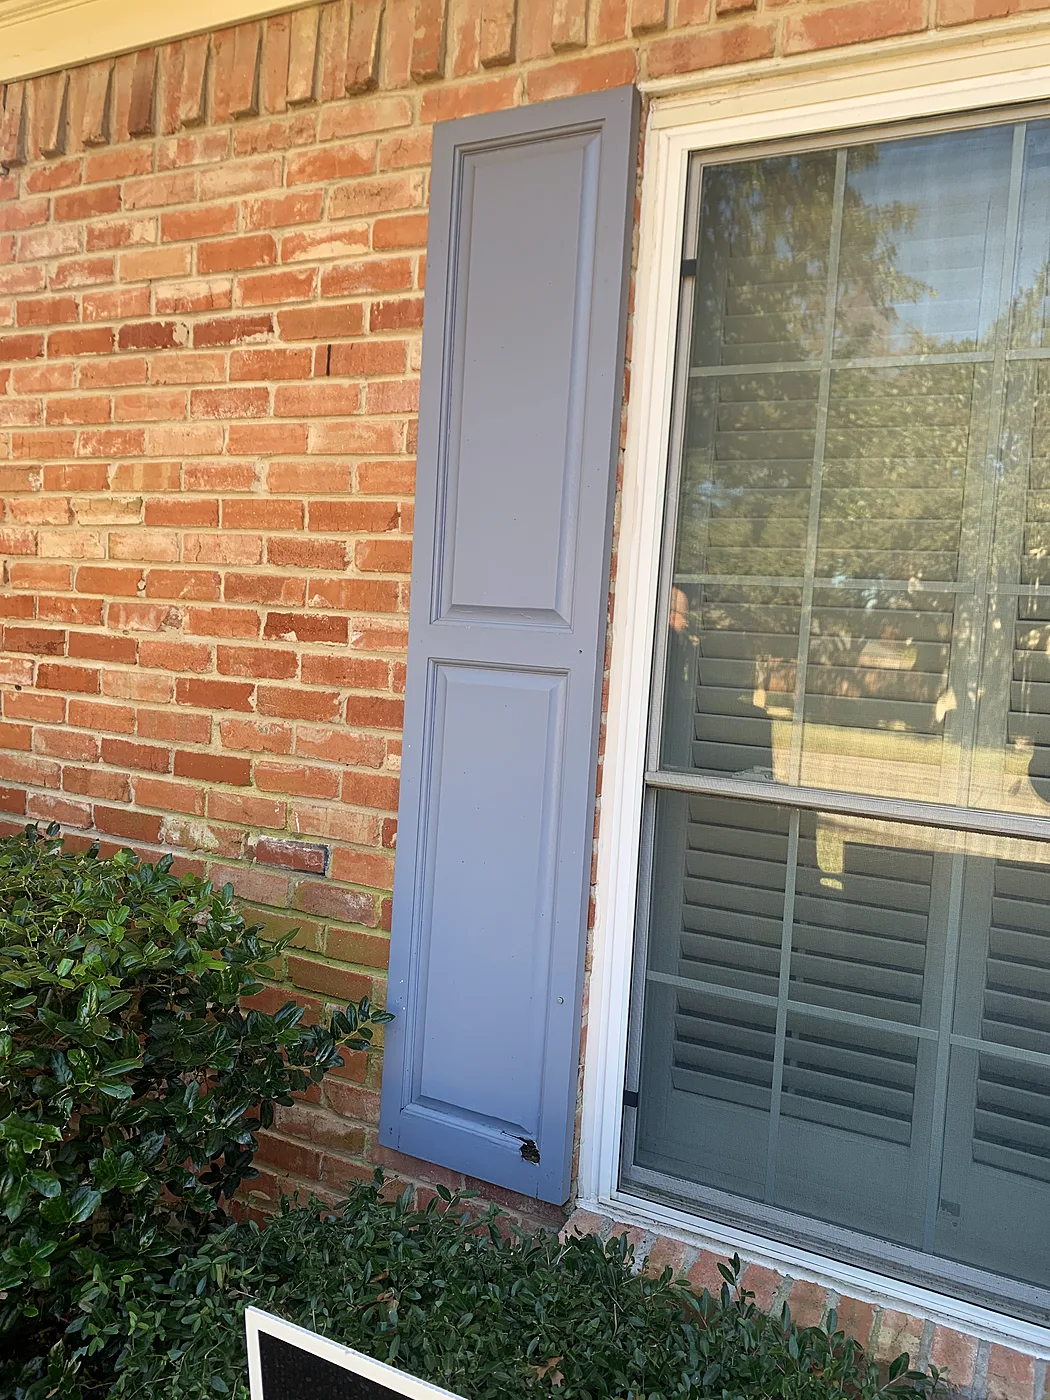
Soffits, fascia, gutters and shutters repainted

Dallas

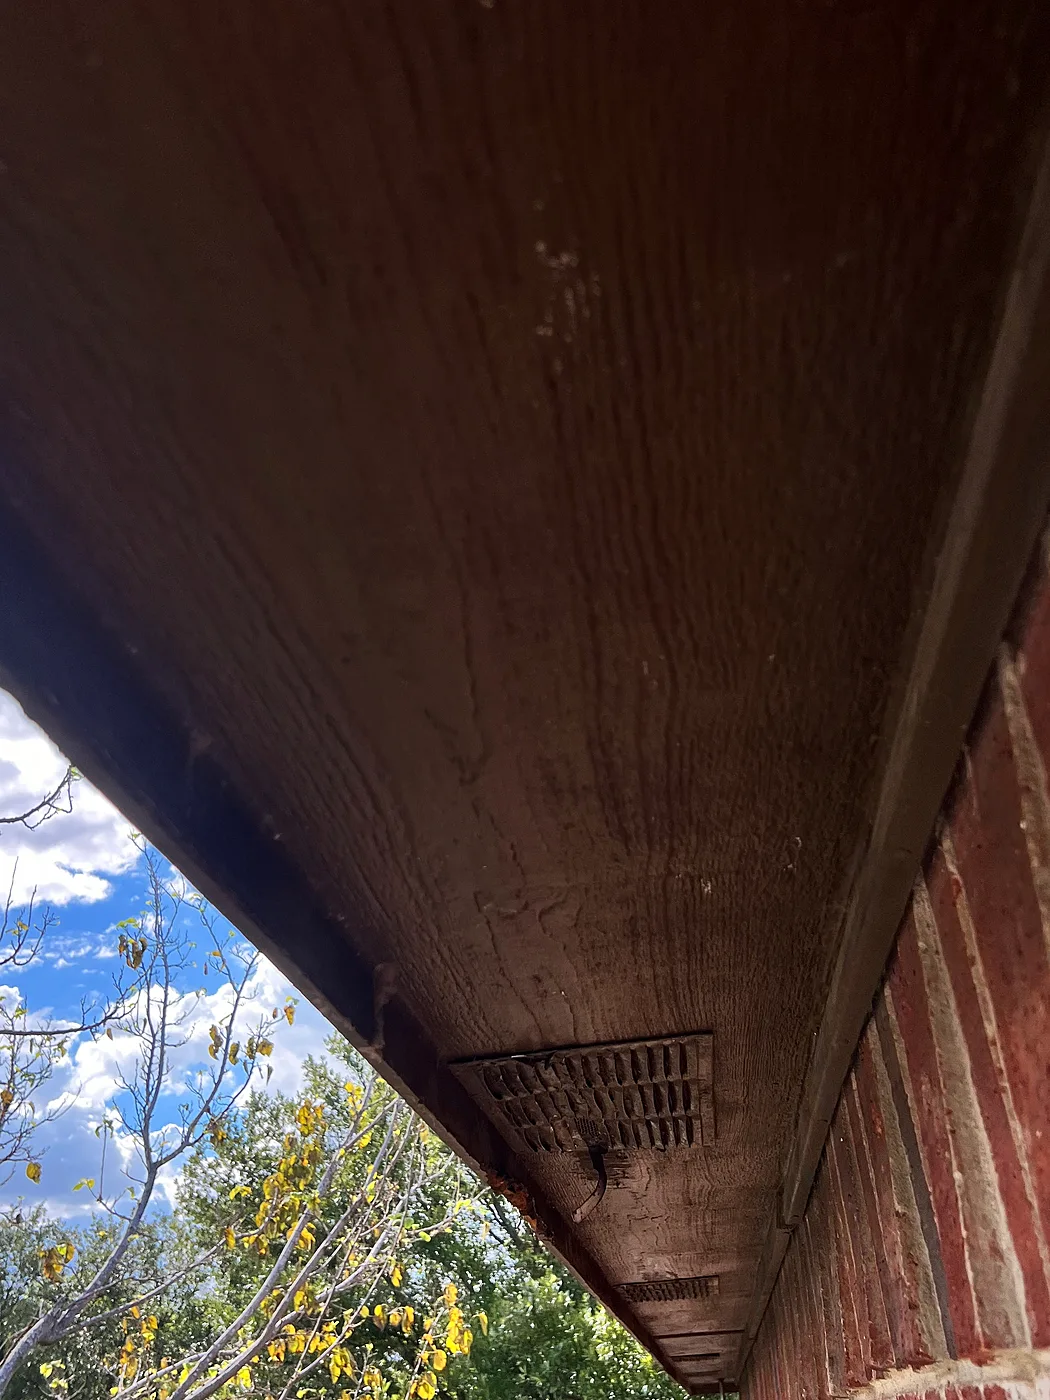
Painted all soffits, fascia, gutters and shutters, made a custom address sign, and animal-proofed the gable vents.

Before
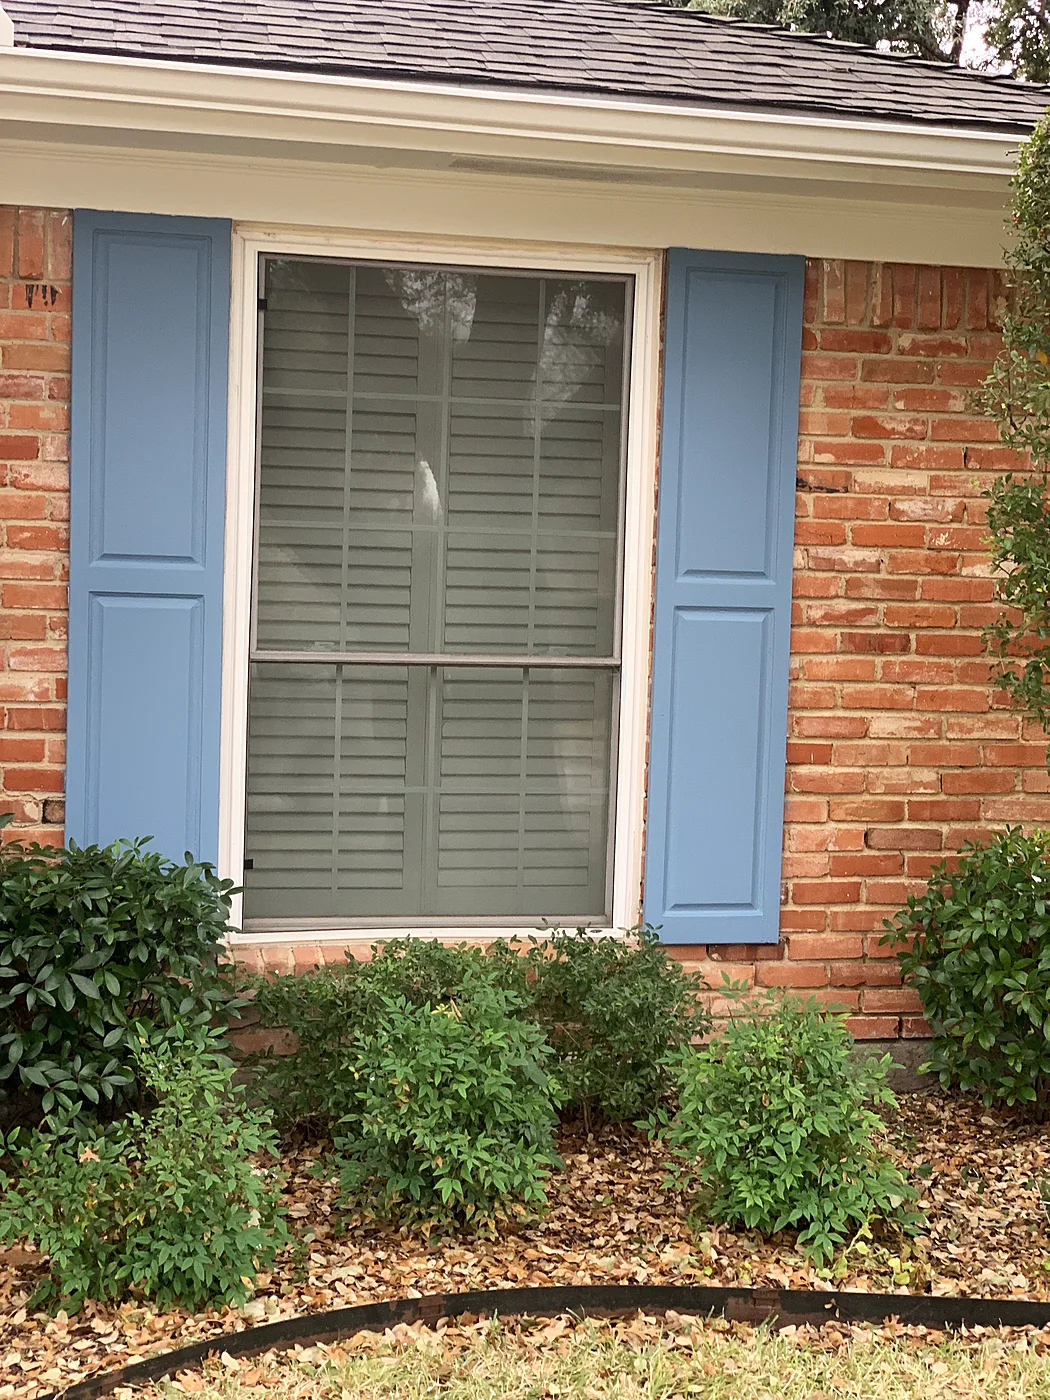
Before: Shutters before — Soffits, fascia, gutters and shutters repainted, Dallas
Shutters before
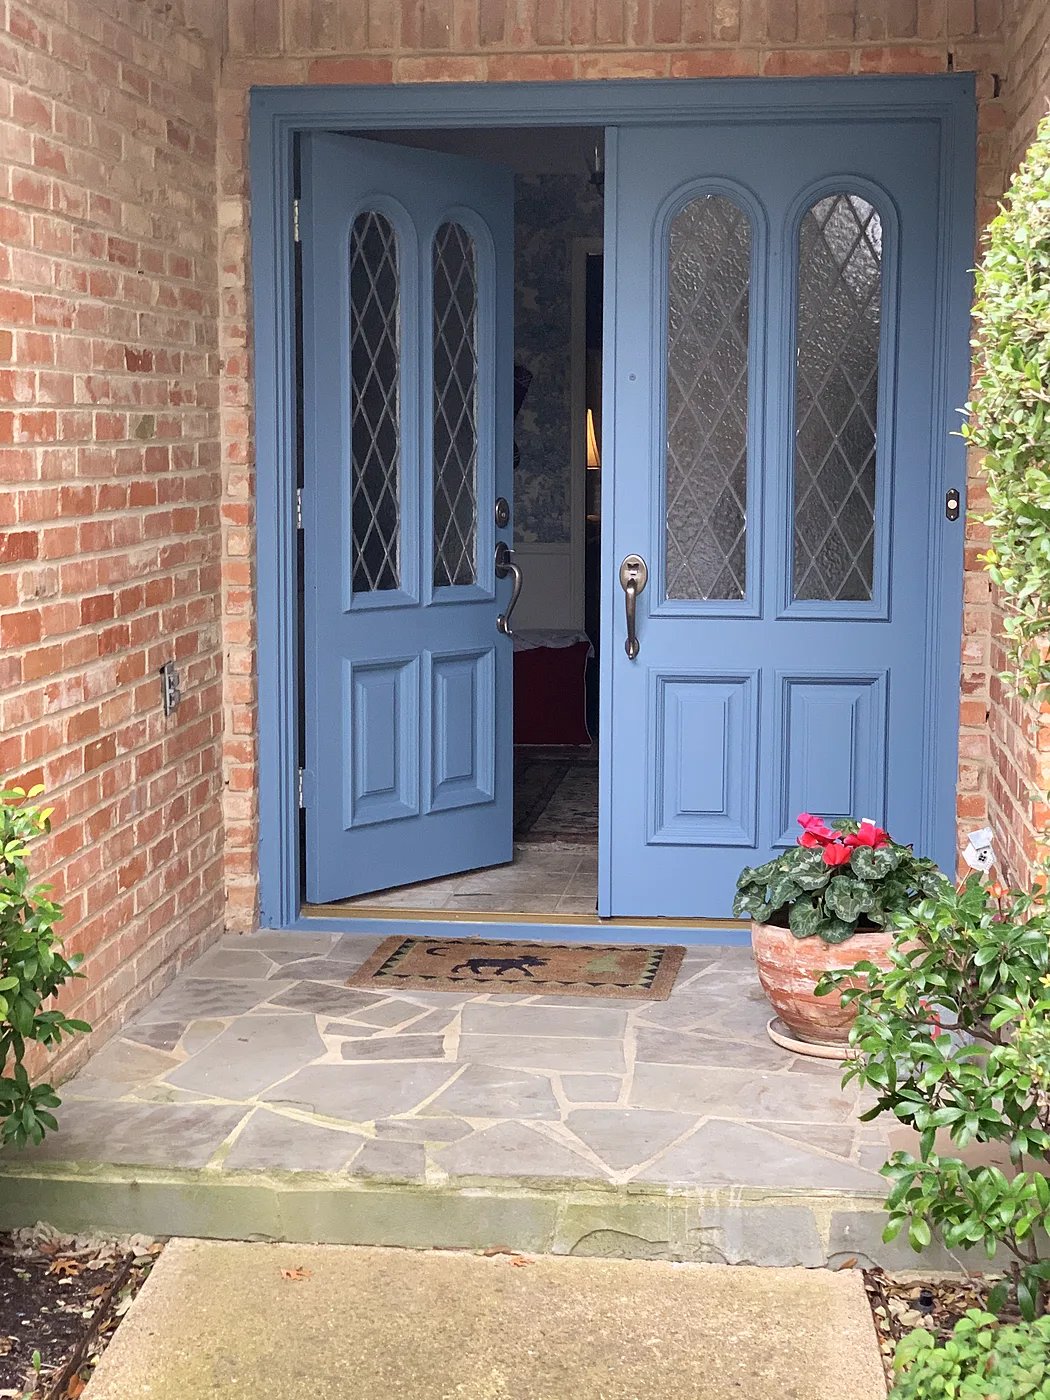
Before: Door before — Soffits, fascia, gutters and shutters repainted, Dallas
Door before
After
After: Shutters after — Soffits, fascia, gutters and shutters repainted, Dallas
Shutters after
After: Front doors after — Soffits, fascia, gutters and shutters repainted, Dallas
Front doors after

Trim and siding repair, then two-tone orange and white

The Colony

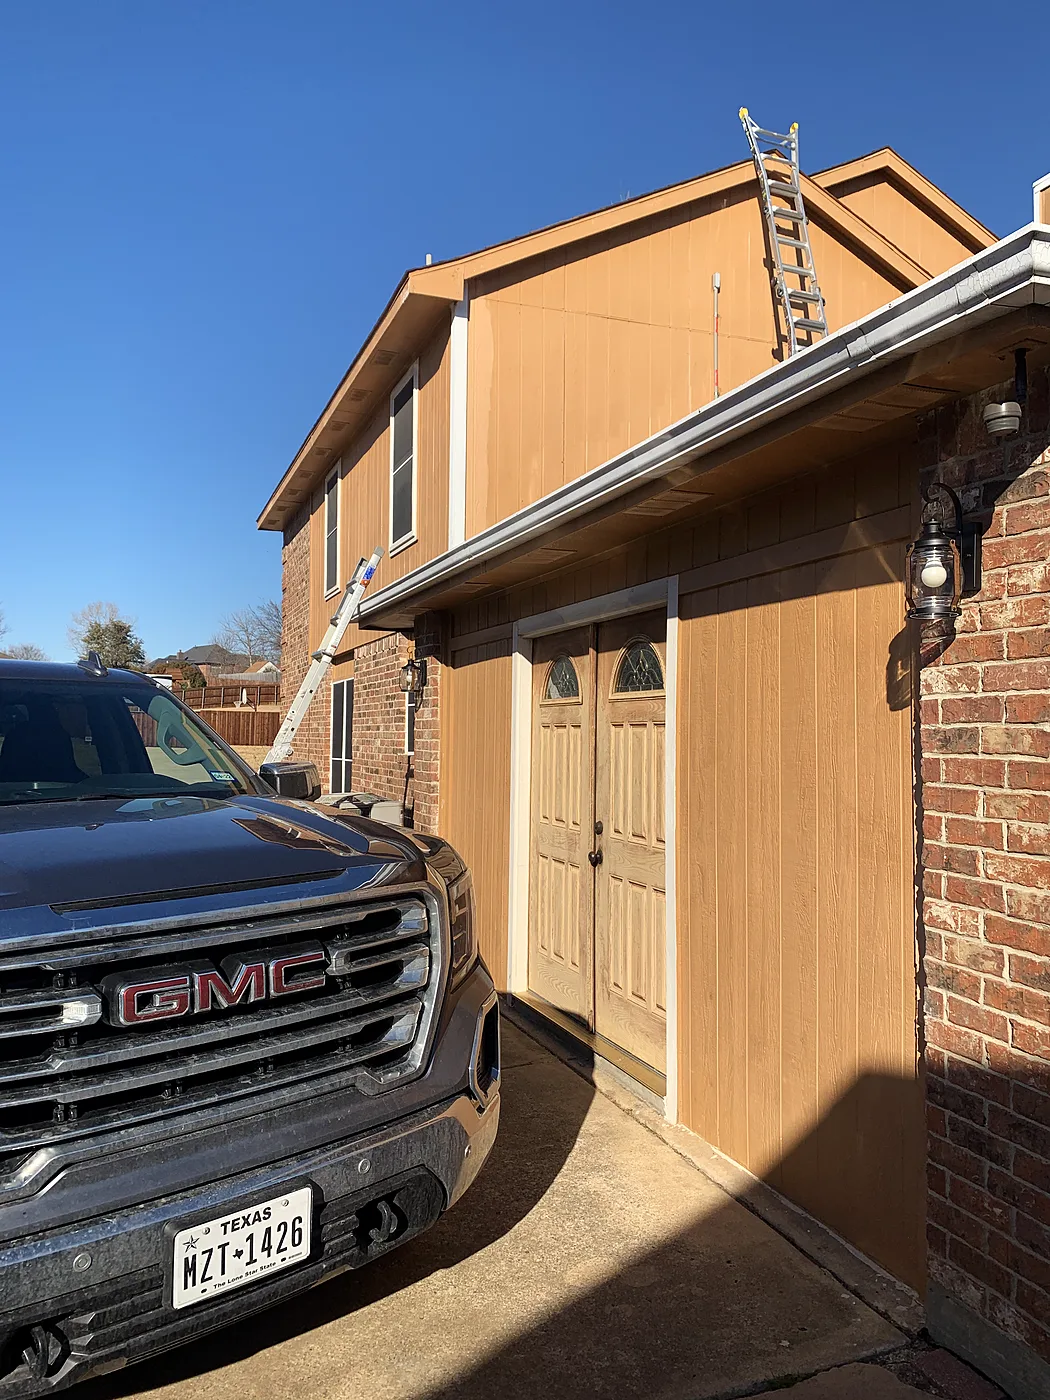
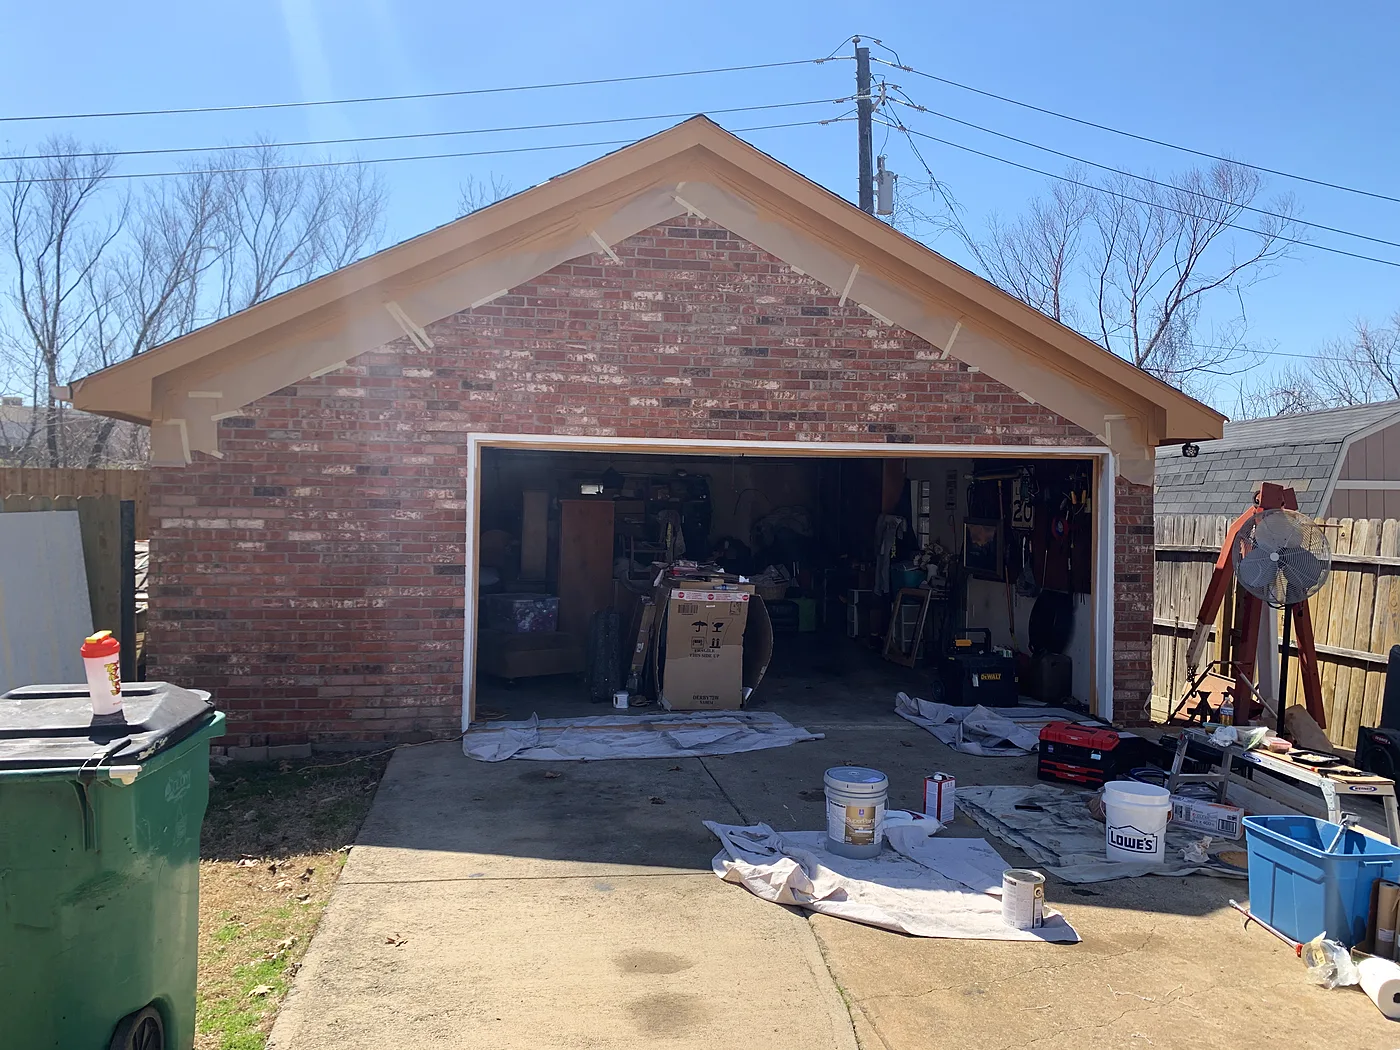
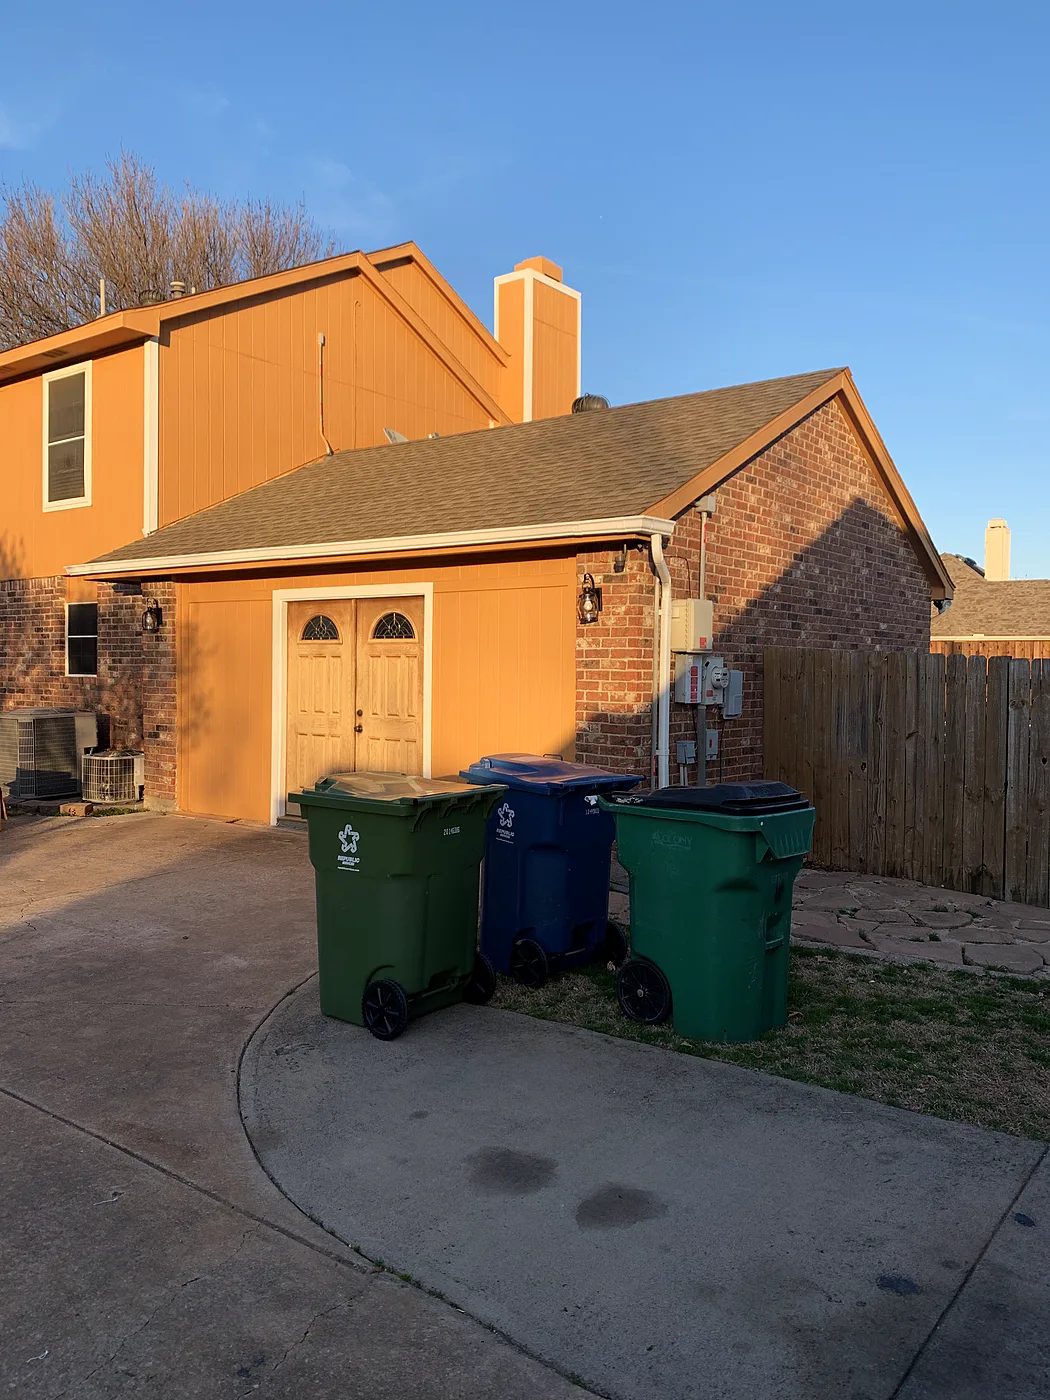
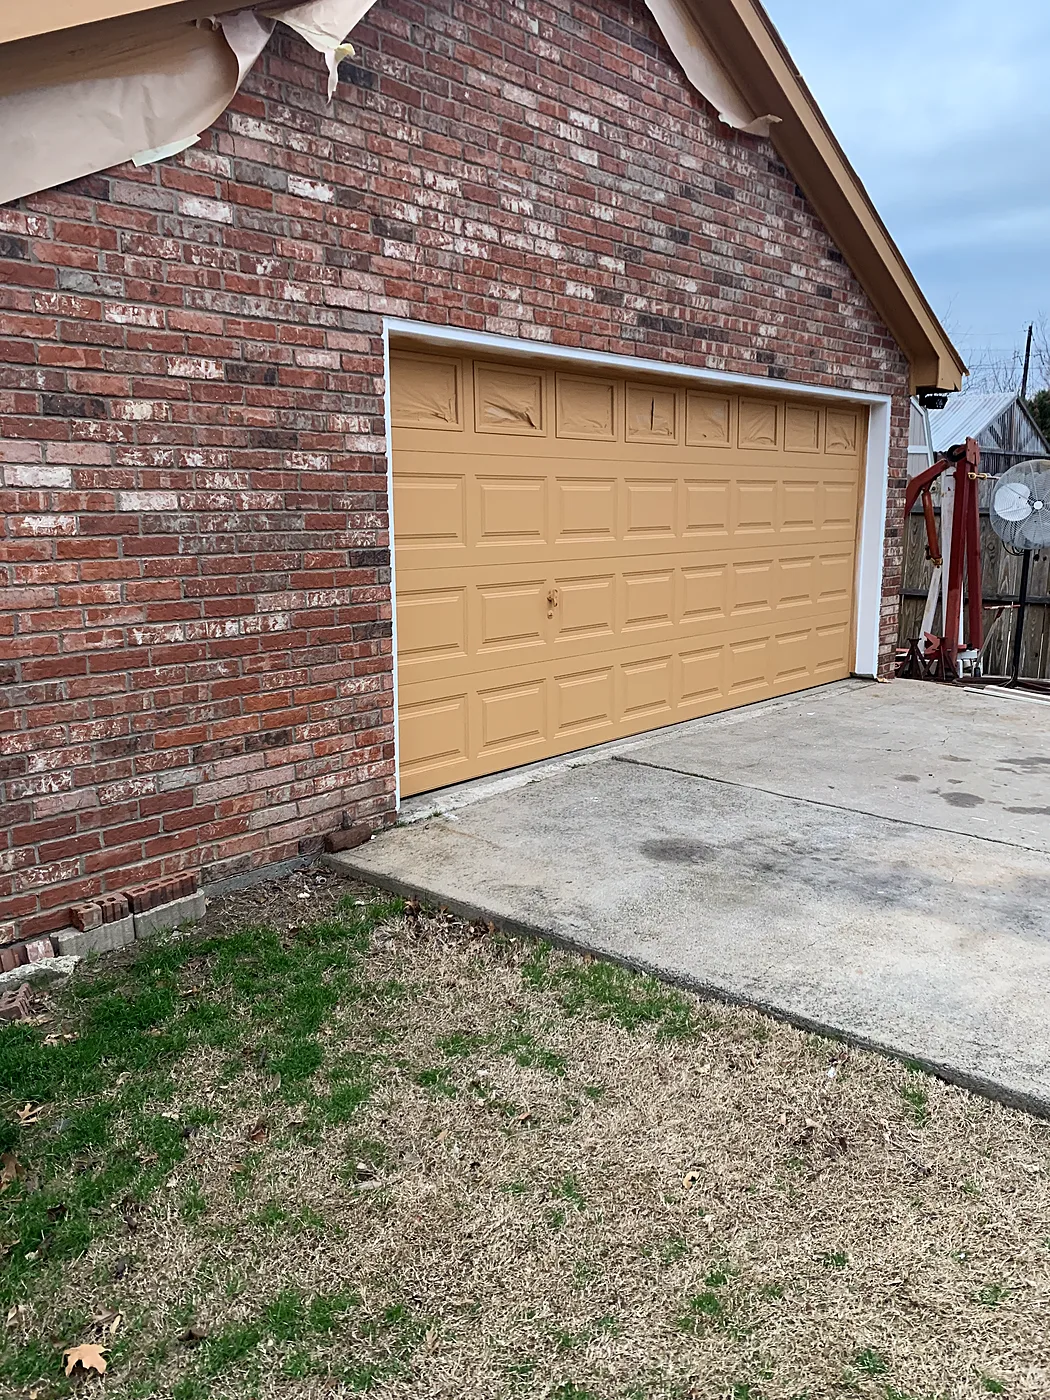
Trim and siding repairs, then sealed the entire exterior and the separate garage building before painting everything two-tone orange and white.

Before
Before: Before — Trim and siding repair, then two-tone orange and white, The Colony
Before
During
During: Garage in progress — Trim and siding repair, then two-tone orange and white, The Colony
Garage in progress
After
After: After — Trim and siding repair, then two-tone orange and white, The Colony
After
After: Garage after — Trim and siding repair, then two-tone orange and white, The Colony
Garage after

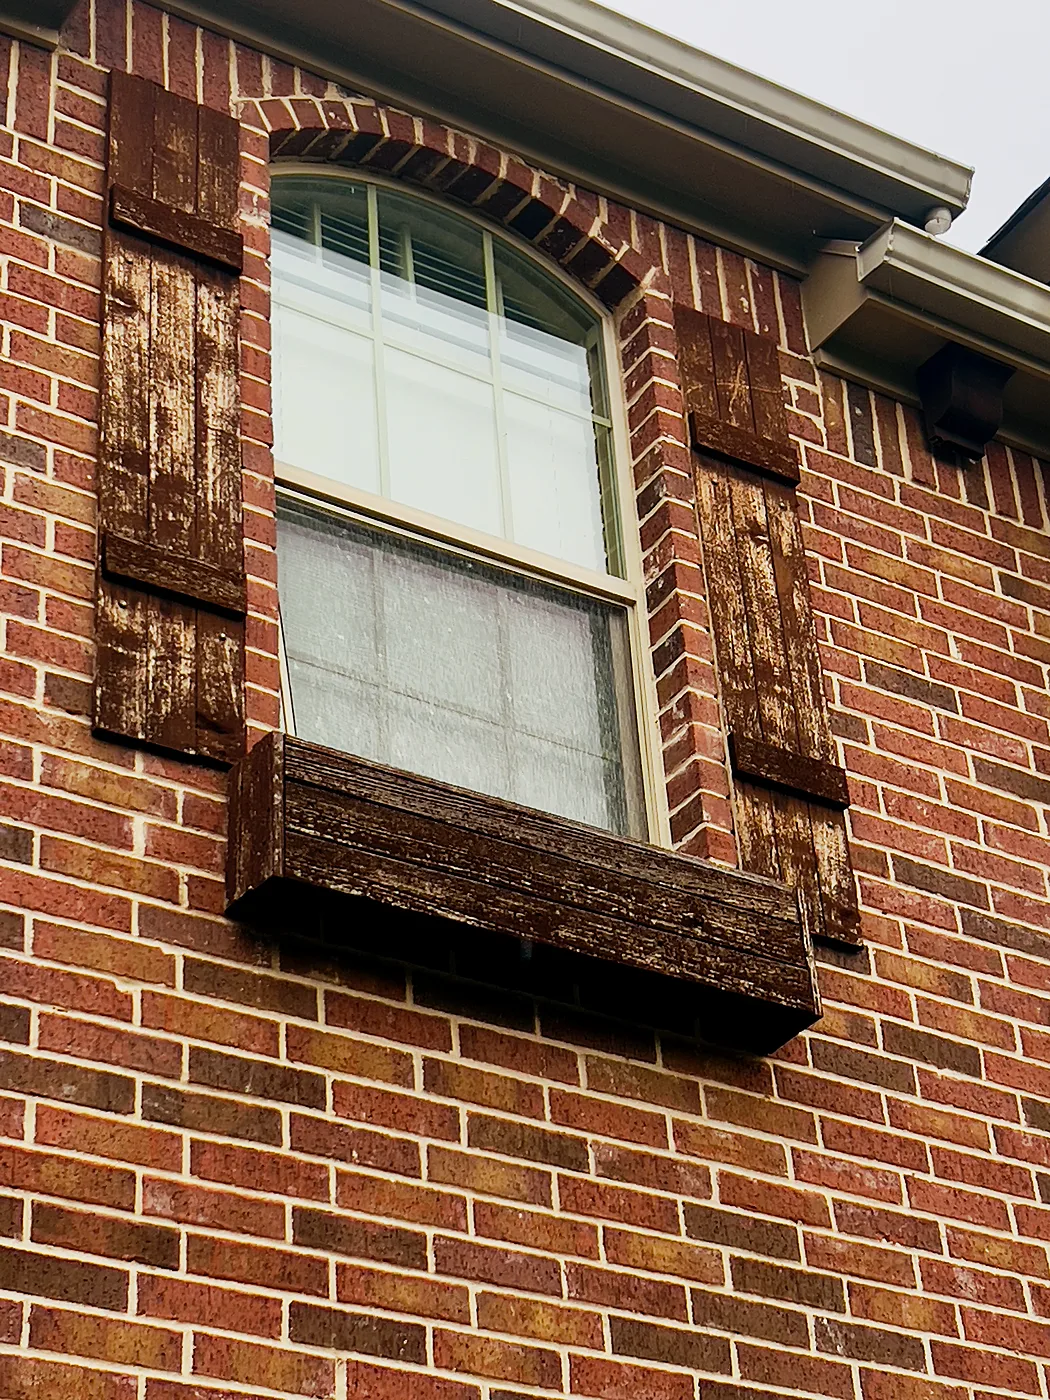
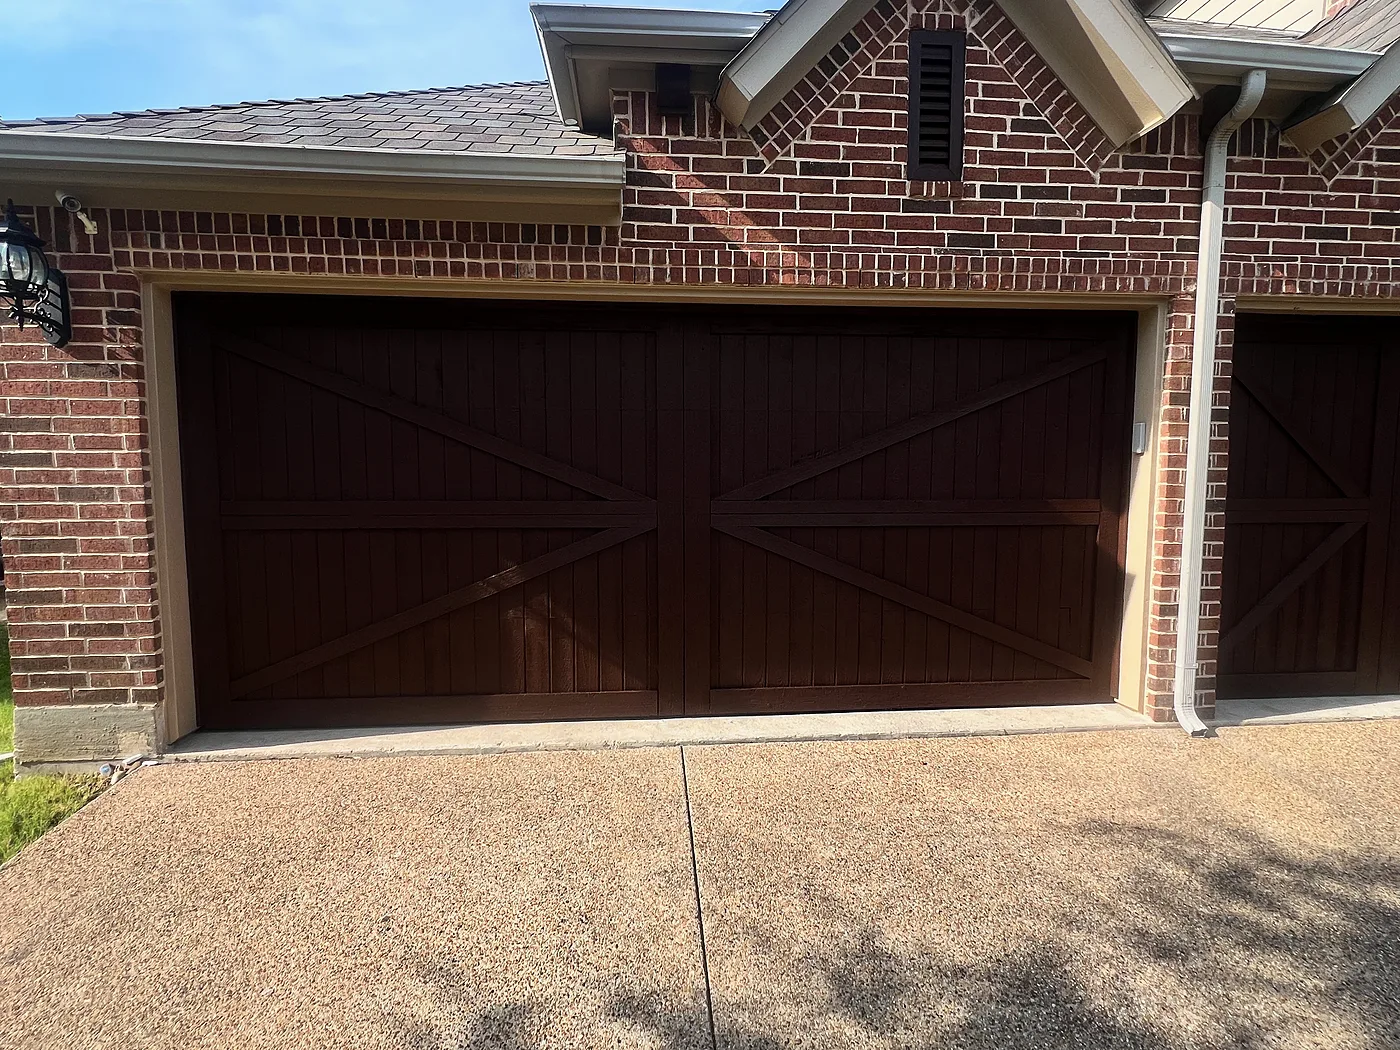
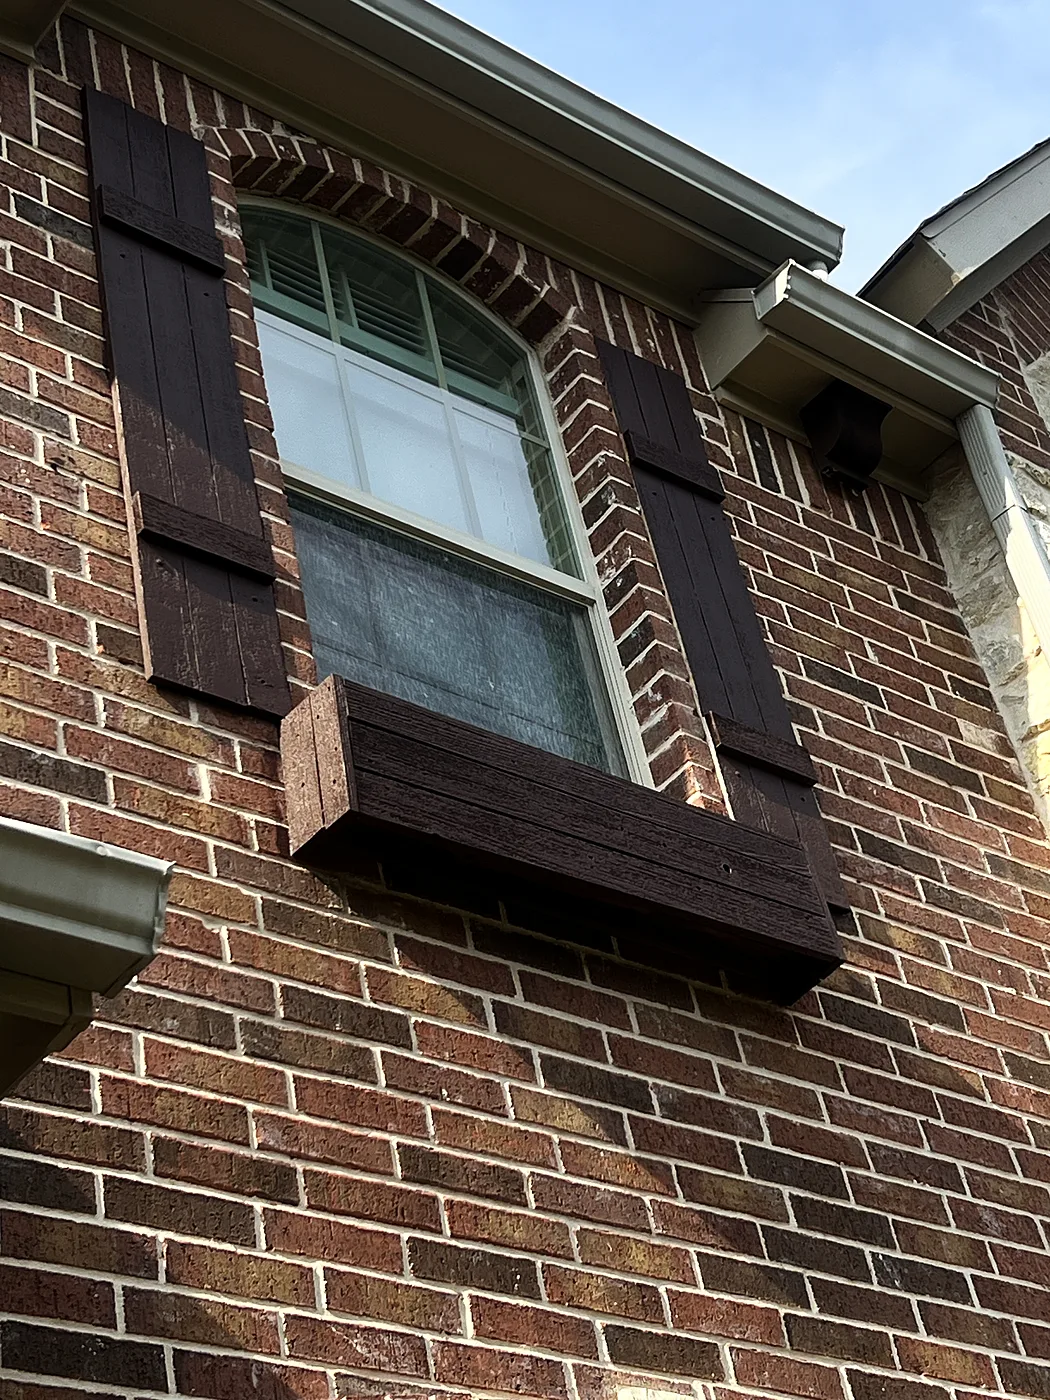
Garage doors and shutters re-stained, plus siding and trim

McKinney

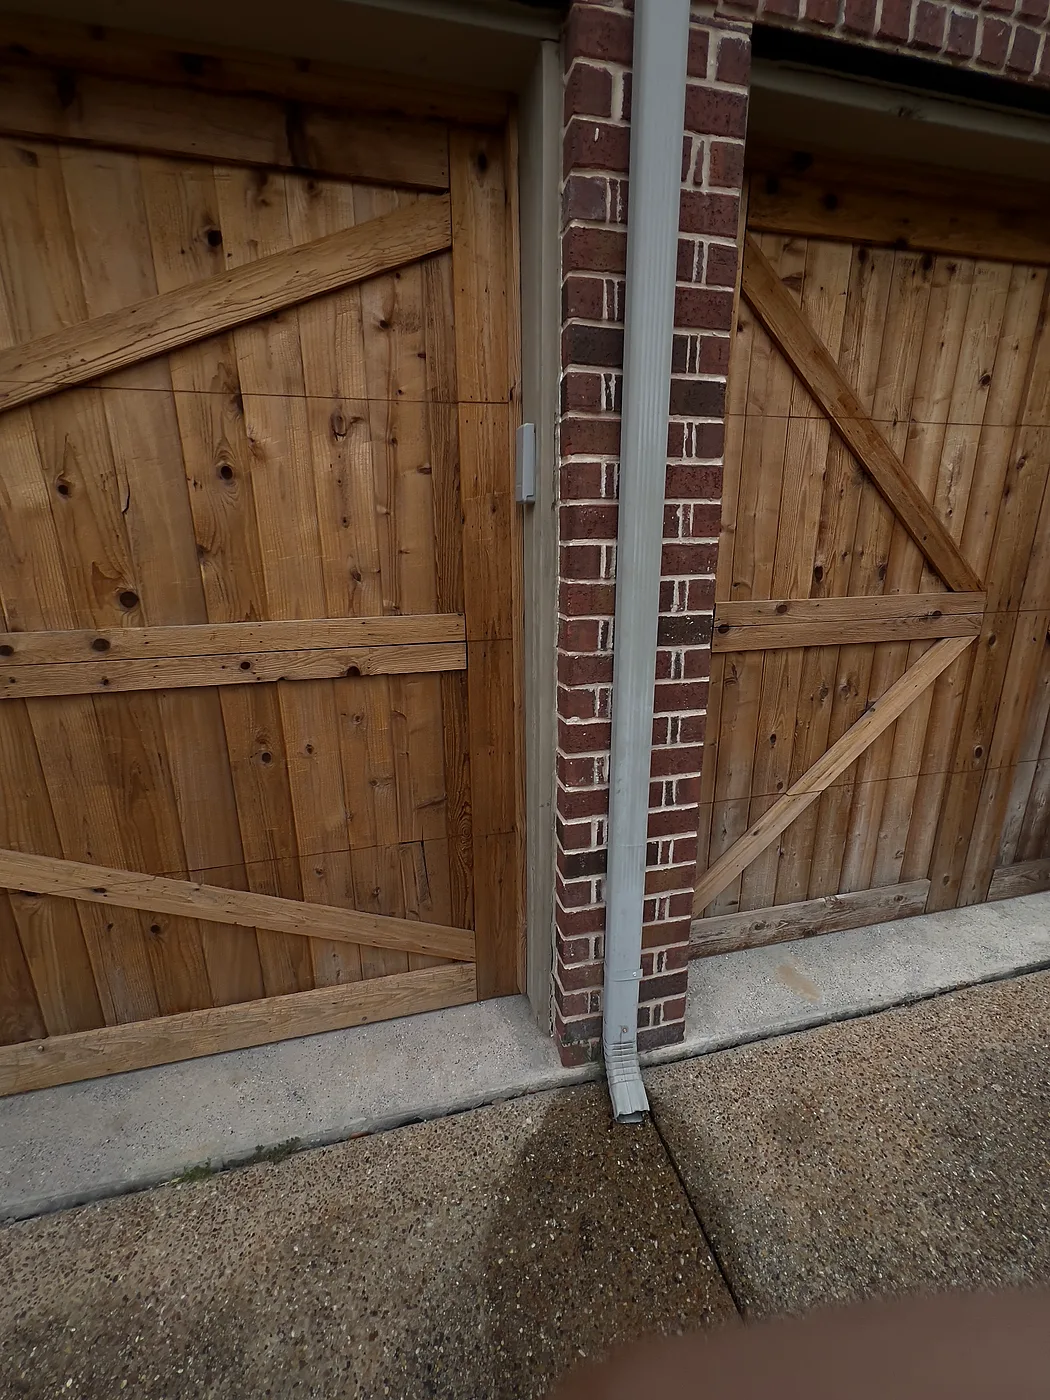
Started with re-staining the garage doors and shutters: a light pressure wash, then stain the next day. That led to siding and trim repairs around the back windows with James Hardie, caulked and painted to match.

Before
Before: Garage doors before — Garage doors and shutters re-stained, plus siding and trim, McKinney
Garage doors before
Before: Shutters before — Garage doors and shutters re-stained, plus siding and trim, McKinney
Shutters before
After
After: Garage doors re-stained — Garage doors and shutters re-stained, plus siding and trim, McKinney
Garage doors re-stained
After: Shutters re-stained — Garage doors and shutters re-stained, plus siding and trim, McKinney
Shutters re-stained

Siding

Whole-house re-sides in James Hardie and LP SmartSide, rot repair and trim.

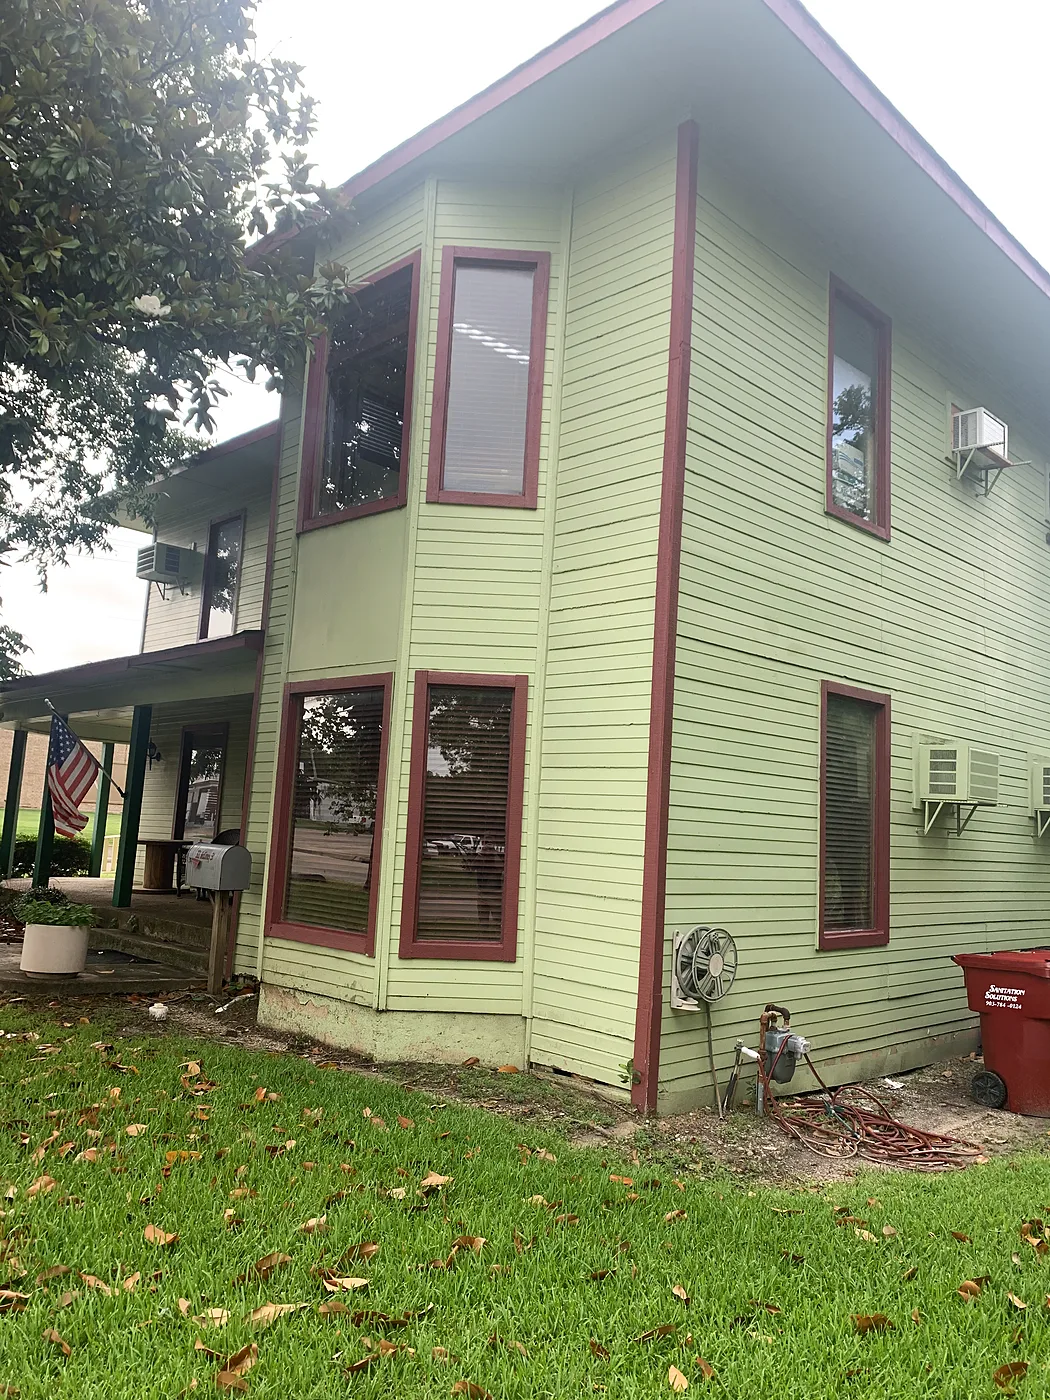
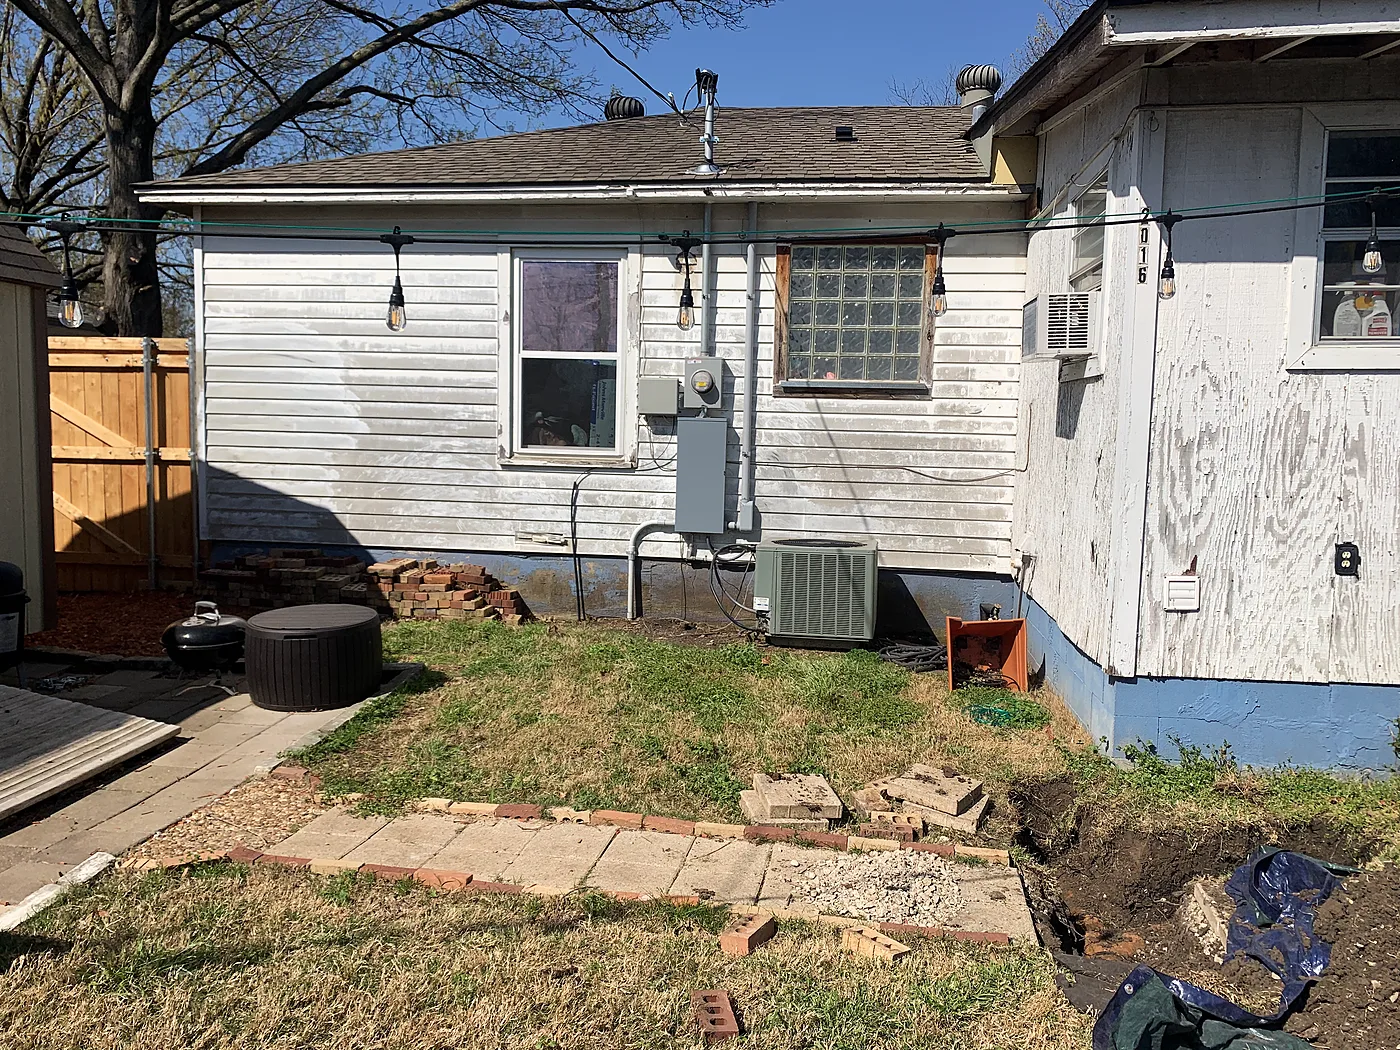
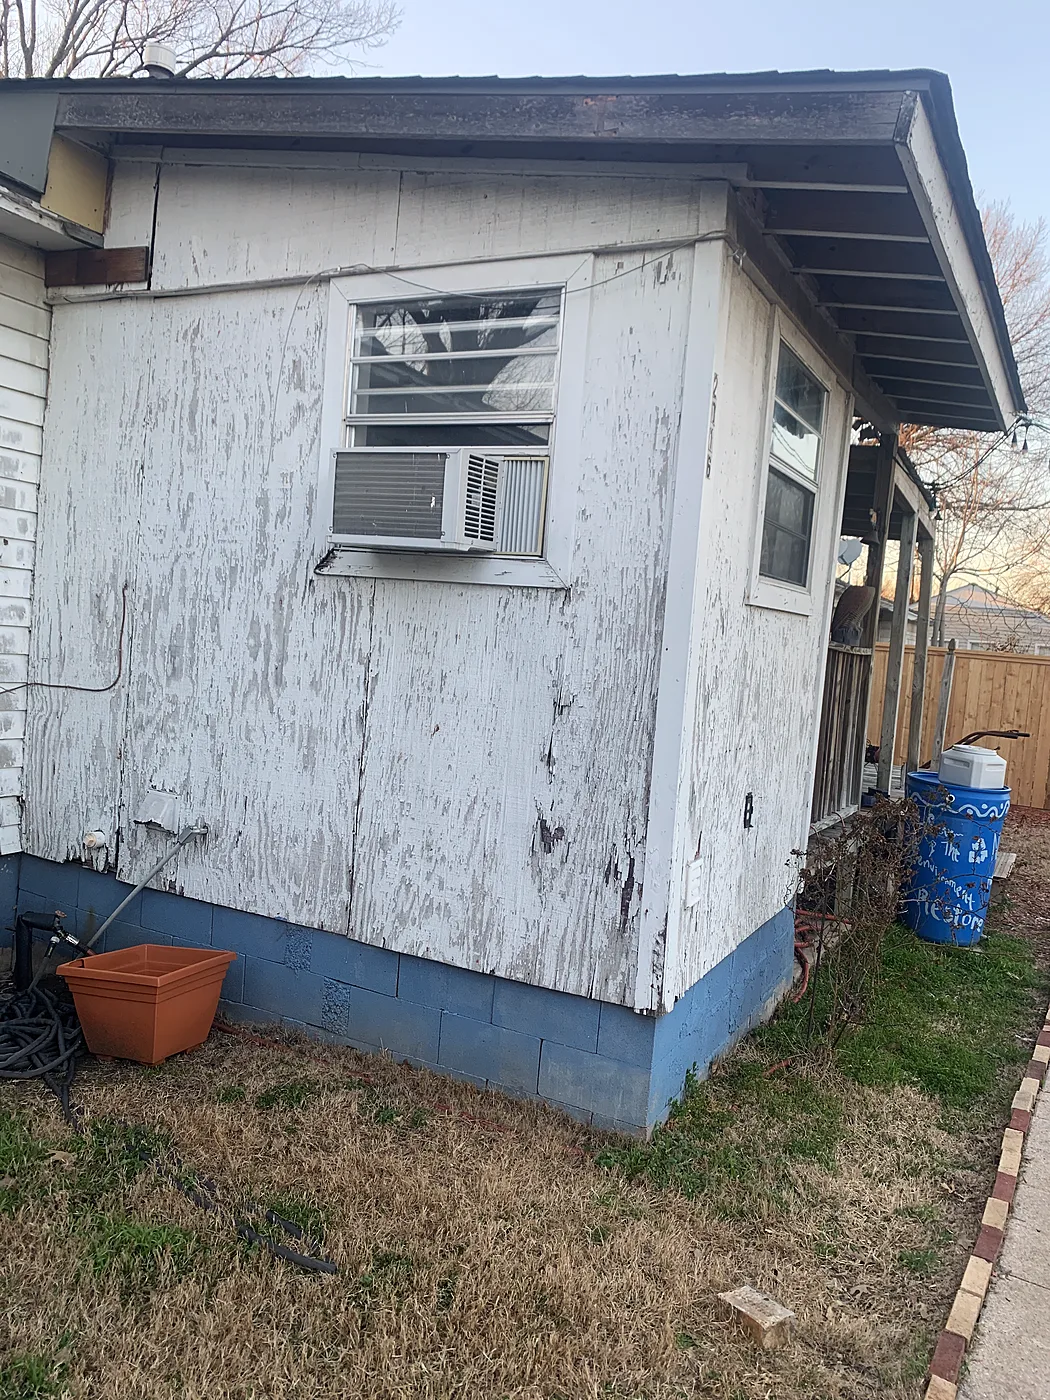
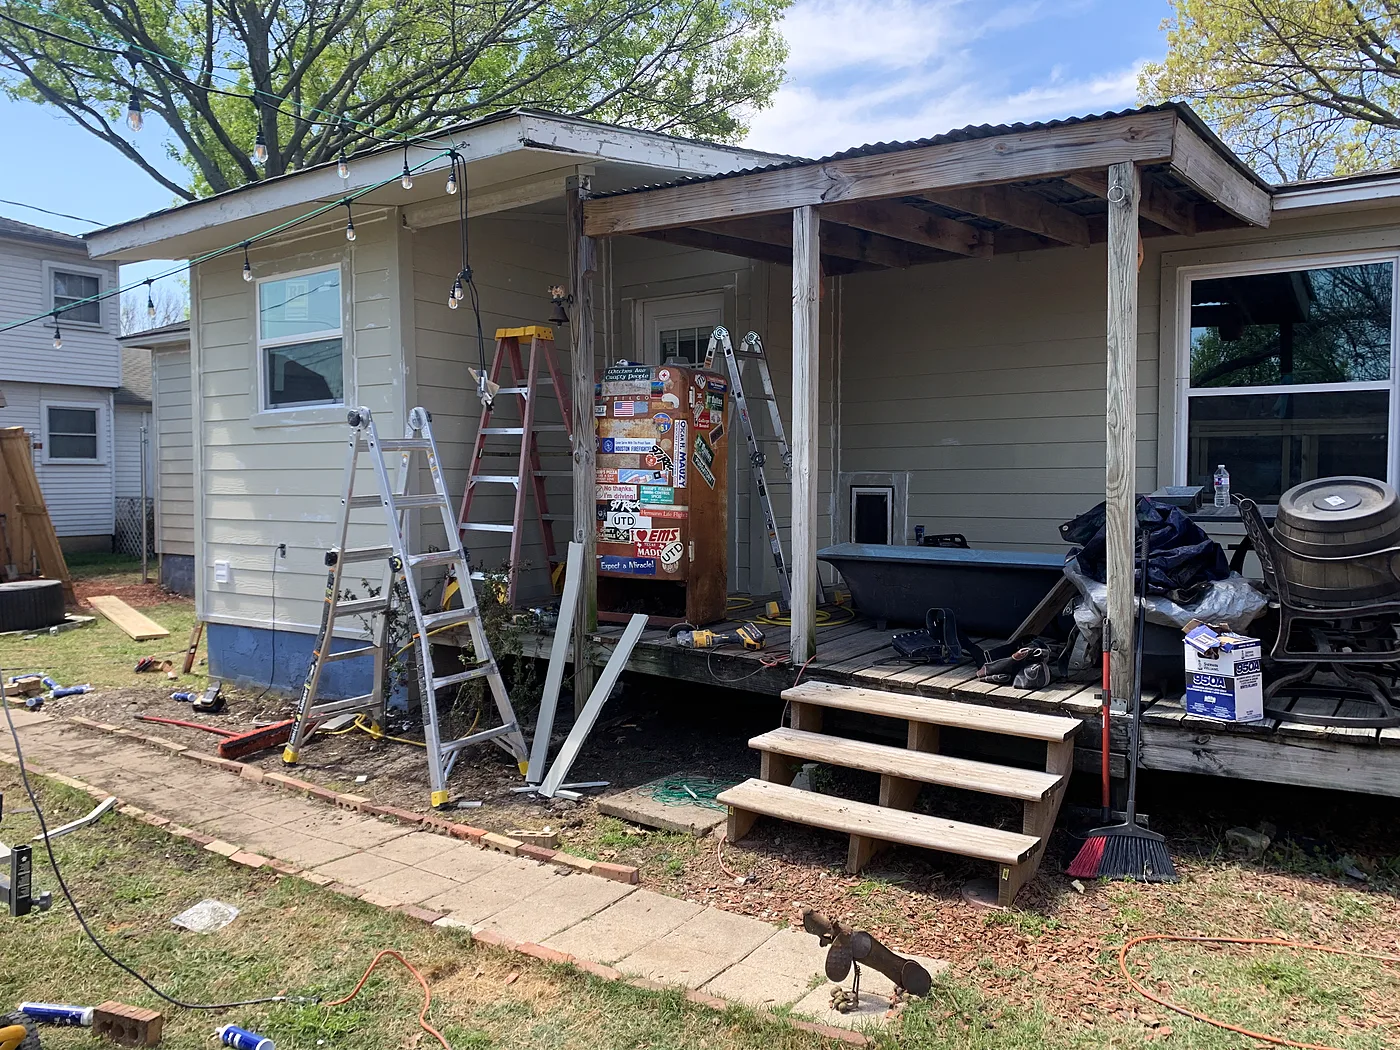
Victorian-style home, complete re-side

Farmersville

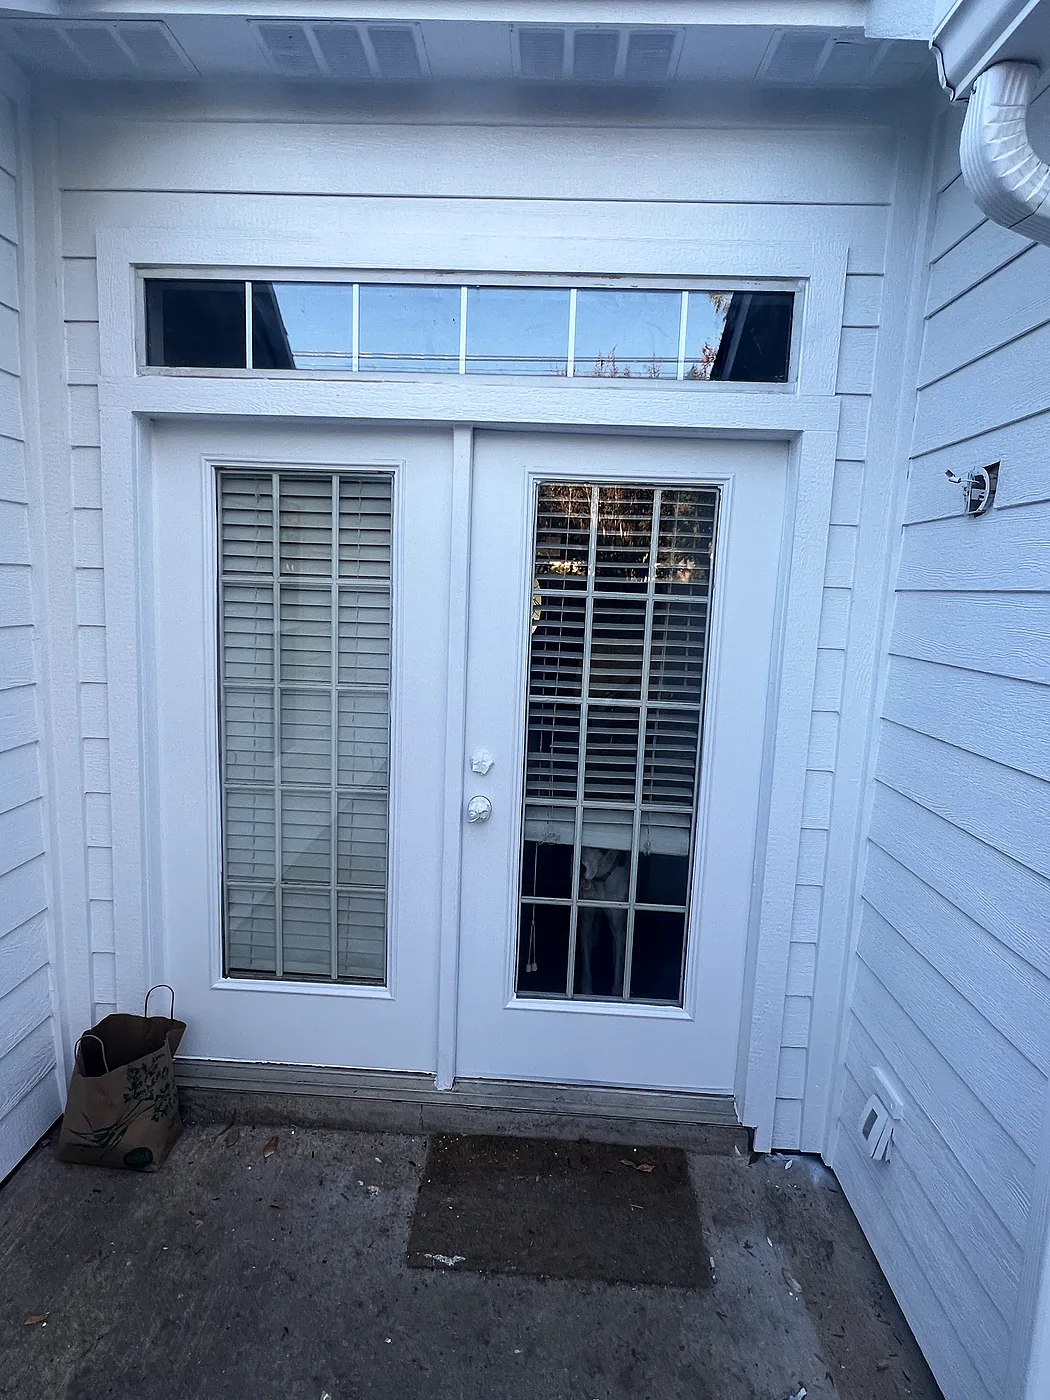
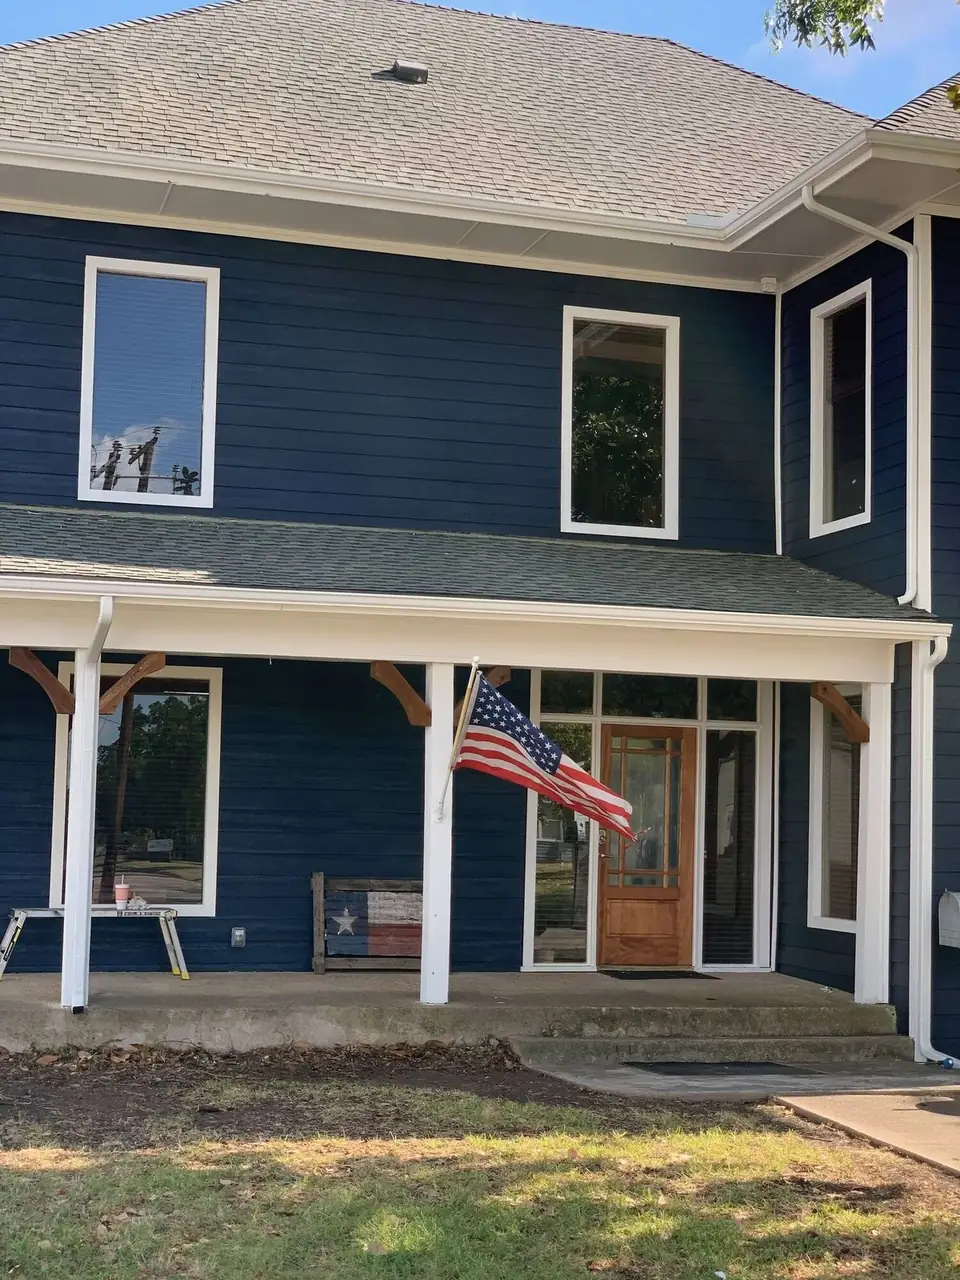
Complete re-side: pulled the windows and replaced the trim, removed the window AC units and sealed the openings, installed new LP SmartSide siding and trim, finished it with a two-tone paint job, and installed custom exterior doors.

Before
Before: Before — Victorian-style home, complete re-side, Farmersville
Before
Before: Before, front porch — Victorian-style home, complete re-side, Farmersville
Before, front porch
During
During: New siding going on — Victorian-style home, complete re-side, Farmersville
New siding going on
During: Front porch in progress — Victorian-style home, complete re-side, Farmersville
Front porch in progress
After
After: After, front porch — Victorian-style home, complete re-side, Farmersville
After, front porch
After: After, from the street — Victorian-style home, complete re-side, Farmersville
After, from the street

Full re-side with James Hardie, then paint

Lake Highlands, Dallas

Full re-side with James Hardie siding, then painted, brick included.

Before
Before: Before, front — Full re-side with James Hardie, then paint, Lake Highlands, Dallas
Before, front
Before: Before, from the street — Full re-side with James Hardie, then paint, Lake Highlands, Dallas
Before, from the street
During
During: Crew on the front — Full re-side with James Hardie, then paint, Lake Highlands, Dallas
Crew on the front
During: New siding going on — Full re-side with James Hardie, then paint, Lake Highlands, Dallas
New siding going on
After
After: After, same view — Full re-side with James Hardie, then paint, Lake Highlands, Dallas
After, same view
After: After, front corner — Full re-side with James Hardie, then paint, Lake Highlands, Dallas
After, front corner

Whole house and chimney re-sided in LP SmartSide

Plano

Removed all of the siding and trim and installed LP SmartSide all the way around the house and the entire chimney from the ground up. Then painted everything we replaced, plus all the soffits, fascia, gutters and the garage door.

Before
Before: Before, back patio — Whole house and chimney re-sided in LP SmartSide, Plano
Before, back patio
Before: Before, chimney — Whole house and chimney re-sided in LP SmartSide, Plano
Before, chimney
During
During: Chimney re-sided, ground to roof — Whole house and chimney re-sided in LP SmartSide, Plano
Chimney re-sided, ground to roof
During: Back wall in progress — Whole house and chimney re-sided in LP SmartSide, Plano
Back wall in progress
After
After: Chimney finished — Whole house and chimney re-sided in LP SmartSide, Plano
Chimney finished
After: Back patio finished — Whole house and chimney re-sided in LP SmartSide, Plano
Back patio finished

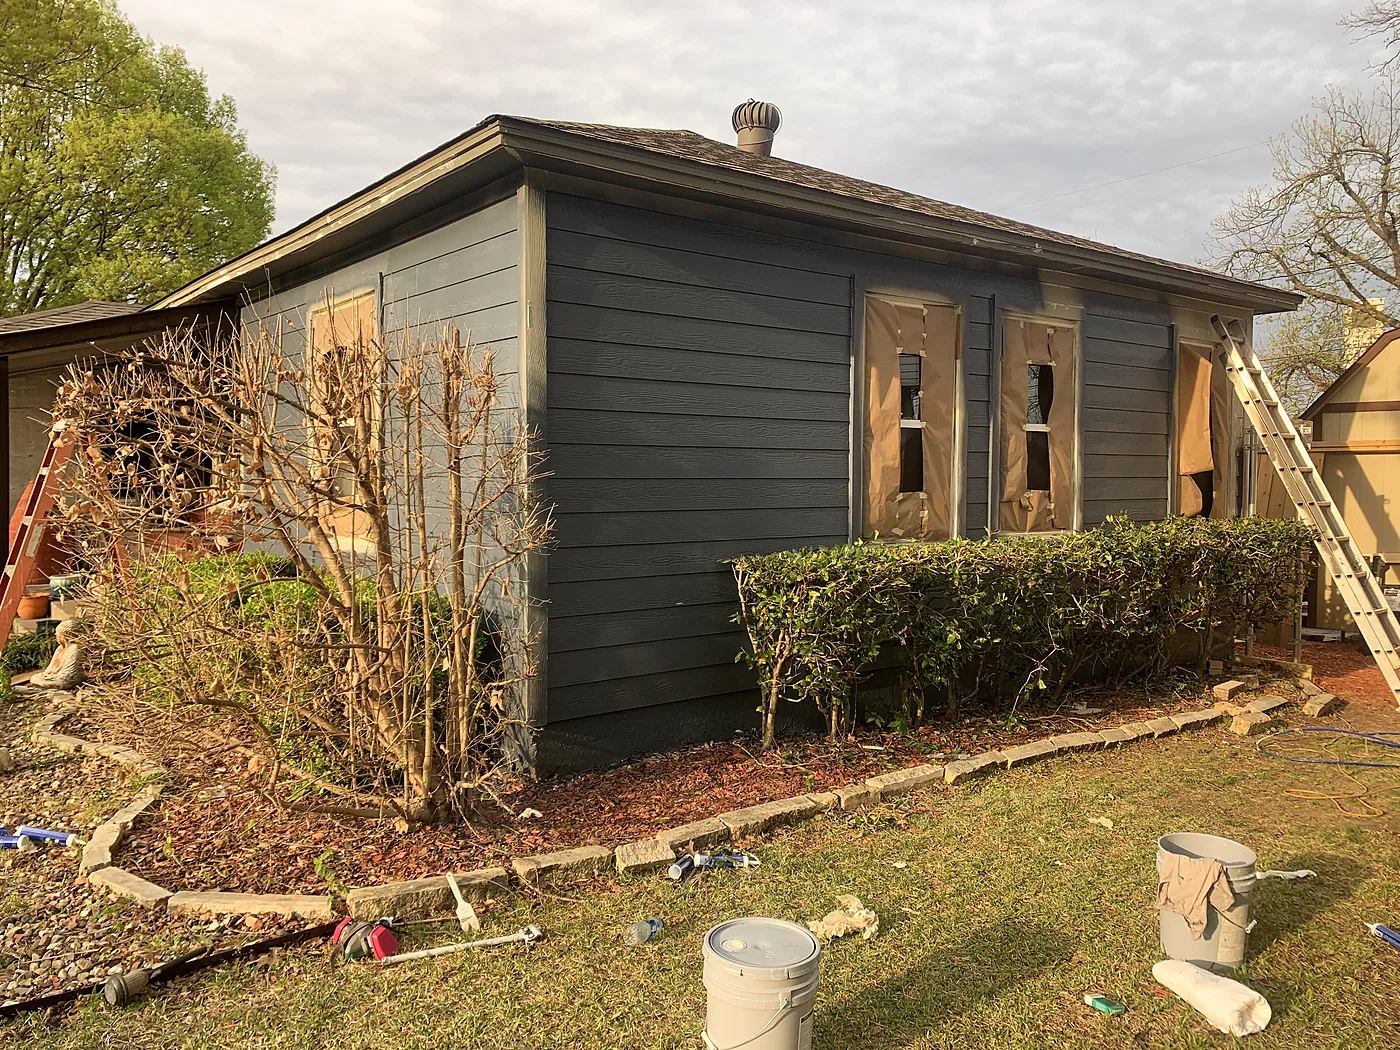
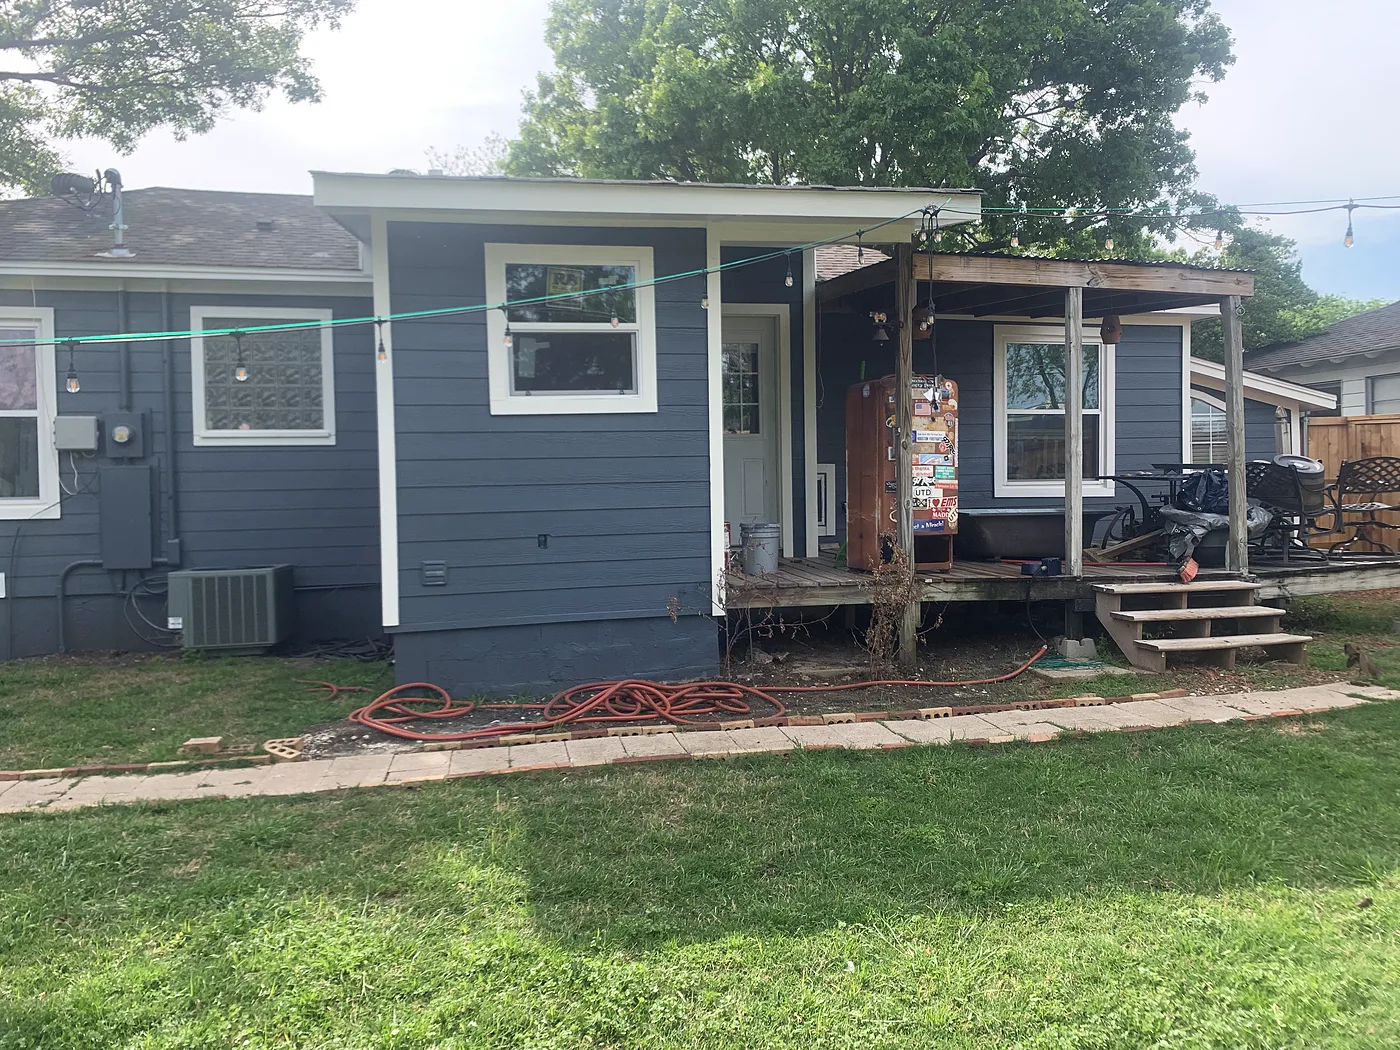
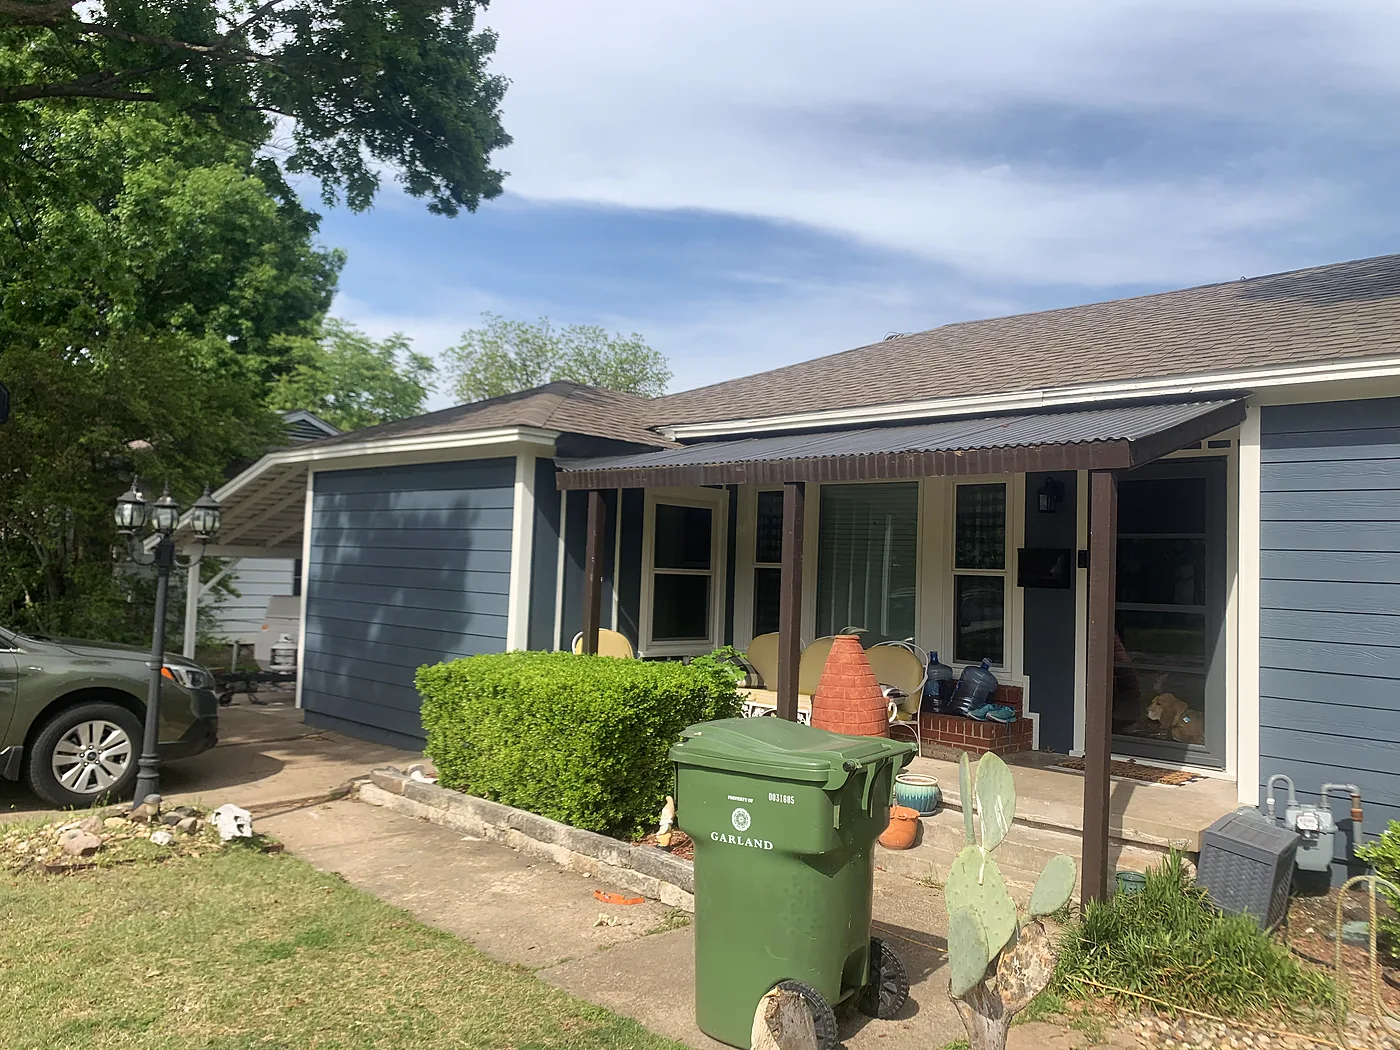
Complete exterior makeover

Downtown Garland

We demoed all the siding, removed a window, framed and insulated that wall, and installed a large window in a new spot. Then fiber cement siding and trim all the way around, finished with a two-tone paint job.

Before
Before: Before, back of the house — Complete exterior makeover, Downtown Garland
Before, back of the house
Before: Before, side — Complete exterior makeover, Downtown Garland
Before, side
During
During: New siding going on — Complete exterior makeover, Downtown Garland
New siding going on
During: Paint going on — Complete exterior makeover, Downtown Garland
Paint going on
After
After: After, back of the house — Complete exterior makeover, Downtown Garland
After, back of the house
After: After, front — Complete exterior makeover, Downtown Garland
After, front

Full siding and trim replacement

Coppell

Complete siding and trim replacement with James Hardie fiber cement, then paint.

Before
Before: Before — Full siding and trim replacement, Coppell
Before
During
During: Hardie going on — Full siding and trim replacement, Coppell
Hardie going on
During: New siding on the chimney — Full siding and trim replacement, Coppell
New siding on the chimney
After
After: After — Full siding and trim replacement, Coppell
After
After: After, chimney — Full siding and trim replacement, Coppell
After, chimney

LP SmartSide on three sides, full repaint

Mansfield

Removed all the siding on three sides of the home and replaced it with LP SmartSide siding and trim, then repainted the entire home and the garage doors.

Before
Before: Before — LP SmartSide on three sides, full repaint, Mansfield
Before
Before: Before, side — LP SmartSide on three sides, full repaint, Mansfield
Before, side
After
After: After, back — LP SmartSide on three sides, full repaint, Mansfield
After, back
After: After, side — LP SmartSide on three sides, full repaint, Mansfield
After, side

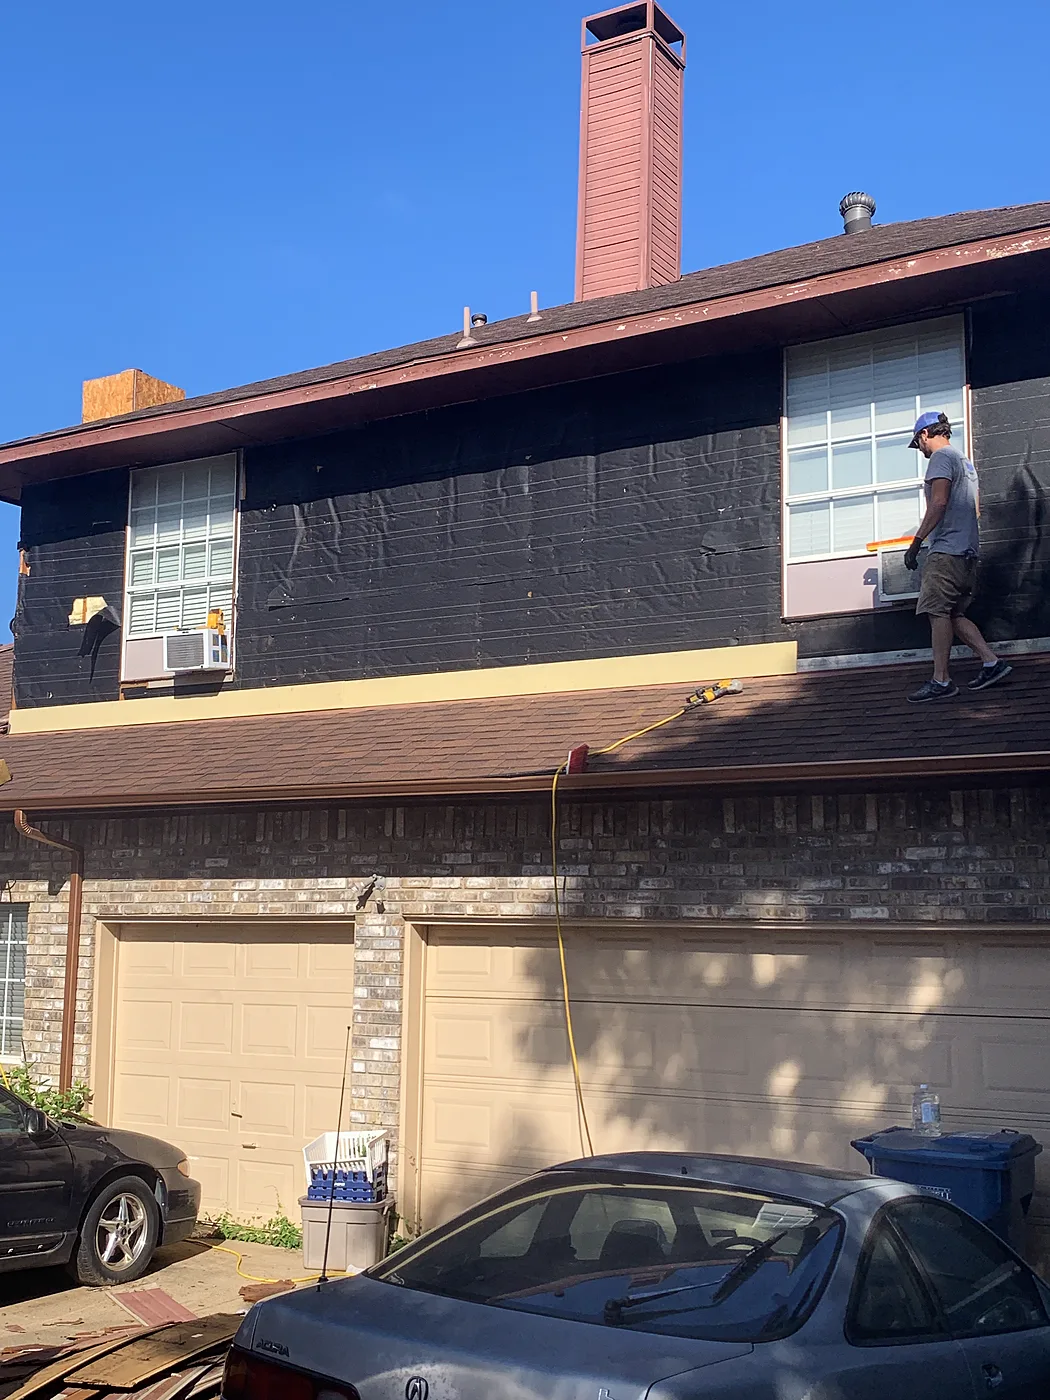
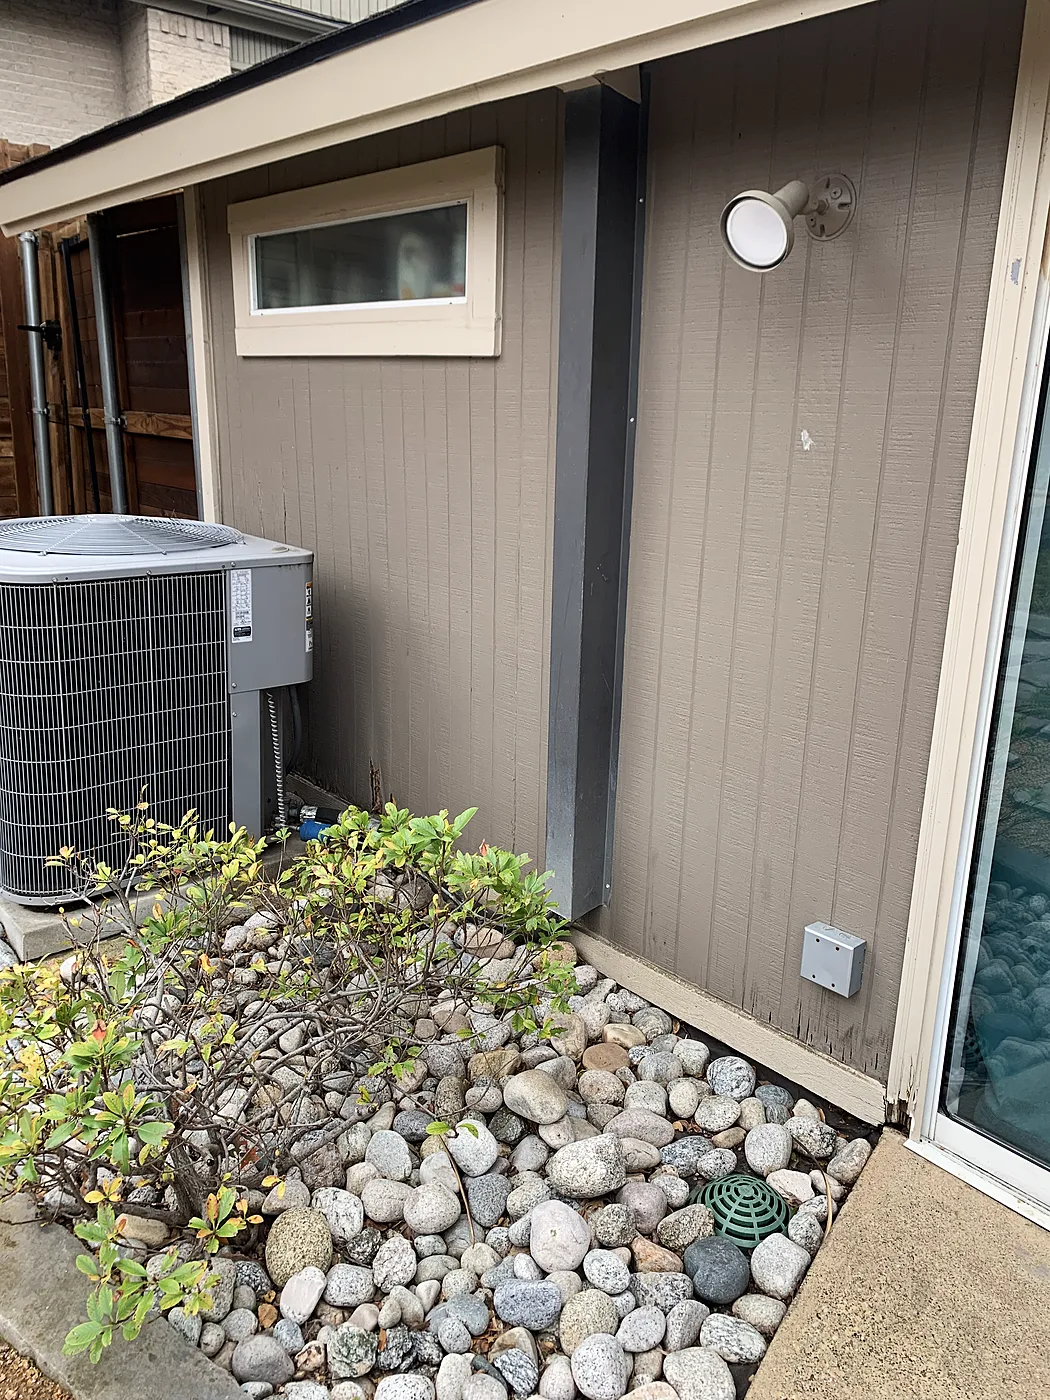
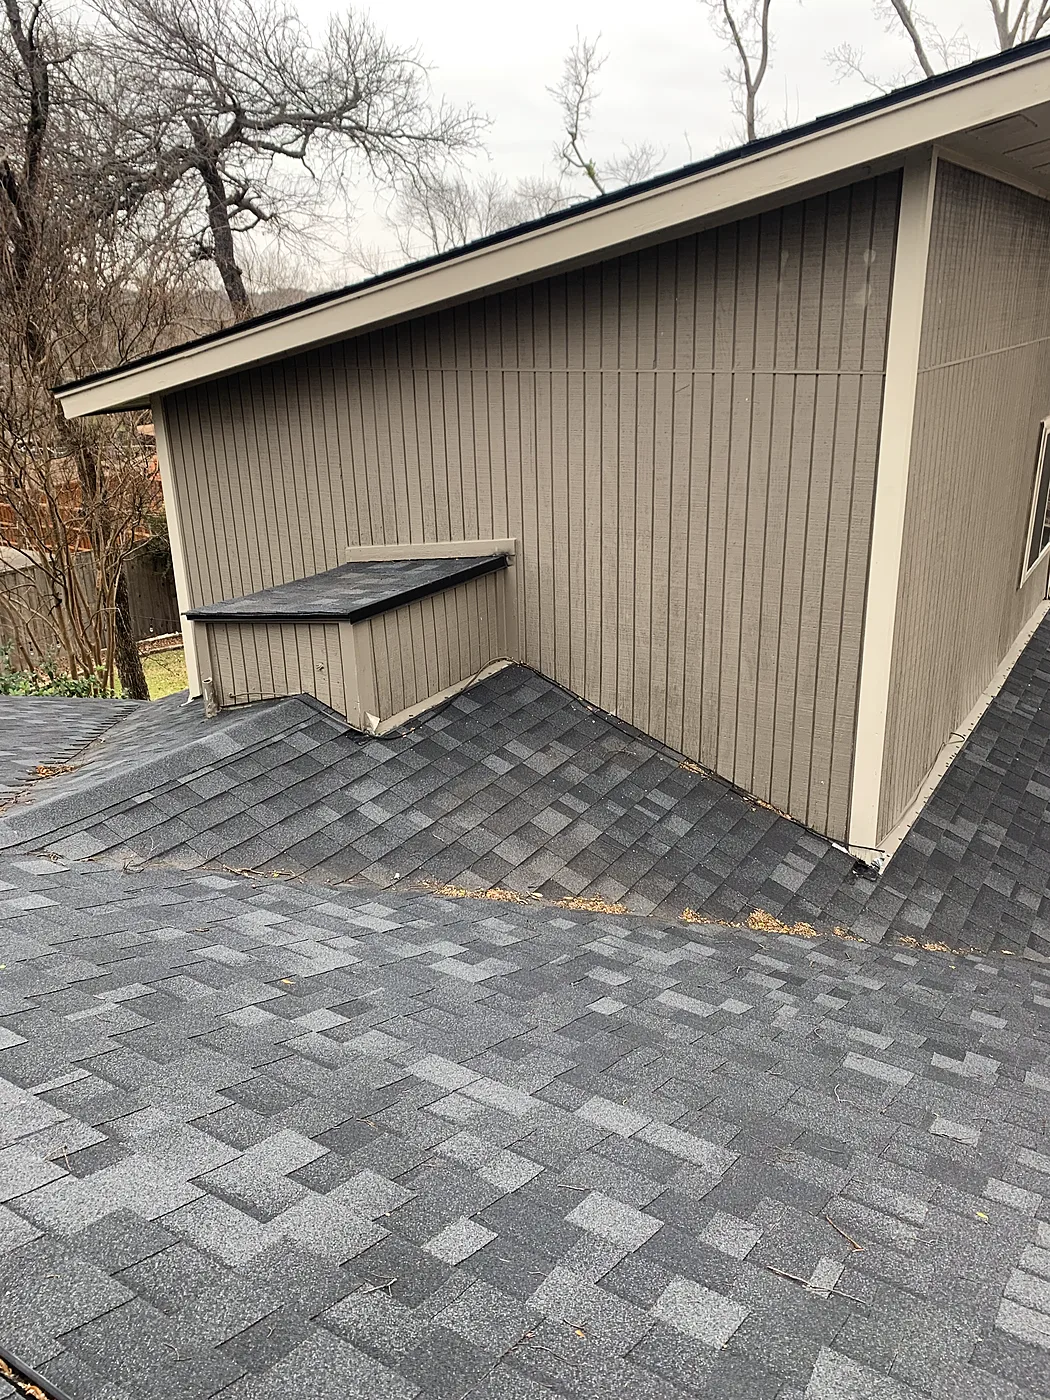
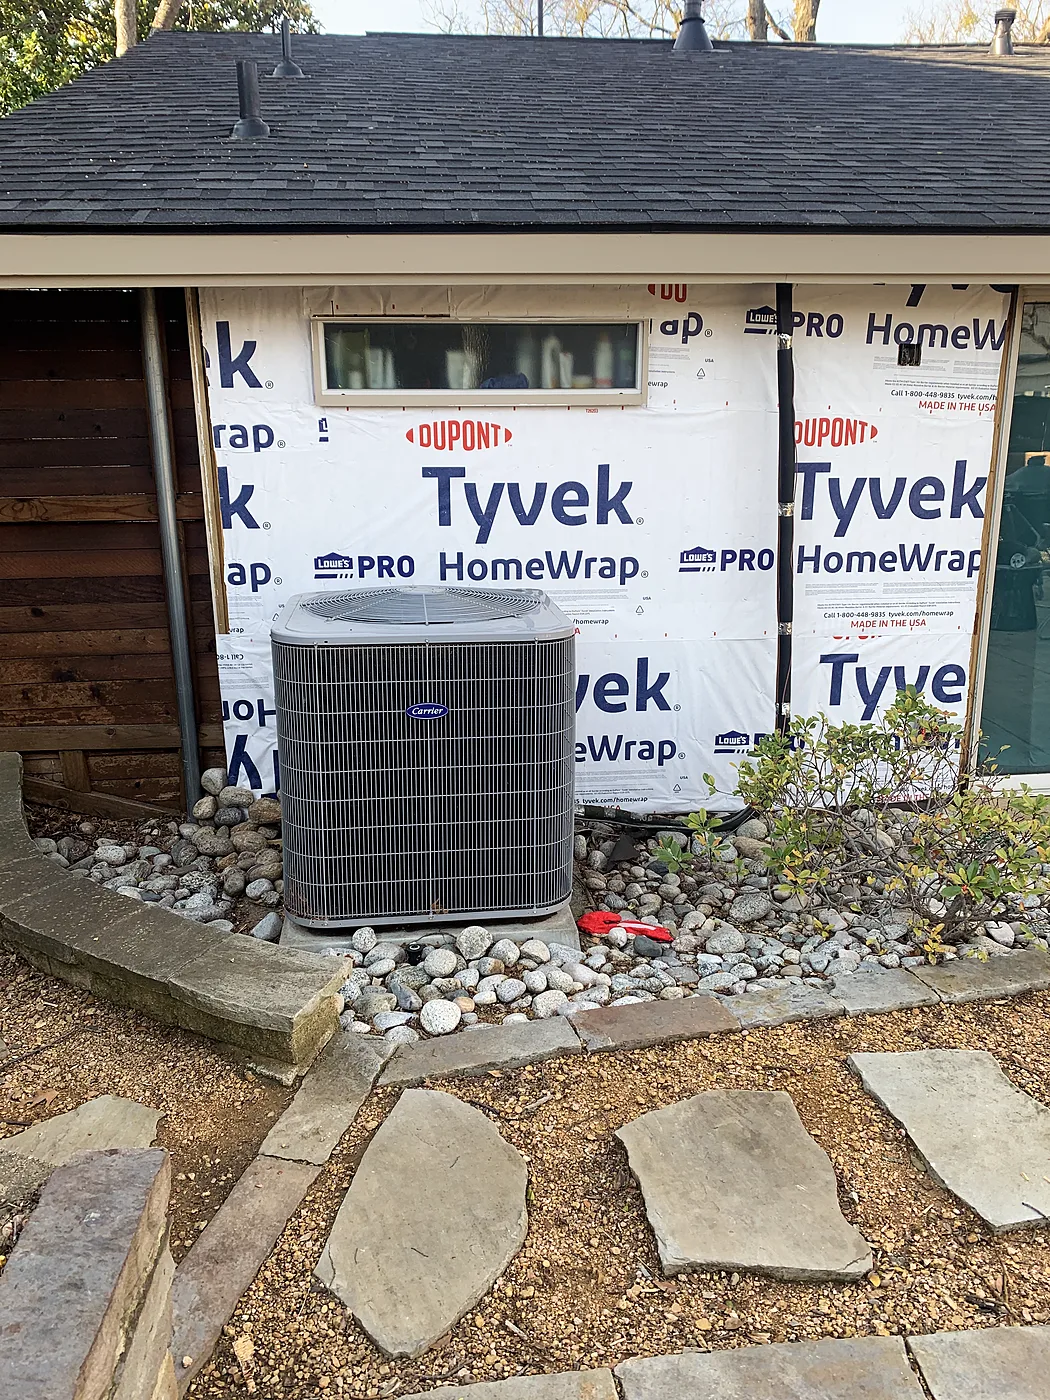
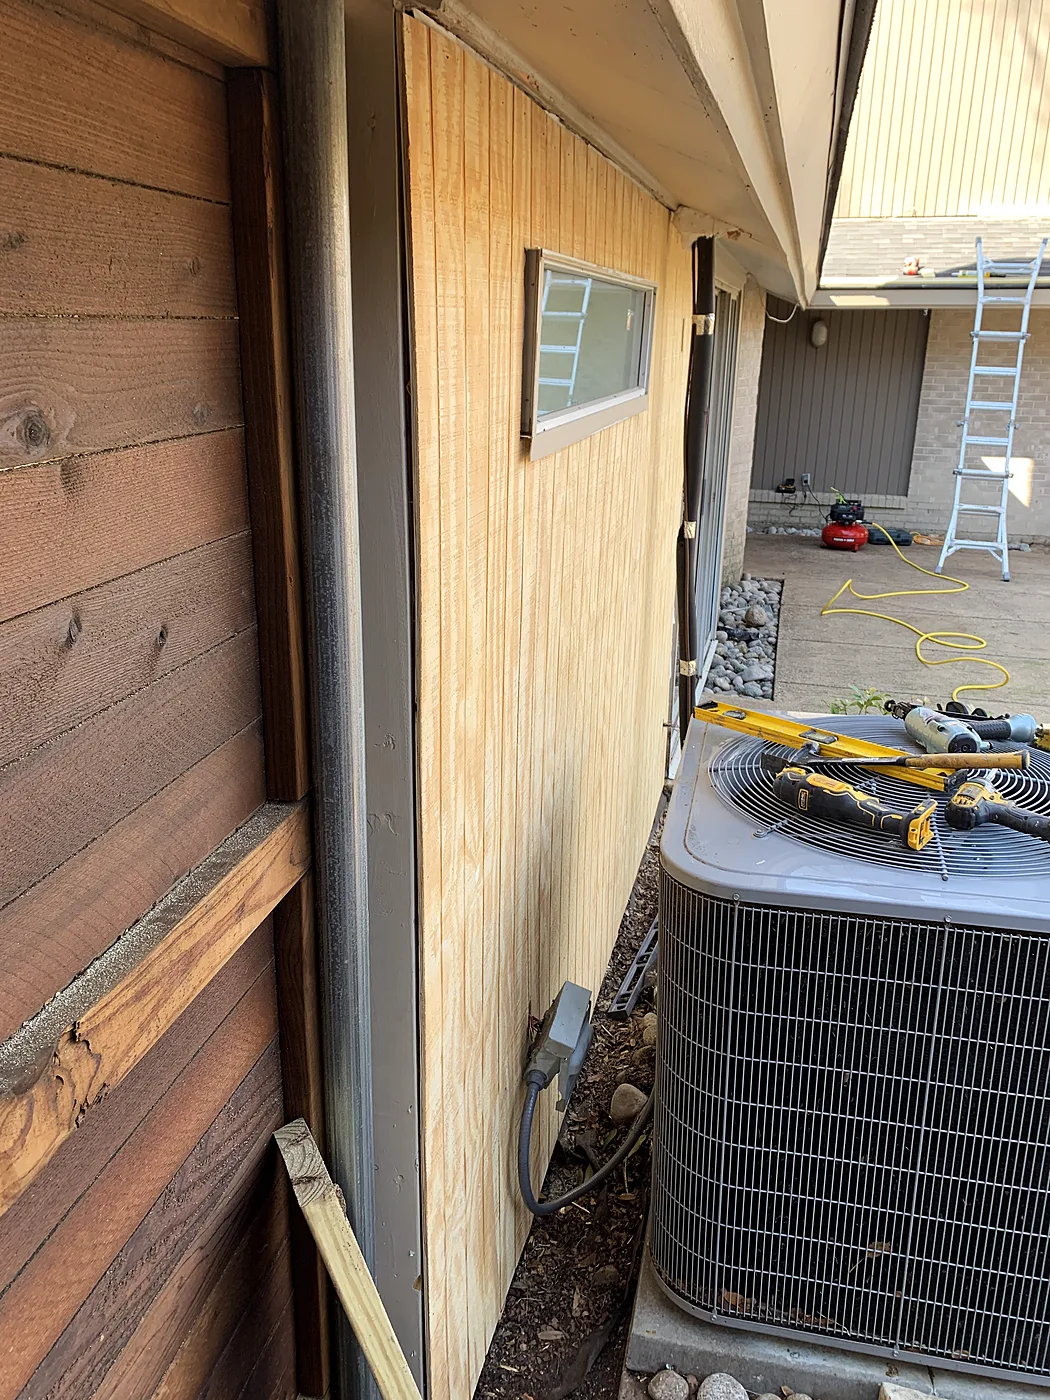
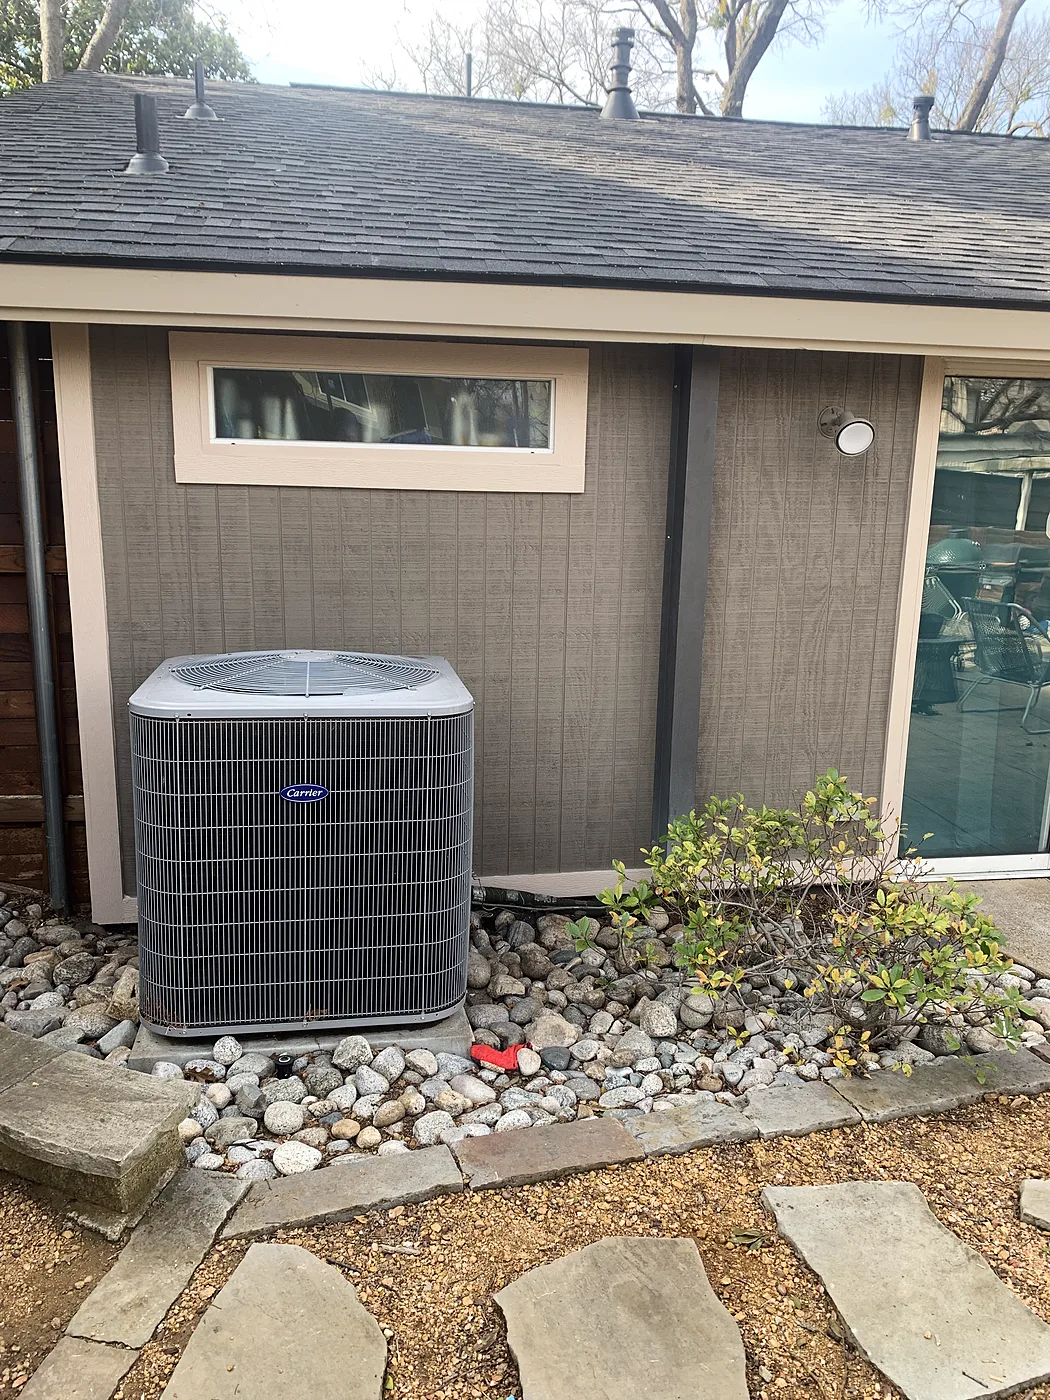
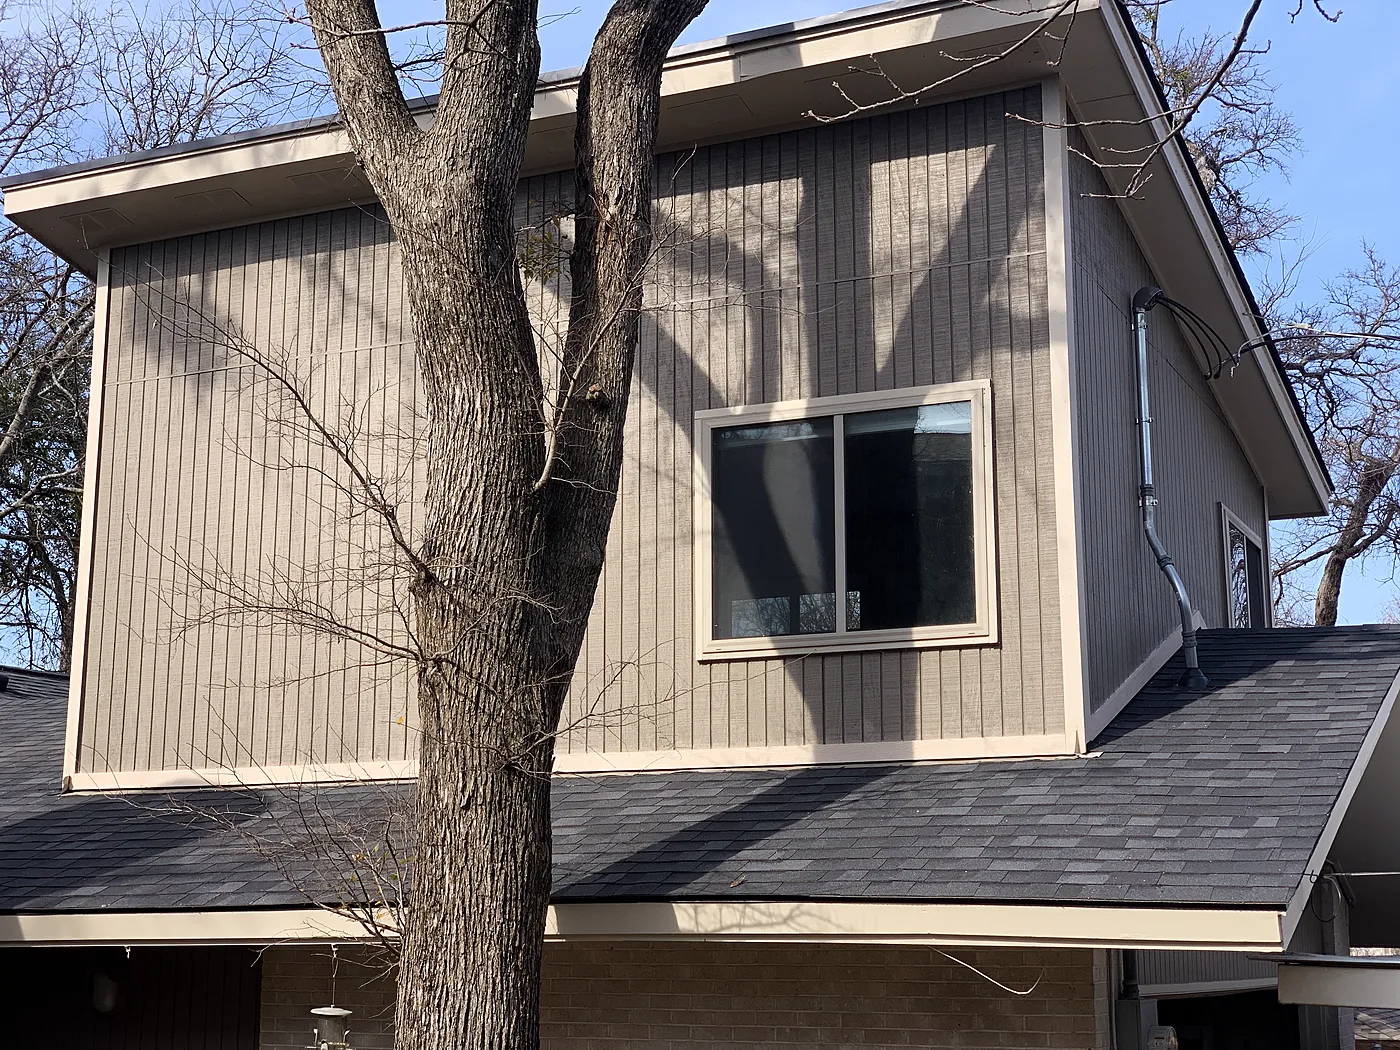
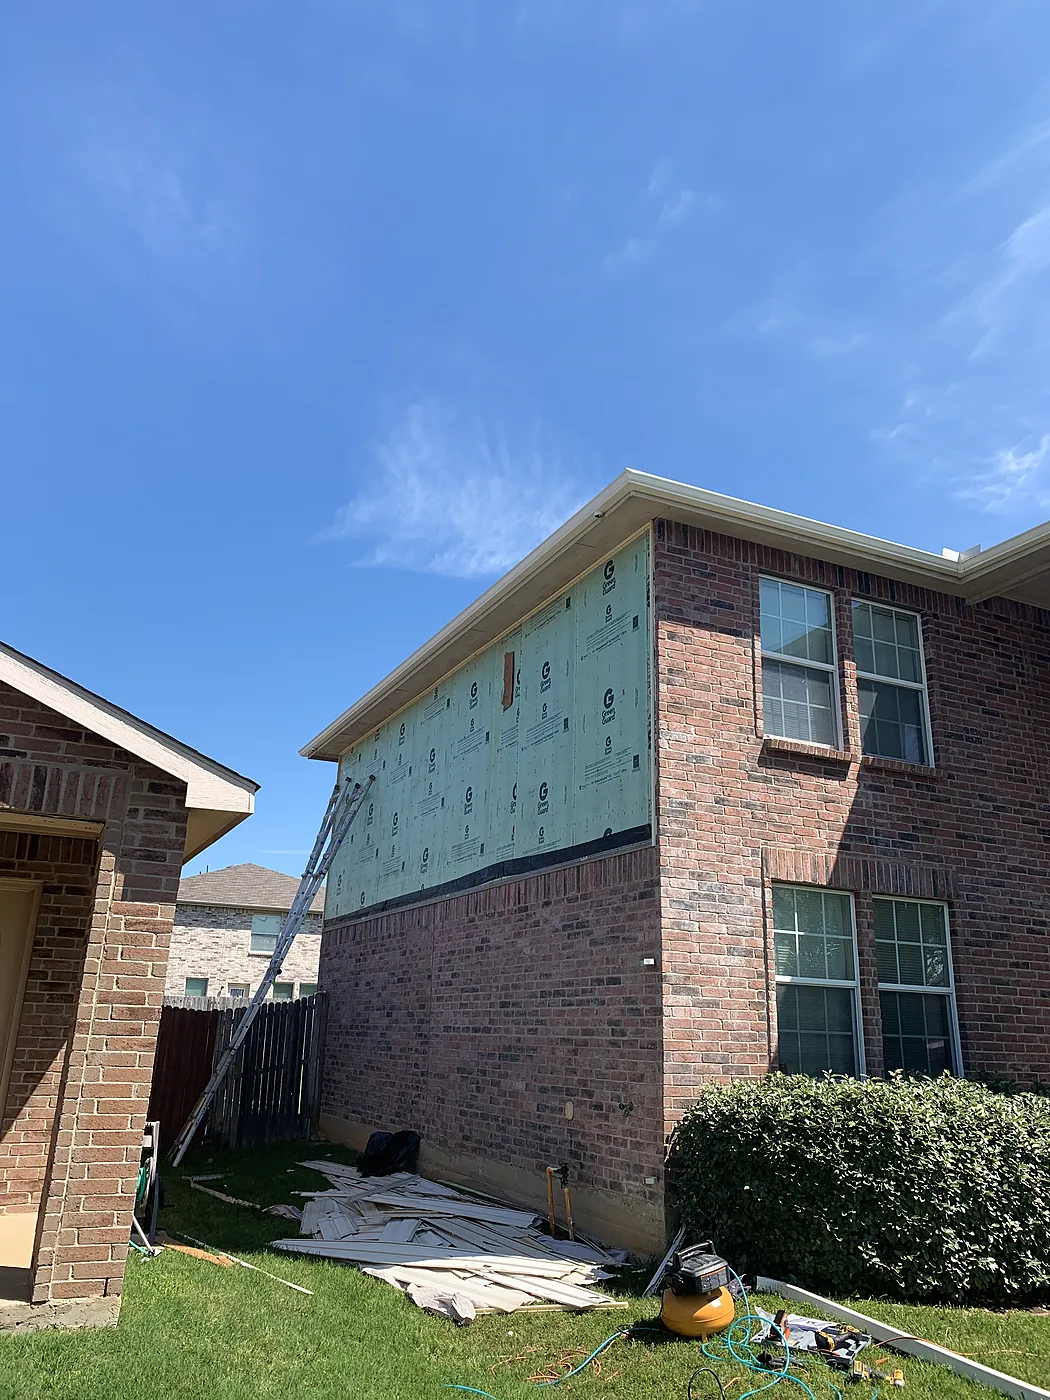
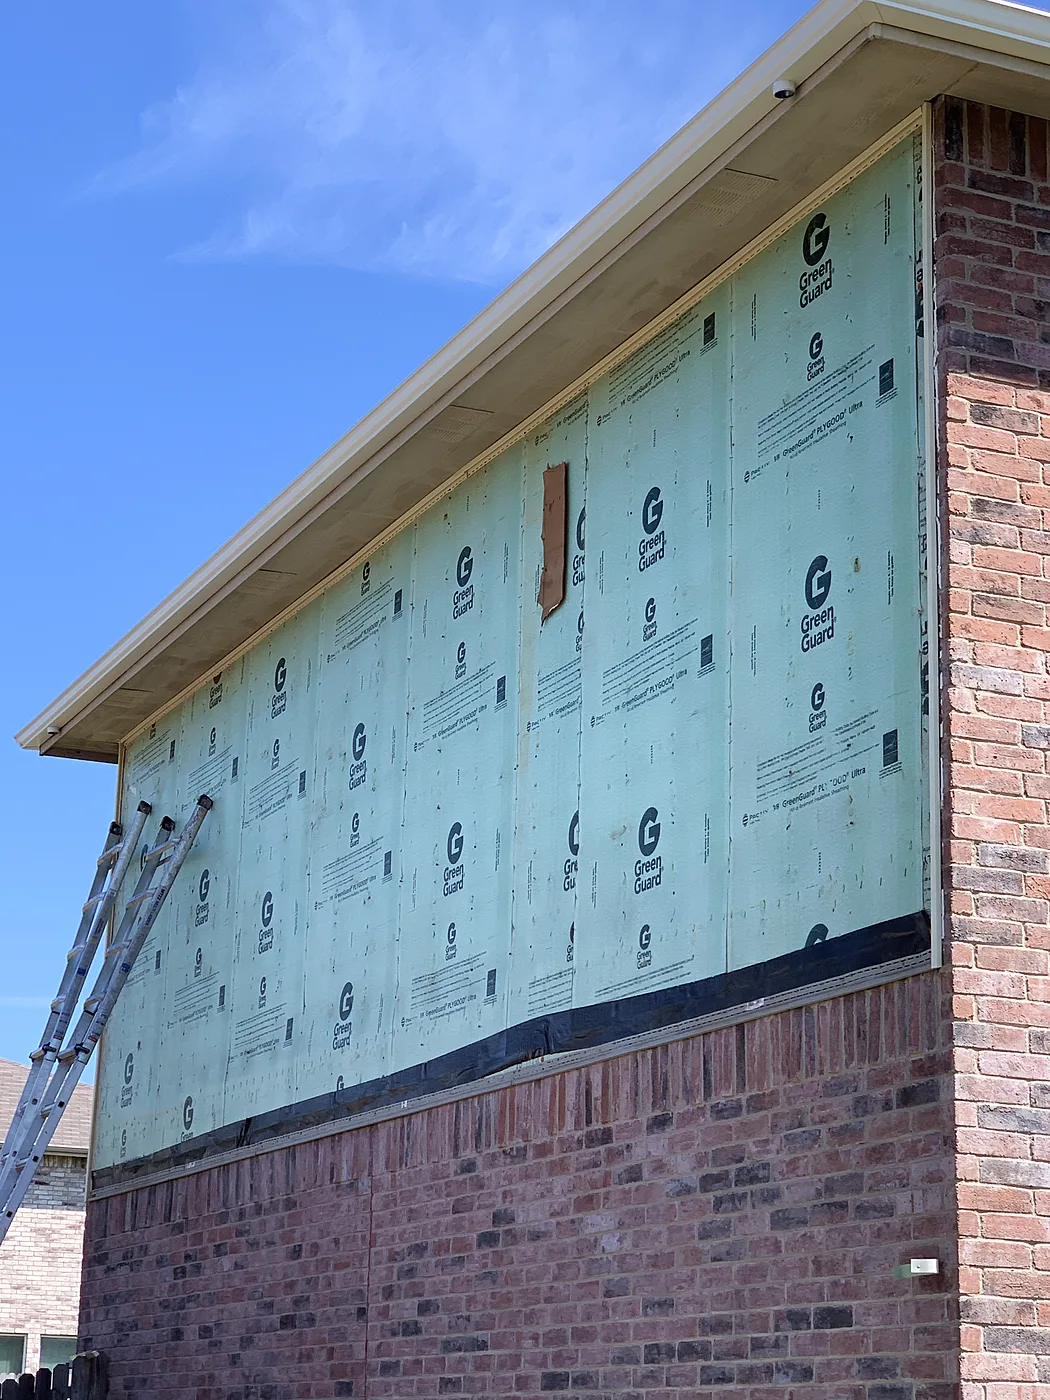
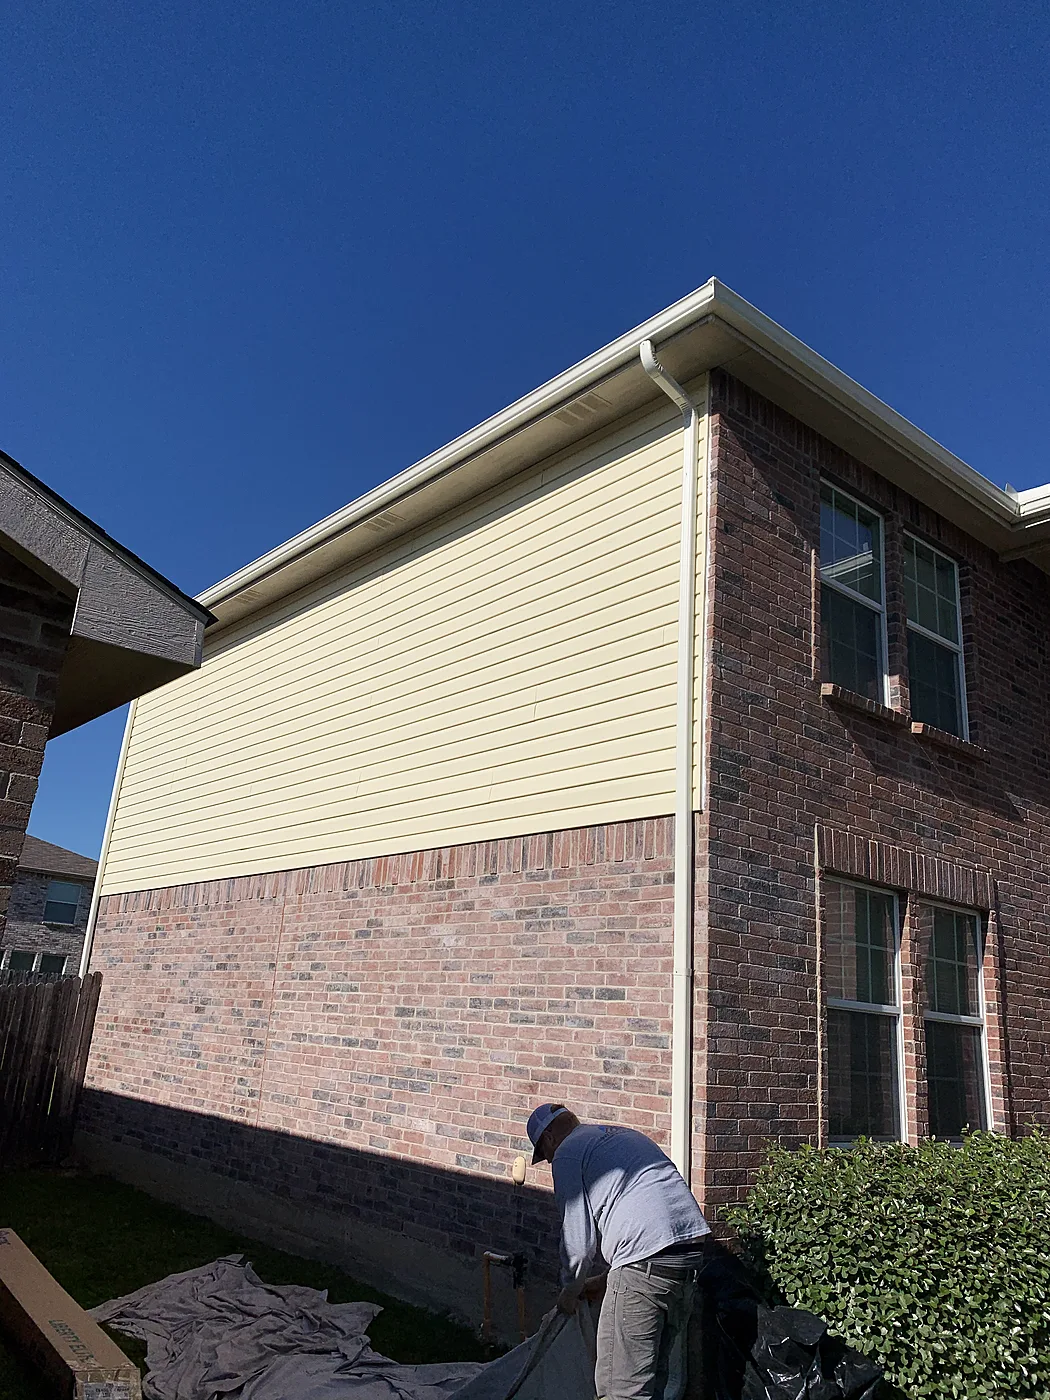
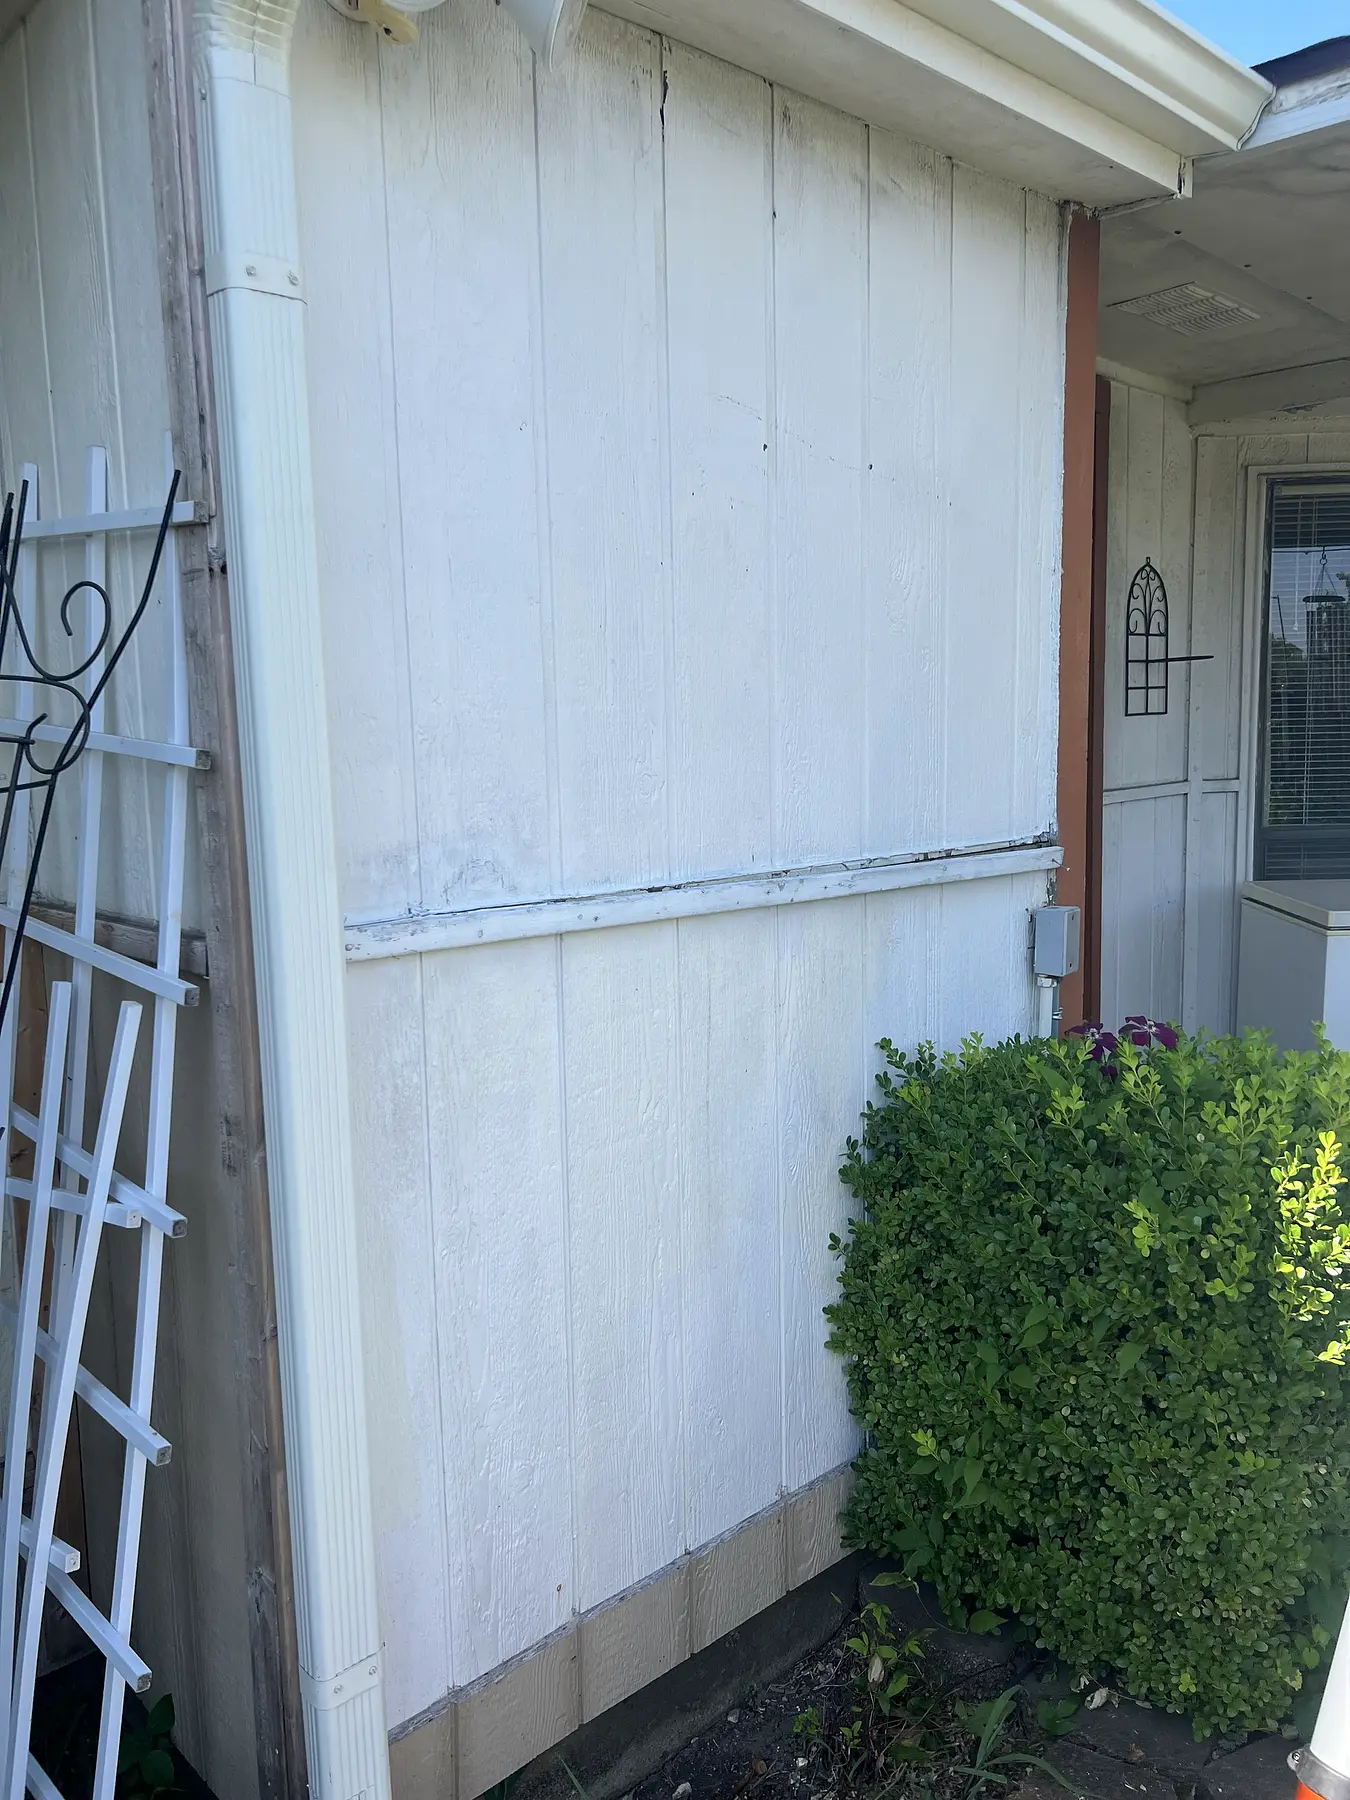
Panel siding and trim replaced

Dallas

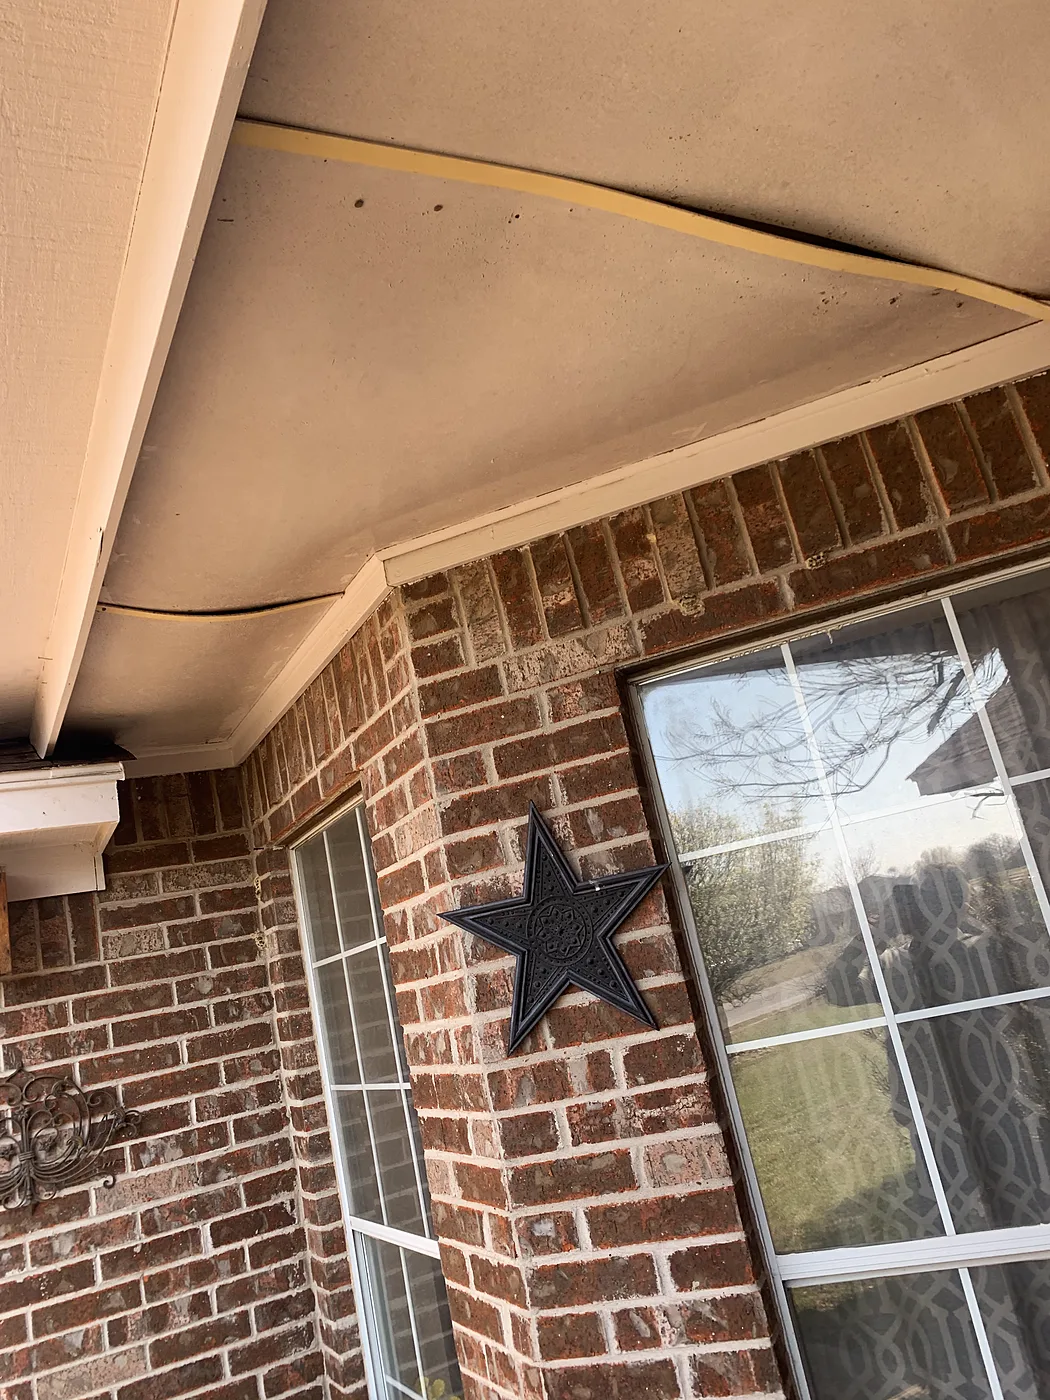
Replaced the panel siding behind the AC and added wire mesh at the bottom to keep rodents out. Replaced all the trim and painted to match, and added trim along the bottom of the second-story siding all the way around to keep it from rotting.

Before
Before: Before — Panel siding and trim replaced, Dallas
Before
Before: Before, second story — Panel siding and trim replaced, Dallas
Before, second story
During
During: Wrapped — Panel siding and trim replaced, Dallas
Wrapped
During: New sheathing — Panel siding and trim replaced, Dallas
New sheathing
After
After: After — Panel siding and trim replaced, Dallas
After
After: After, second story — Panel siding and trim replaced, Dallas
After, second story

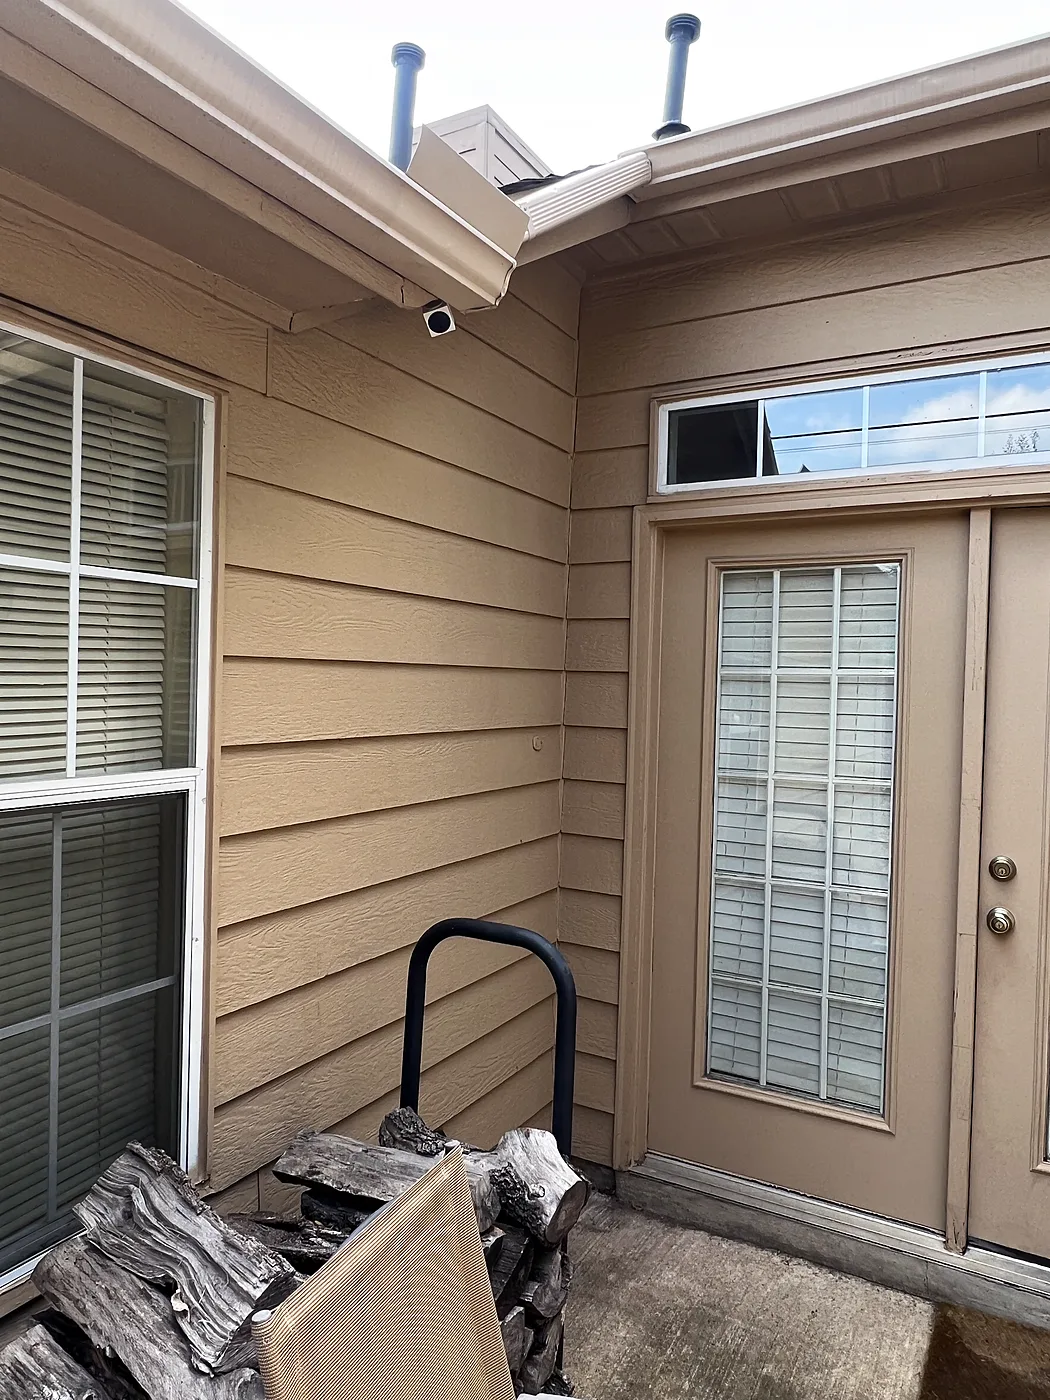
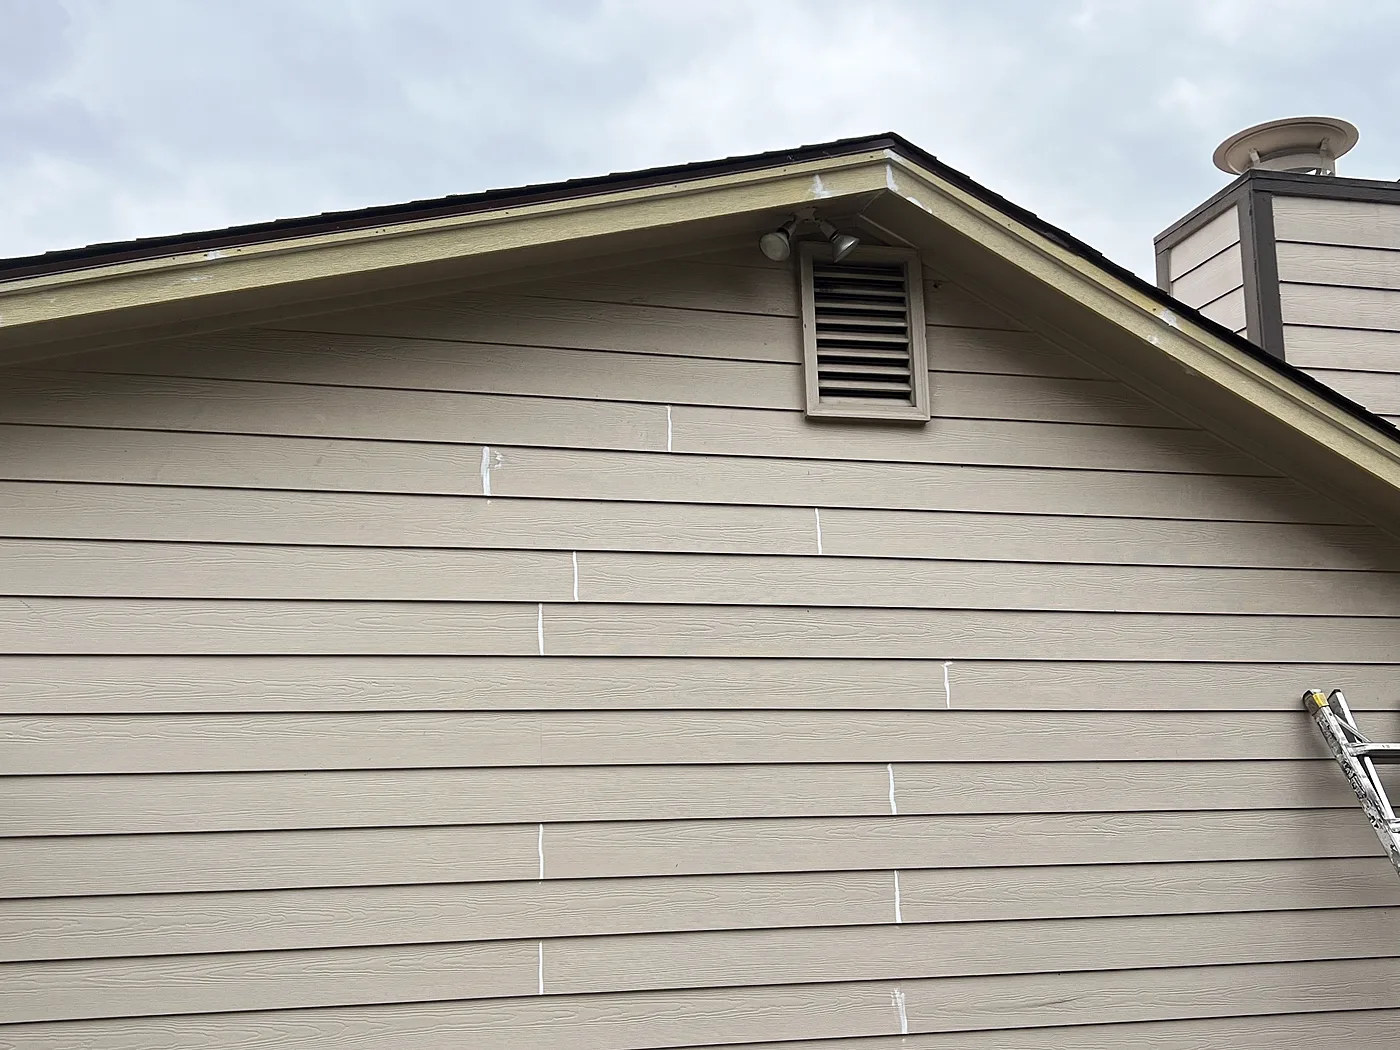
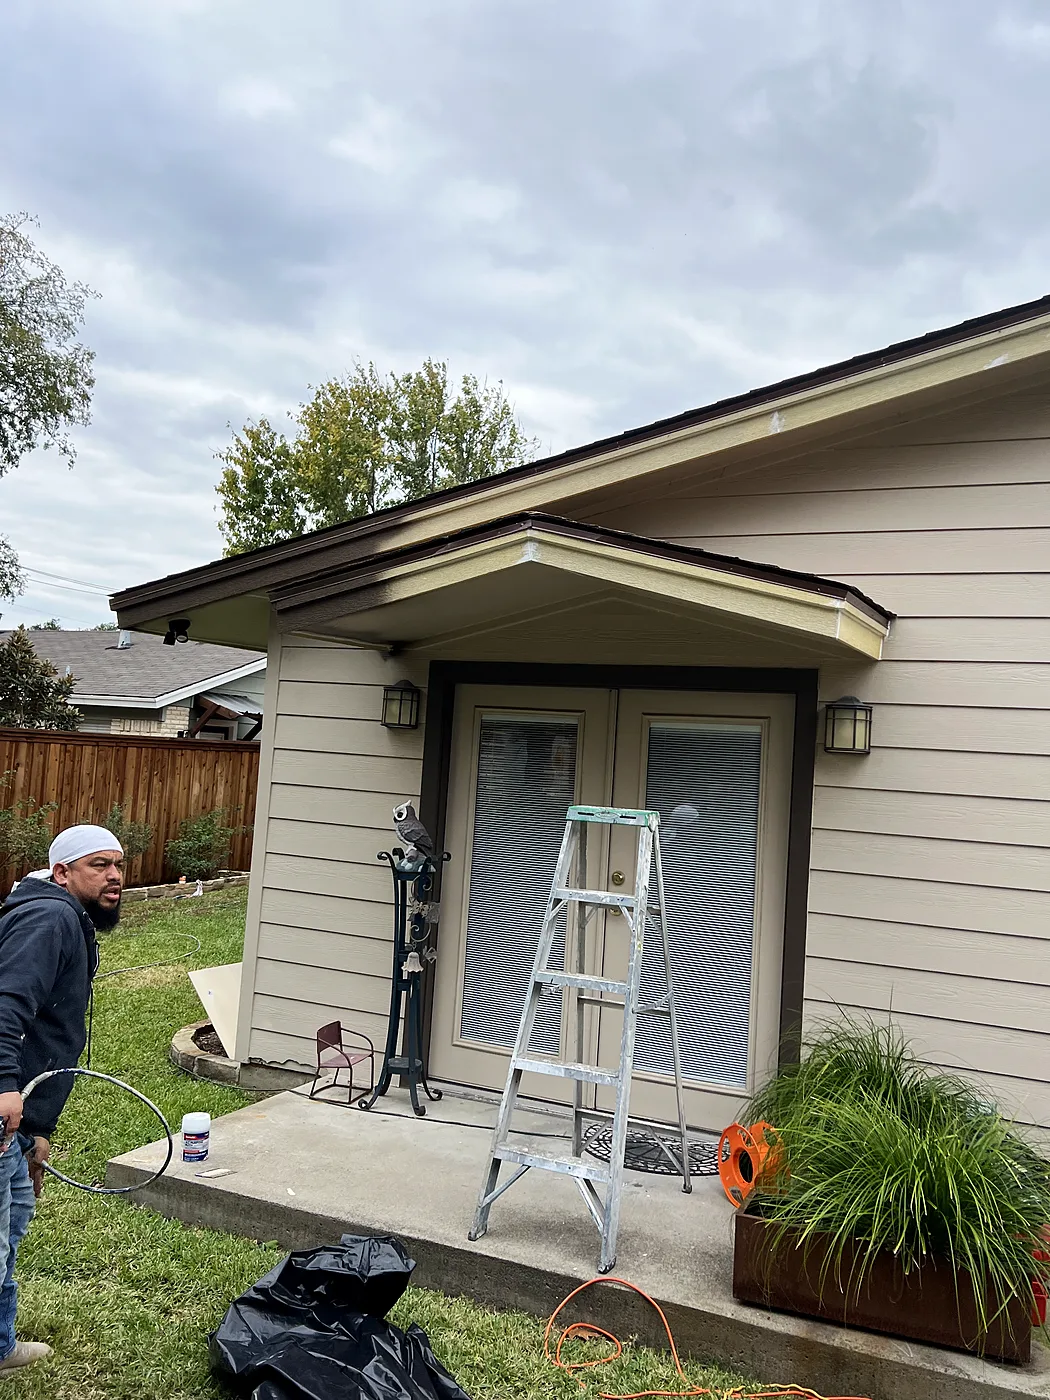
Fascia and trim replaced with James Hardie

Irving

Removed and replaced all the fascia and trim around the entire home with James Hardie products. Then caulked, sealed and painted: siding in beige, fascia and trim in black.

During
During: Trim going up — Fascia and trim replaced with James Hardie, Irving
Trim going up
During: Back entry in progress — Fascia and trim replaced with James Hardie, Irving
Back entry in progress
After
After: After — Fascia and trim replaced with James Hardie, Irving
After
After: After, back entry — Fascia and trim replaced with James Hardie, Irving
After, back entry

Rotted trim, fascia and soffit replaced

Plano

Removed and replaced the rotted trim, fascia and soffit, then painted it all to match.

Before
Before: Rotted soffit, back of the house — Rotted trim, fascia and soffit replaced, Plano
Rotted soffit, back of the house
Before: Soffit and fascia before — Rotted trim, fascia and soffit replaced, Plano
Soffit and fascia before
After
After: New soffit, back of the house — Rotted trim, fascia and soffit replaced, Plano
New soffit, back of the house
After: Finished and painted — Rotted trim, fascia and soffit replaced, Plano
Finished and painted

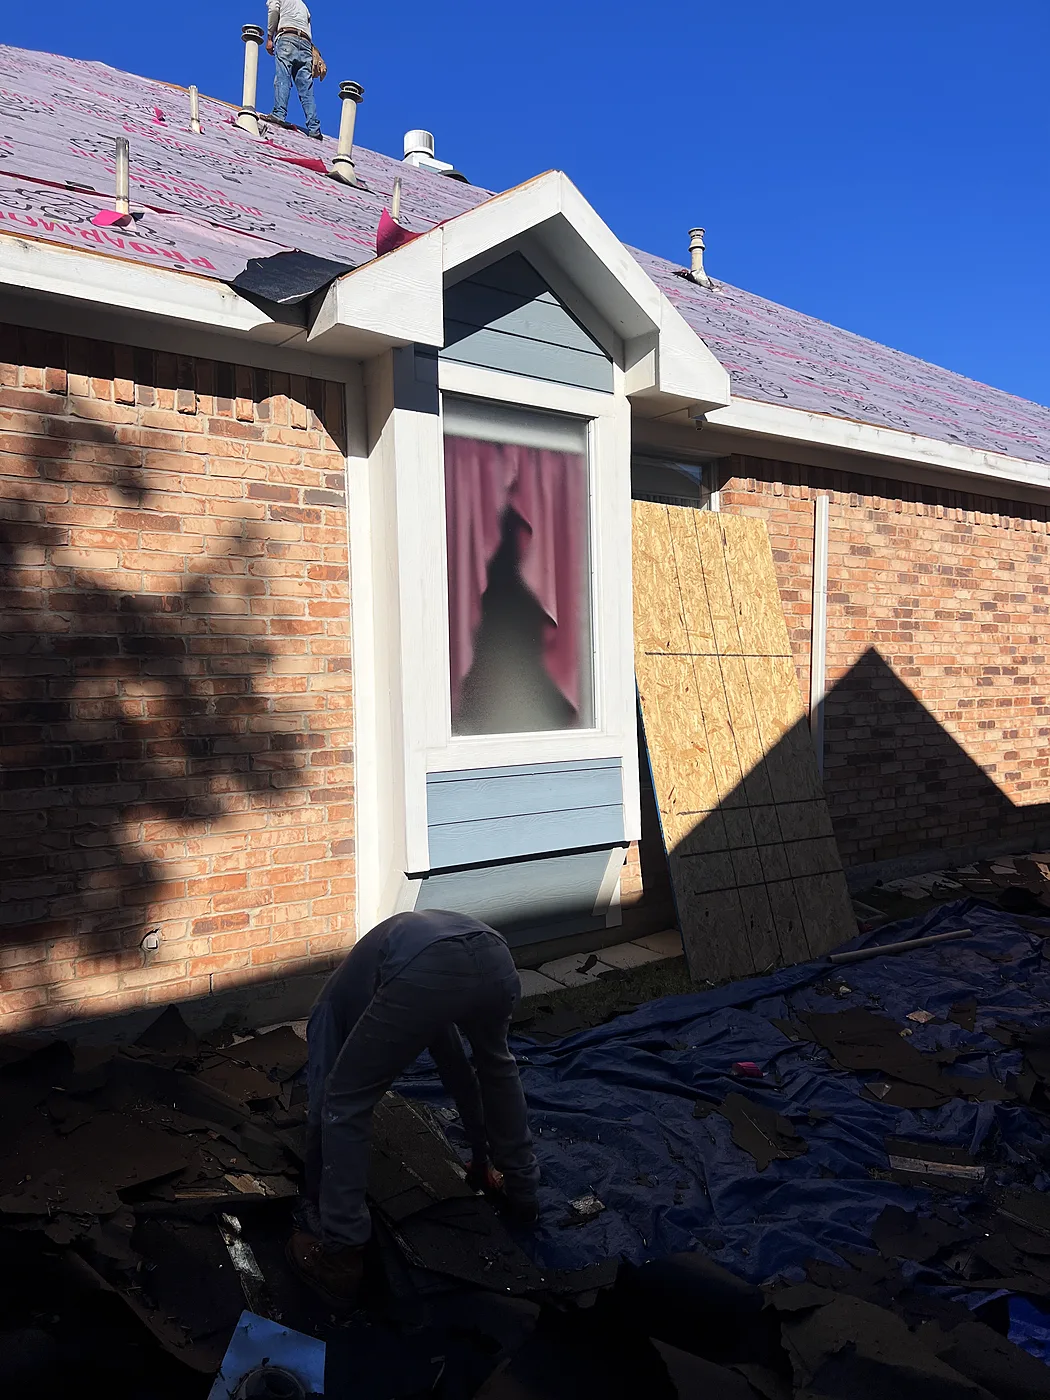
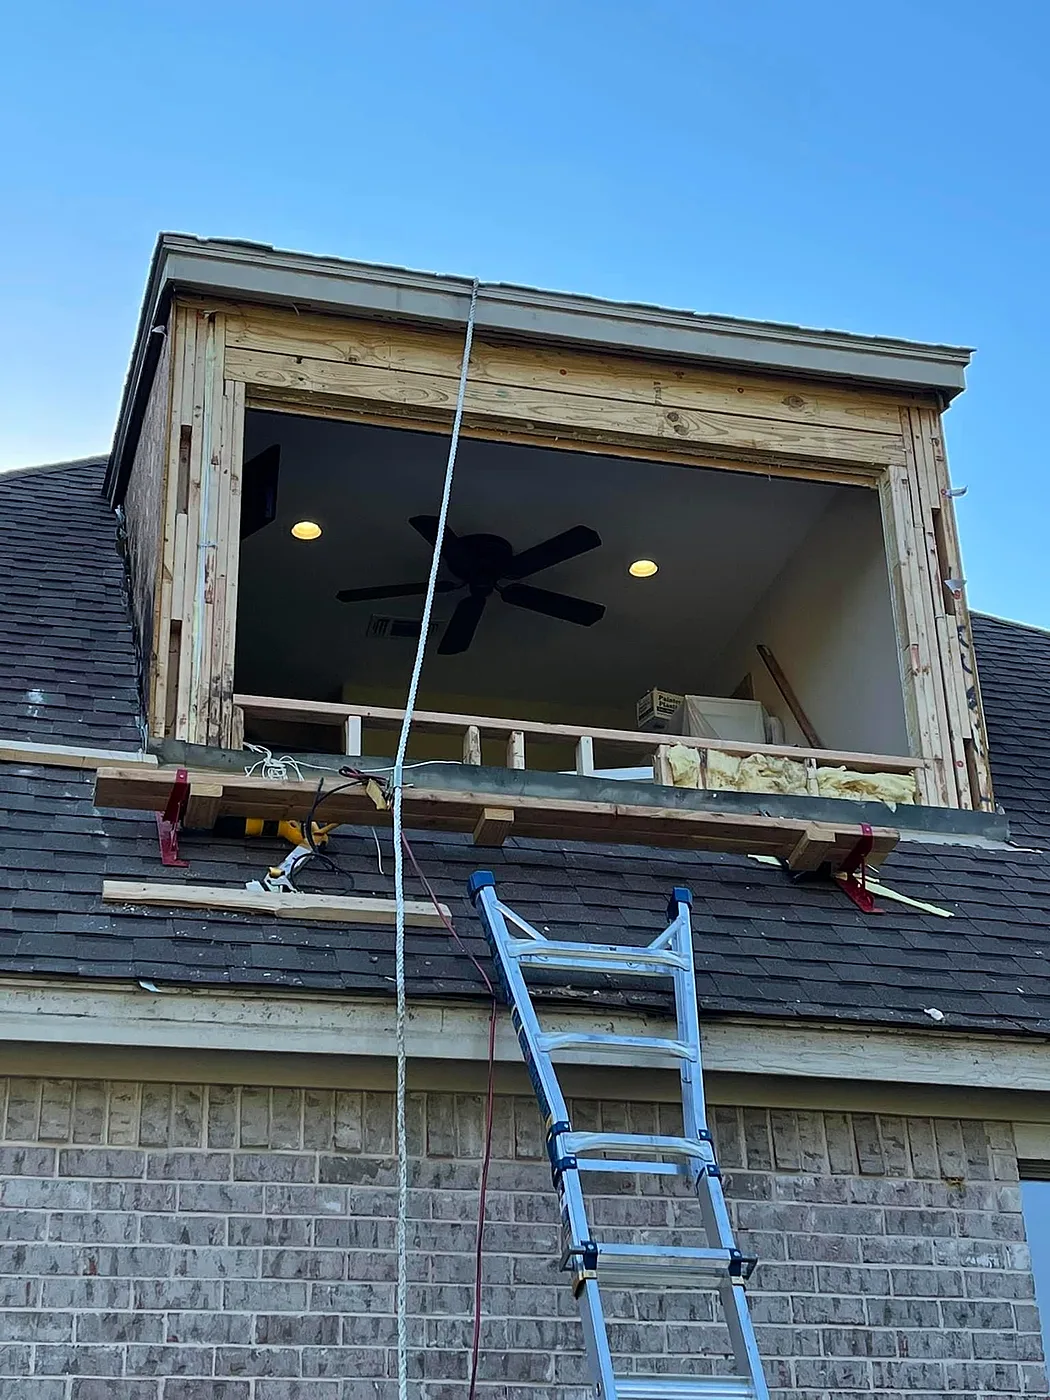
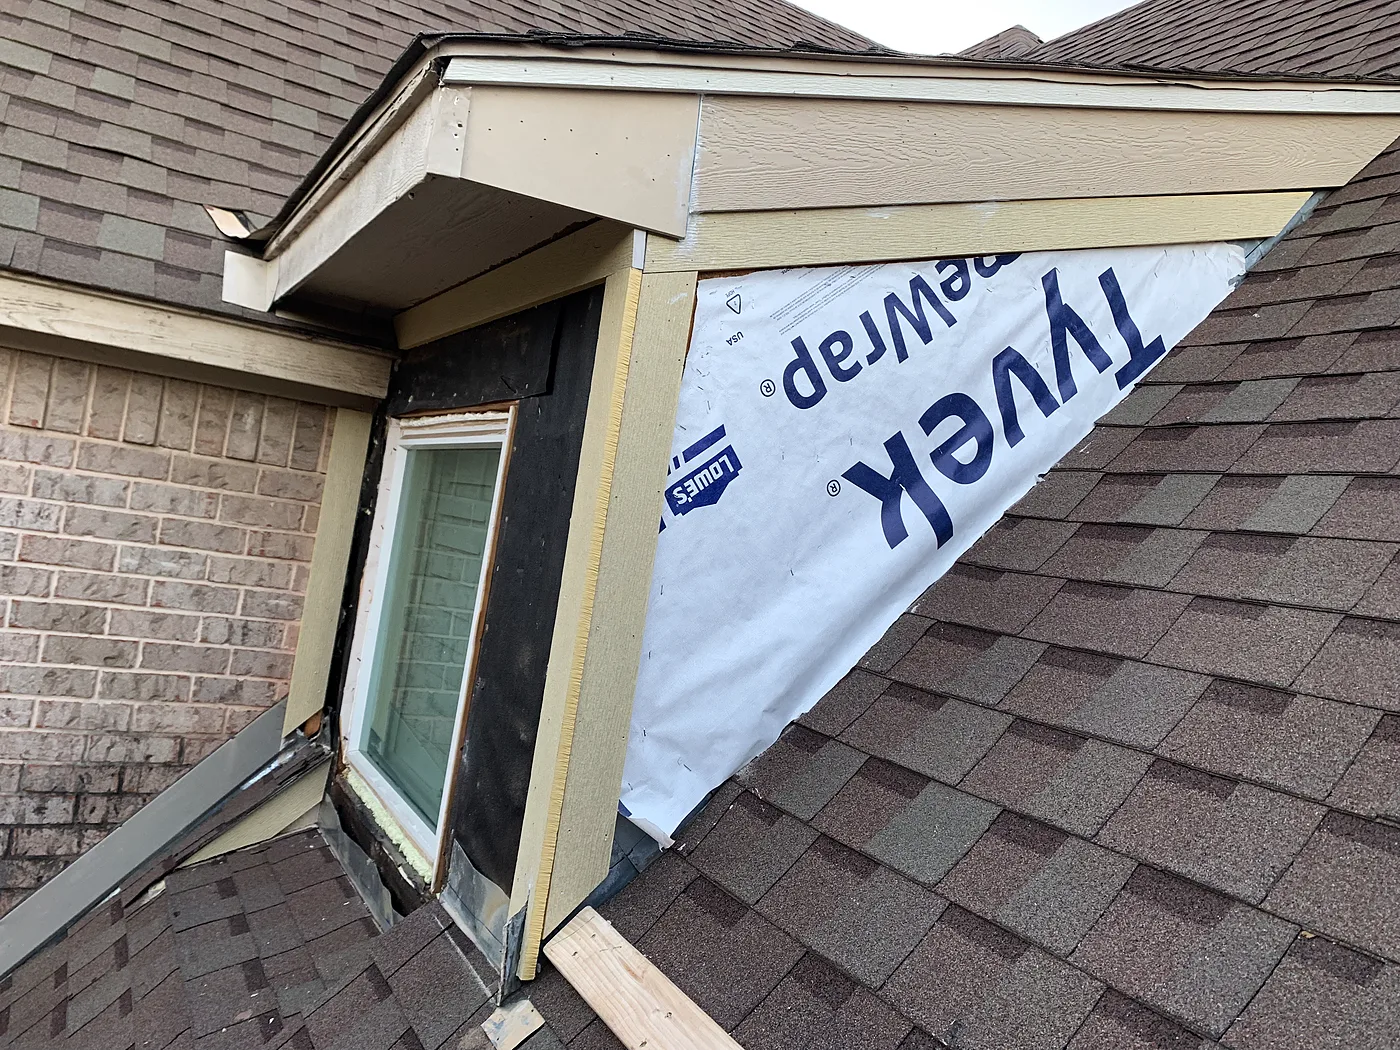
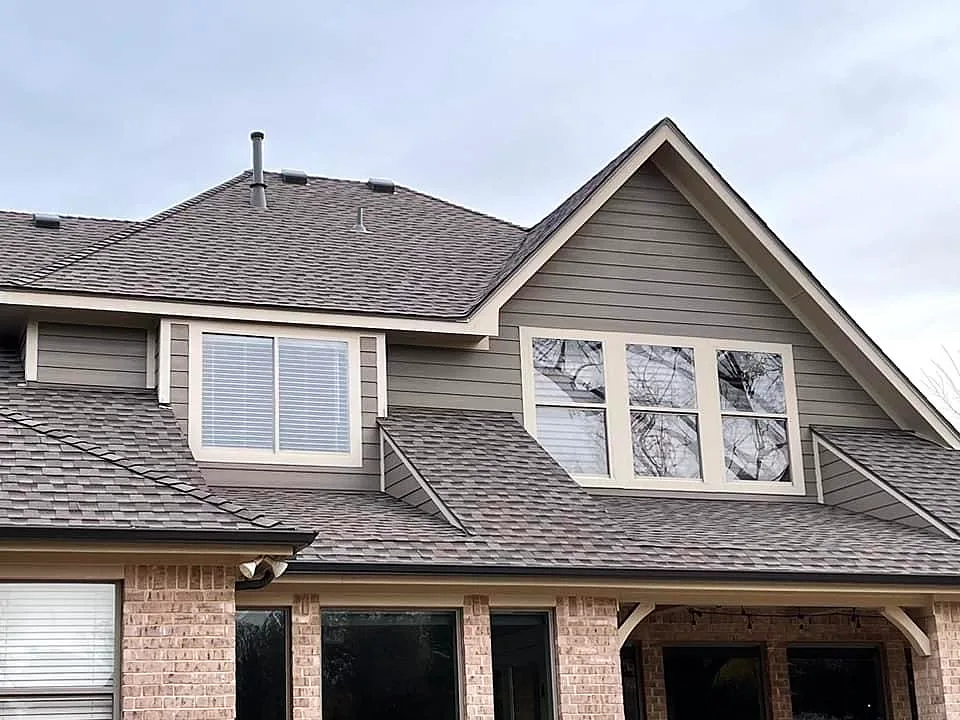
Hardie siding, trim and a bigger dormer window

Flower Mound

Complete siding and trim upgrade with James Hardie products. Removed a dormer window and installed a larger one, then caulked, sealed and painted.

During
During: Dormer opened up — Hardie siding, trim and a bigger dormer window, Flower Mound
Dormer opened up
During: Wrapped, new window in — Hardie siding, trim and a bigger dormer window, Flower Mound
Wrapped, new window in
After
After: Finished and painted — Hardie siding, trim and a bigger dormer window, Flower Mound
Finished and painted

Vinyl siding removed and replaced

Denton

Removed and replaced the vinyl siding.

During
During: Old siding off, wrapped — Vinyl siding removed and replaced, Denton
Old siding off, wrapped
During: House wrap on — Vinyl siding removed and replaced, Denton
House wrap on
After
After: New siding on — Vinyl siding removed and replaced, Denton
New siding on
After: Finished — Vinyl siding removed and replaced, Denton
Finished

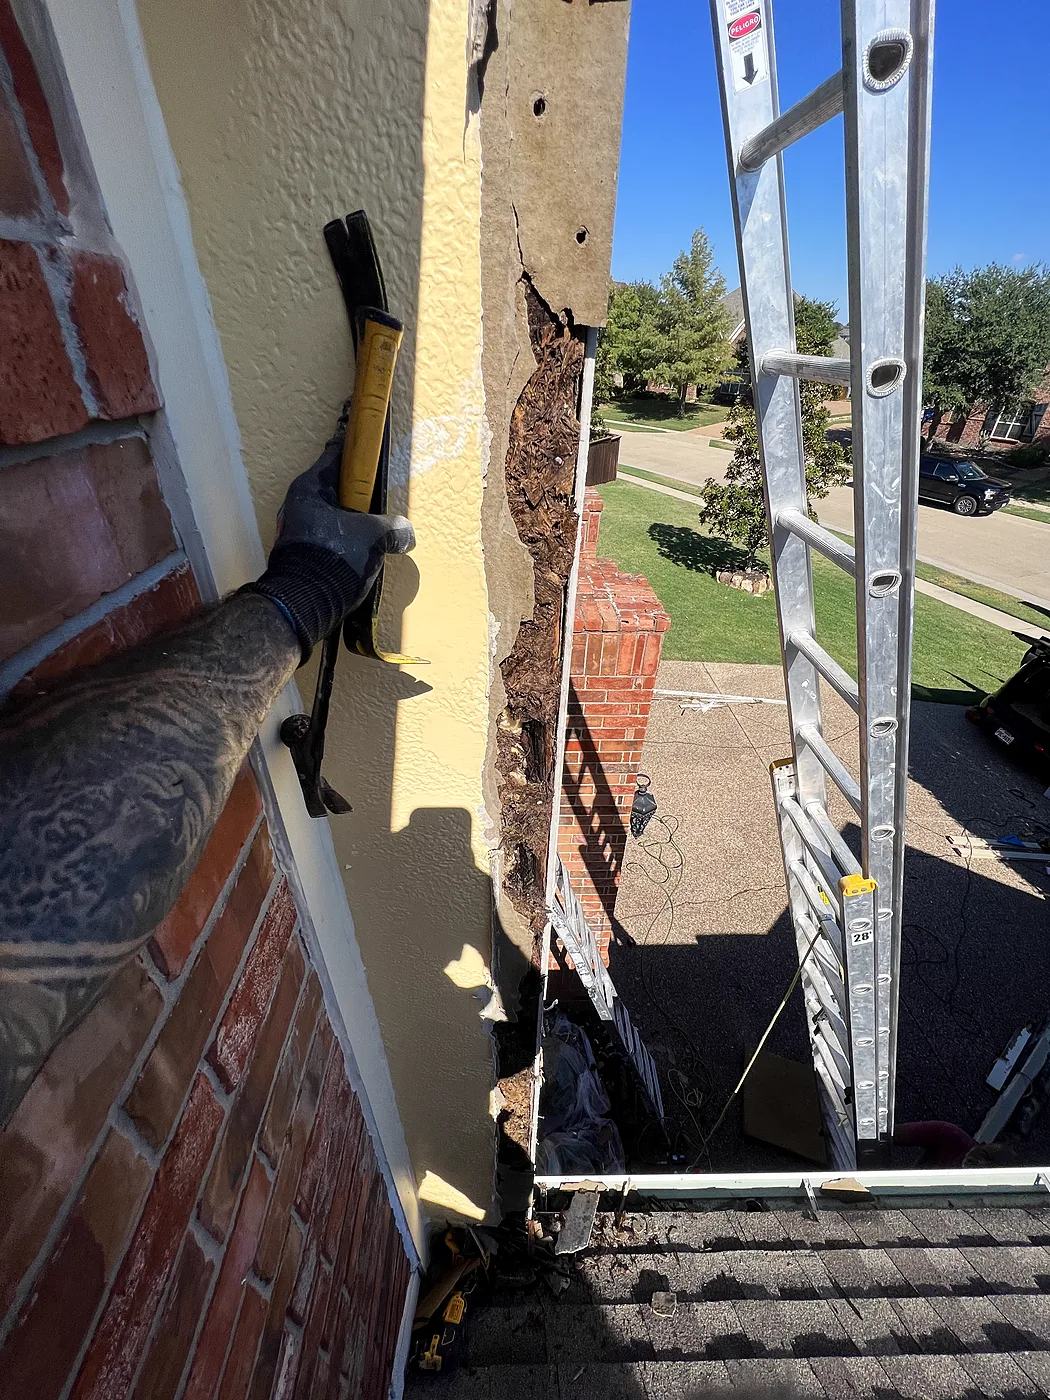
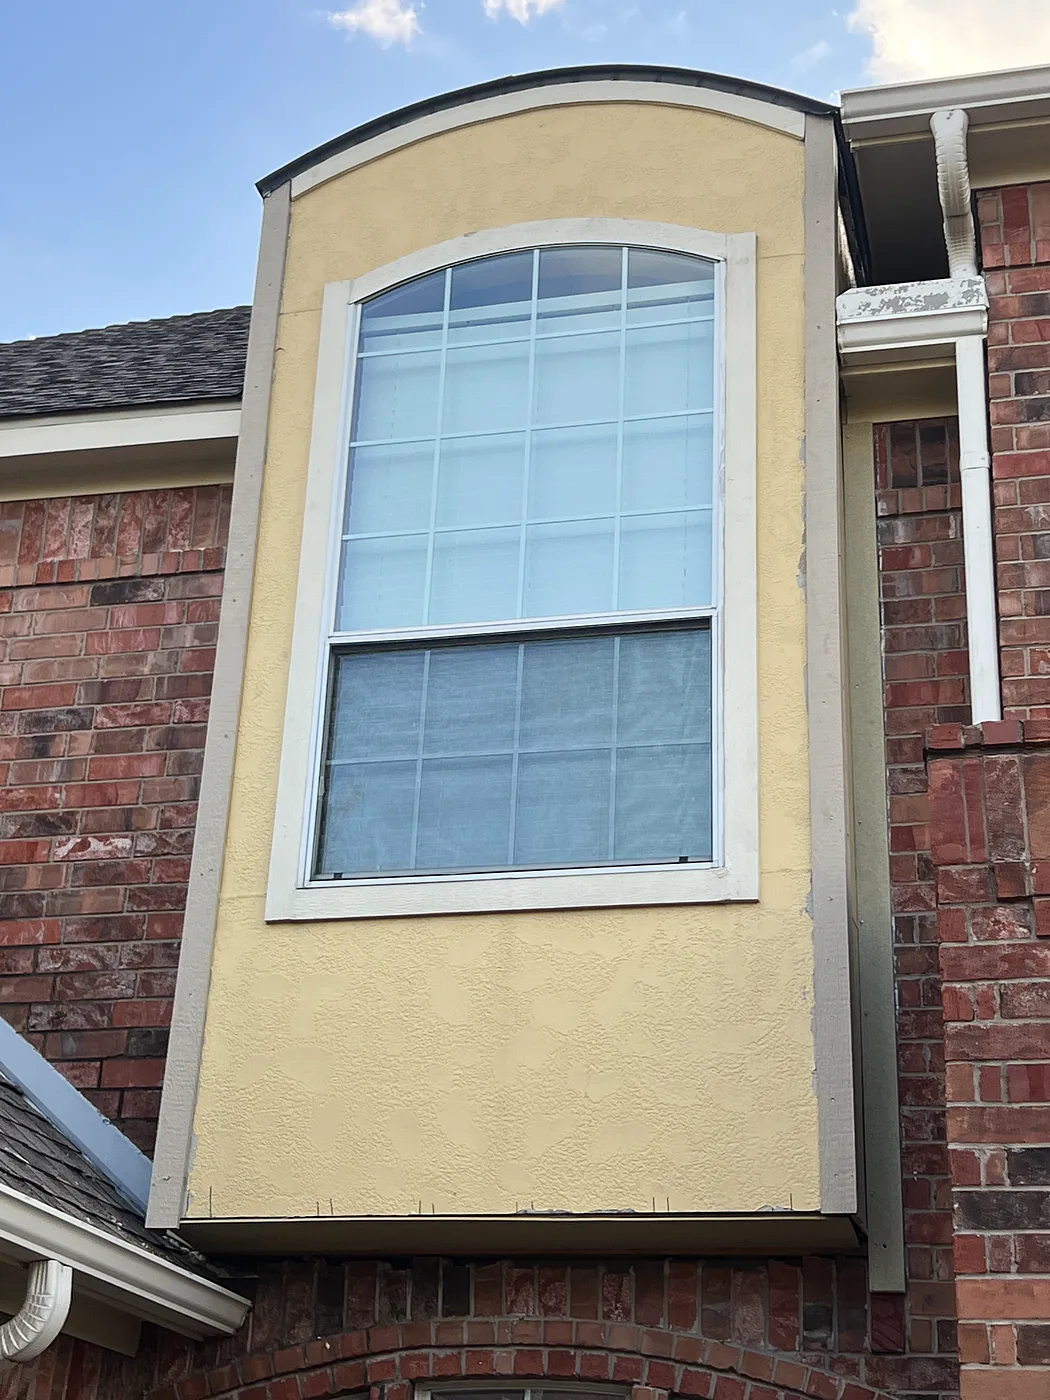
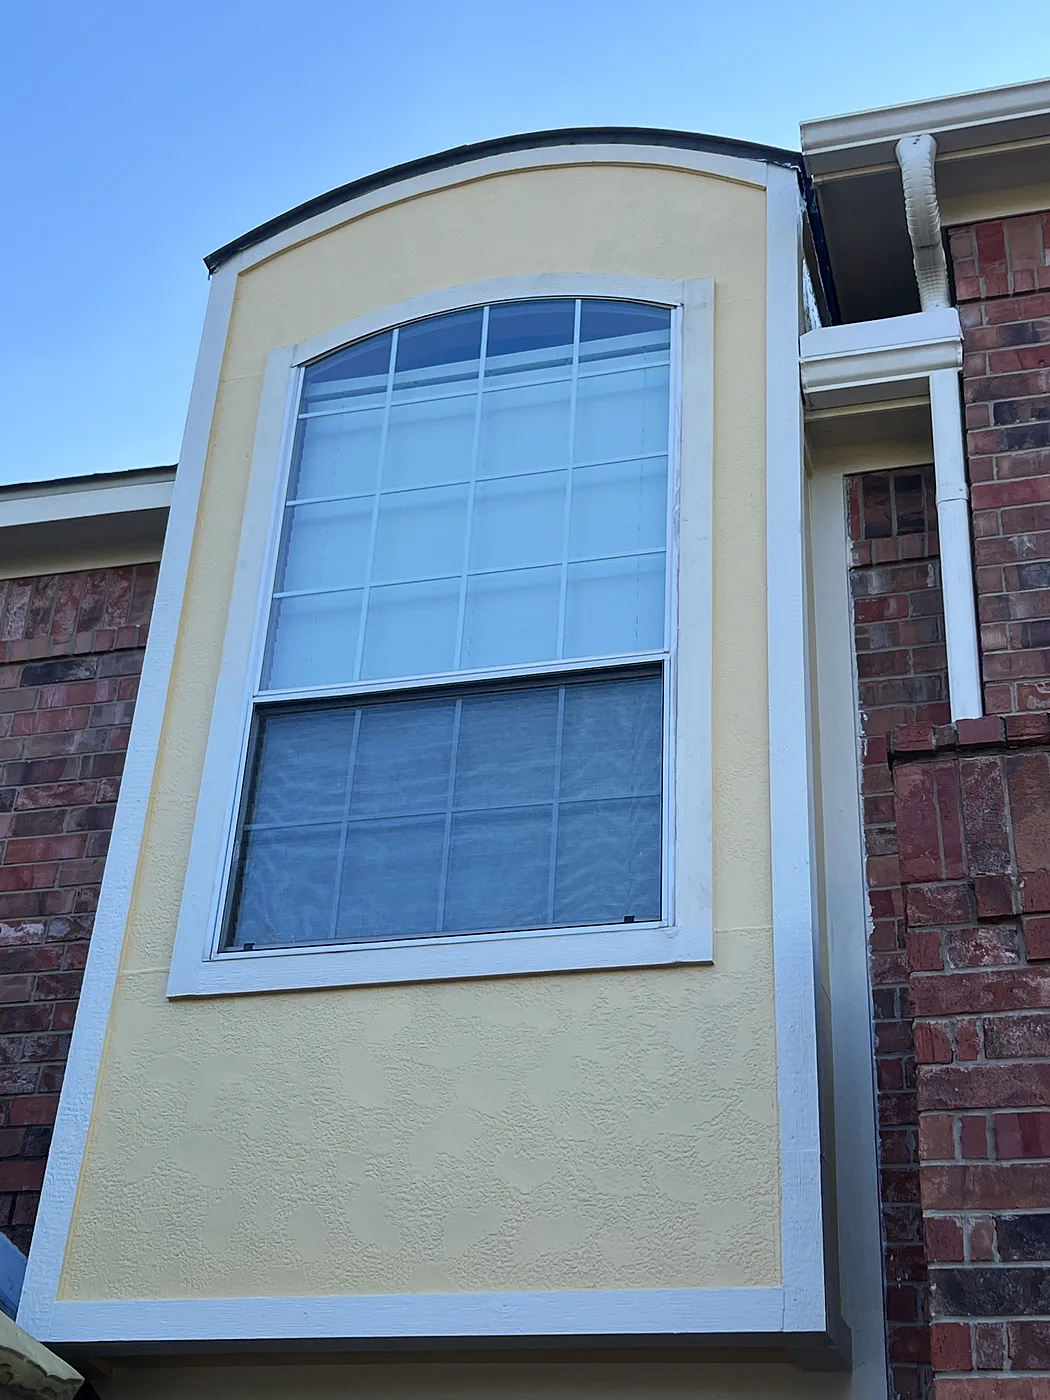
Dormer re-sided in LP SmartSide

Prosper

We came to replace trim only. When the trim came off, the siding crumbled like wood chips. Everything underneath was sound, so we replaced the moisture barrier, siding and trim with LP SmartSide, then painted it two-tone.

During
During: Old siding crumbling off — Dormer re-sided in LP SmartSide, Prosper
Old siding crumbling off
During: New LP SmartSide, before paint — Dormer re-sided in LP SmartSide, Prosper
New LP SmartSide, before paint
After
After: Re-sided and painted — Dormer re-sided in LP SmartSide, Prosper
Re-sided and painted
After: Finished, from below — Dormer re-sided in LP SmartSide, Prosper
Finished, from below

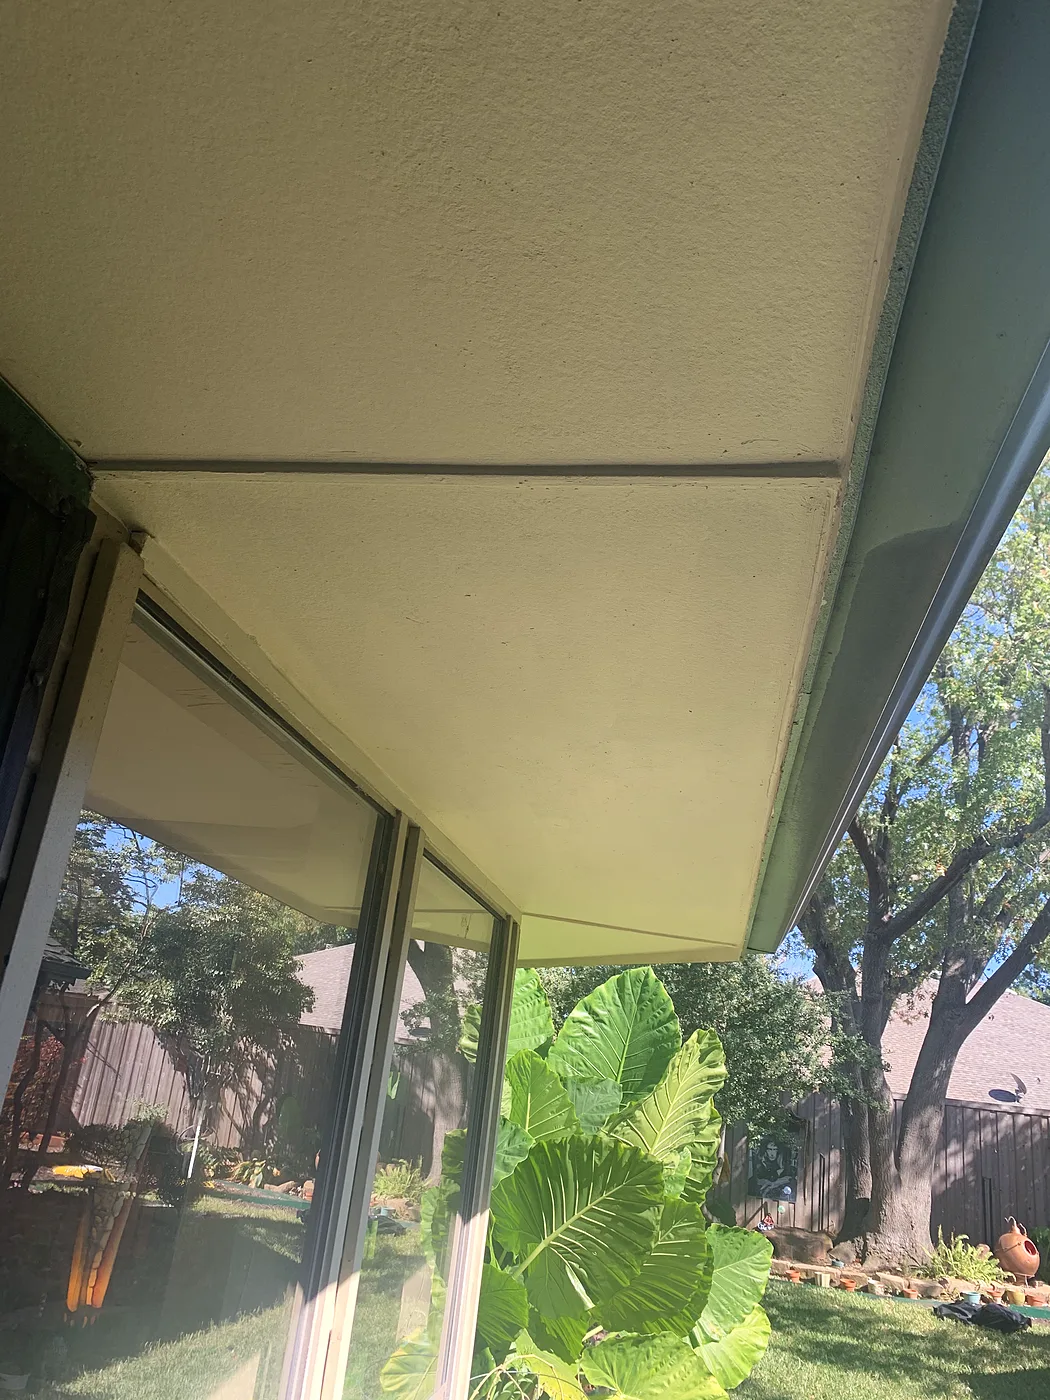
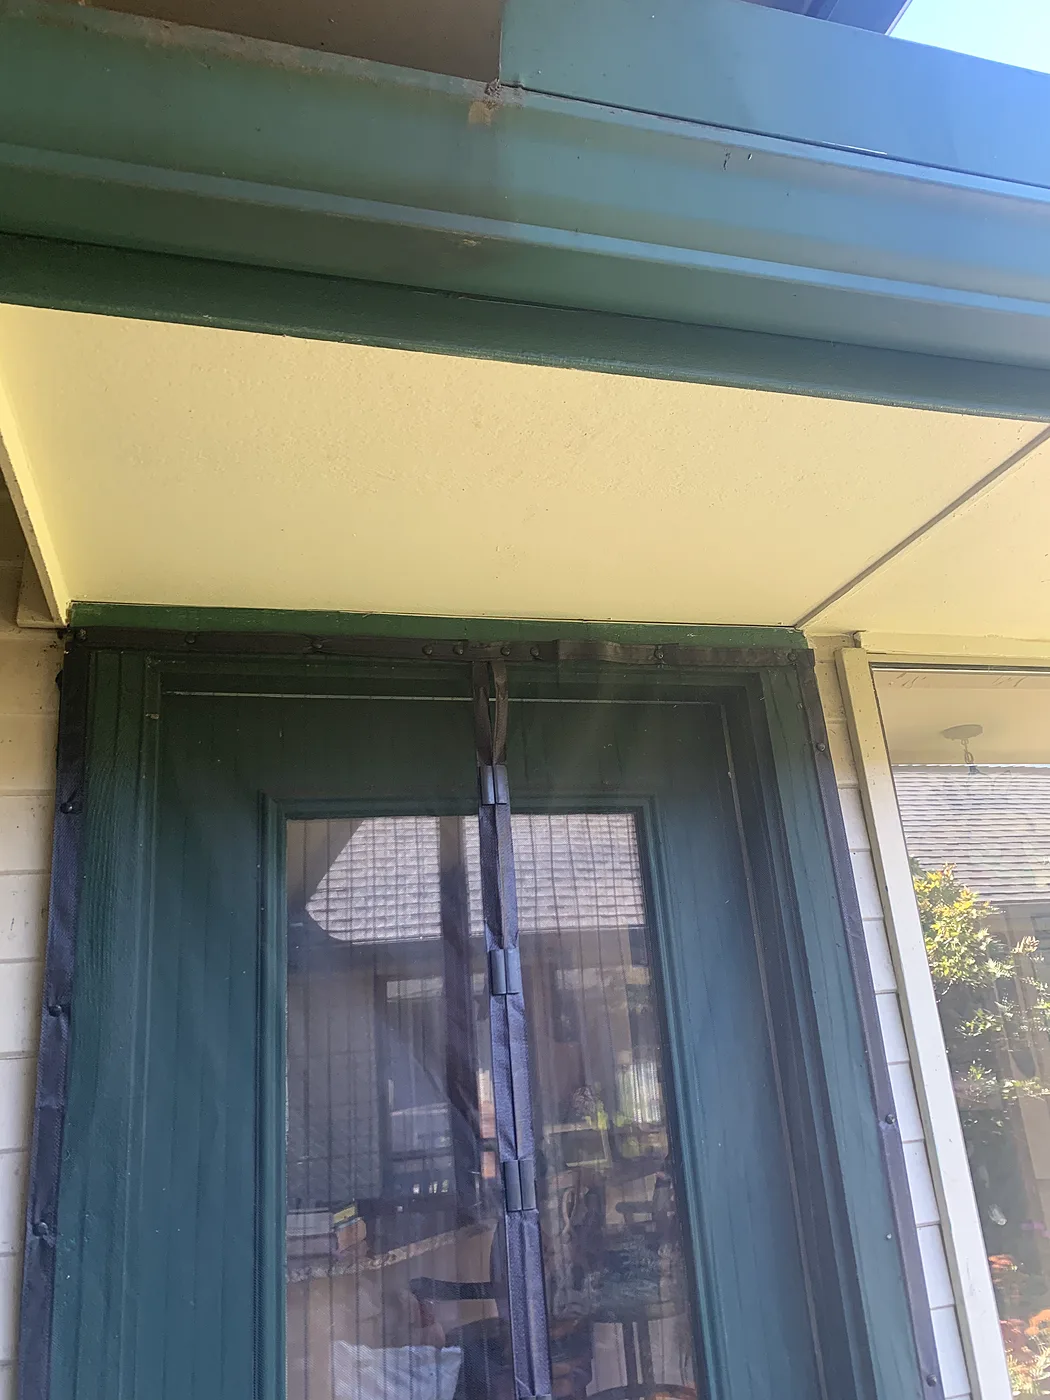
Major soffit repair, fascia replaced all the way around

Willow Park

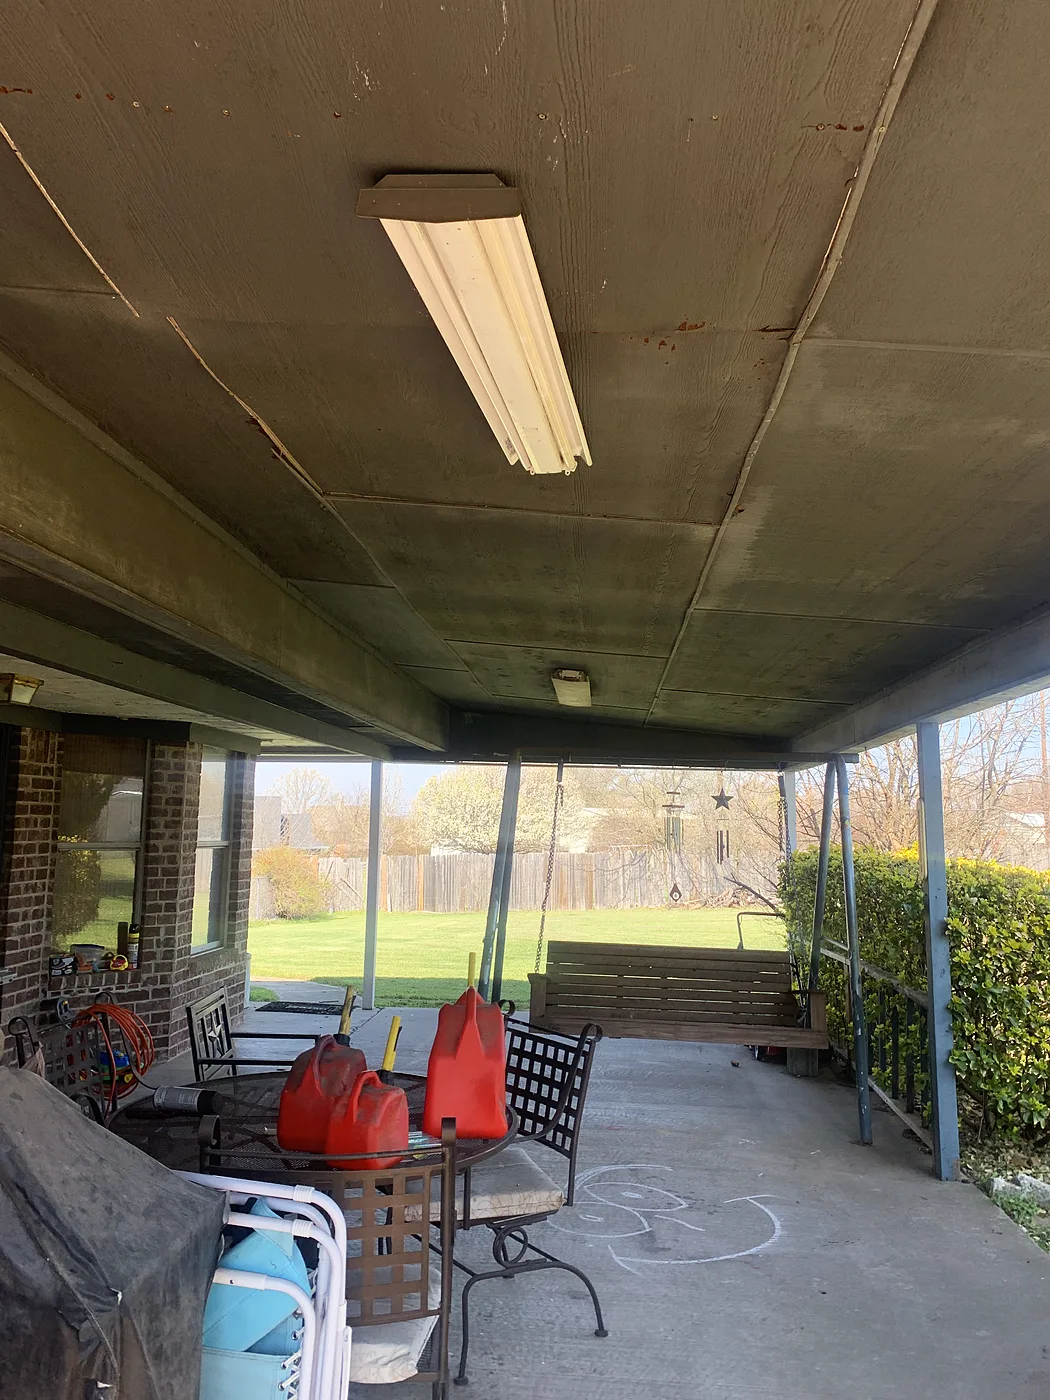
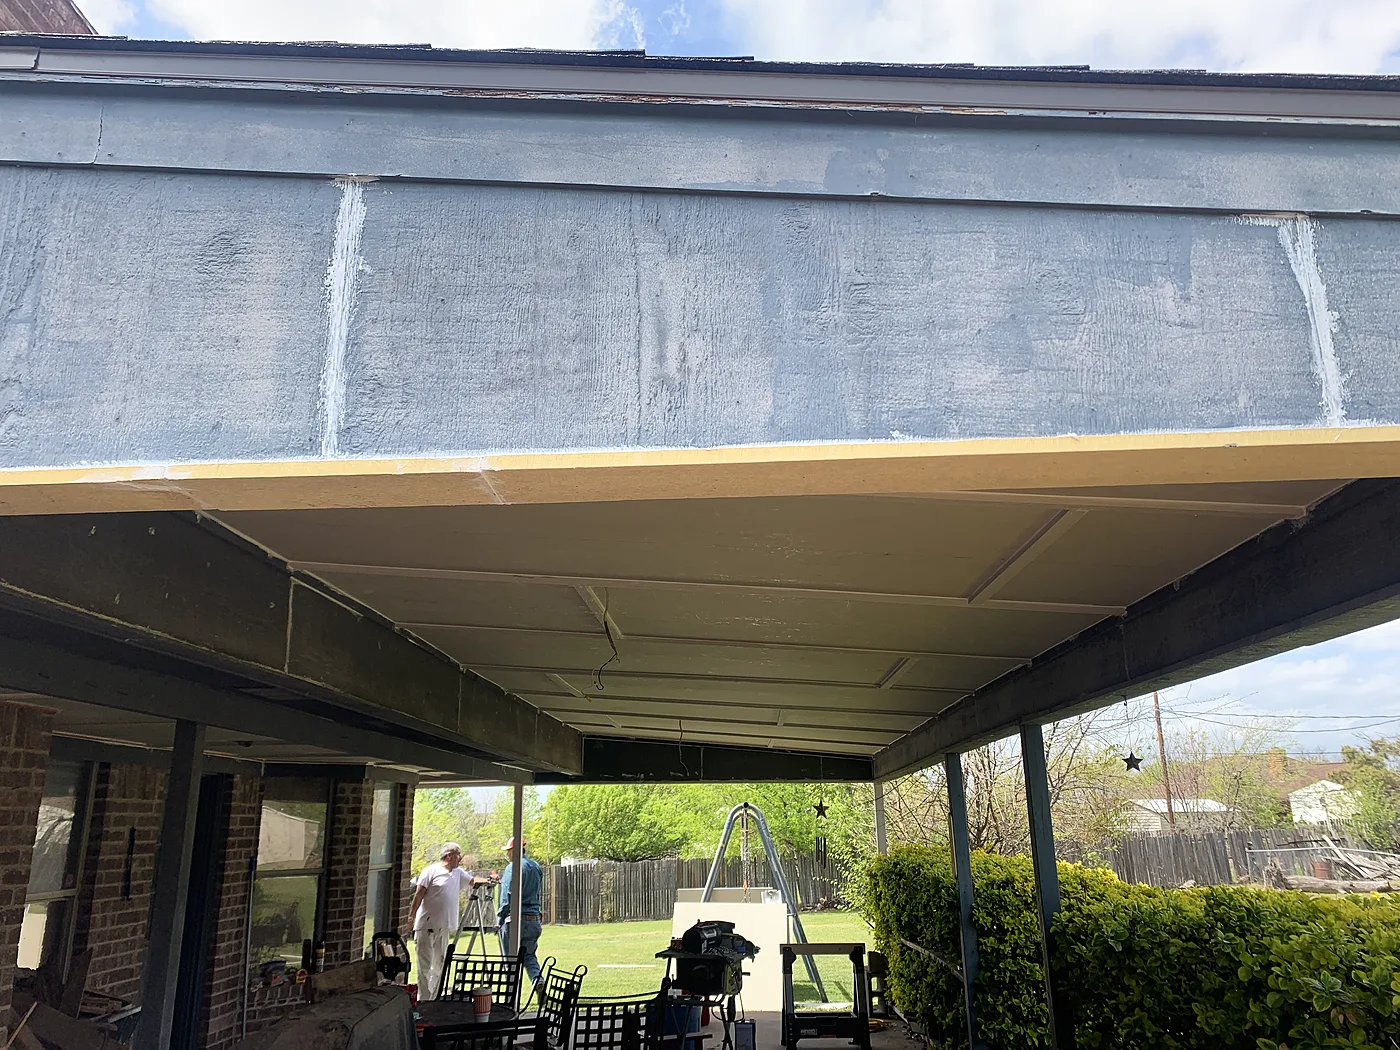
Major soffit repair and fascia replaced all the way around the house.

Before
Before: Sagging soffit — Major soffit repair, fascia replaced all the way around, Willow Park
Sagging soffit
Before: Patio soffit before — Major soffit repair, fascia replaced all the way around, Willow Park
Patio soffit before
During
During: New fascia going on — Major soffit repair, fascia replaced all the way around, Willow Park
New fascia going on
After
After: Patio soffit after — Major soffit repair, fascia replaced all the way around, Willow Park
Patio soffit after
After: Finished soffit and fascia — Major soffit repair, fascia replaced all the way around, Willow Park
Finished soffit and fascia

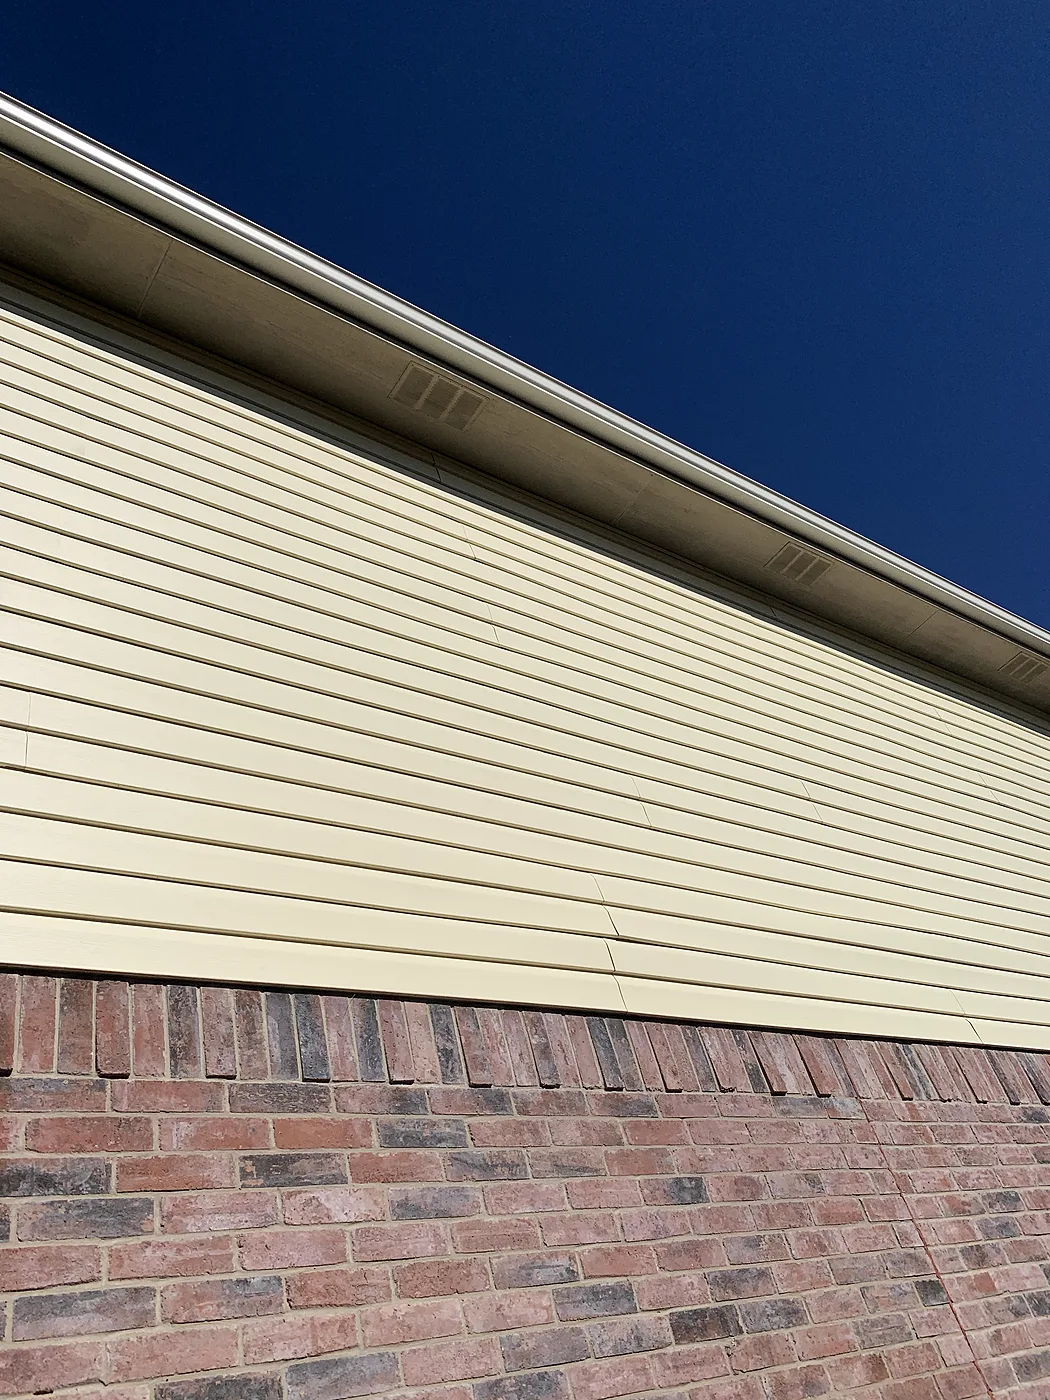
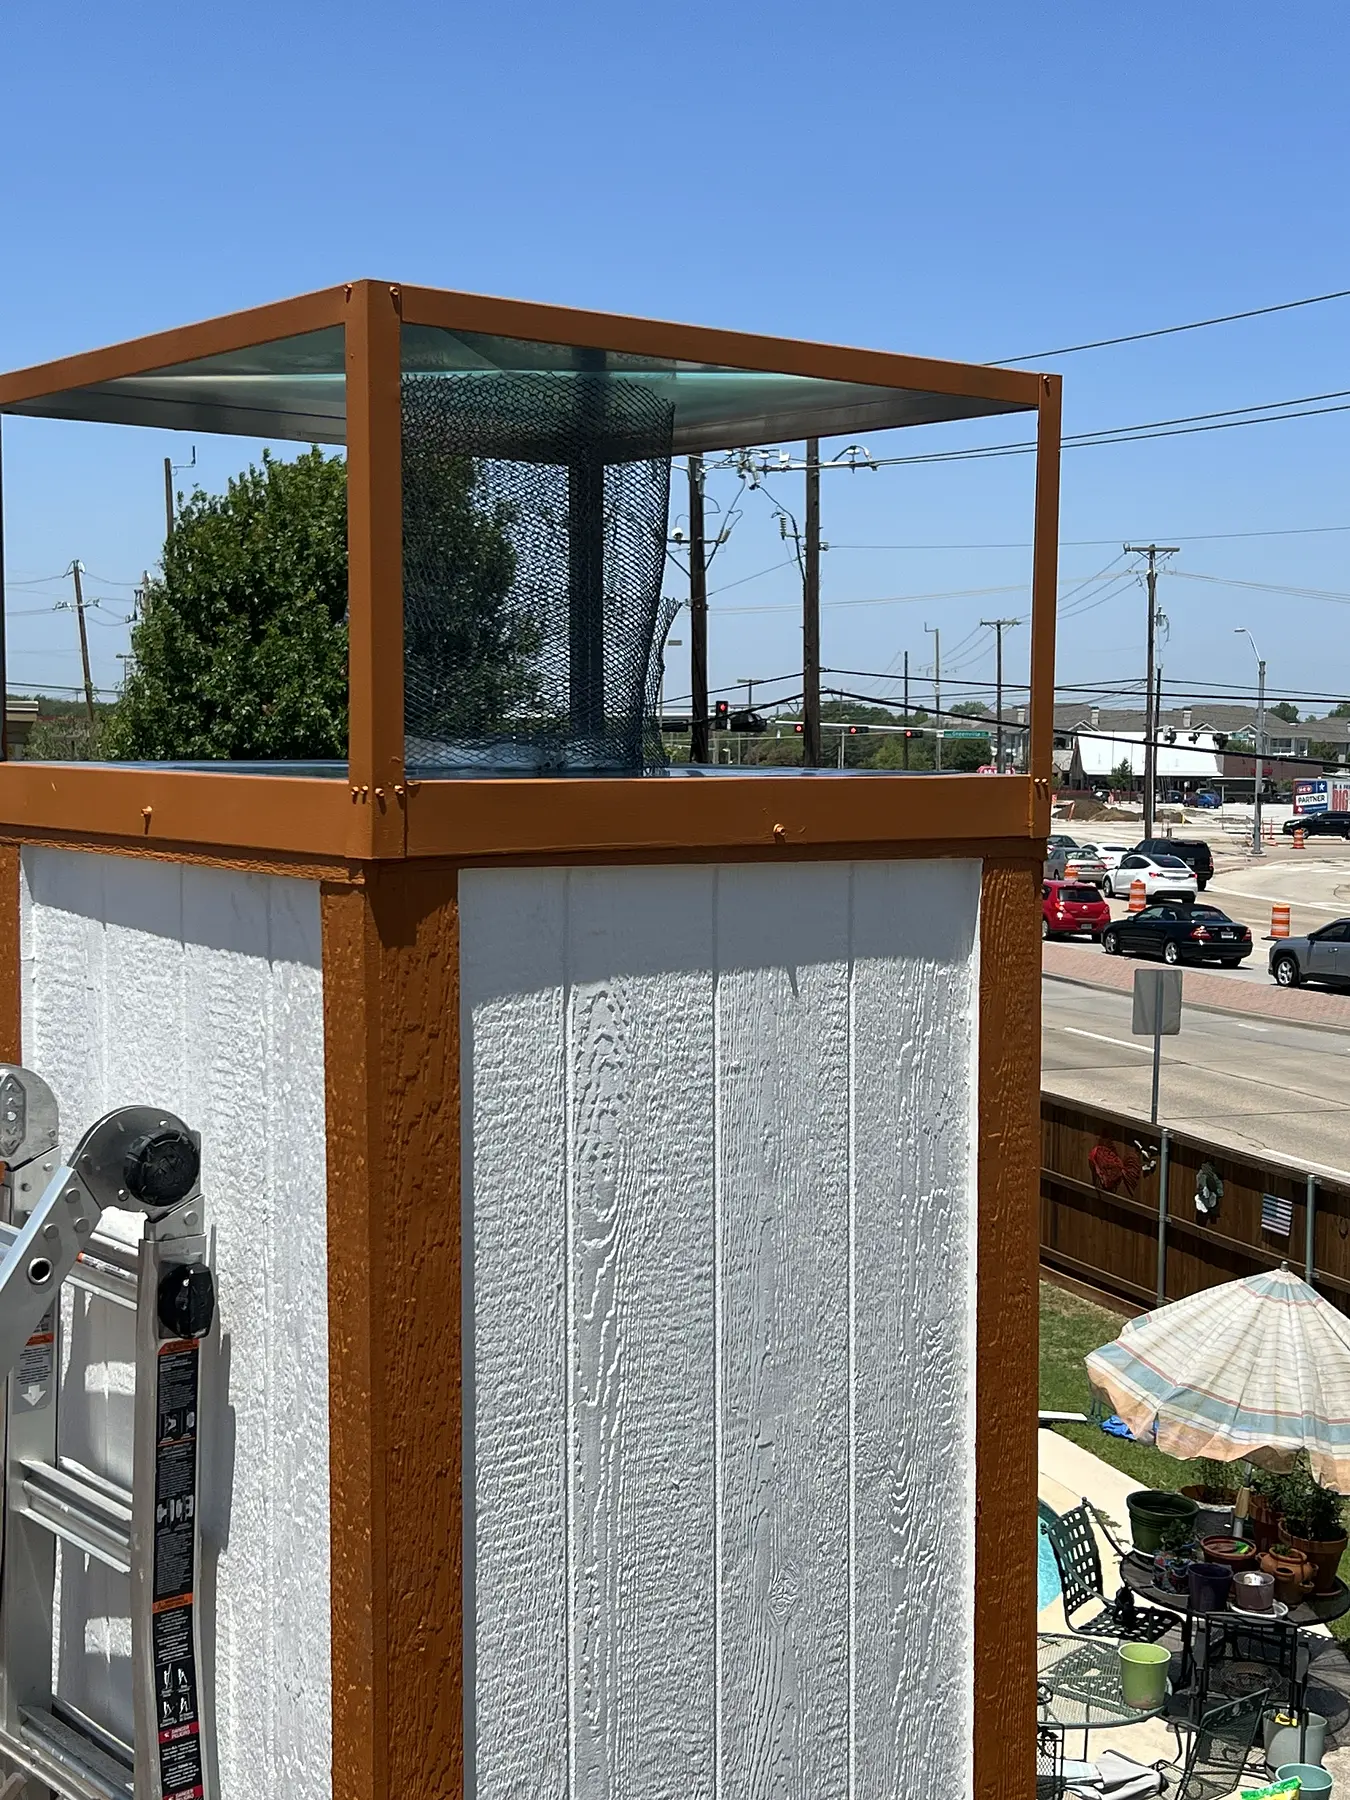
Chimney chase rebuild, siding and fascia repair, two-tone paint

Allen

We completely rebuilt the chimney chase and trimmed it, repaired the siding and fascia, and painted it all two-tone. A couple of weeks later we came back and installed a custom T-top chimney cap.

Before
Before: Chimney chase before — Chimney chase rebuild, siding and fascia repair, two-tone paint, Allen
Chimney chase before
Before: Siding and trim before — Chimney chase rebuild, siding and fascia repair, two-tone paint, Allen
Siding and trim before
During
During: Chase rebuilt, trimmed and painted two-tone (before the cap) — Chimney chase rebuild, siding and fascia repair, two-tone paint, Allen
Chase rebuilt, trimmed and painted two-tone (before the cap)
During: New siding, paint going on — Chimney chase rebuild, siding and fascia repair, two-tone paint, Allen
New siding, paint going on
After
After: Finished with the custom T-top cap — Chimney chase rebuild, siding and fascia repair, two-tone paint, Allen
Finished with the custom T-top cap
After: Siding repaired and painted — Chimney chase rebuild, siding and fascia repair, two-tone paint, Allen
Siding repaired and painted

Windows

Replacement windows, trimmed and sealed.

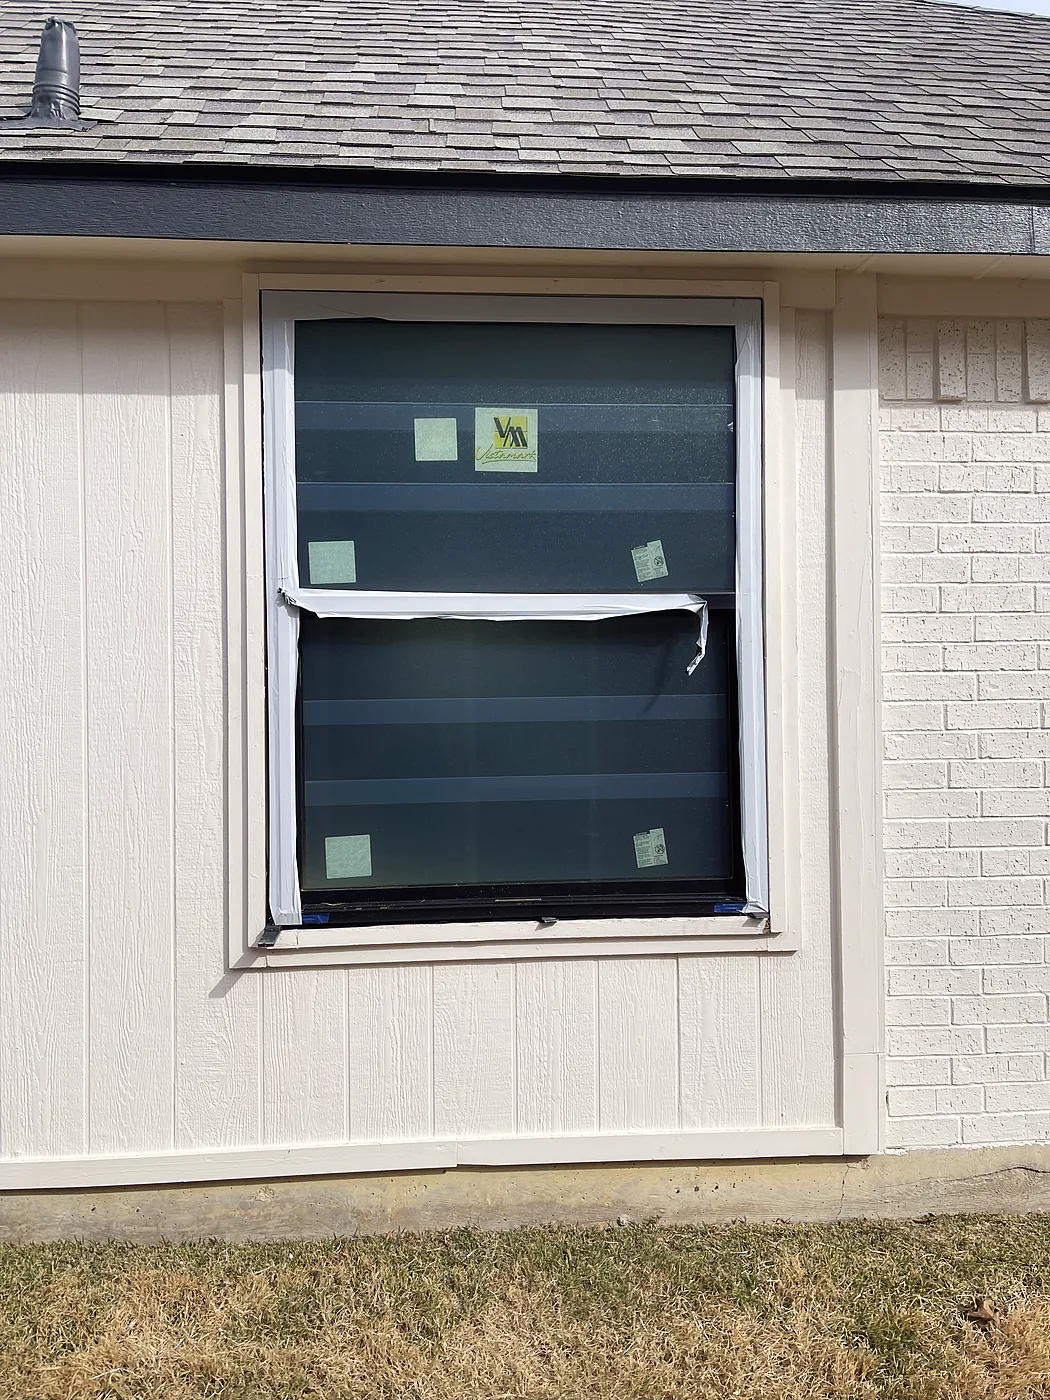
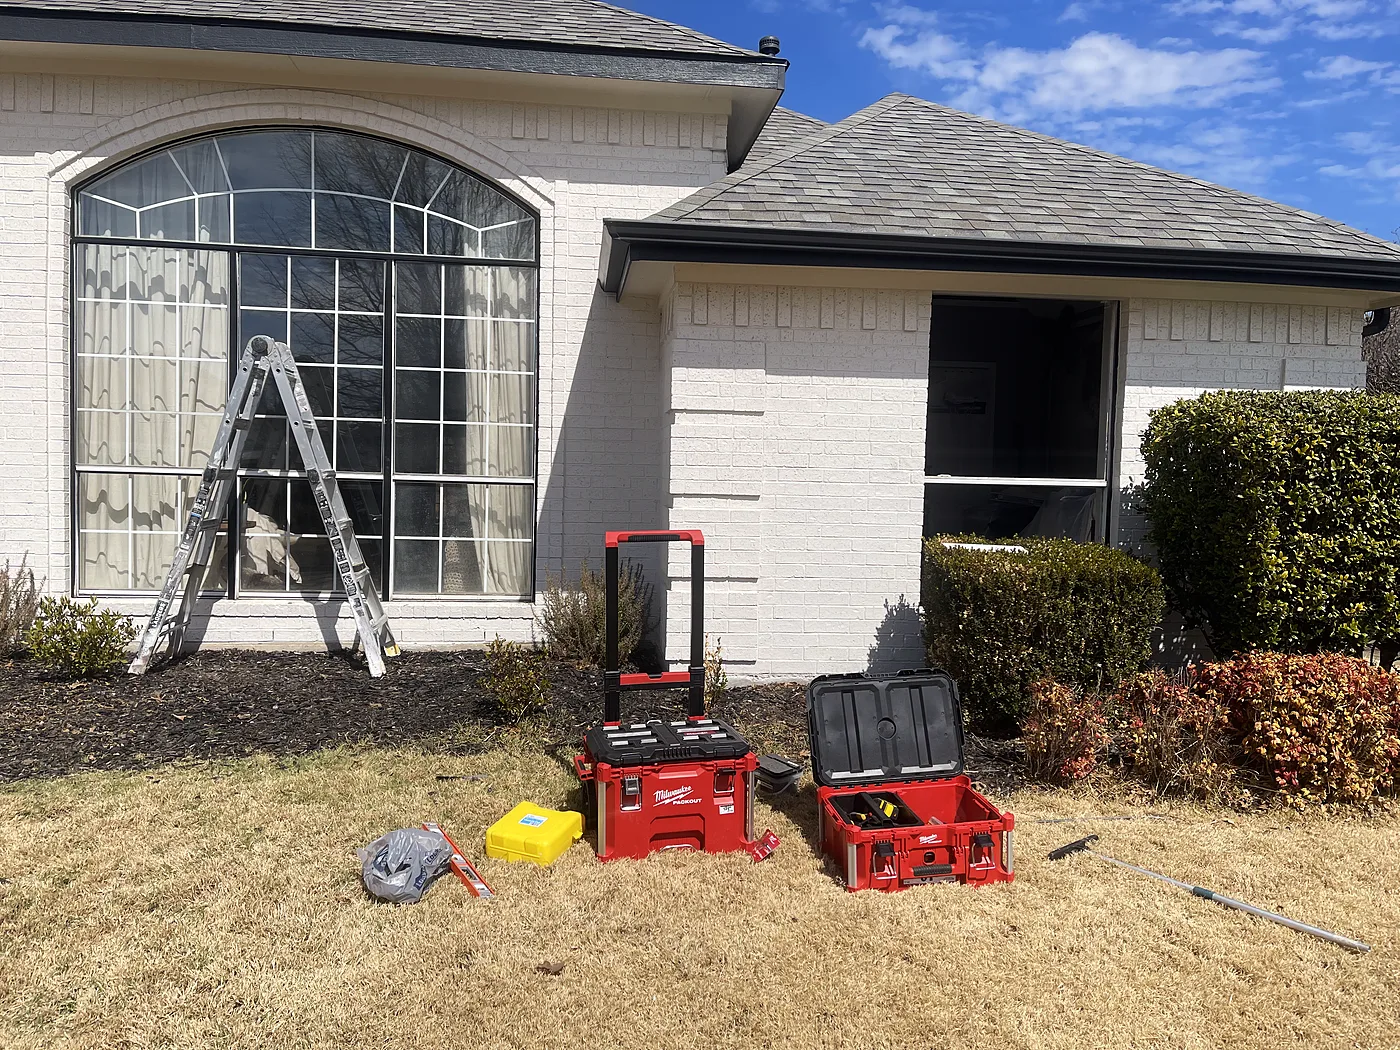
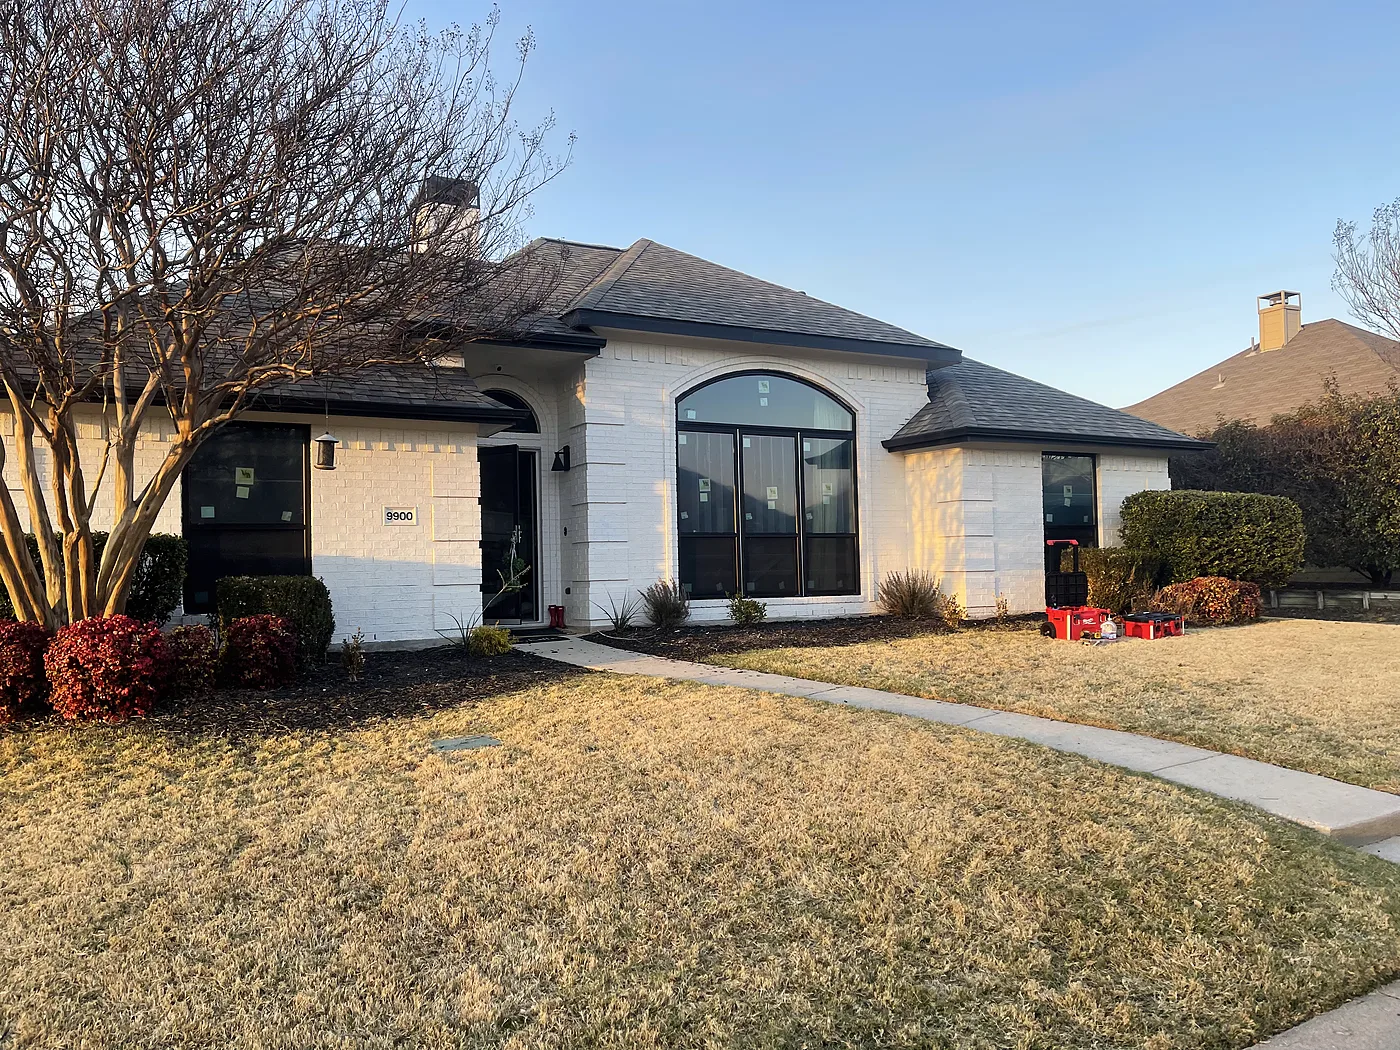
Full home window replacement

Frisco

Removed every window and installed upgrades.

During
During: New window in — Full home window replacement, Frisco
New window in
During: Swapping the front windows — Full home window replacement, Frisco
Swapping the front windows
After
After: From the street — Full home window replacement, Frisco
From the street

Skylights

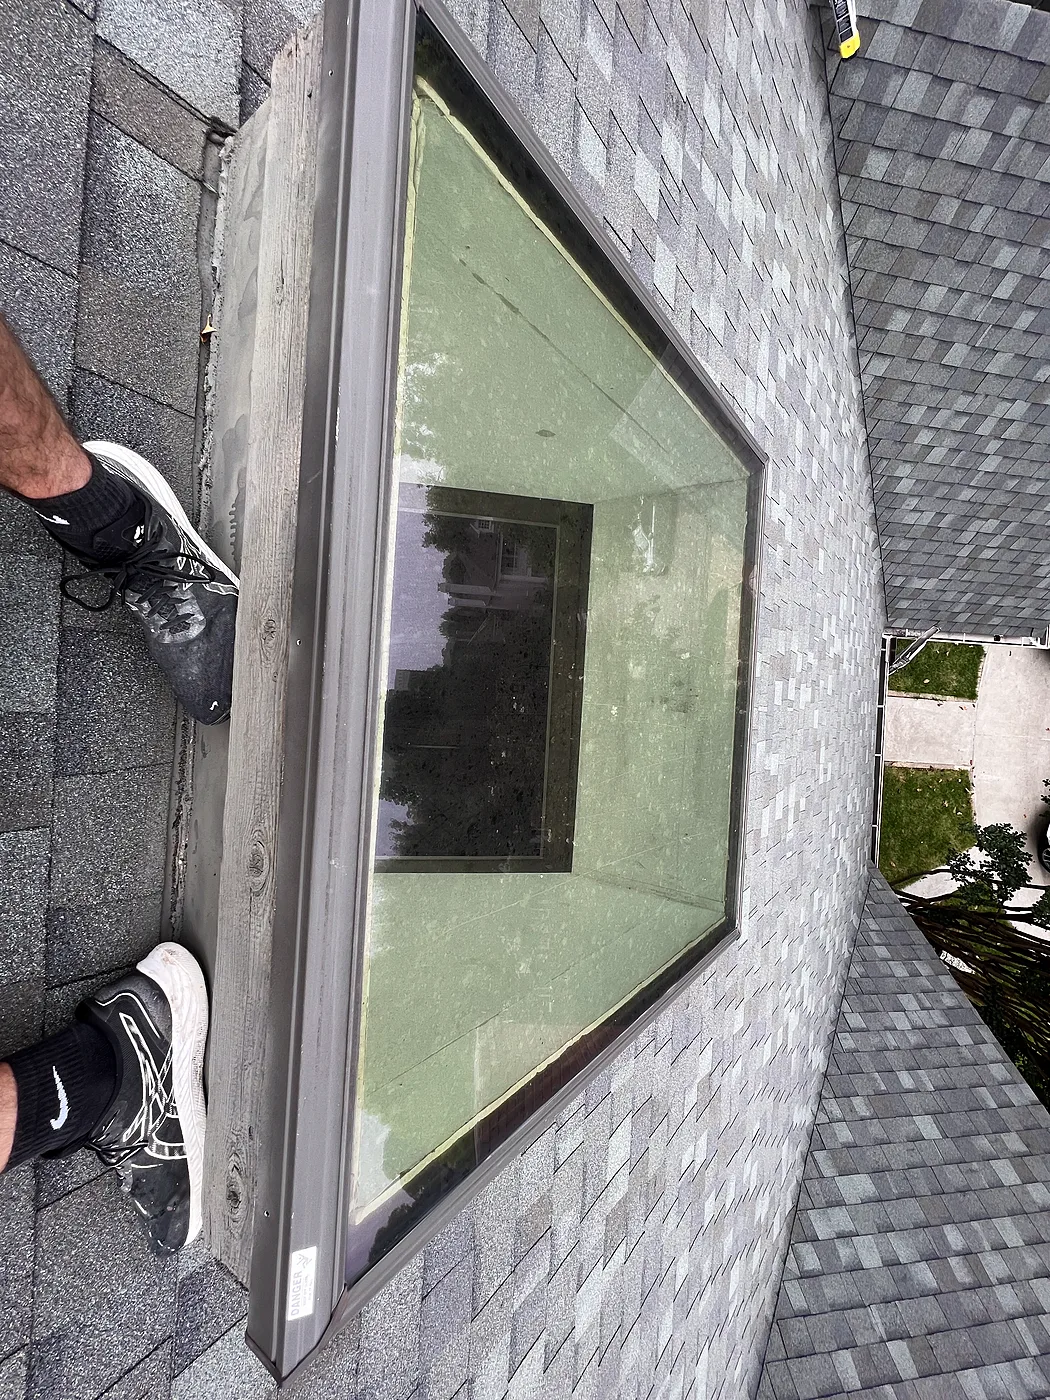
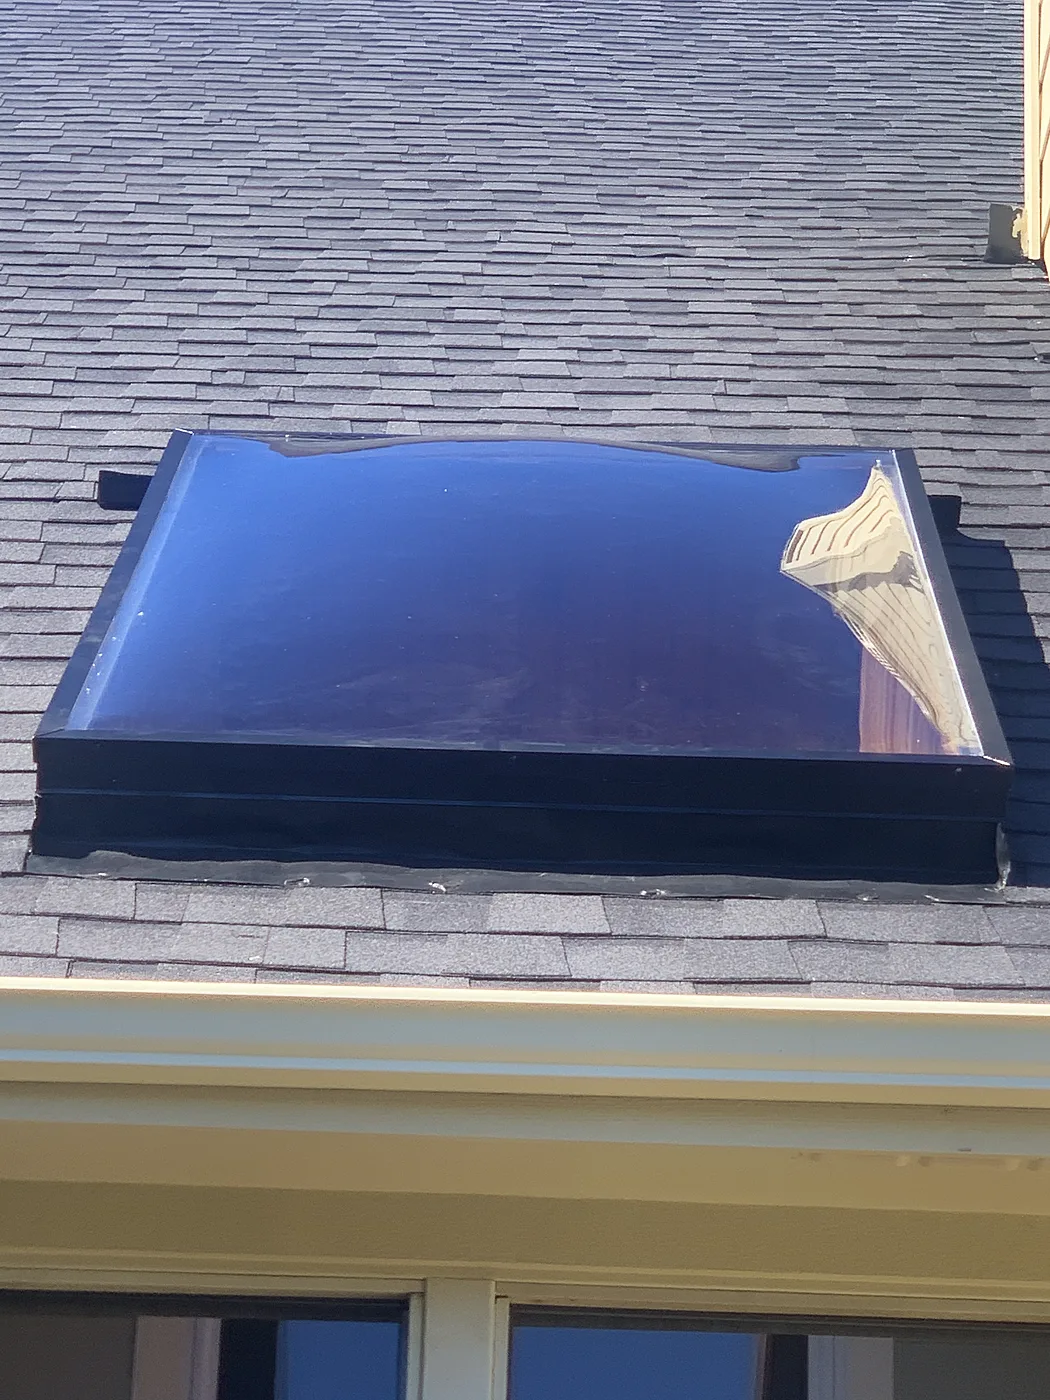
Low-E glass upgrades, new frames and domes, and repairs on steep roofs.

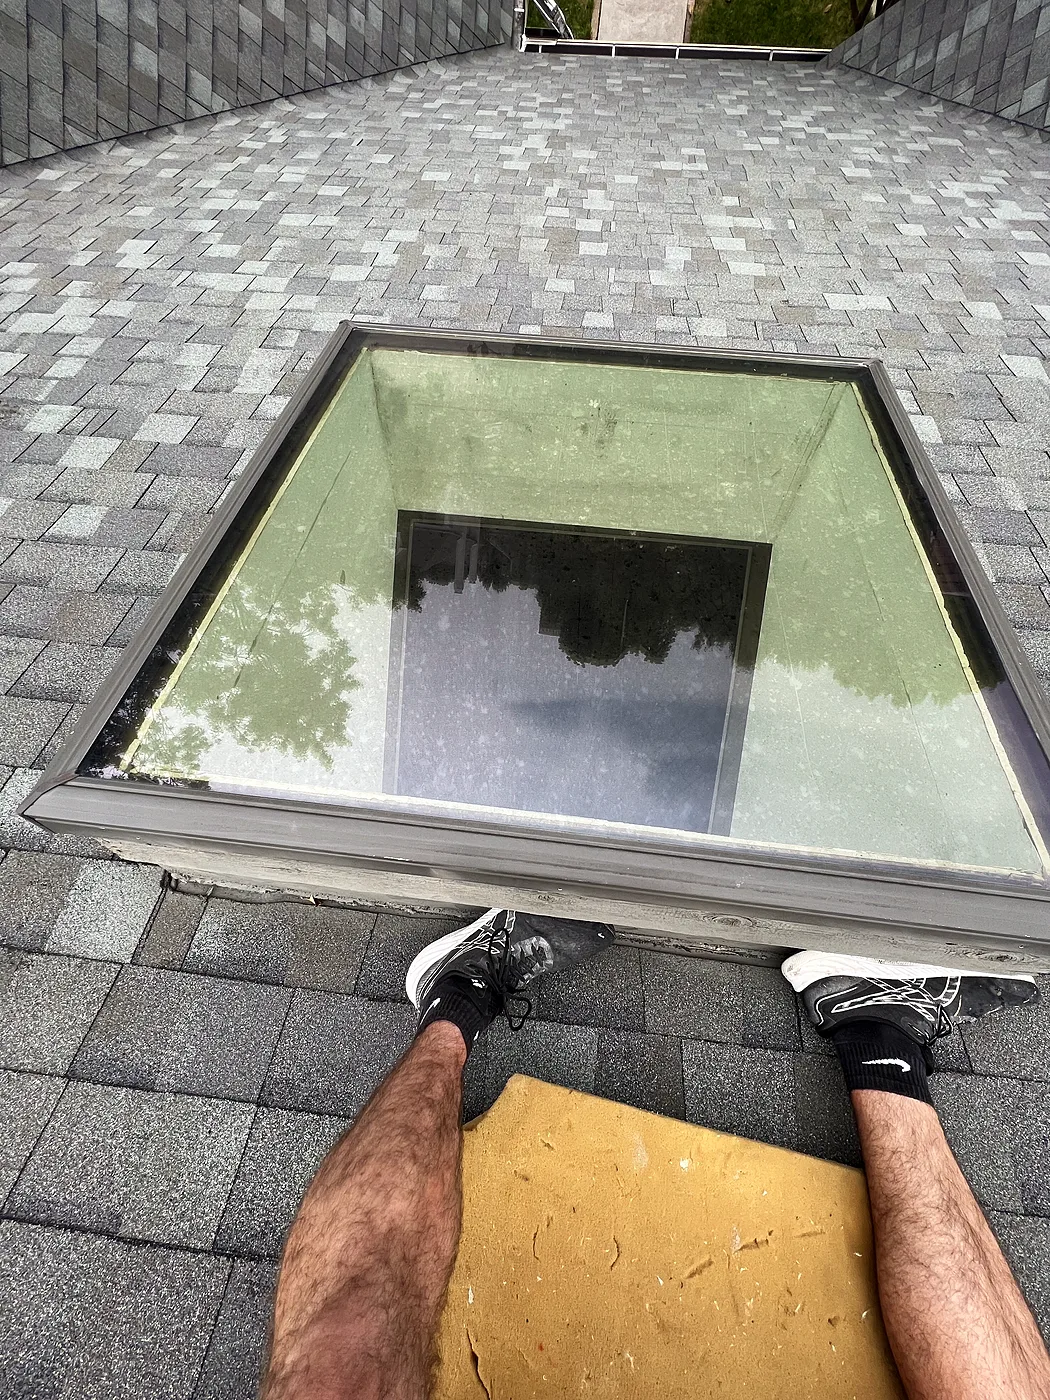
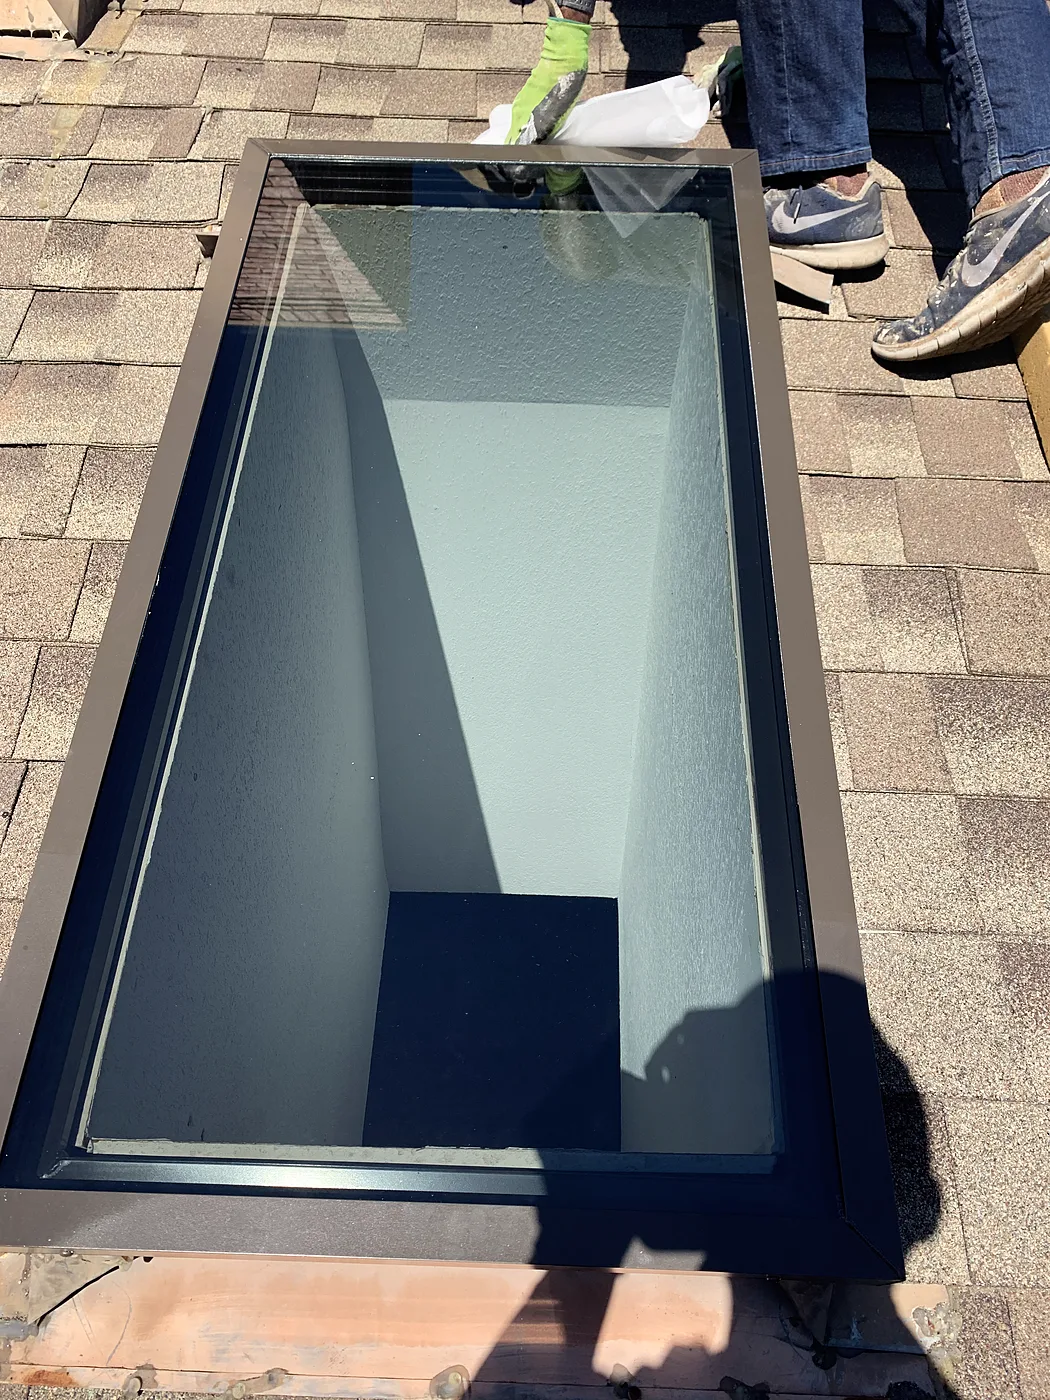
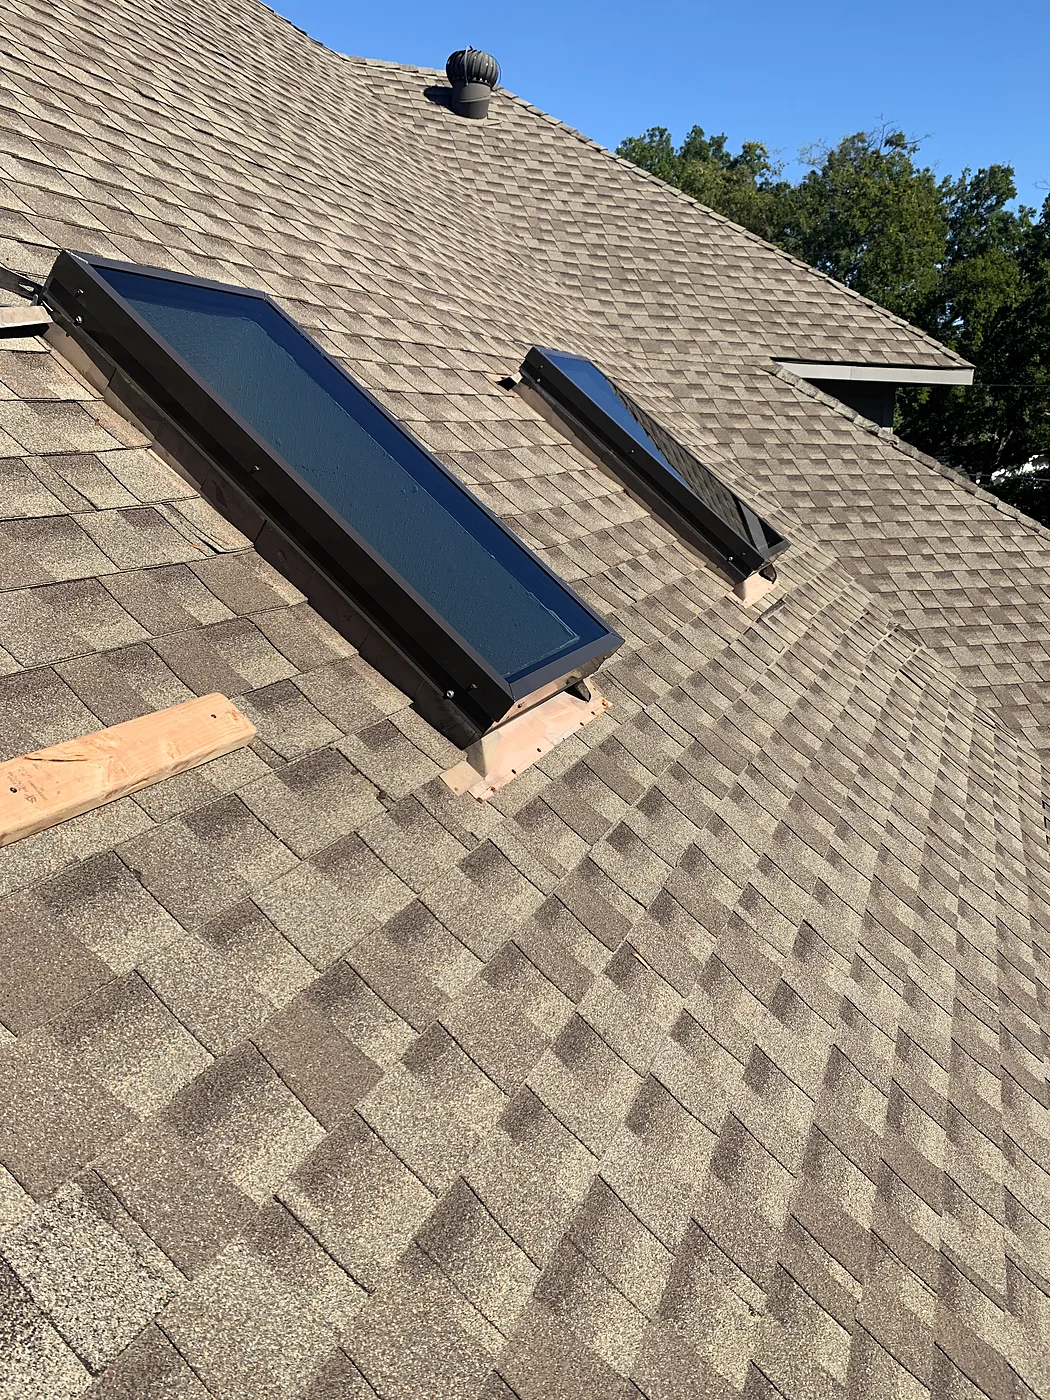
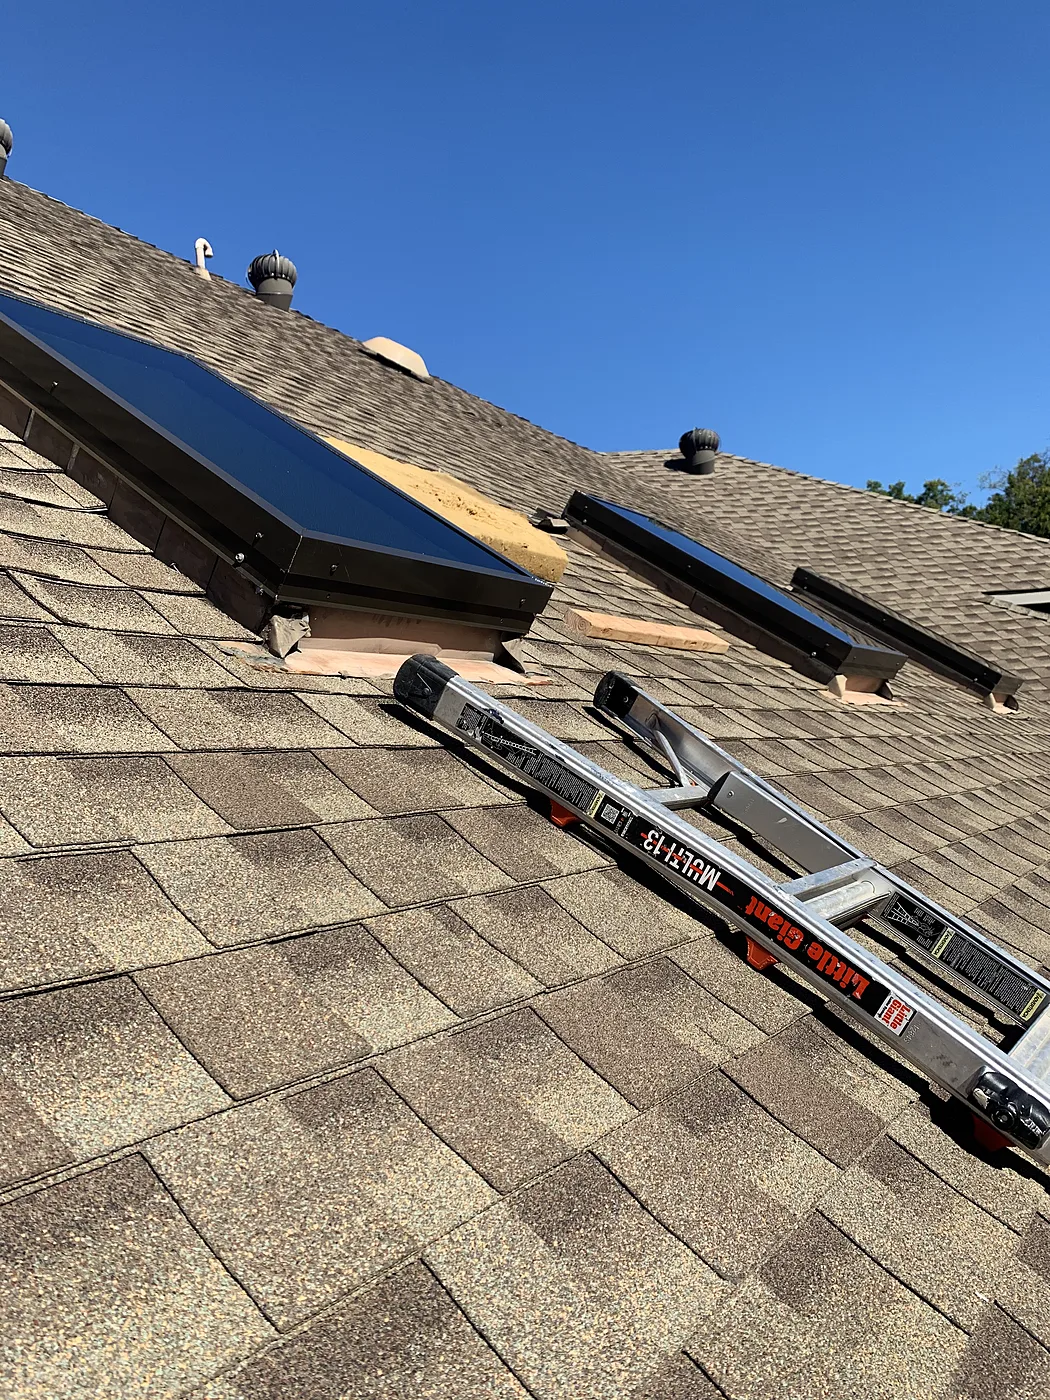
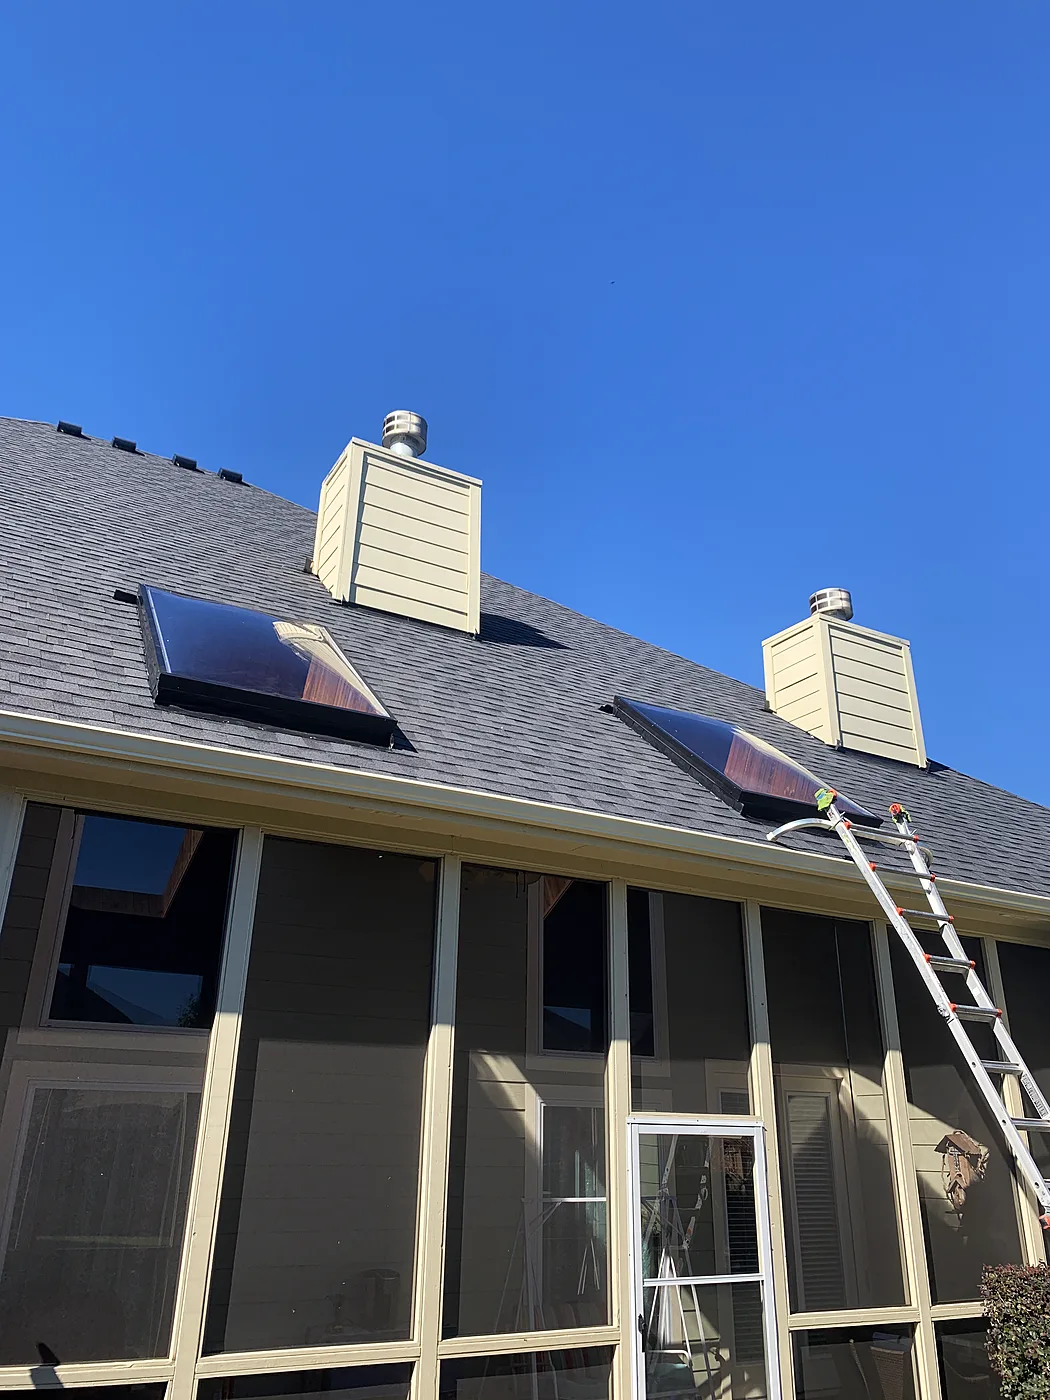
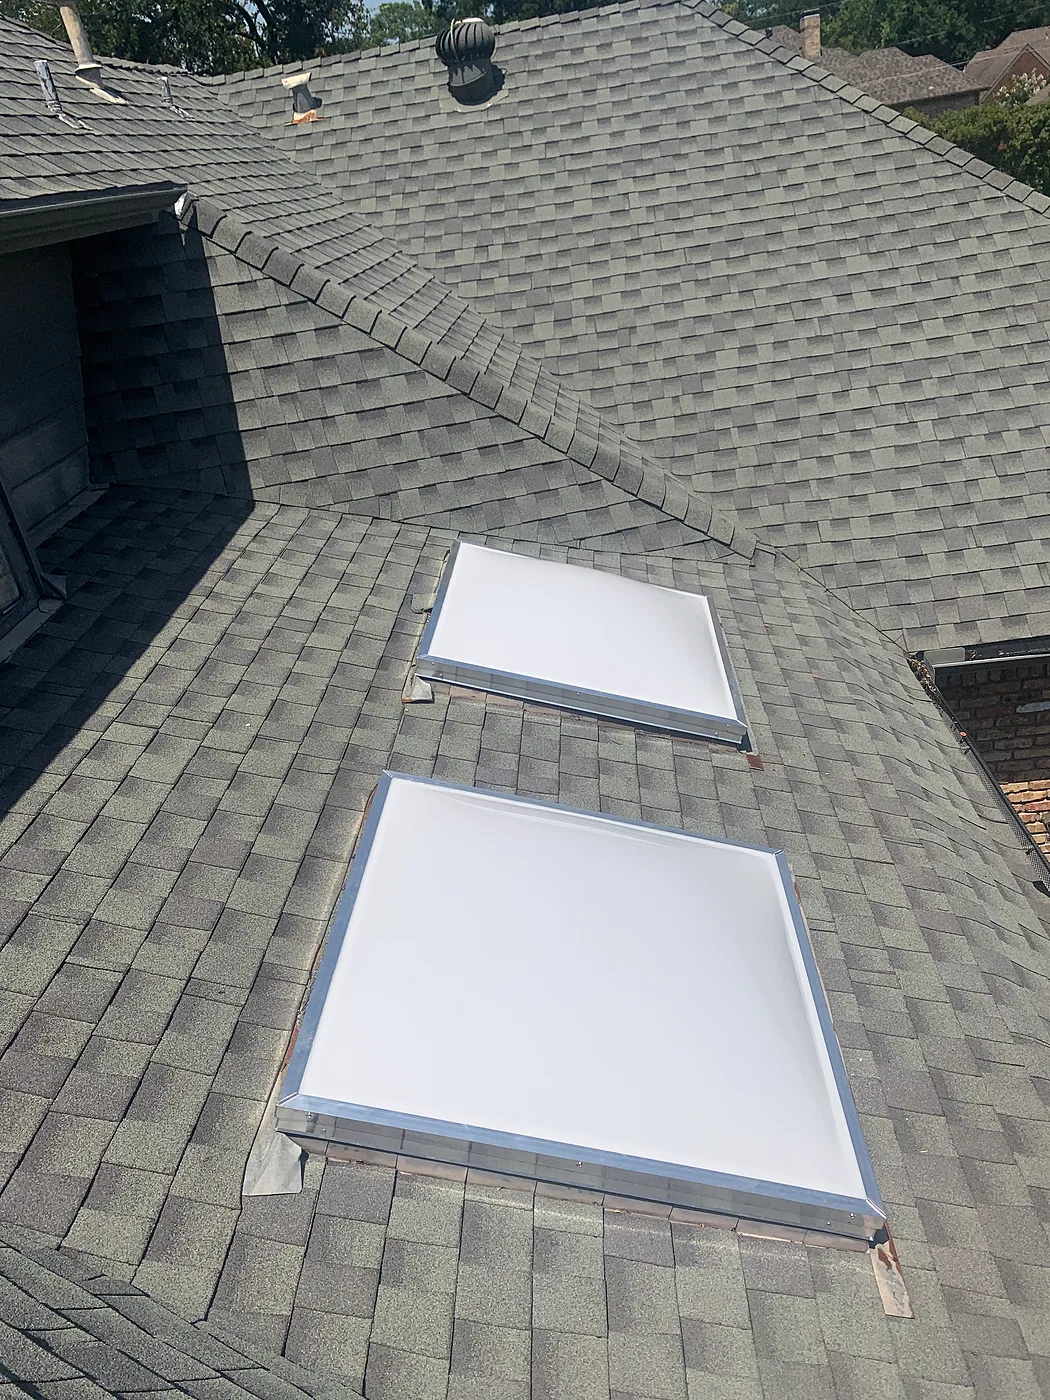
Two low-E glass skylights on a steep roof

Highland Park

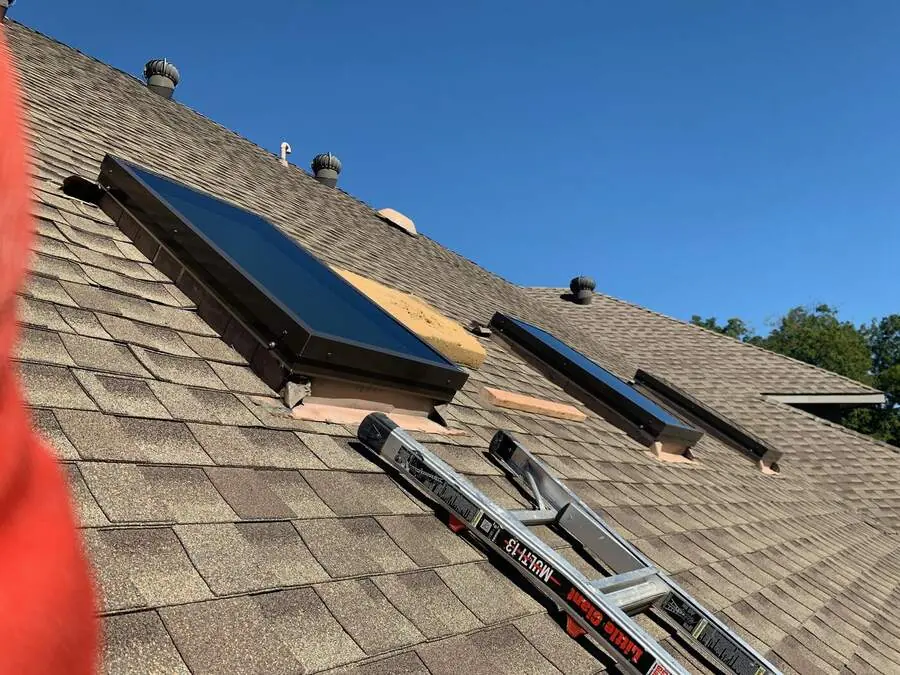
Installed two custom low-E glass skylights on one of the steepest roofs we have worked on. Both came down and went up a 40 ft ladder, one hand on the skylight.

During
During: Old one out — Two low-E glass skylights on a steep roof, Highland Park
Old one out
During: Setting the new unit — Two low-E glass skylights on a steep roof, Highland Park
Setting the new unit
After
After: Installed — Two low-E glass skylights on a steep roof, Highland Park
Installed
After: Flashed and finished — Two low-E glass skylights on a steep roof, Highland Park
Flashed and finished

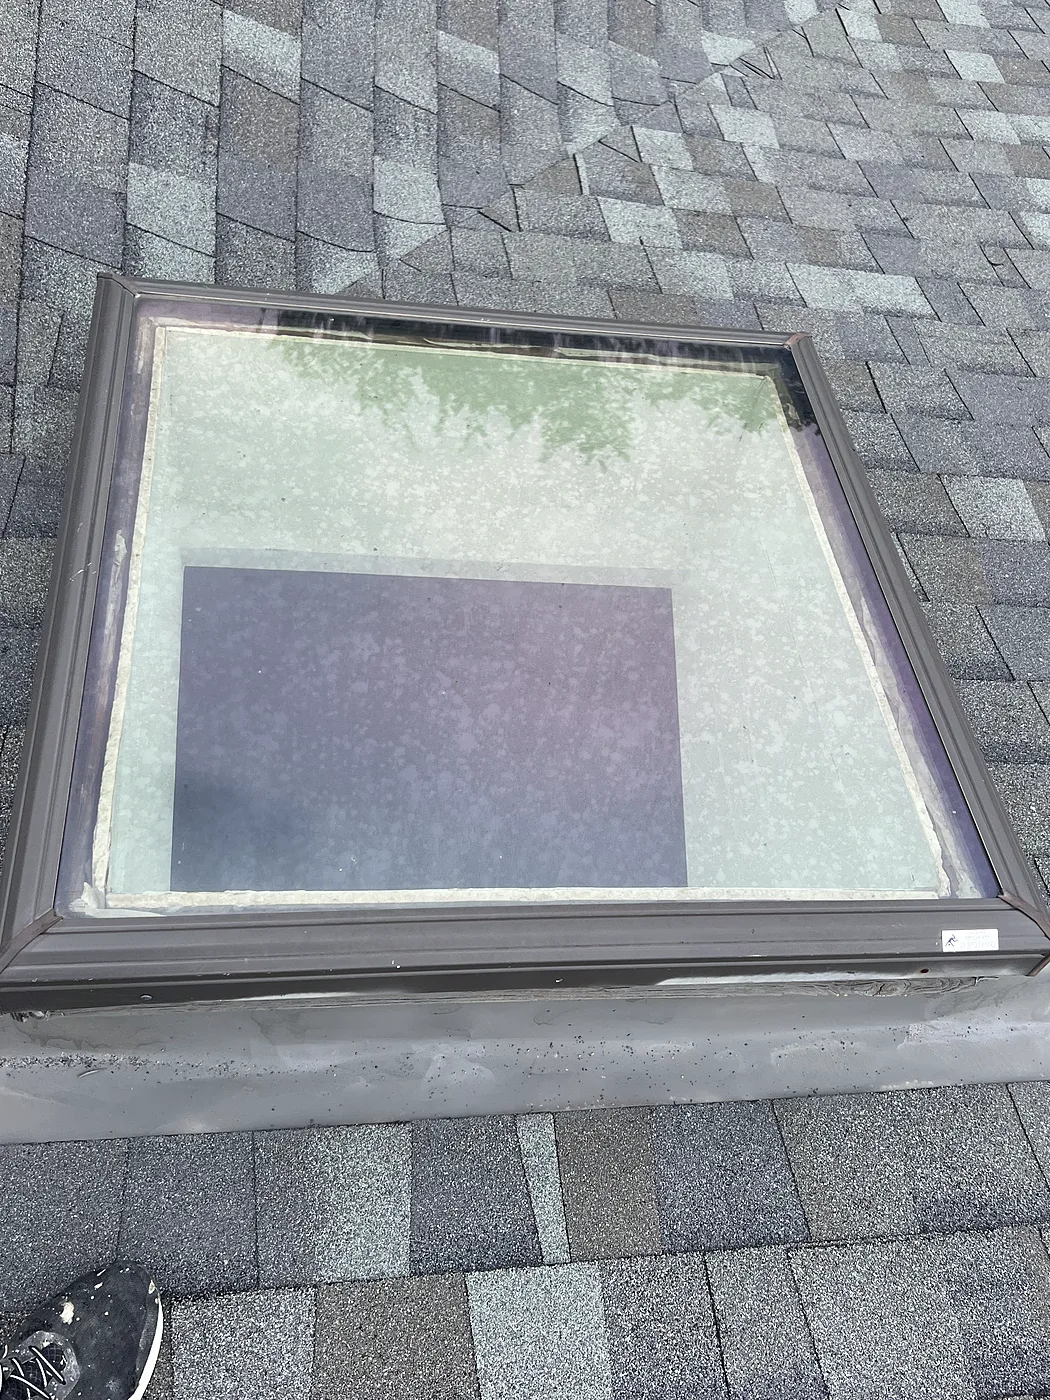
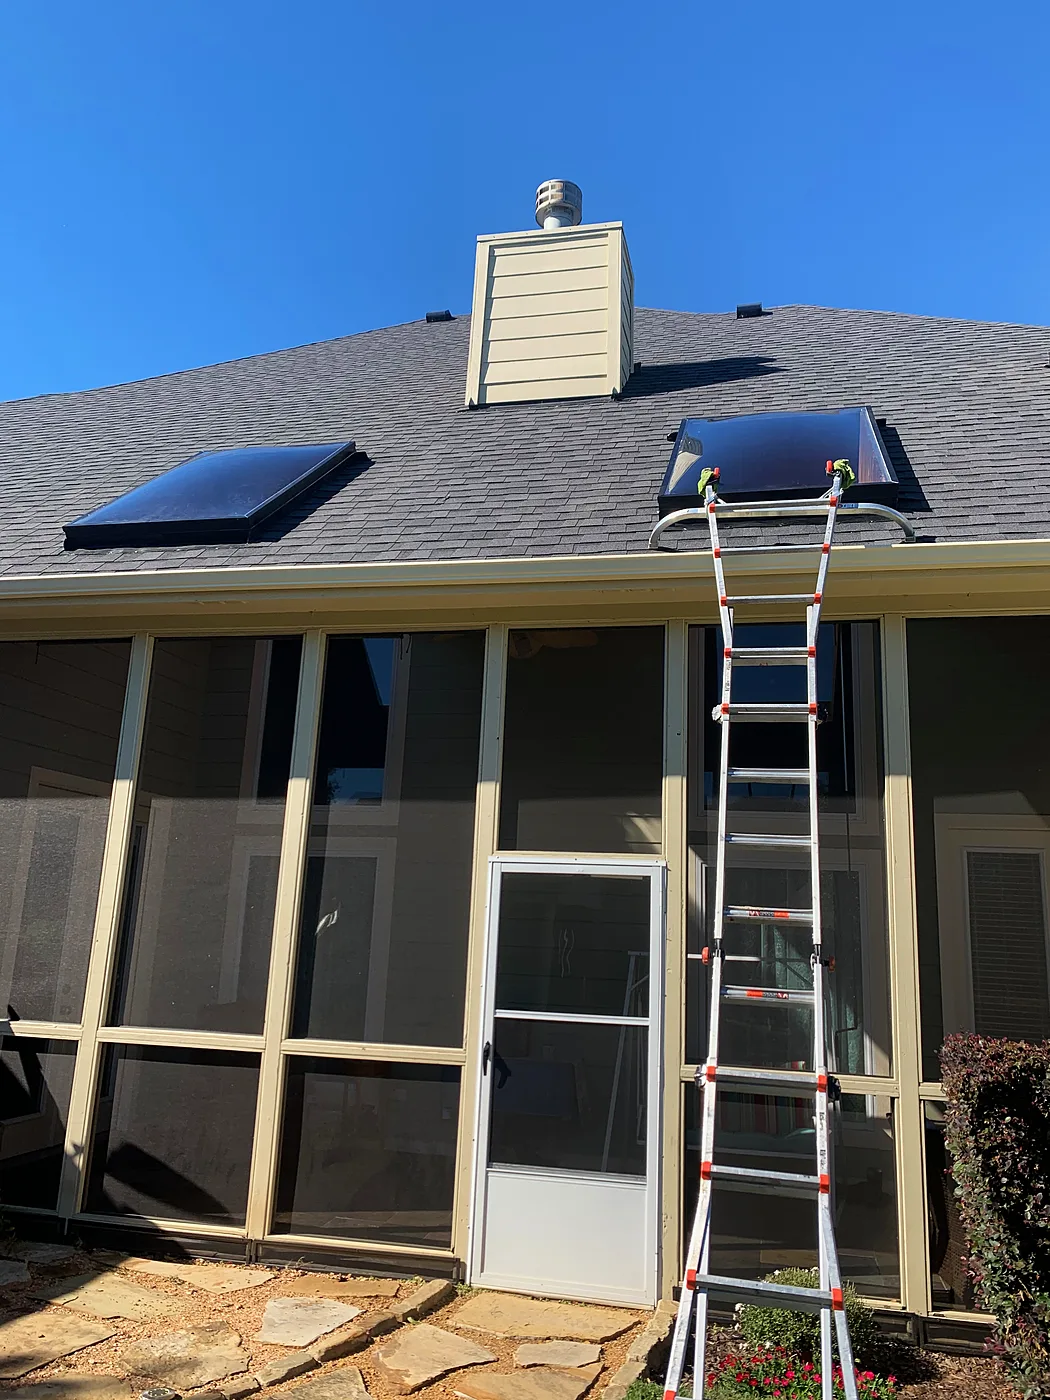
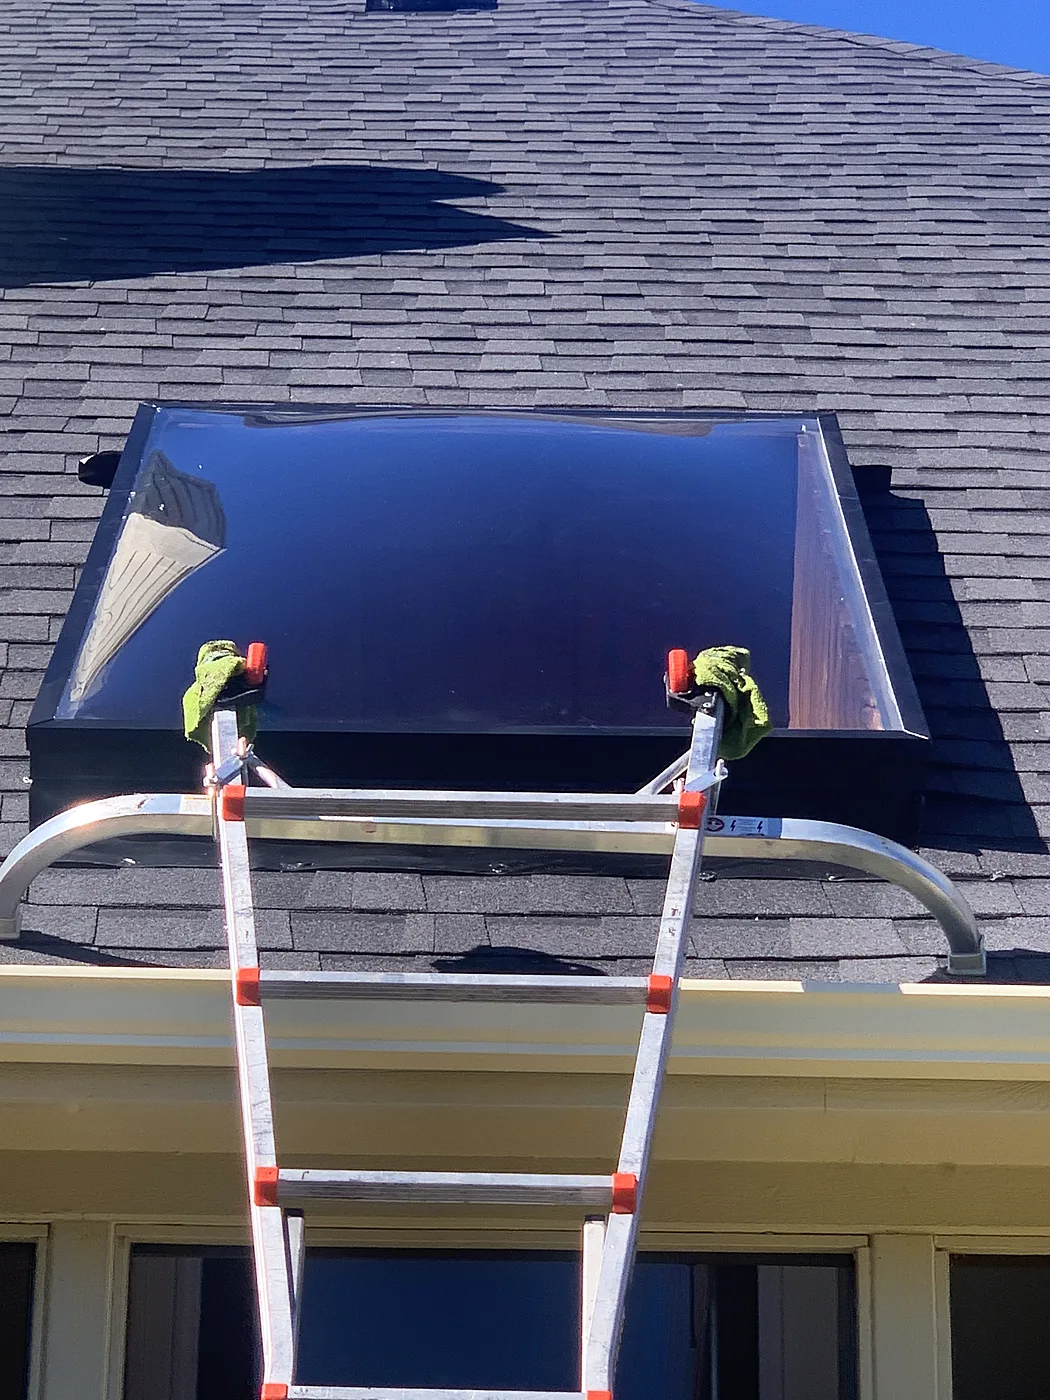
Three acrylic skylights upgraded to low-E glass

Dallas

Removed three acrylic skylights and replaced them with upgraded low-E glass skylights on the same home.

During
During: New low-E unit — Three acrylic skylights upgraded to low-E glass, Dallas
New low-E unit
After
After: Finished — Three acrylic skylights upgraded to low-E glass, Dallas
Finished
After: All three in — Three acrylic skylights upgraded to low-E glass, Dallas
All three in

New skylights

Paris, TX

Installed new skylights on this home.

During
During: Install day — New skylights, Paris, TX
Install day
During: Setting the unit — New skylights, Paris, TX
Setting the unit
After
After: Installed — New skylights, Paris, TX
Installed
After: Both finished — New skylights, Paris, TX
Both finished

Double skylights with new frames

Dallas

Double custom skylight install with new frames, white over clear.

During
During: Install day — Double skylights with new frames, Dallas
Install day
After
After: New frame and dome — Double skylights with new frames, Dallas
New frame and dome
After: Both installed — Double skylights with new frames, Dallas
Both installed

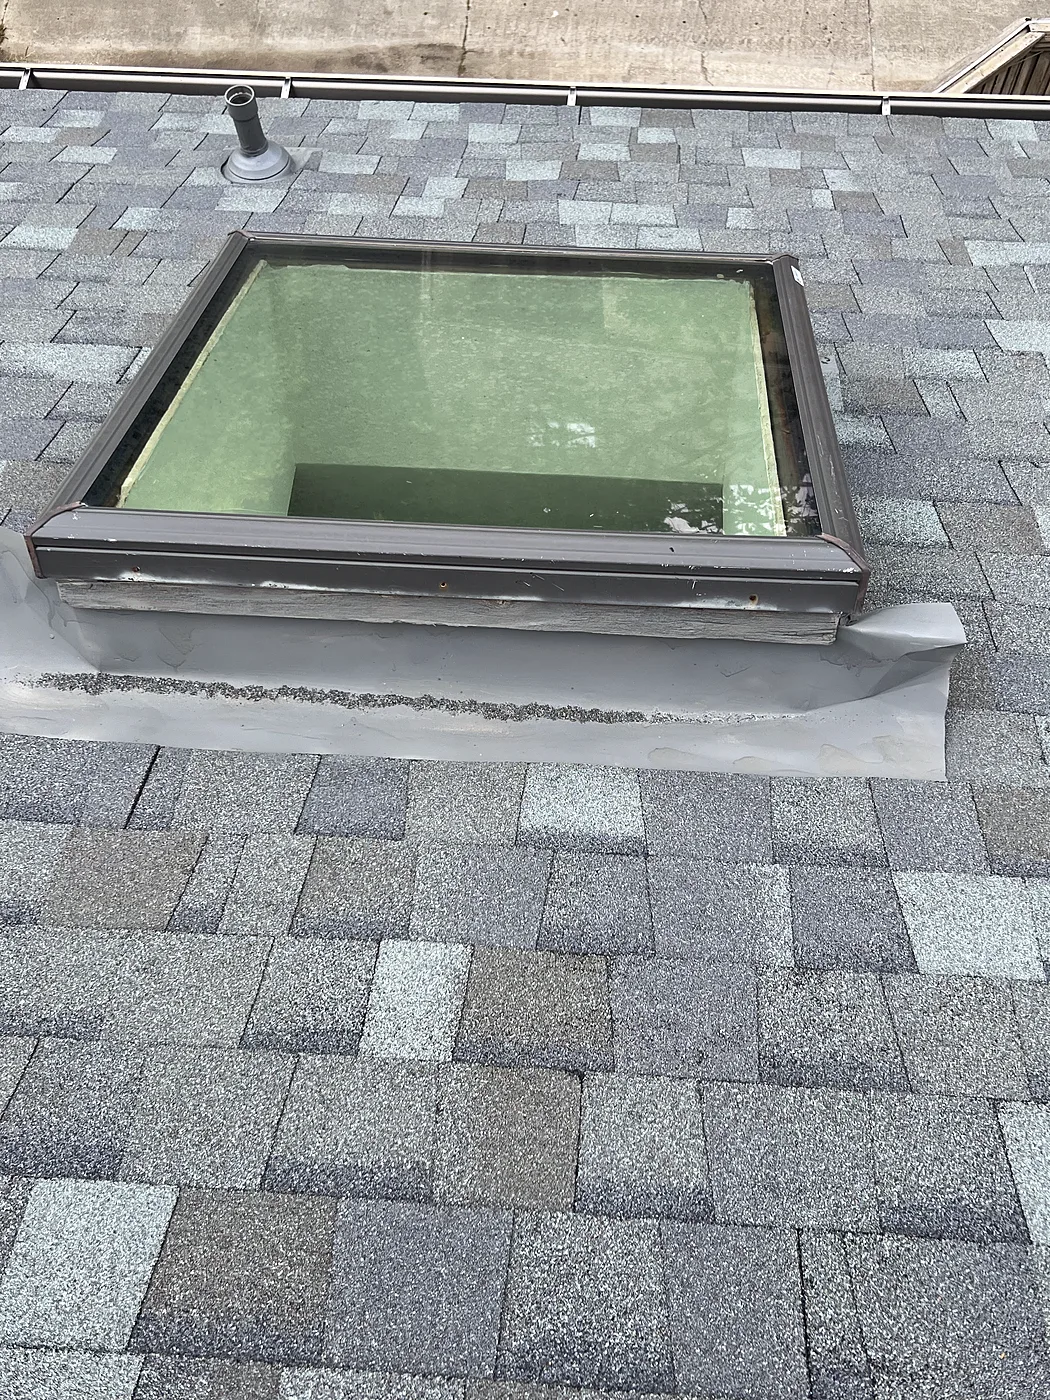
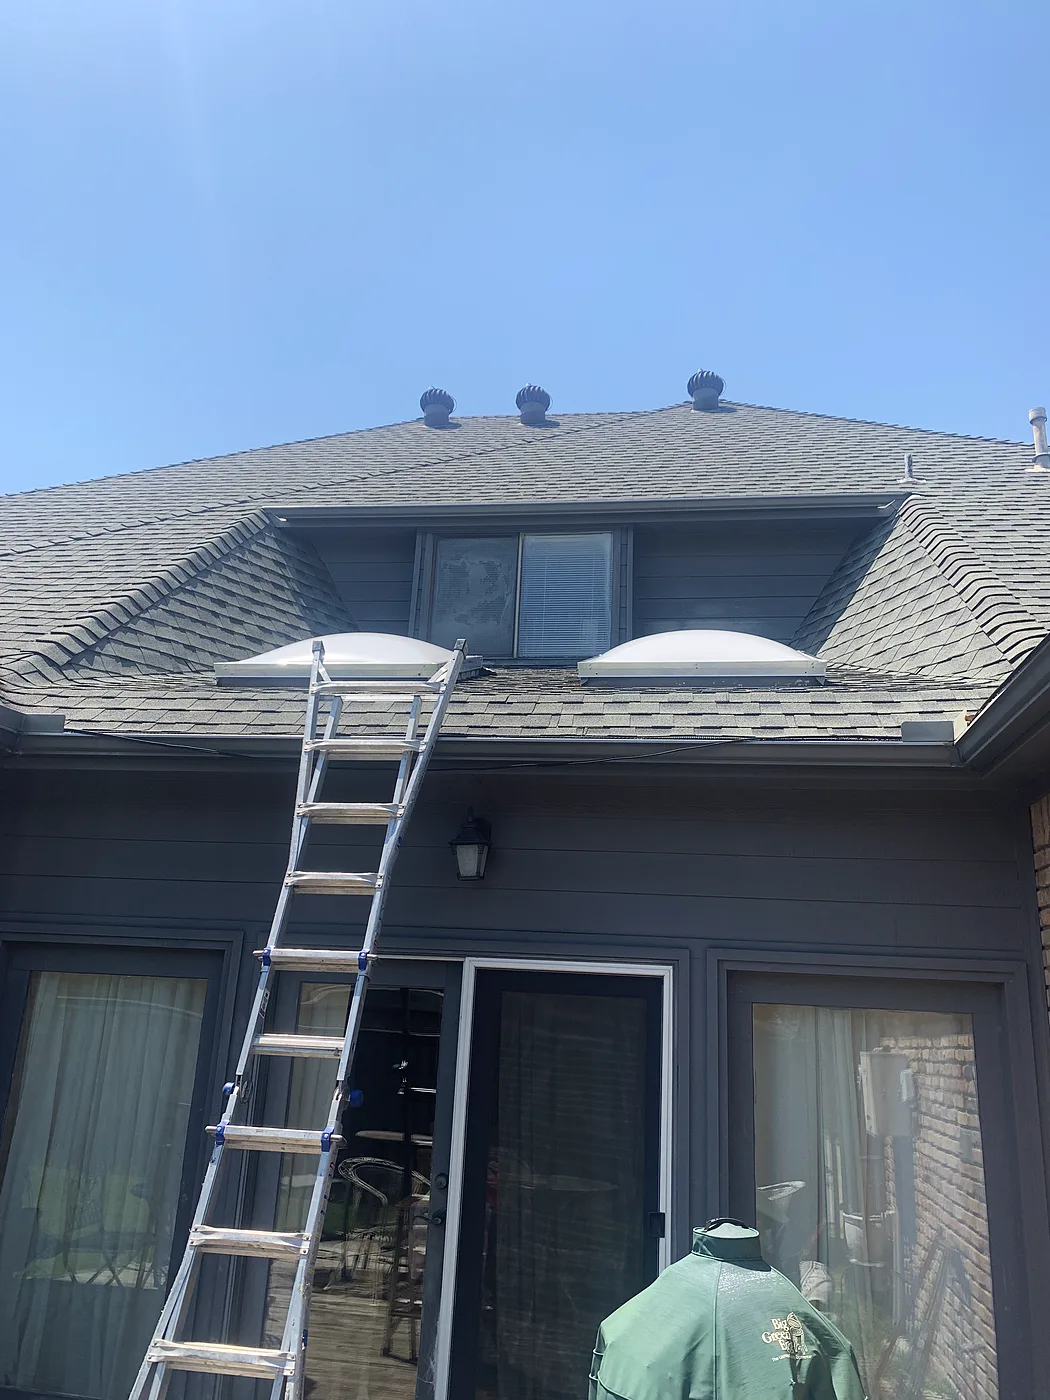
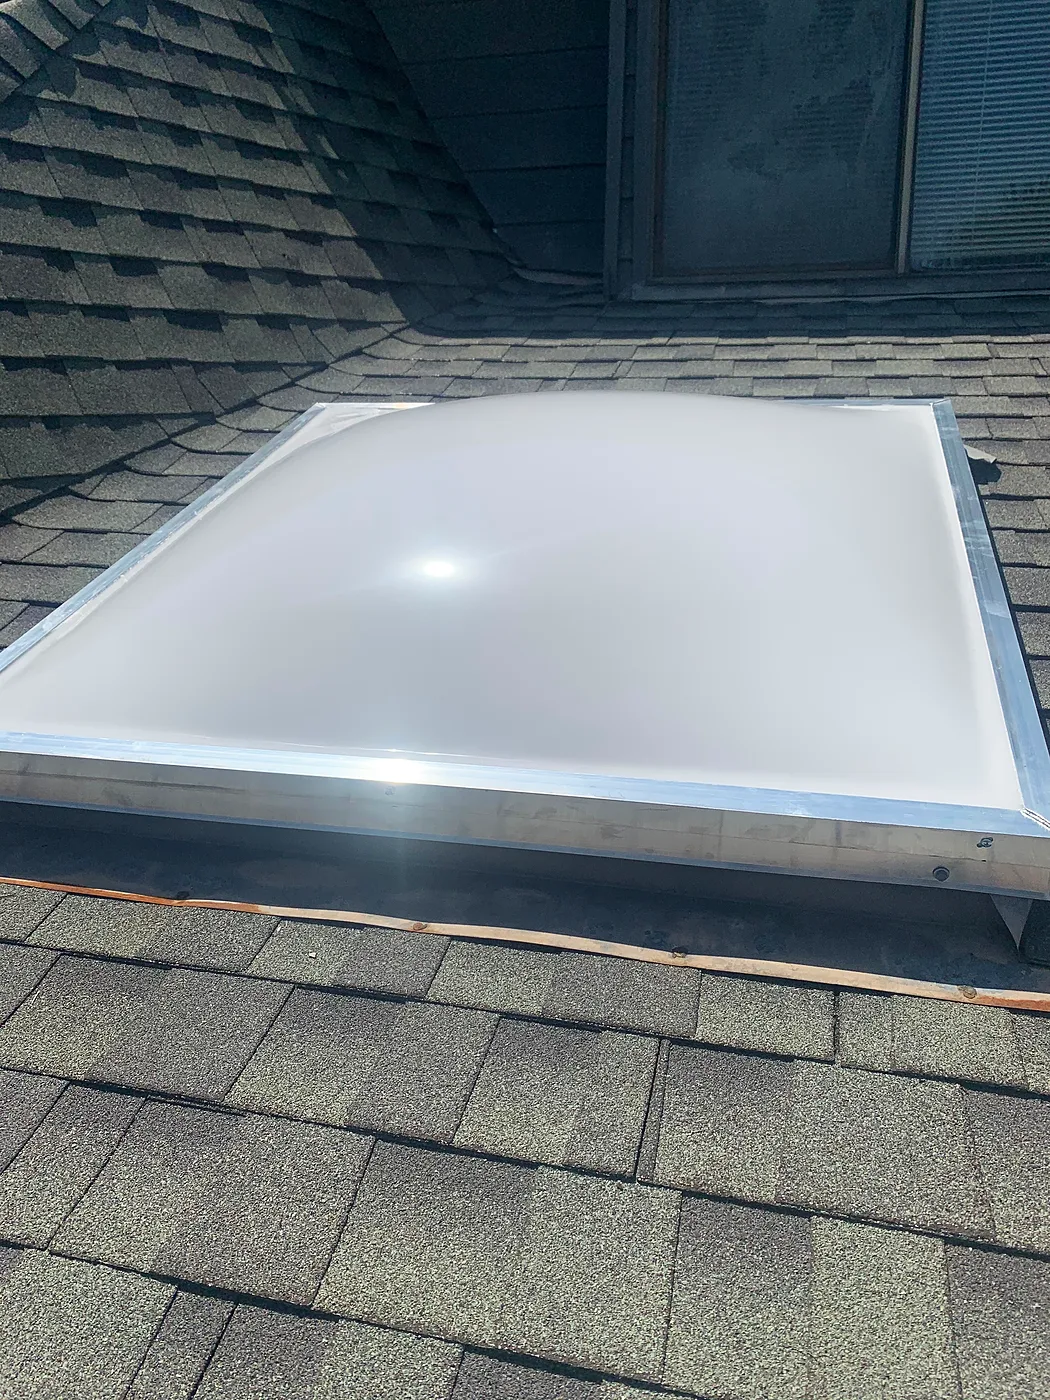
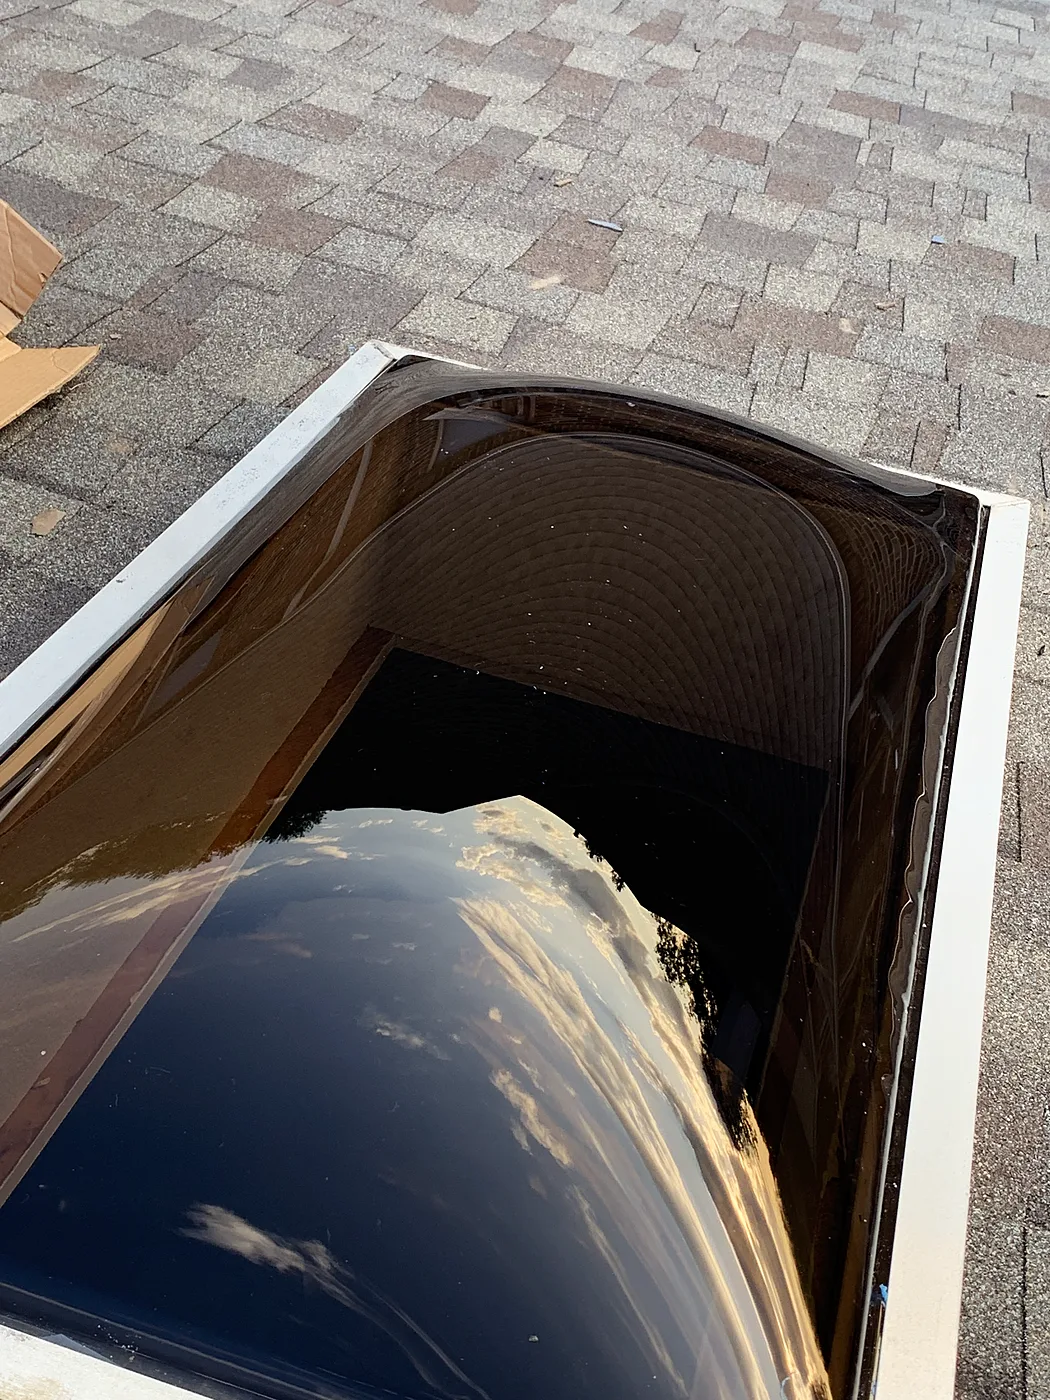
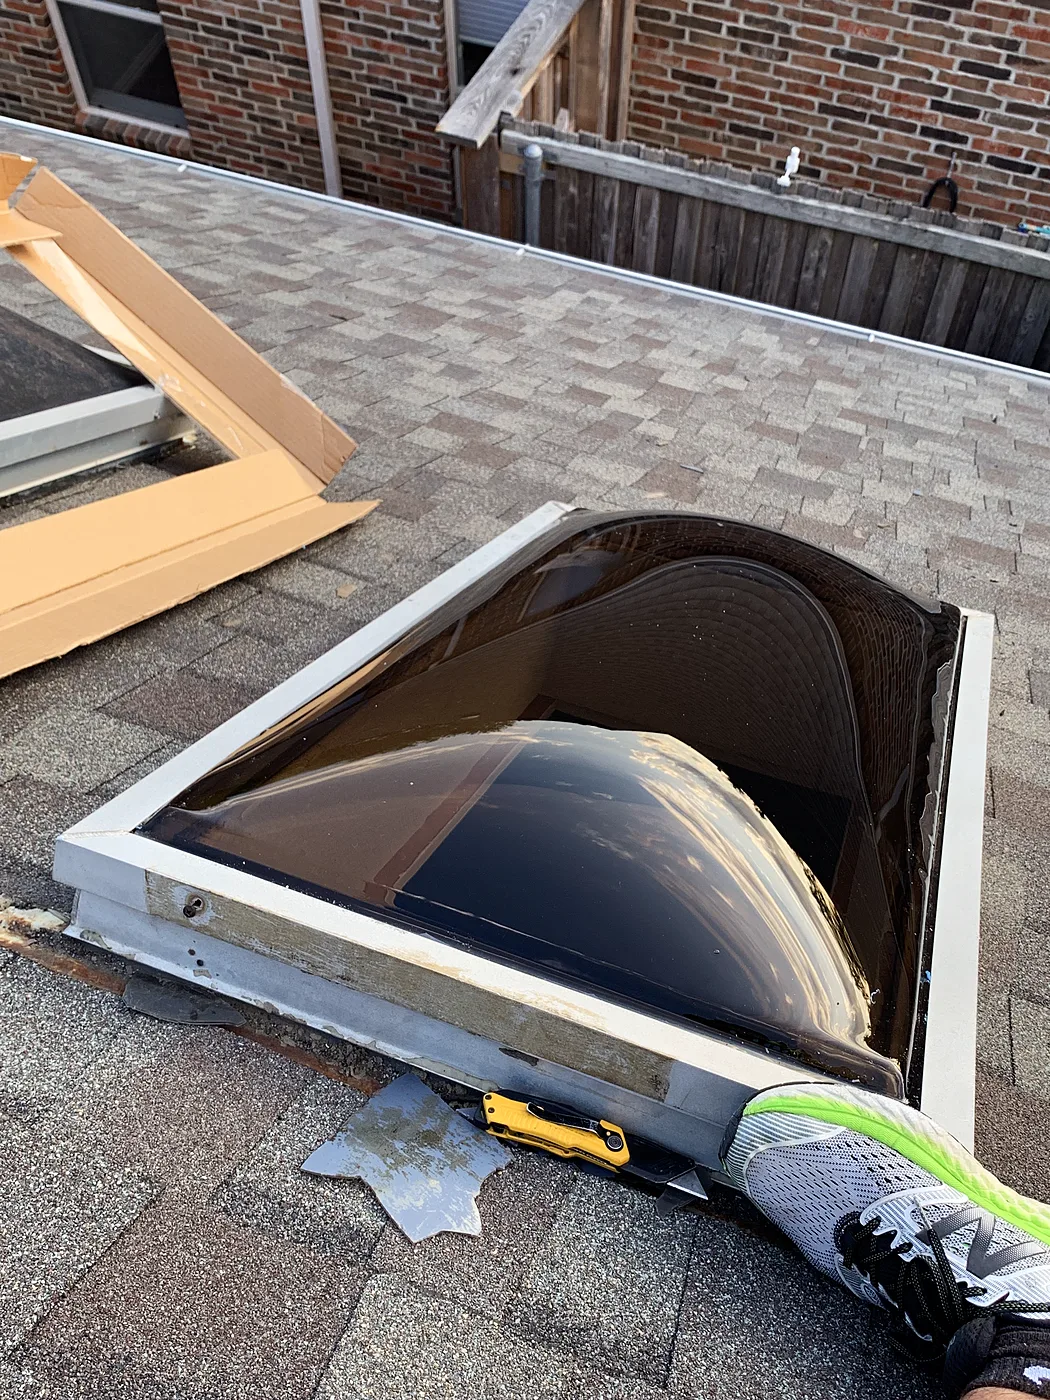
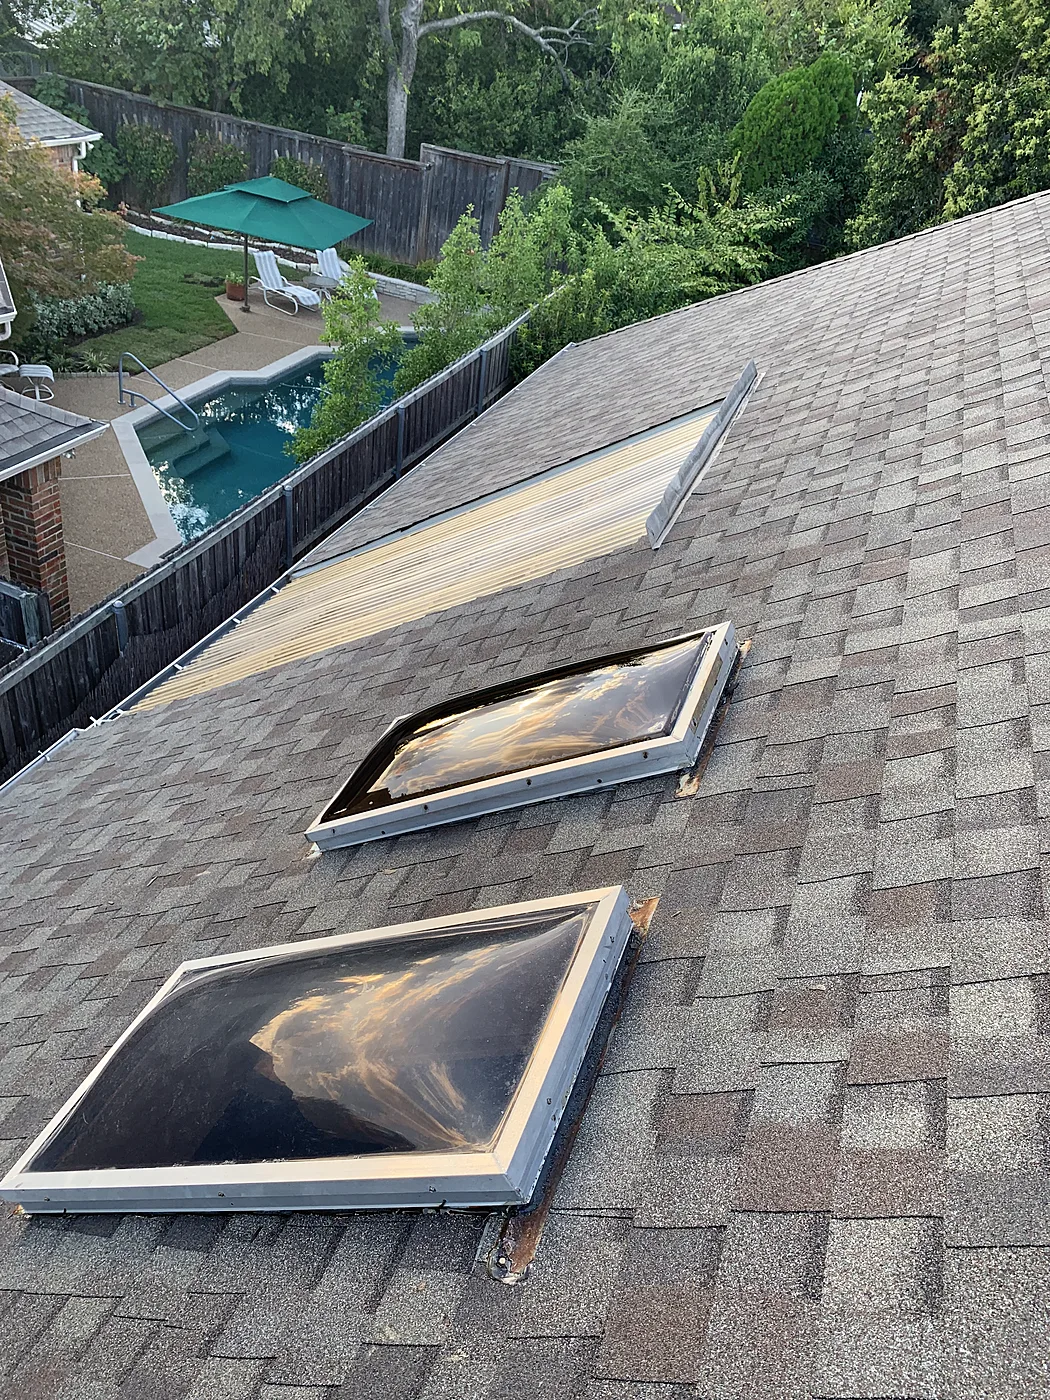
Acrylic skylights removed and replaced

Dallas

Removed and replaced the acrylic skylights.

During
During: Old acrylic dome — Acrylic skylights removed and replaced, Dallas
Old acrylic dome
During: New unit going in — Acrylic skylights removed and replaced, Dallas
New unit going in
After
After: Installed — Acrylic skylights removed and replaced, Dallas
Installed

Outdoor living

Pergolas, patios, drainage and stone borders, designed and built.

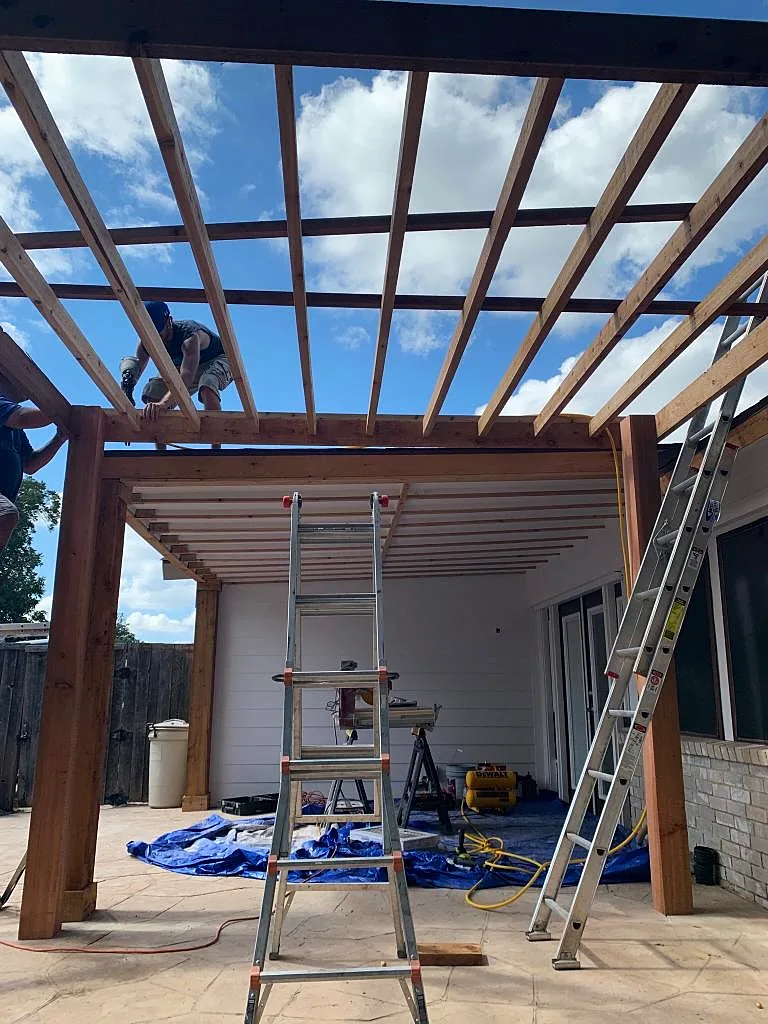
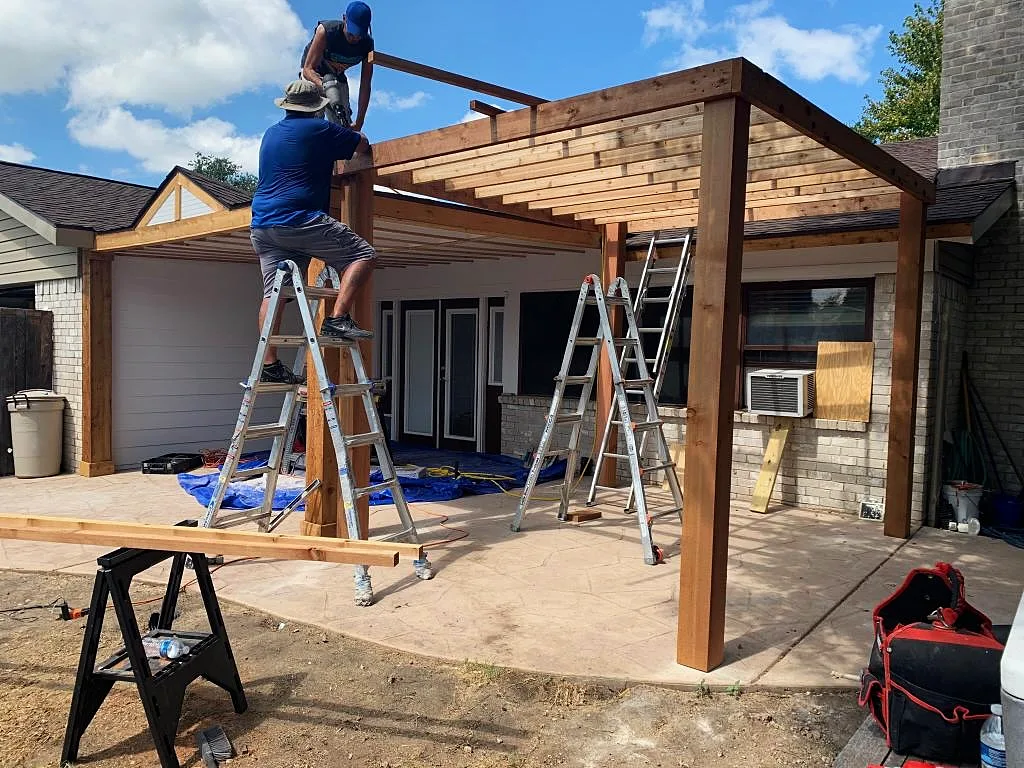
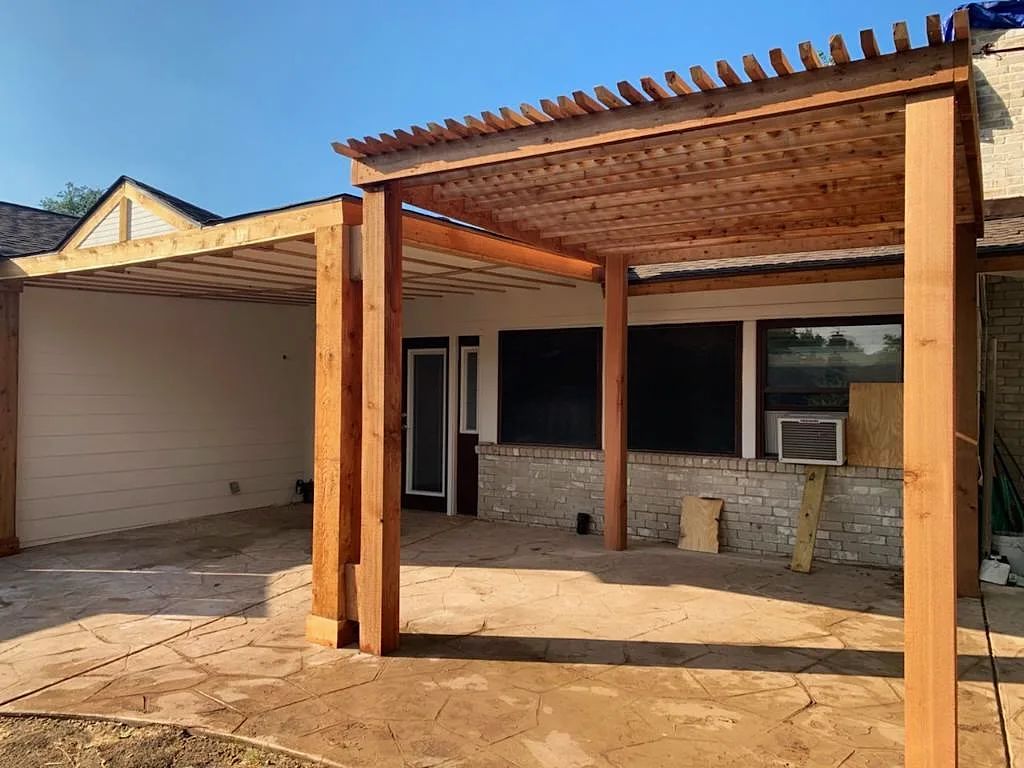
Custom-built cedar pergola

Dallas

Custom-built pergola over the back patio, tied into the house.

During
During: Posts and beams up — Custom-built cedar pergola, Dallas
Posts and beams up
During: Building the top — Custom-built cedar pergola, Dallas
Building the top
After
After: Finished pergola — Custom-built cedar pergola, Dallas
Finished pergola

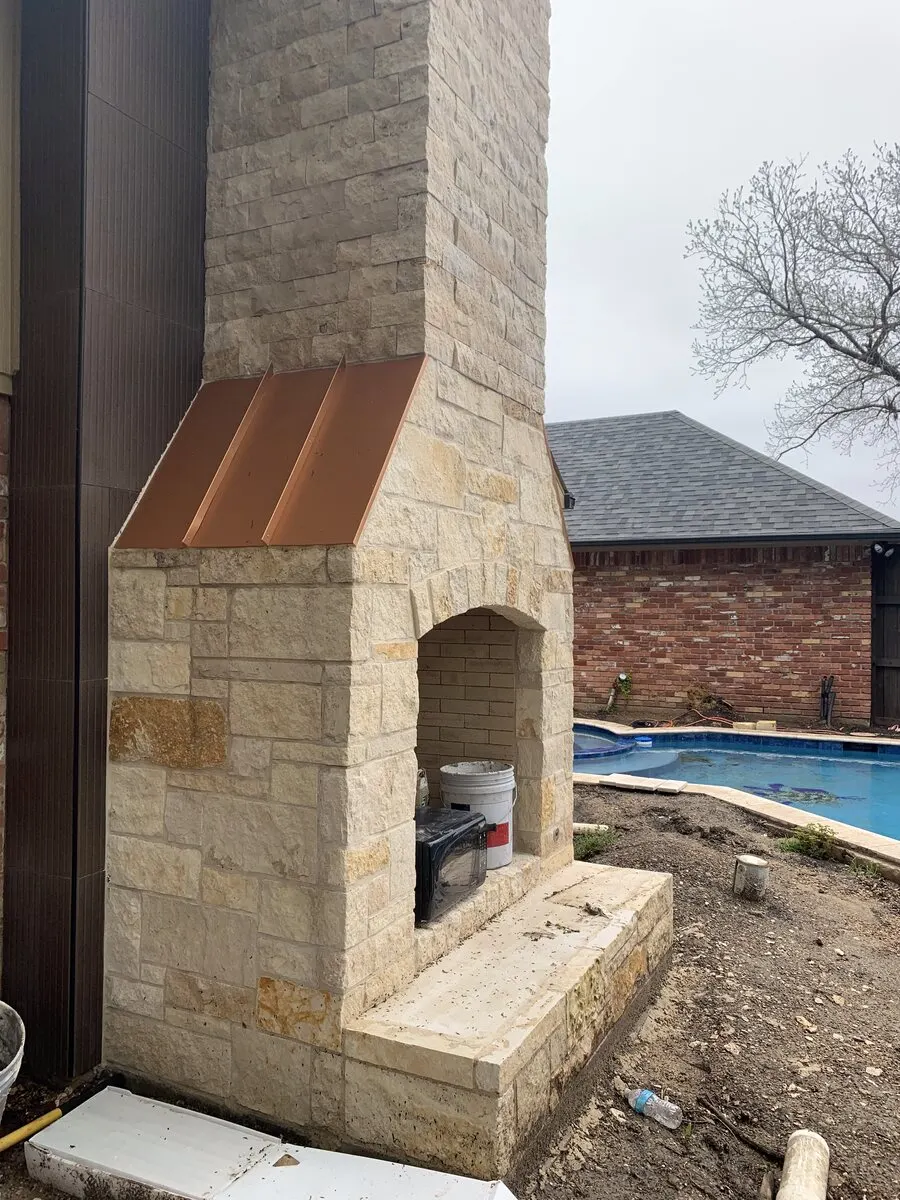
Outdoor stone fireplace, chimney and matching stone pillars

Richardson

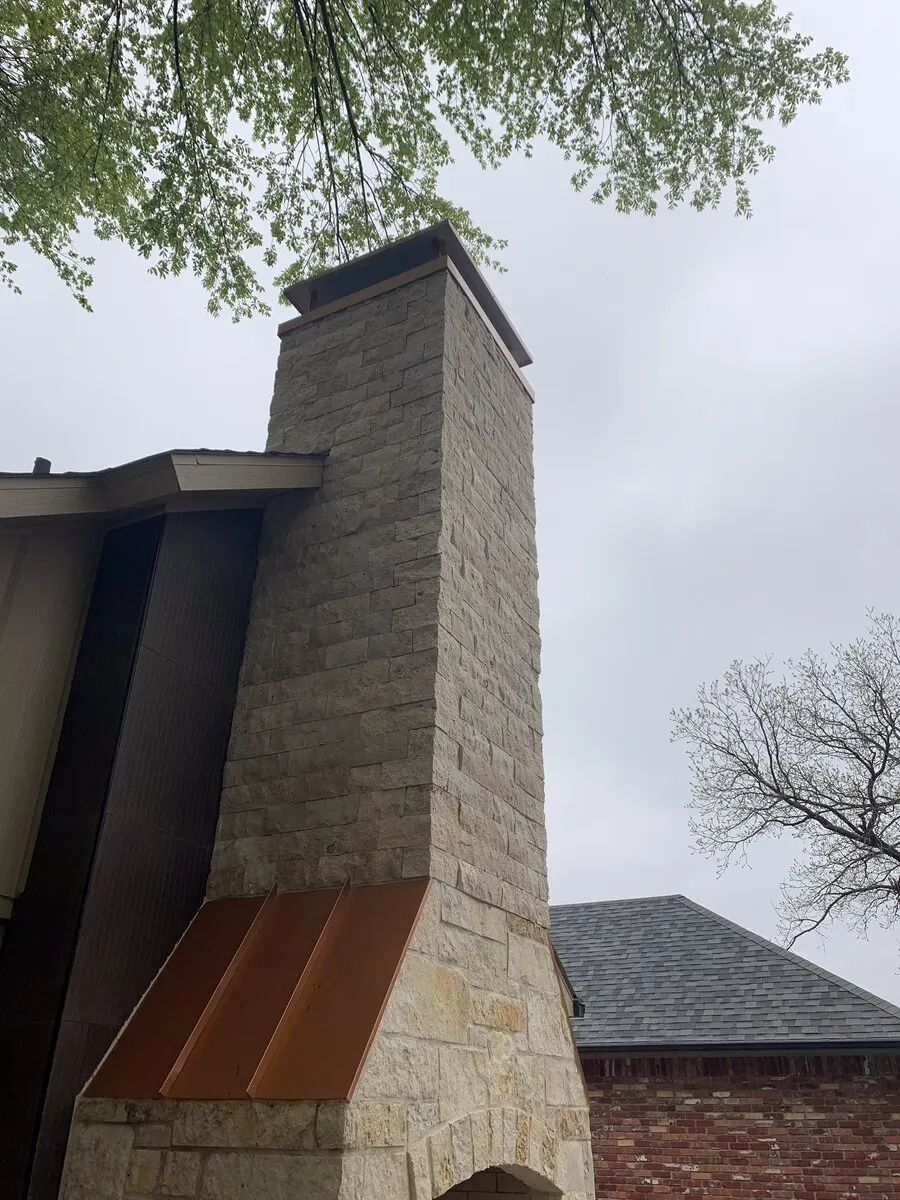
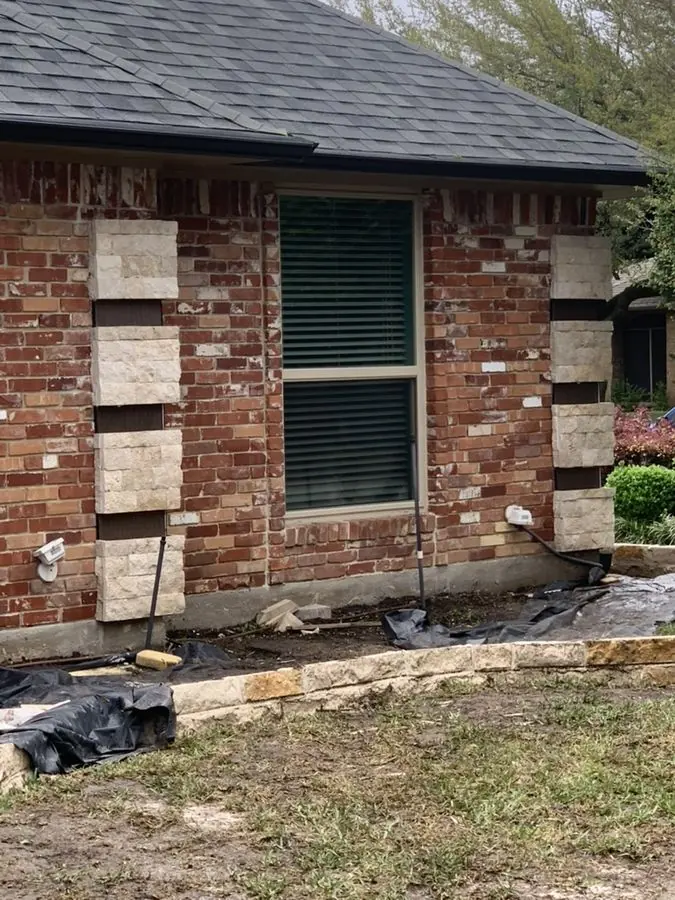
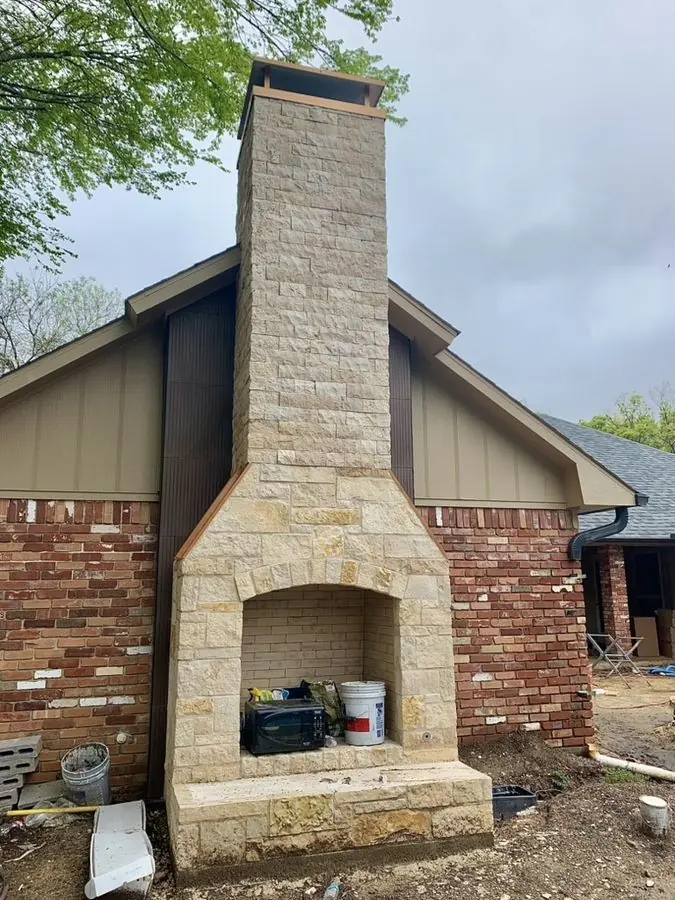
One complete project: a custom-built outdoor stone fireplace and chimney with a copper cap, plus matching stonework on the pillars out front.

During
During: Fireplace and copper cap going up — Outdoor stone fireplace, chimney and matching stone pillars, Richardson
Fireplace and copper cap going up
After
After: Stone chimney and copper cap — Outdoor stone fireplace, chimney and matching stone pillars, Richardson
Stone chimney and copper cap
After: Matching stone pillars out front — Outdoor stone fireplace, chimney and matching stone pillars, Richardson
Matching stone pillars out front

Drainage, white rock beds and a sandstone border wall

McKinney

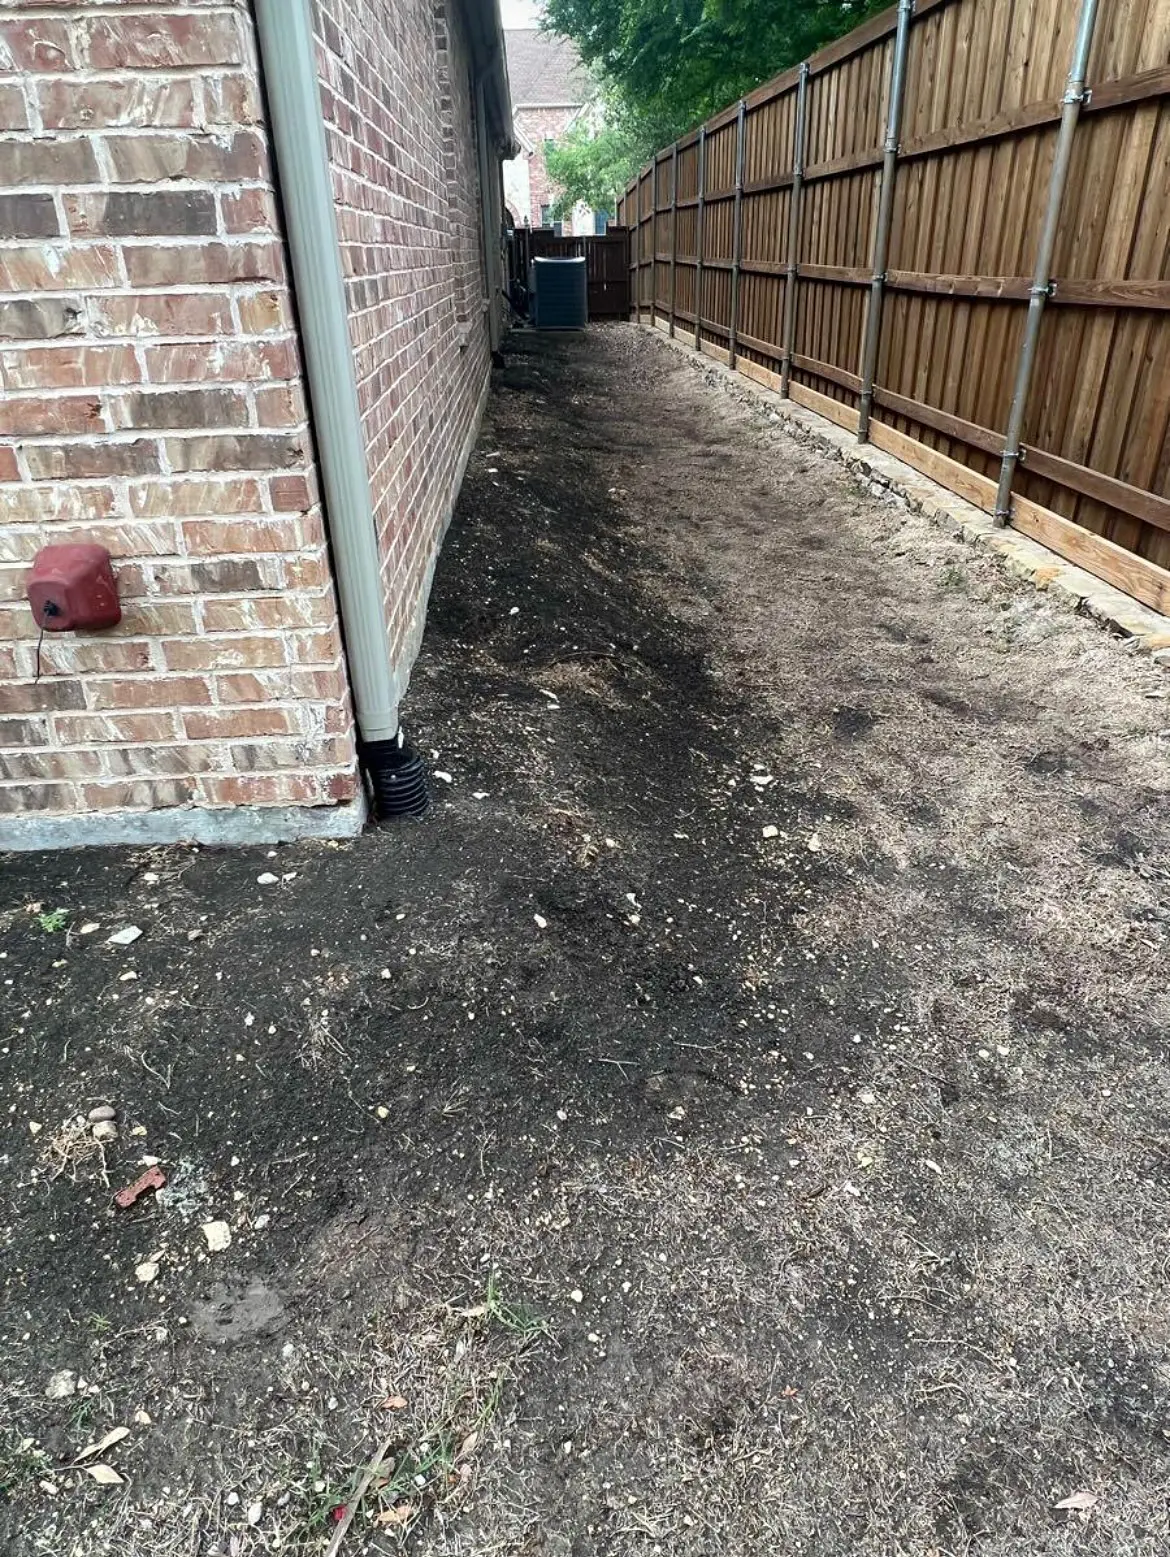
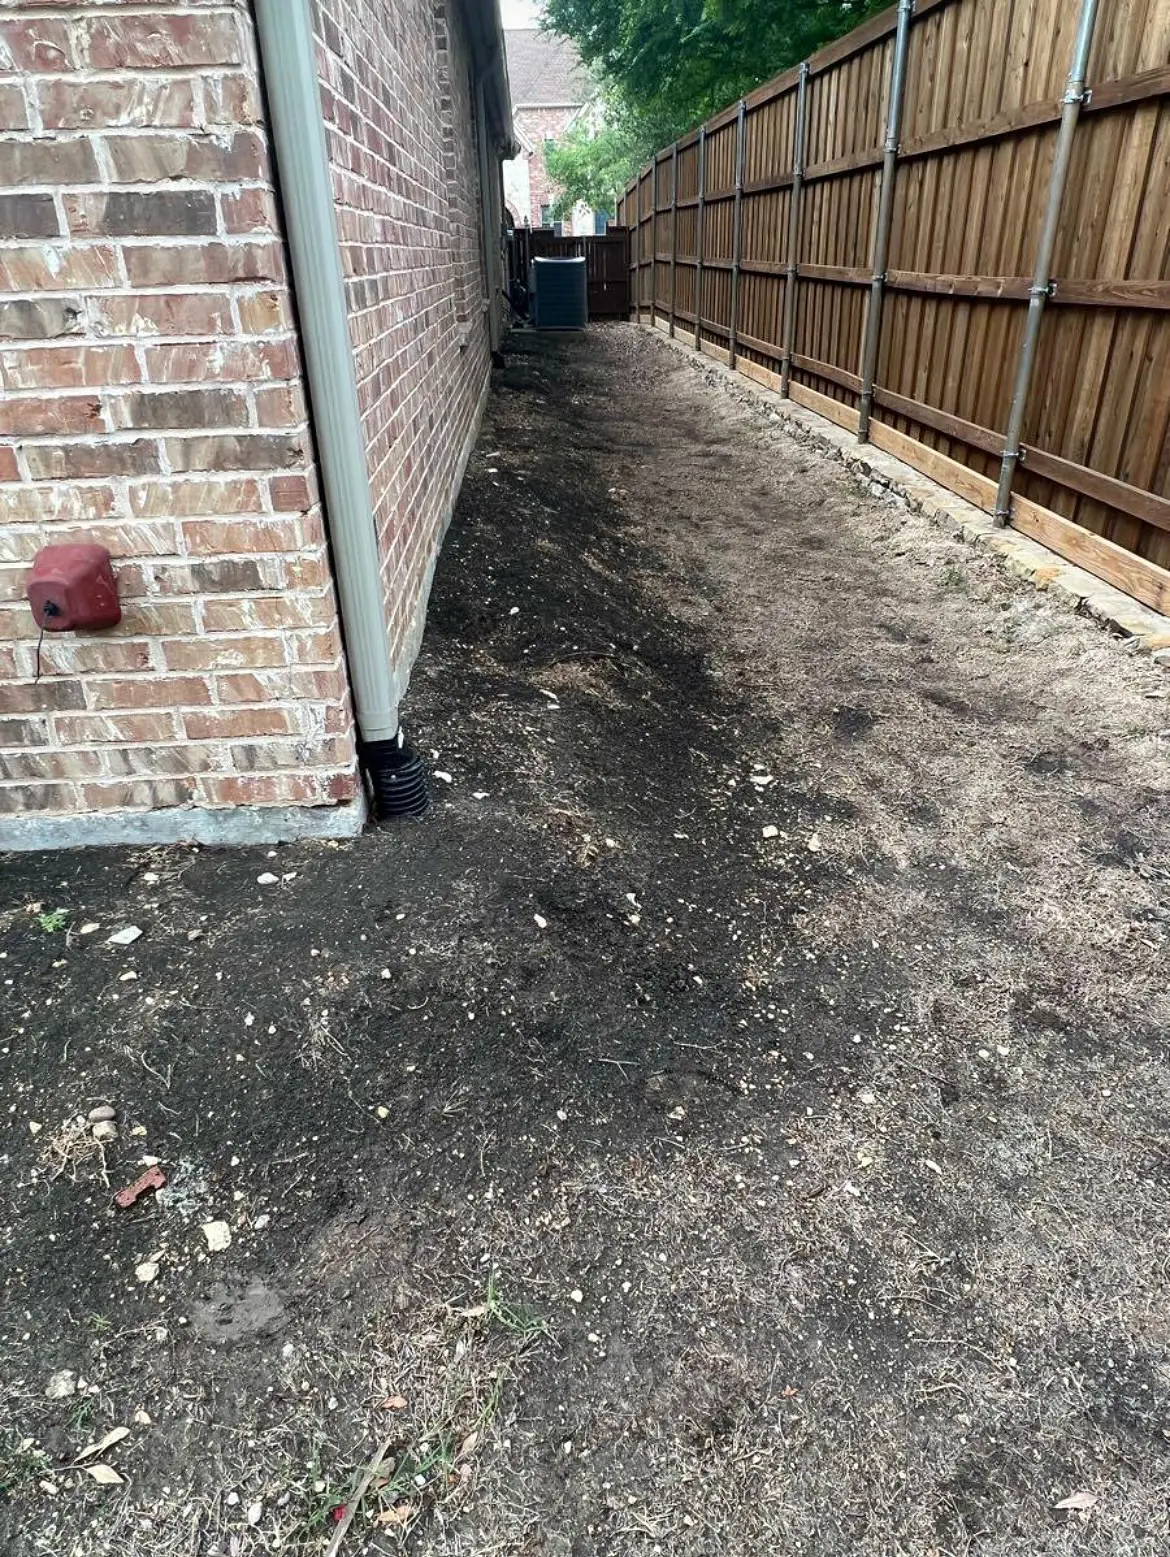
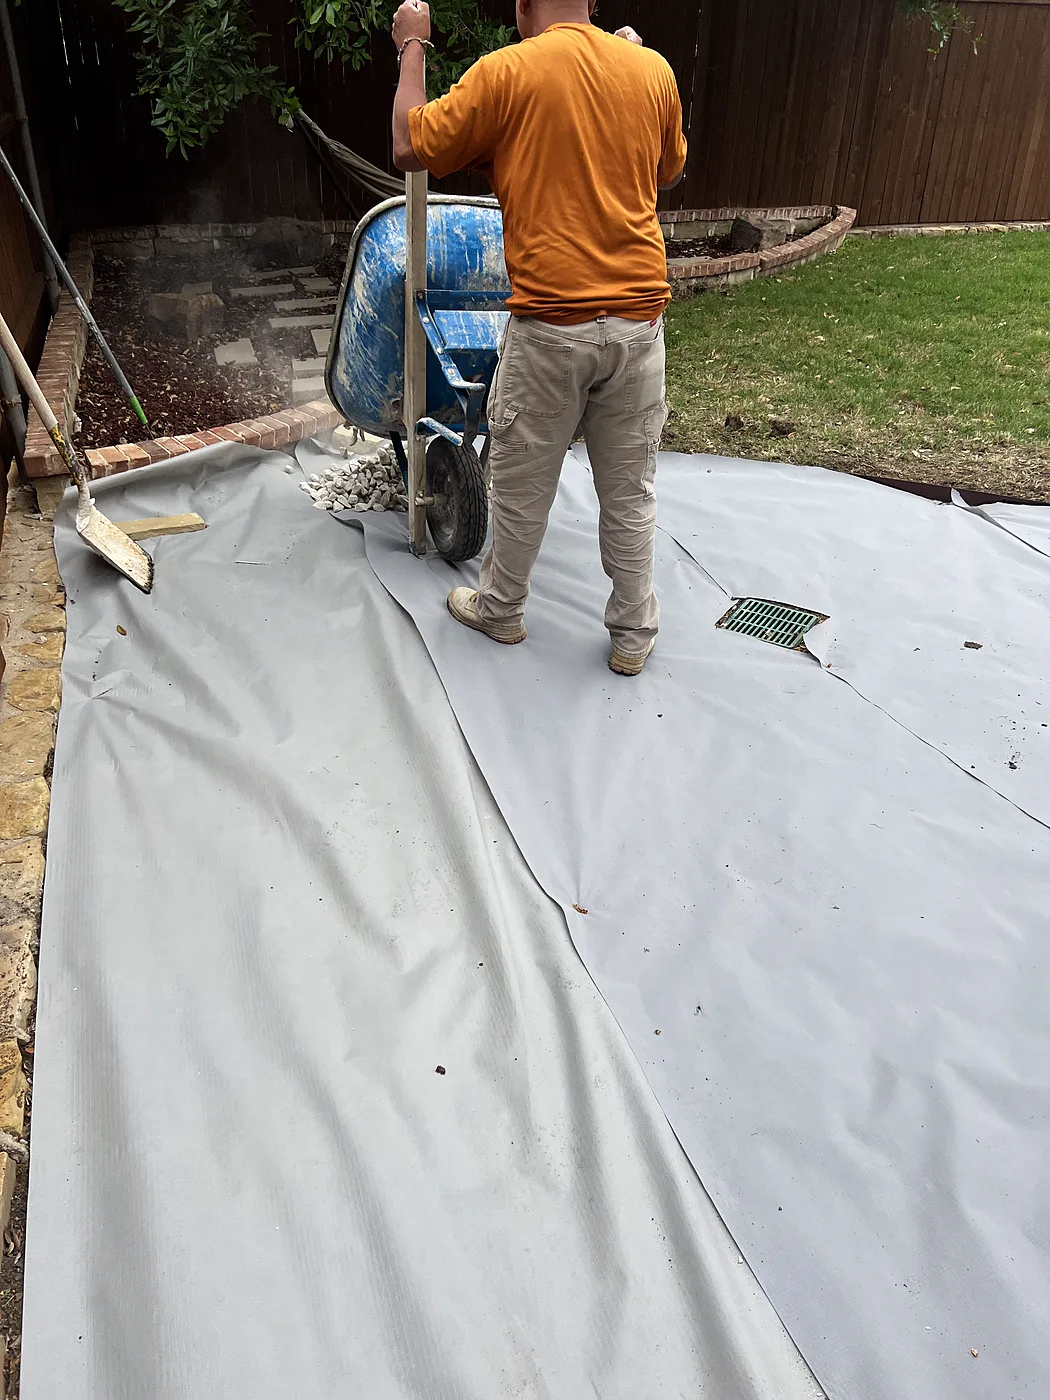
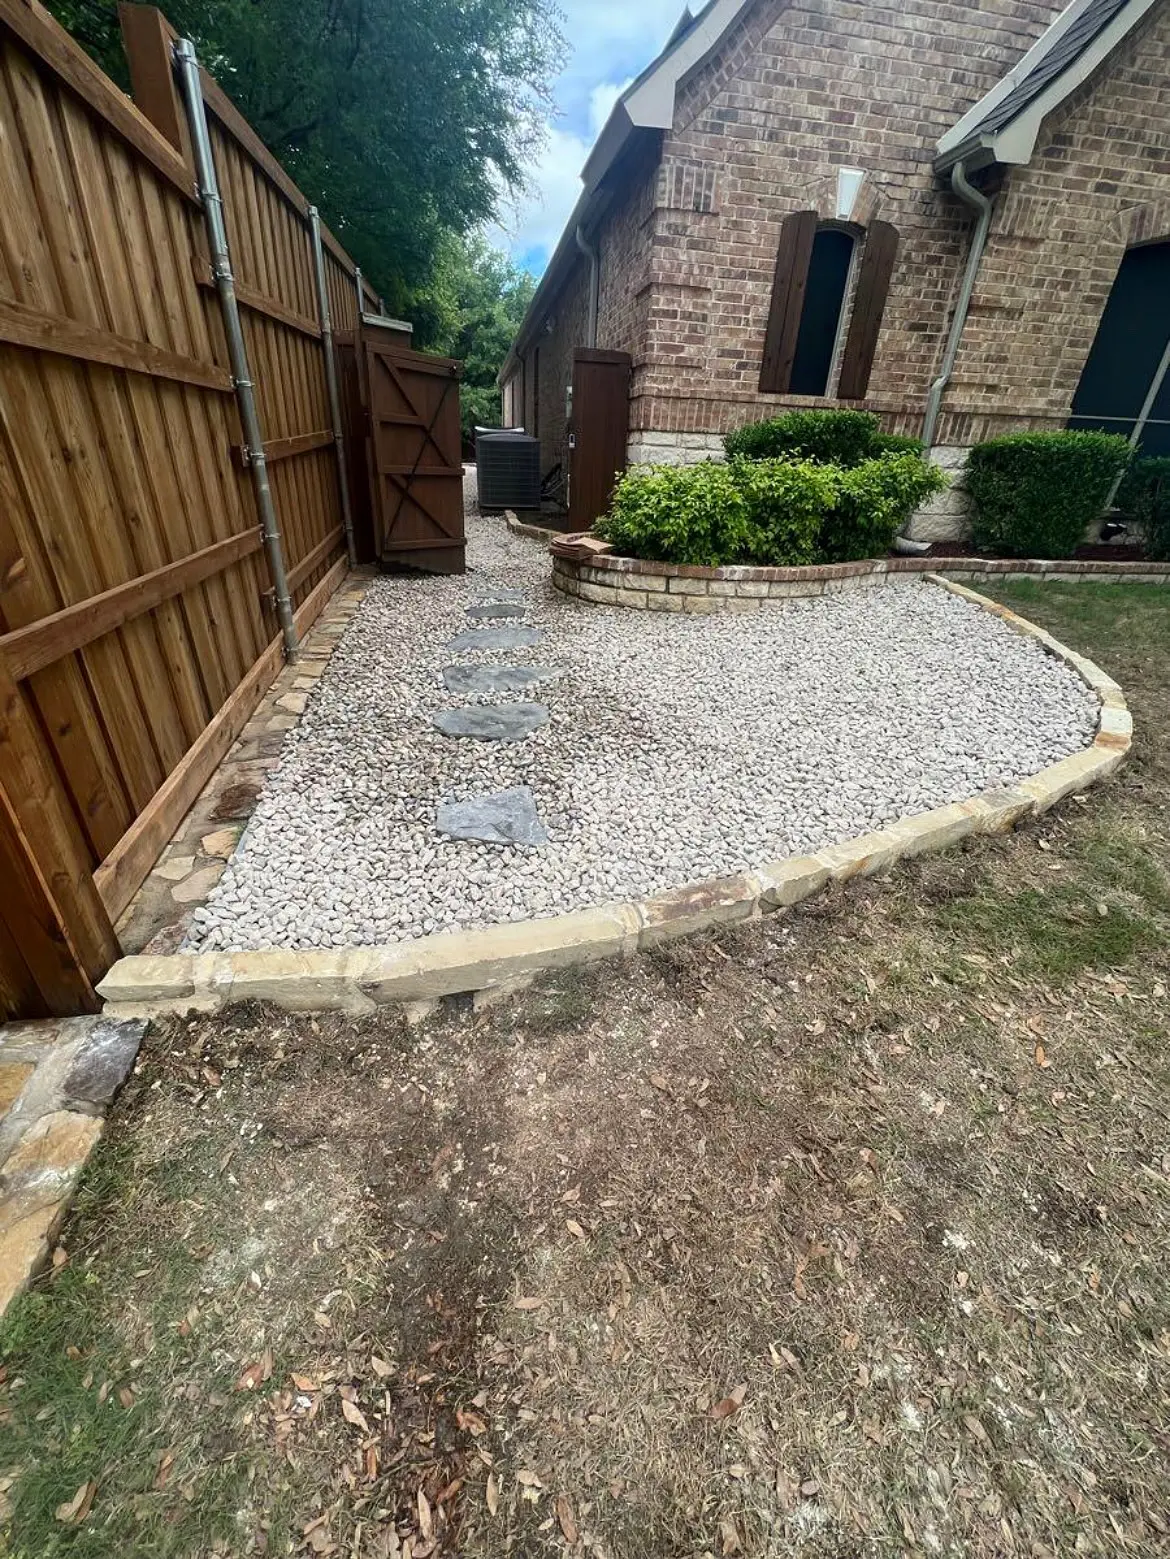
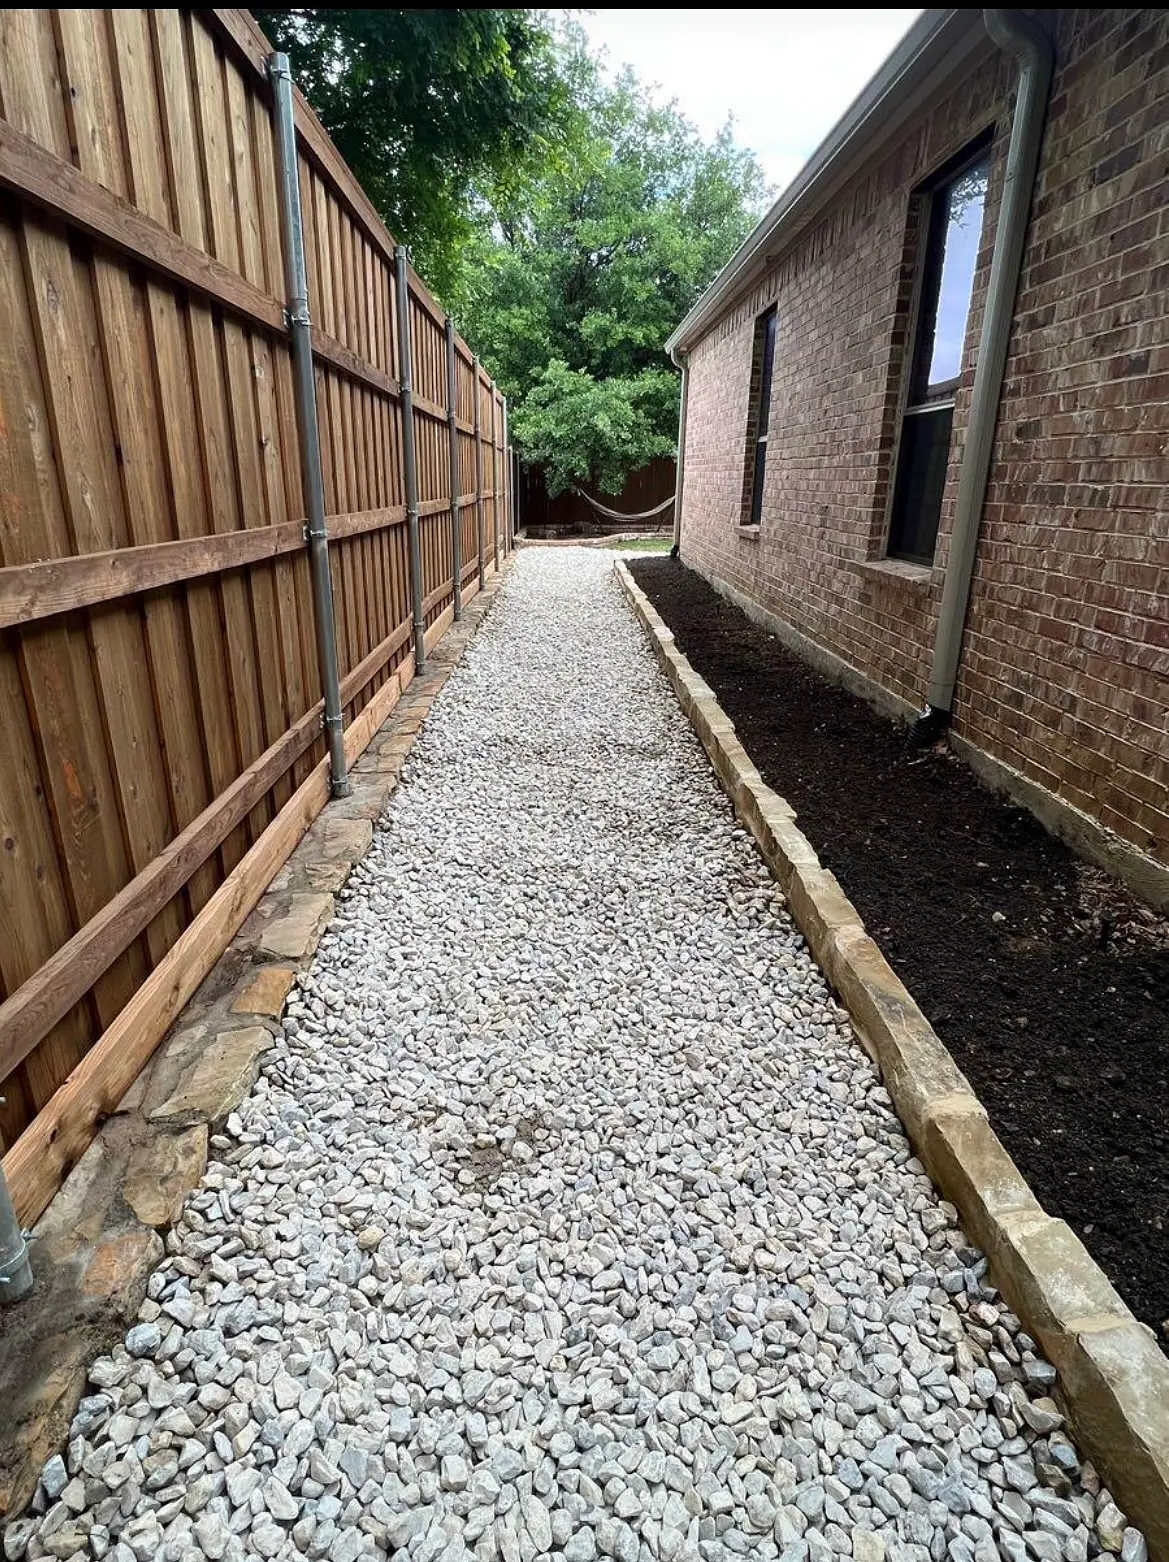
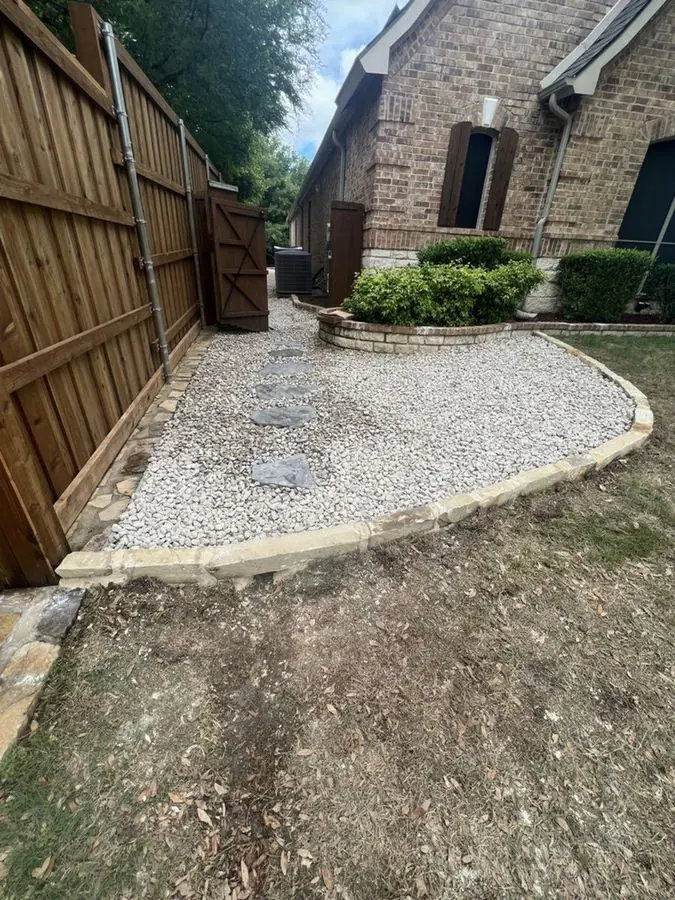
The soil had washed away from the foundation after an irrigation system went in. We excavated and leveled, laid landscape fabric, brought in 3.5 tons of white rock, and built a 10-inch sandstone retaining wall that holds the soil at the base of the home and turns into a flower bed about 100 feet long, plus a curved wall and stepping-stone walkway at the gate and another enclosure in the backyard.

Before
Before: Washed-out side yard — Drainage, white rock beds and a sandstone border wall, McKinney
Washed-out side yard
Before: Soil washed from the foundation — Drainage, white rock beds and a sandstone border wall, McKinney
Soil washed from the foundation
During
During: Landscape fabric down — Drainage, white rock beds and a sandstone border wall, McKinney
Landscape fabric down
After
After: Curved wall and stepping stones at the gate — Drainage, white rock beds and a sandstone border wall, McKinney
Curved wall and stepping stones at the gate
After: Backyard enclosure — Drainage, white rock beds and a sandstone border wall, McKinney
Backyard enclosure

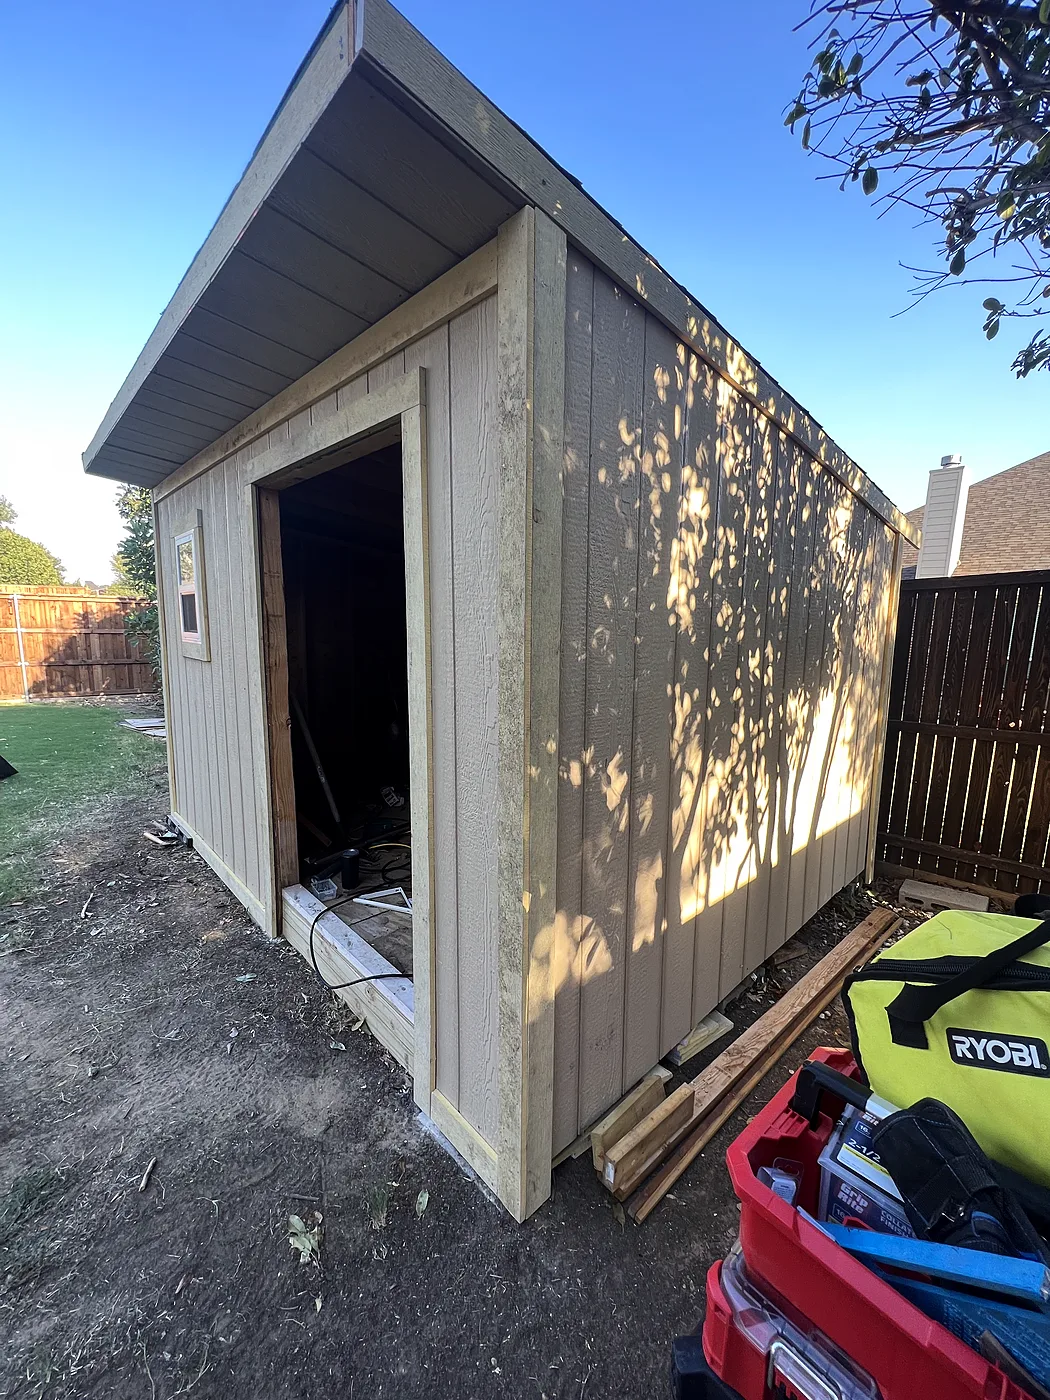
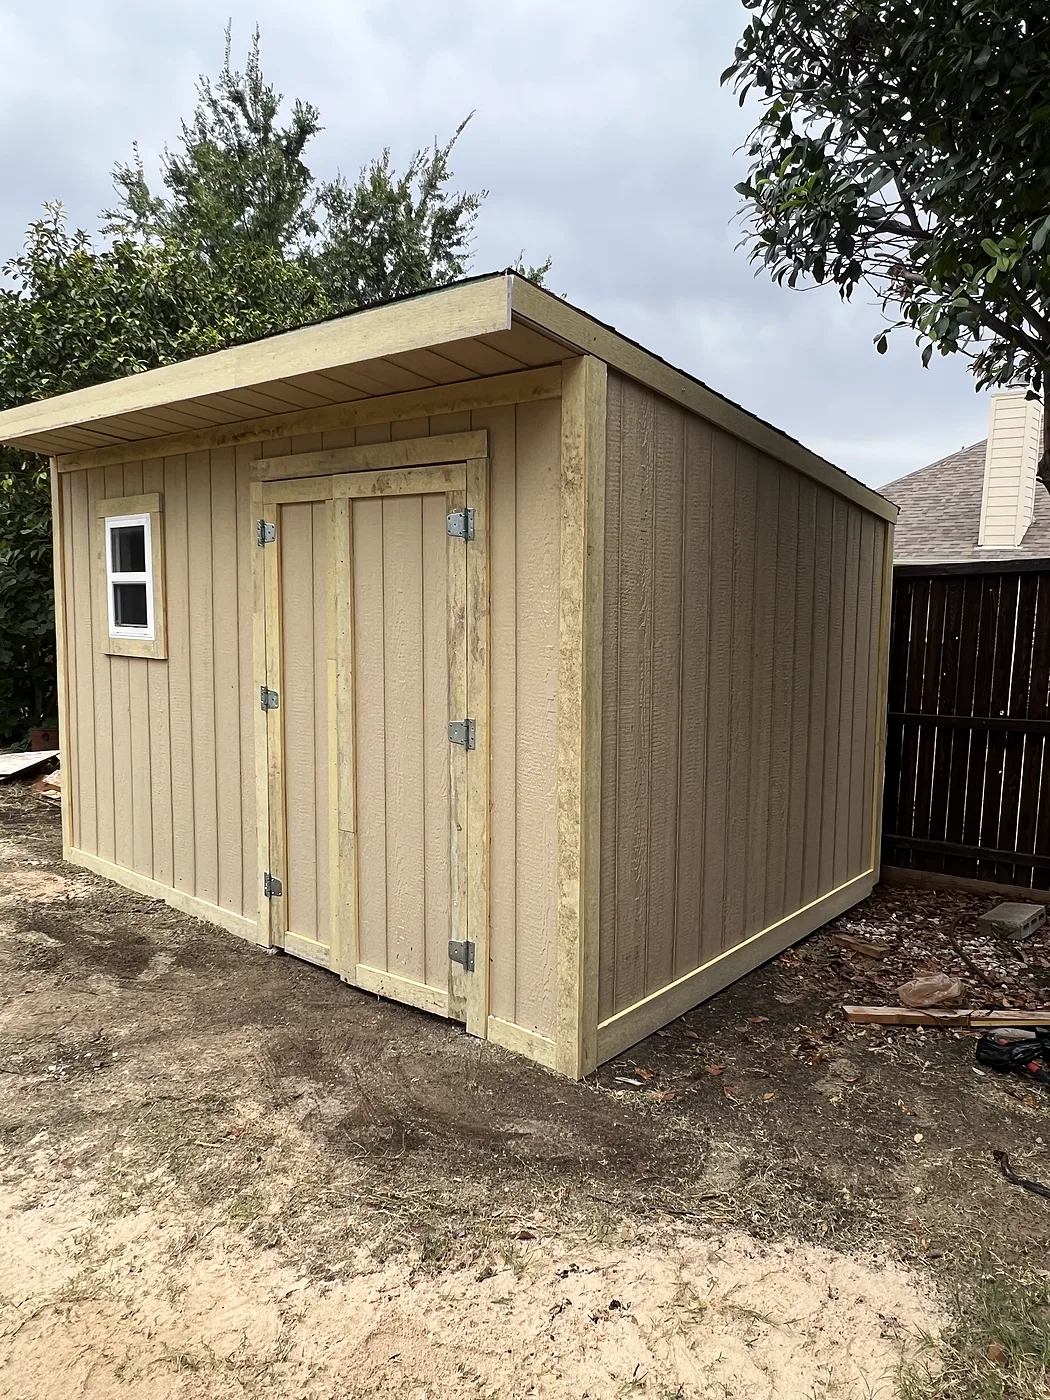
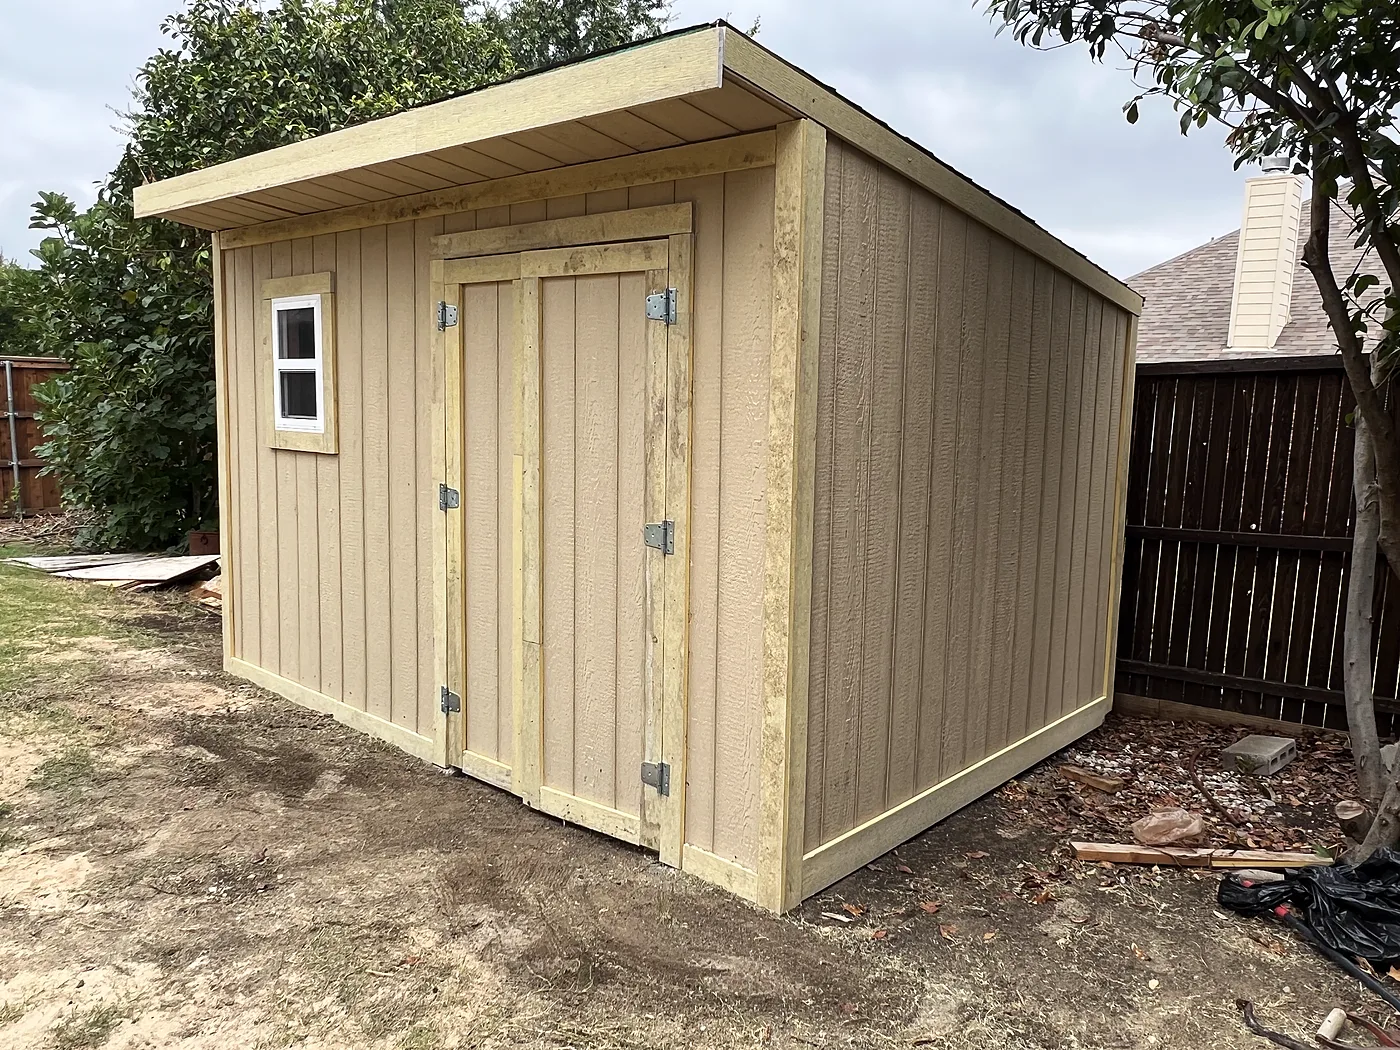
Shed trimmed out with custom doors

Frisco

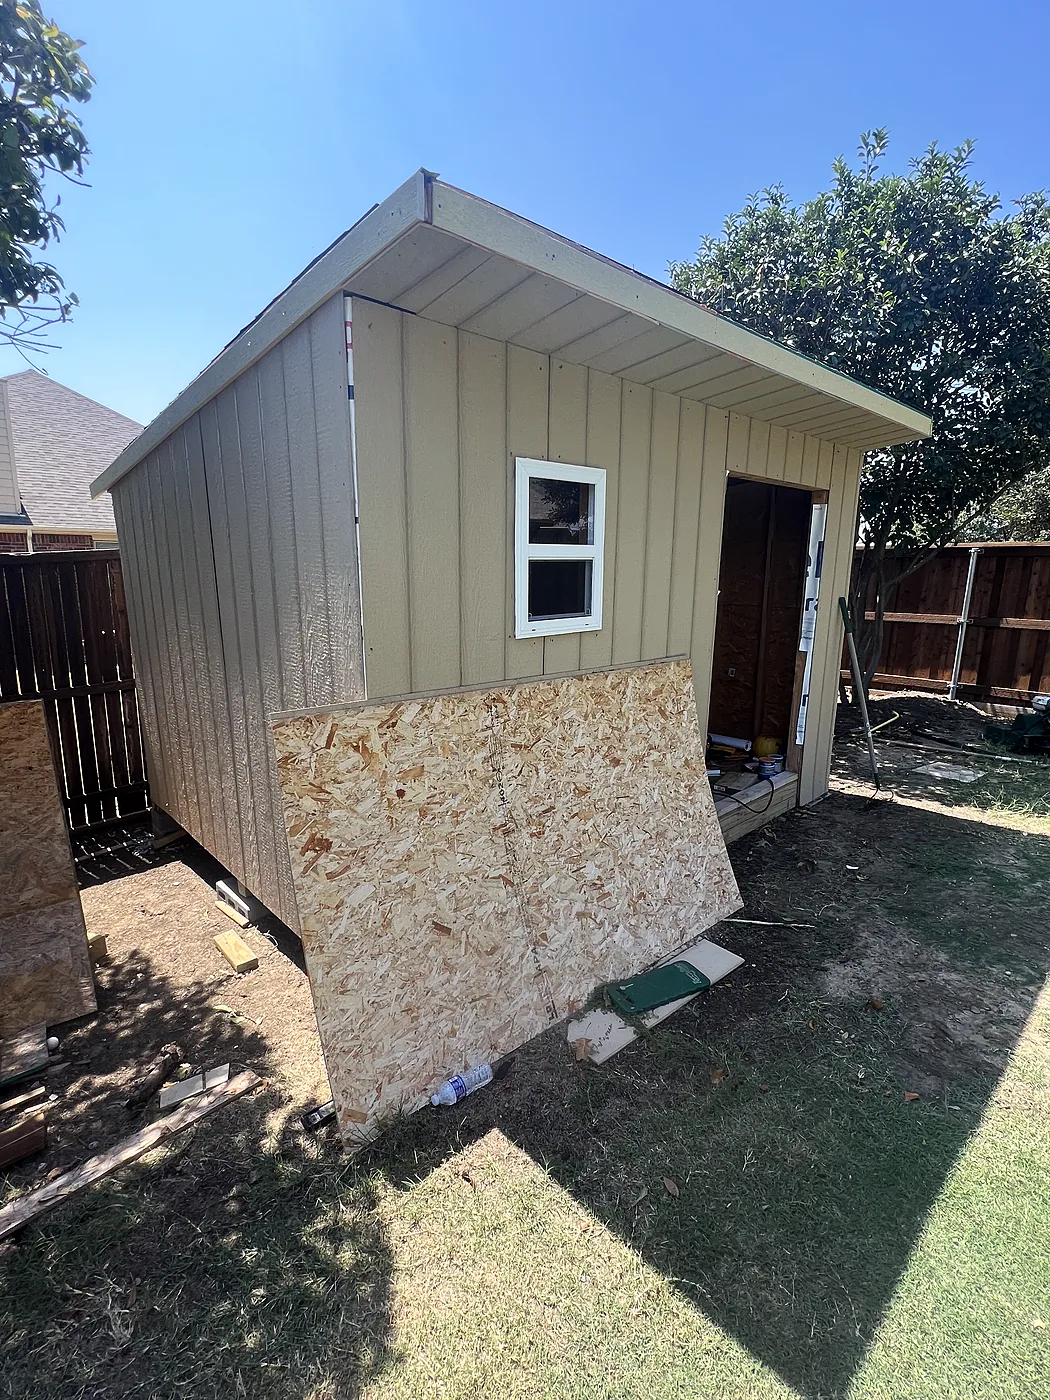
The customer asked us to add trim to his existing shed and build custom doors for the front. No paint on this one, but a lot of fun.

During
During: Trim going on — Shed trimmed out with custom doors, Frisco
Trim going on
During: Door opening framed — Shed trimmed out with custom doors, Frisco
Door opening framed
After
After: Custom doors on — Shed trimmed out with custom doors, Frisco
Custom doors on
After: Finished — Shed trimmed out with custom doors, Frisco
Finished

Interior

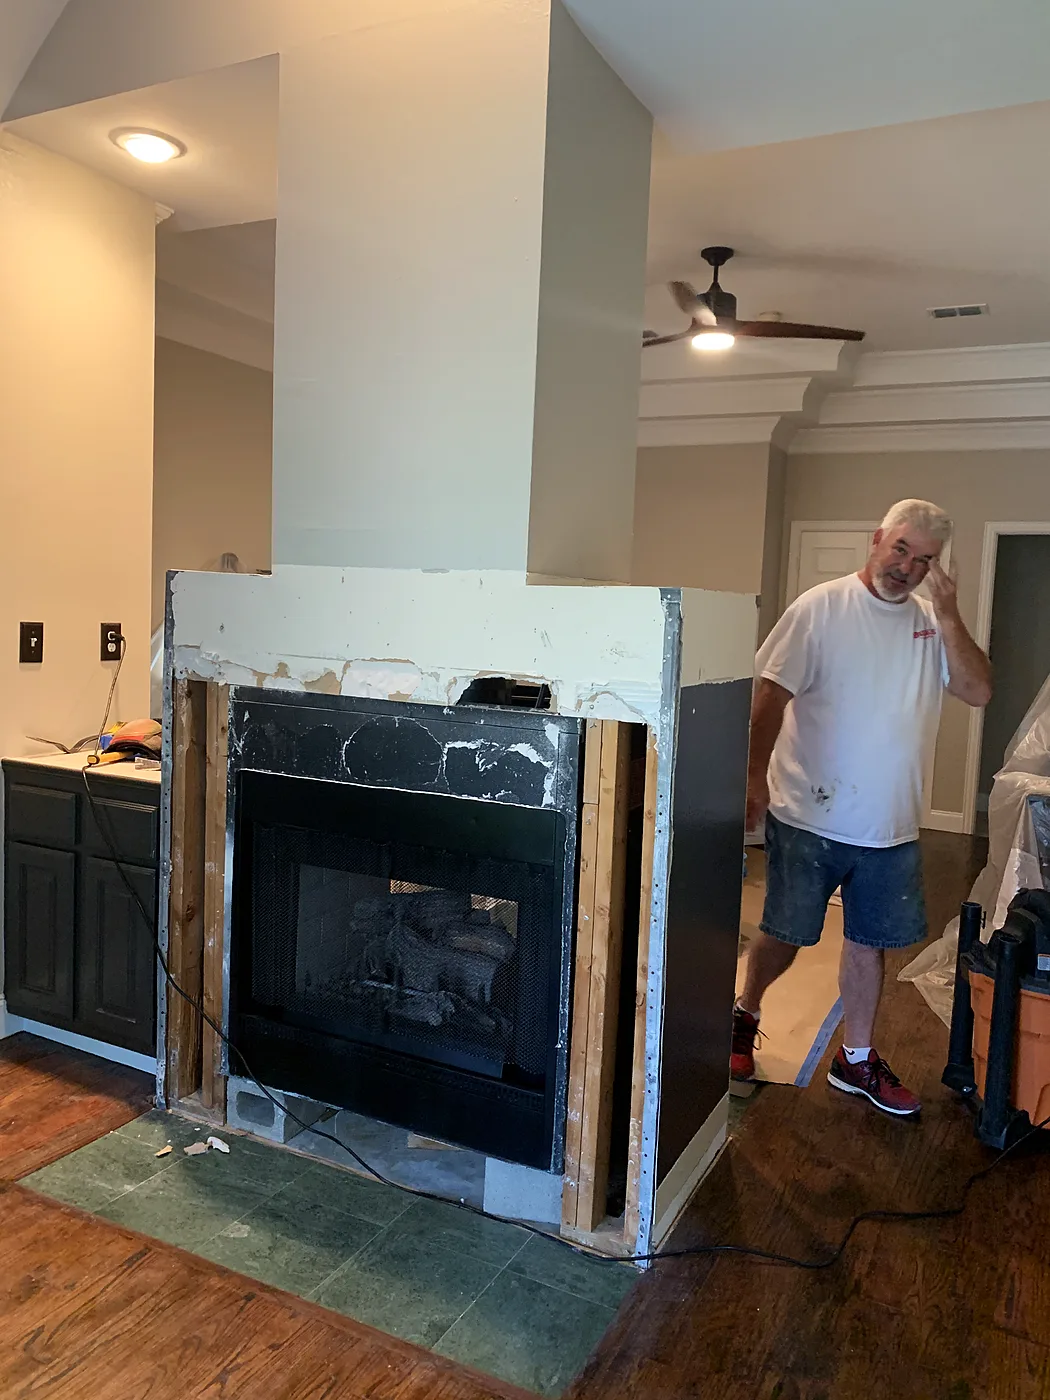
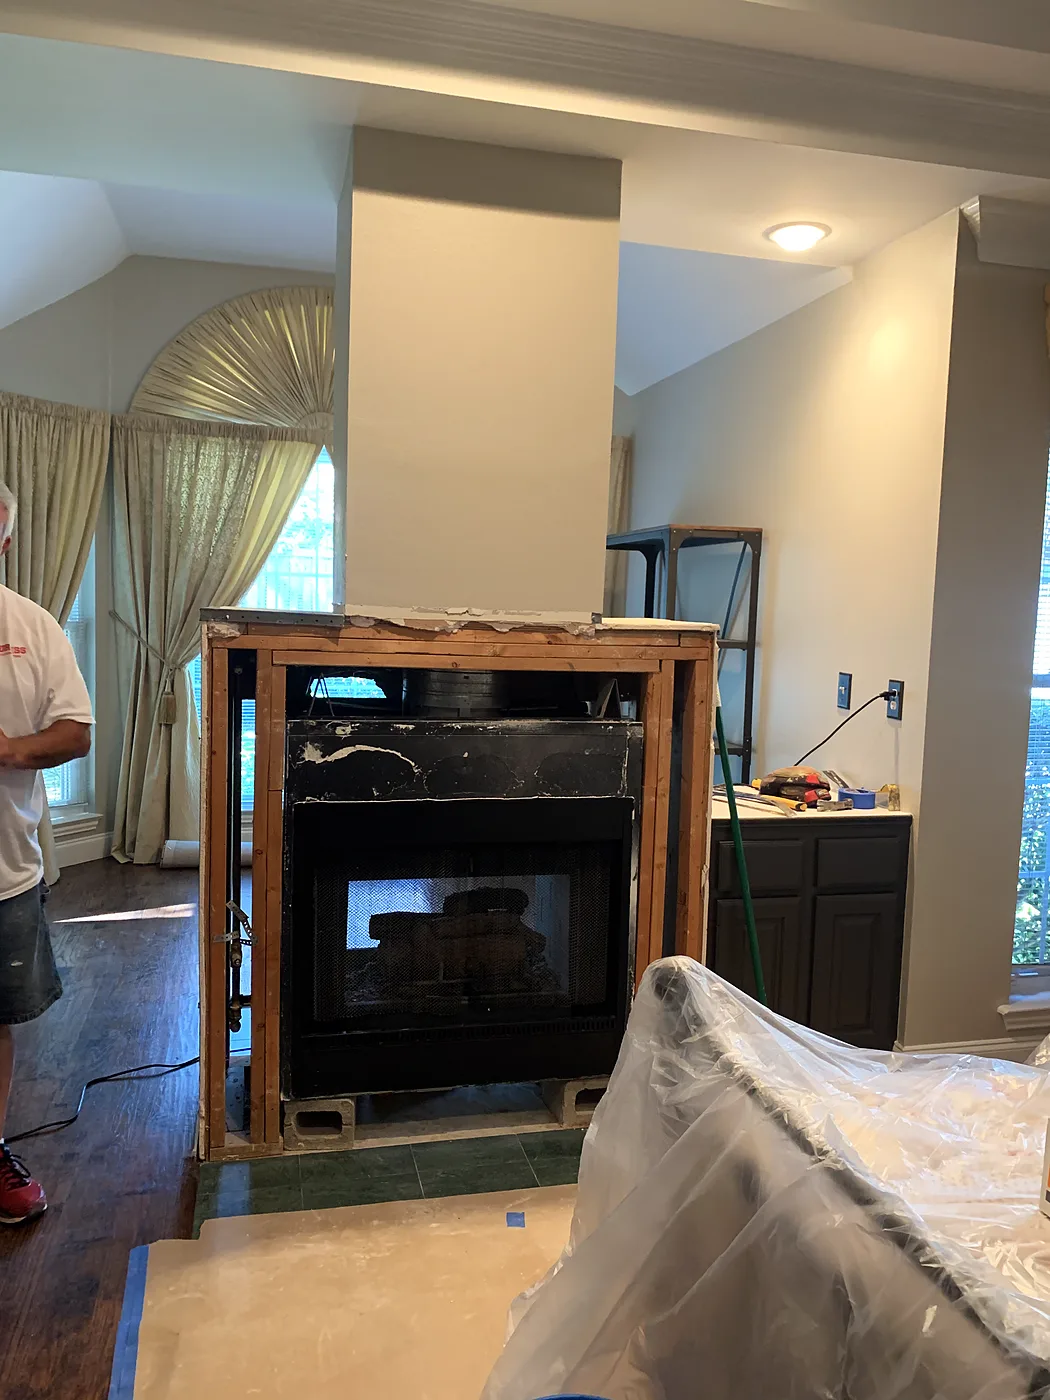
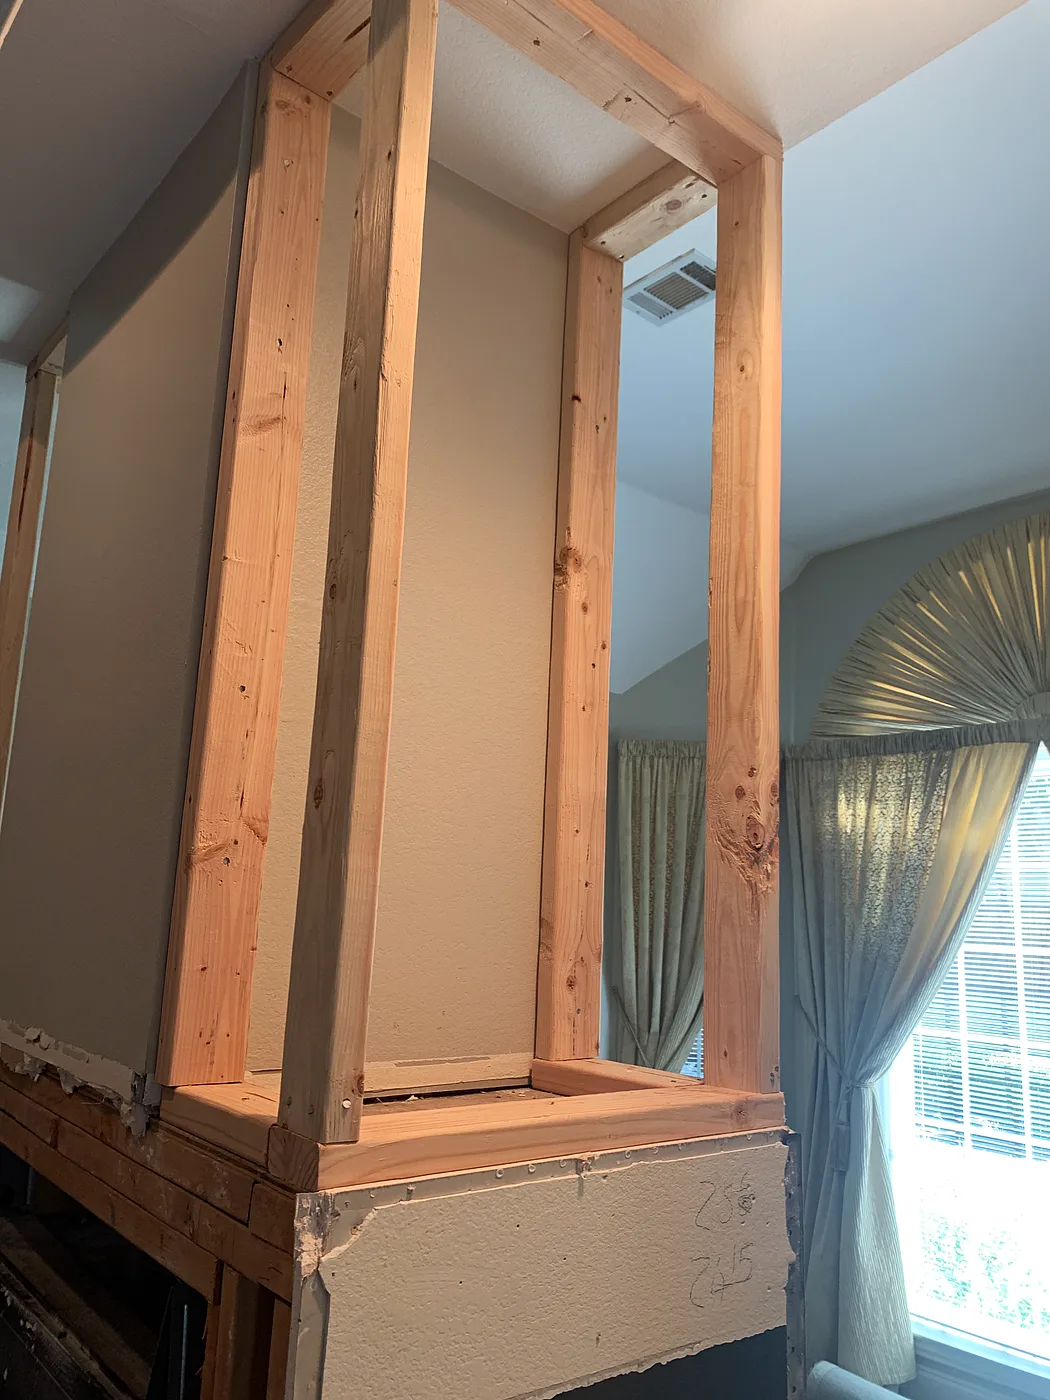
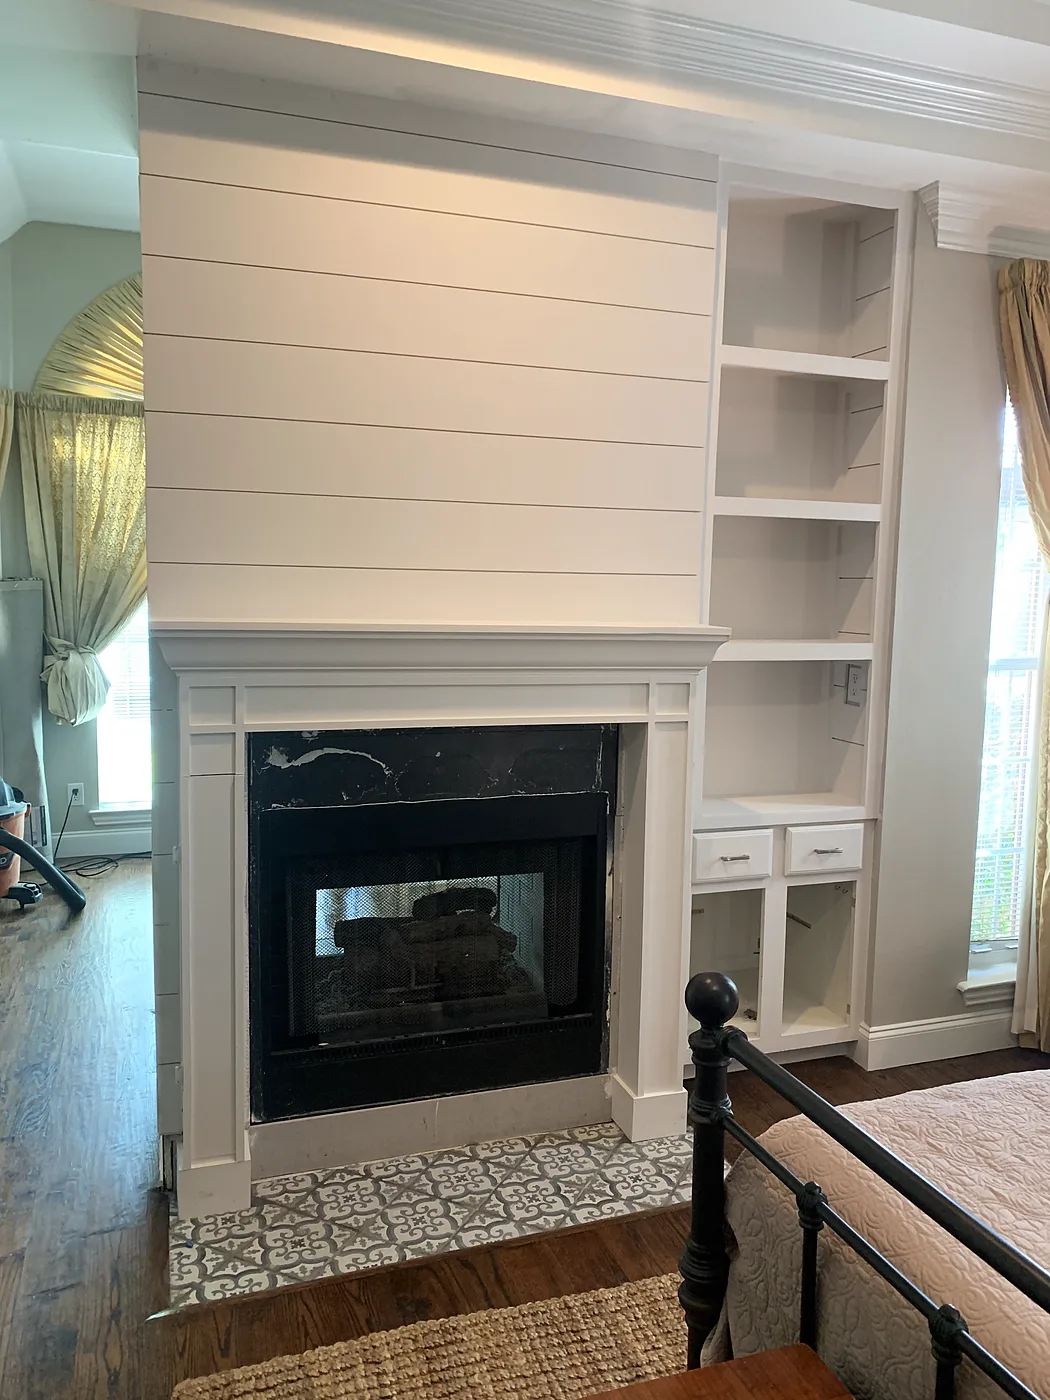
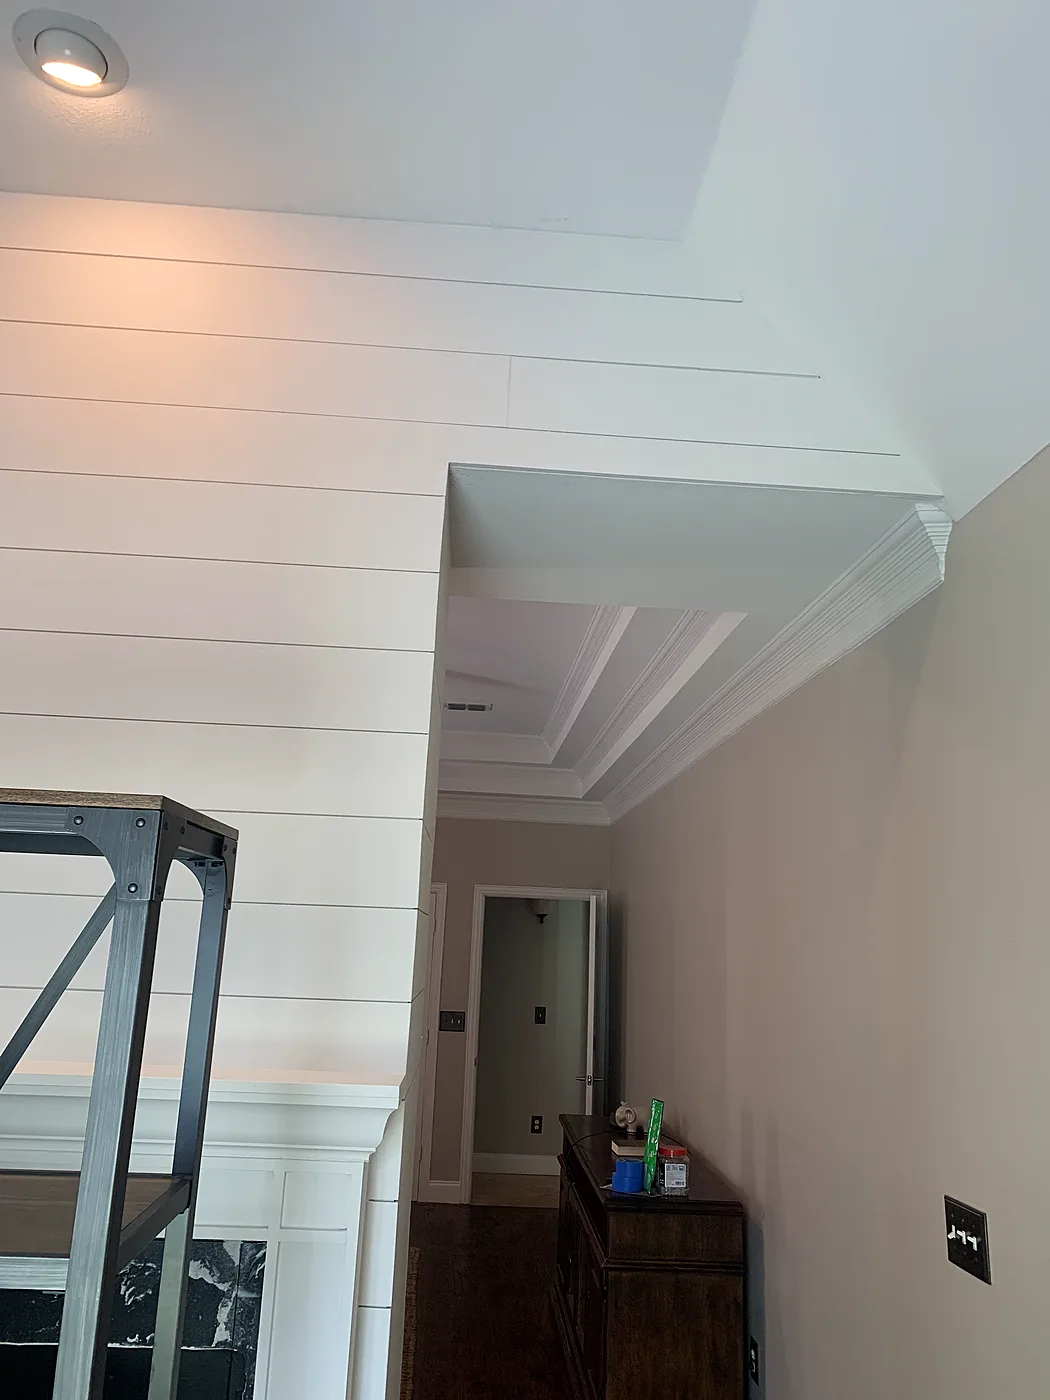
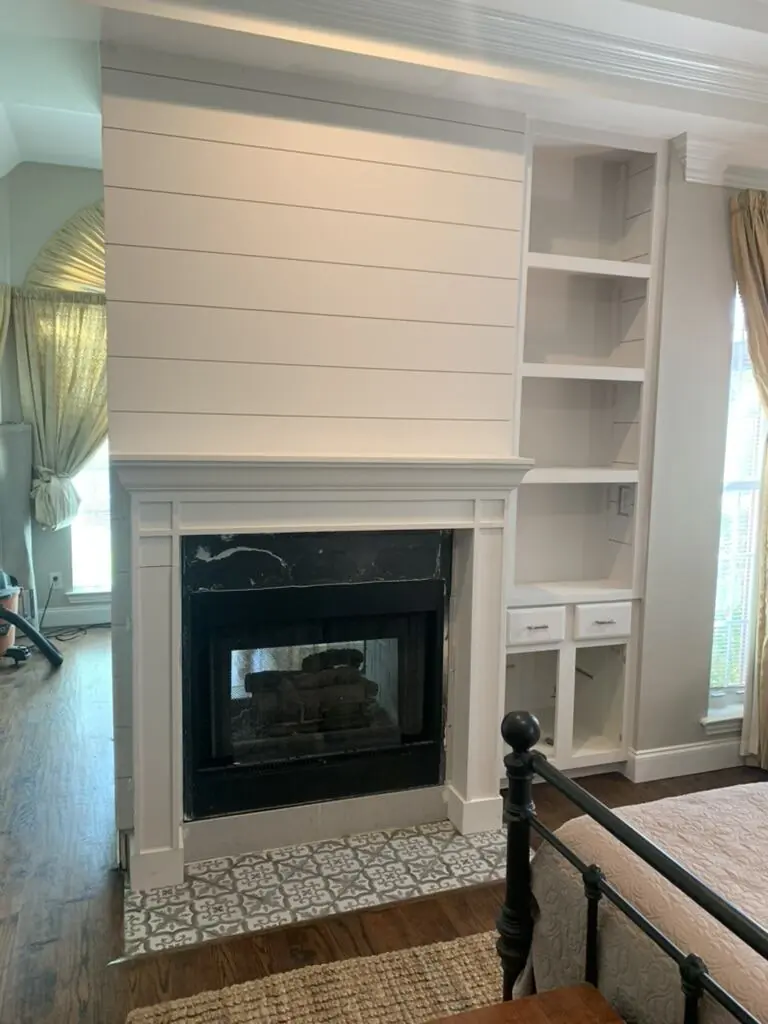
Two-sided master bedroom fireplace with built-ins

McKinney

A two-sided fireplace with an office on the back side. We demoed the drywall around the firebox and framed it out, demoed the wall next to it and built custom shelving with cabinets underneath, then finished it in shiplap from floor to ceiling. It came out so well we ended up shiplapping about three-quarters of the home.

Before
Before: Before — Two-sided master bedroom fireplace with built-ins, McKinney
Before
During
During: Framed out — Two-sided master bedroom fireplace with built-ins, McKinney
Framed out
During: Shelving framed — Two-sided master bedroom fireplace with built-ins, McKinney
Shelving framed
After
After: Shiplap, shelves and cabinets — Two-sided master bedroom fireplace with built-ins, McKinney
Shiplap, shelves and cabinets
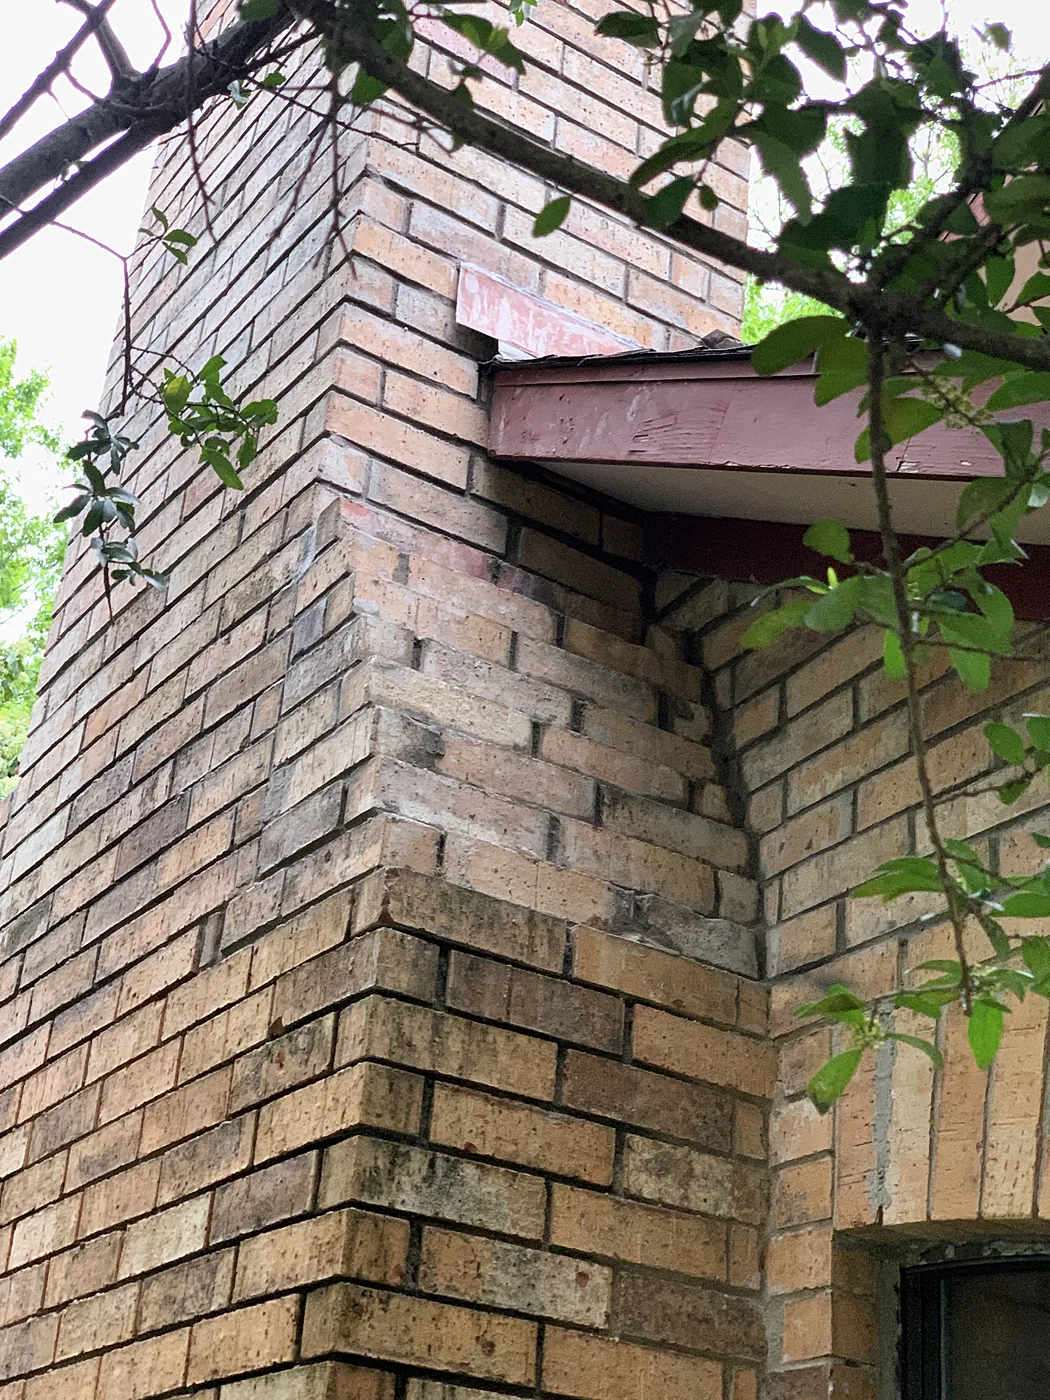
After: Shiplap up to the vaulted ceiling — Two-sided master bedroom fireplace with built-ins, McKinney
Shiplap up to the vaulted ceiling
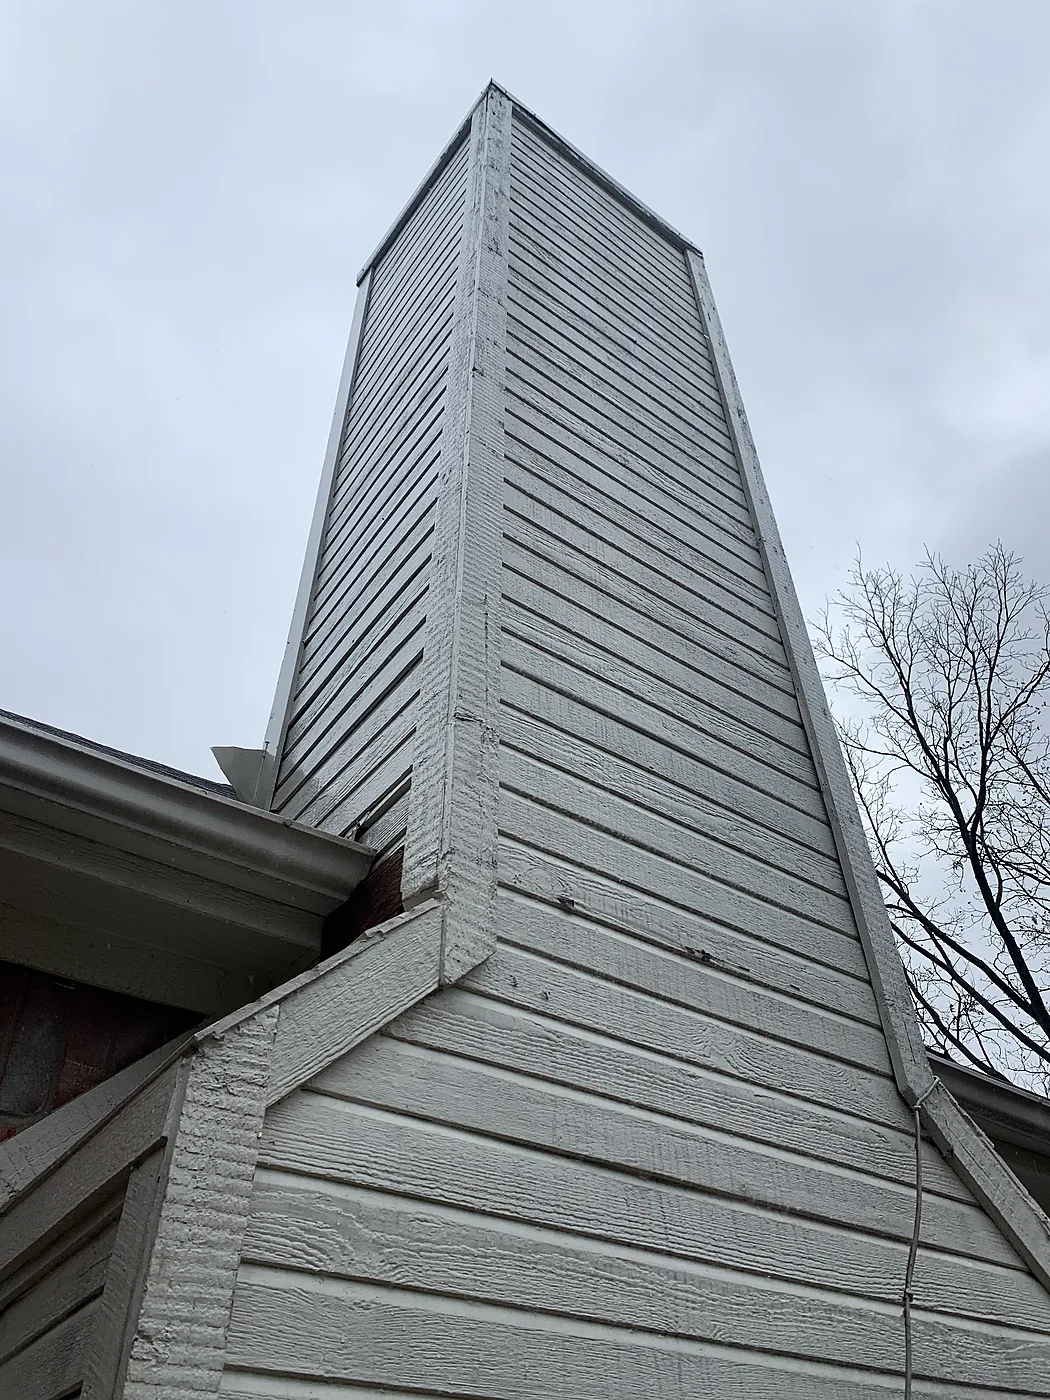
Want this on your house?

Free on-site estimate. Written fixed price, good for 14 days.

Request Your Free Estimate
CallRequest estimate